A positive post because today I managed to install the front brakes lines. I have been dreading this job, but actually it went okay. There were a couple of challenges, but that’s all part of the learning curve. Anyway, never mind that, look at the shiny braided hoses – phwoar!
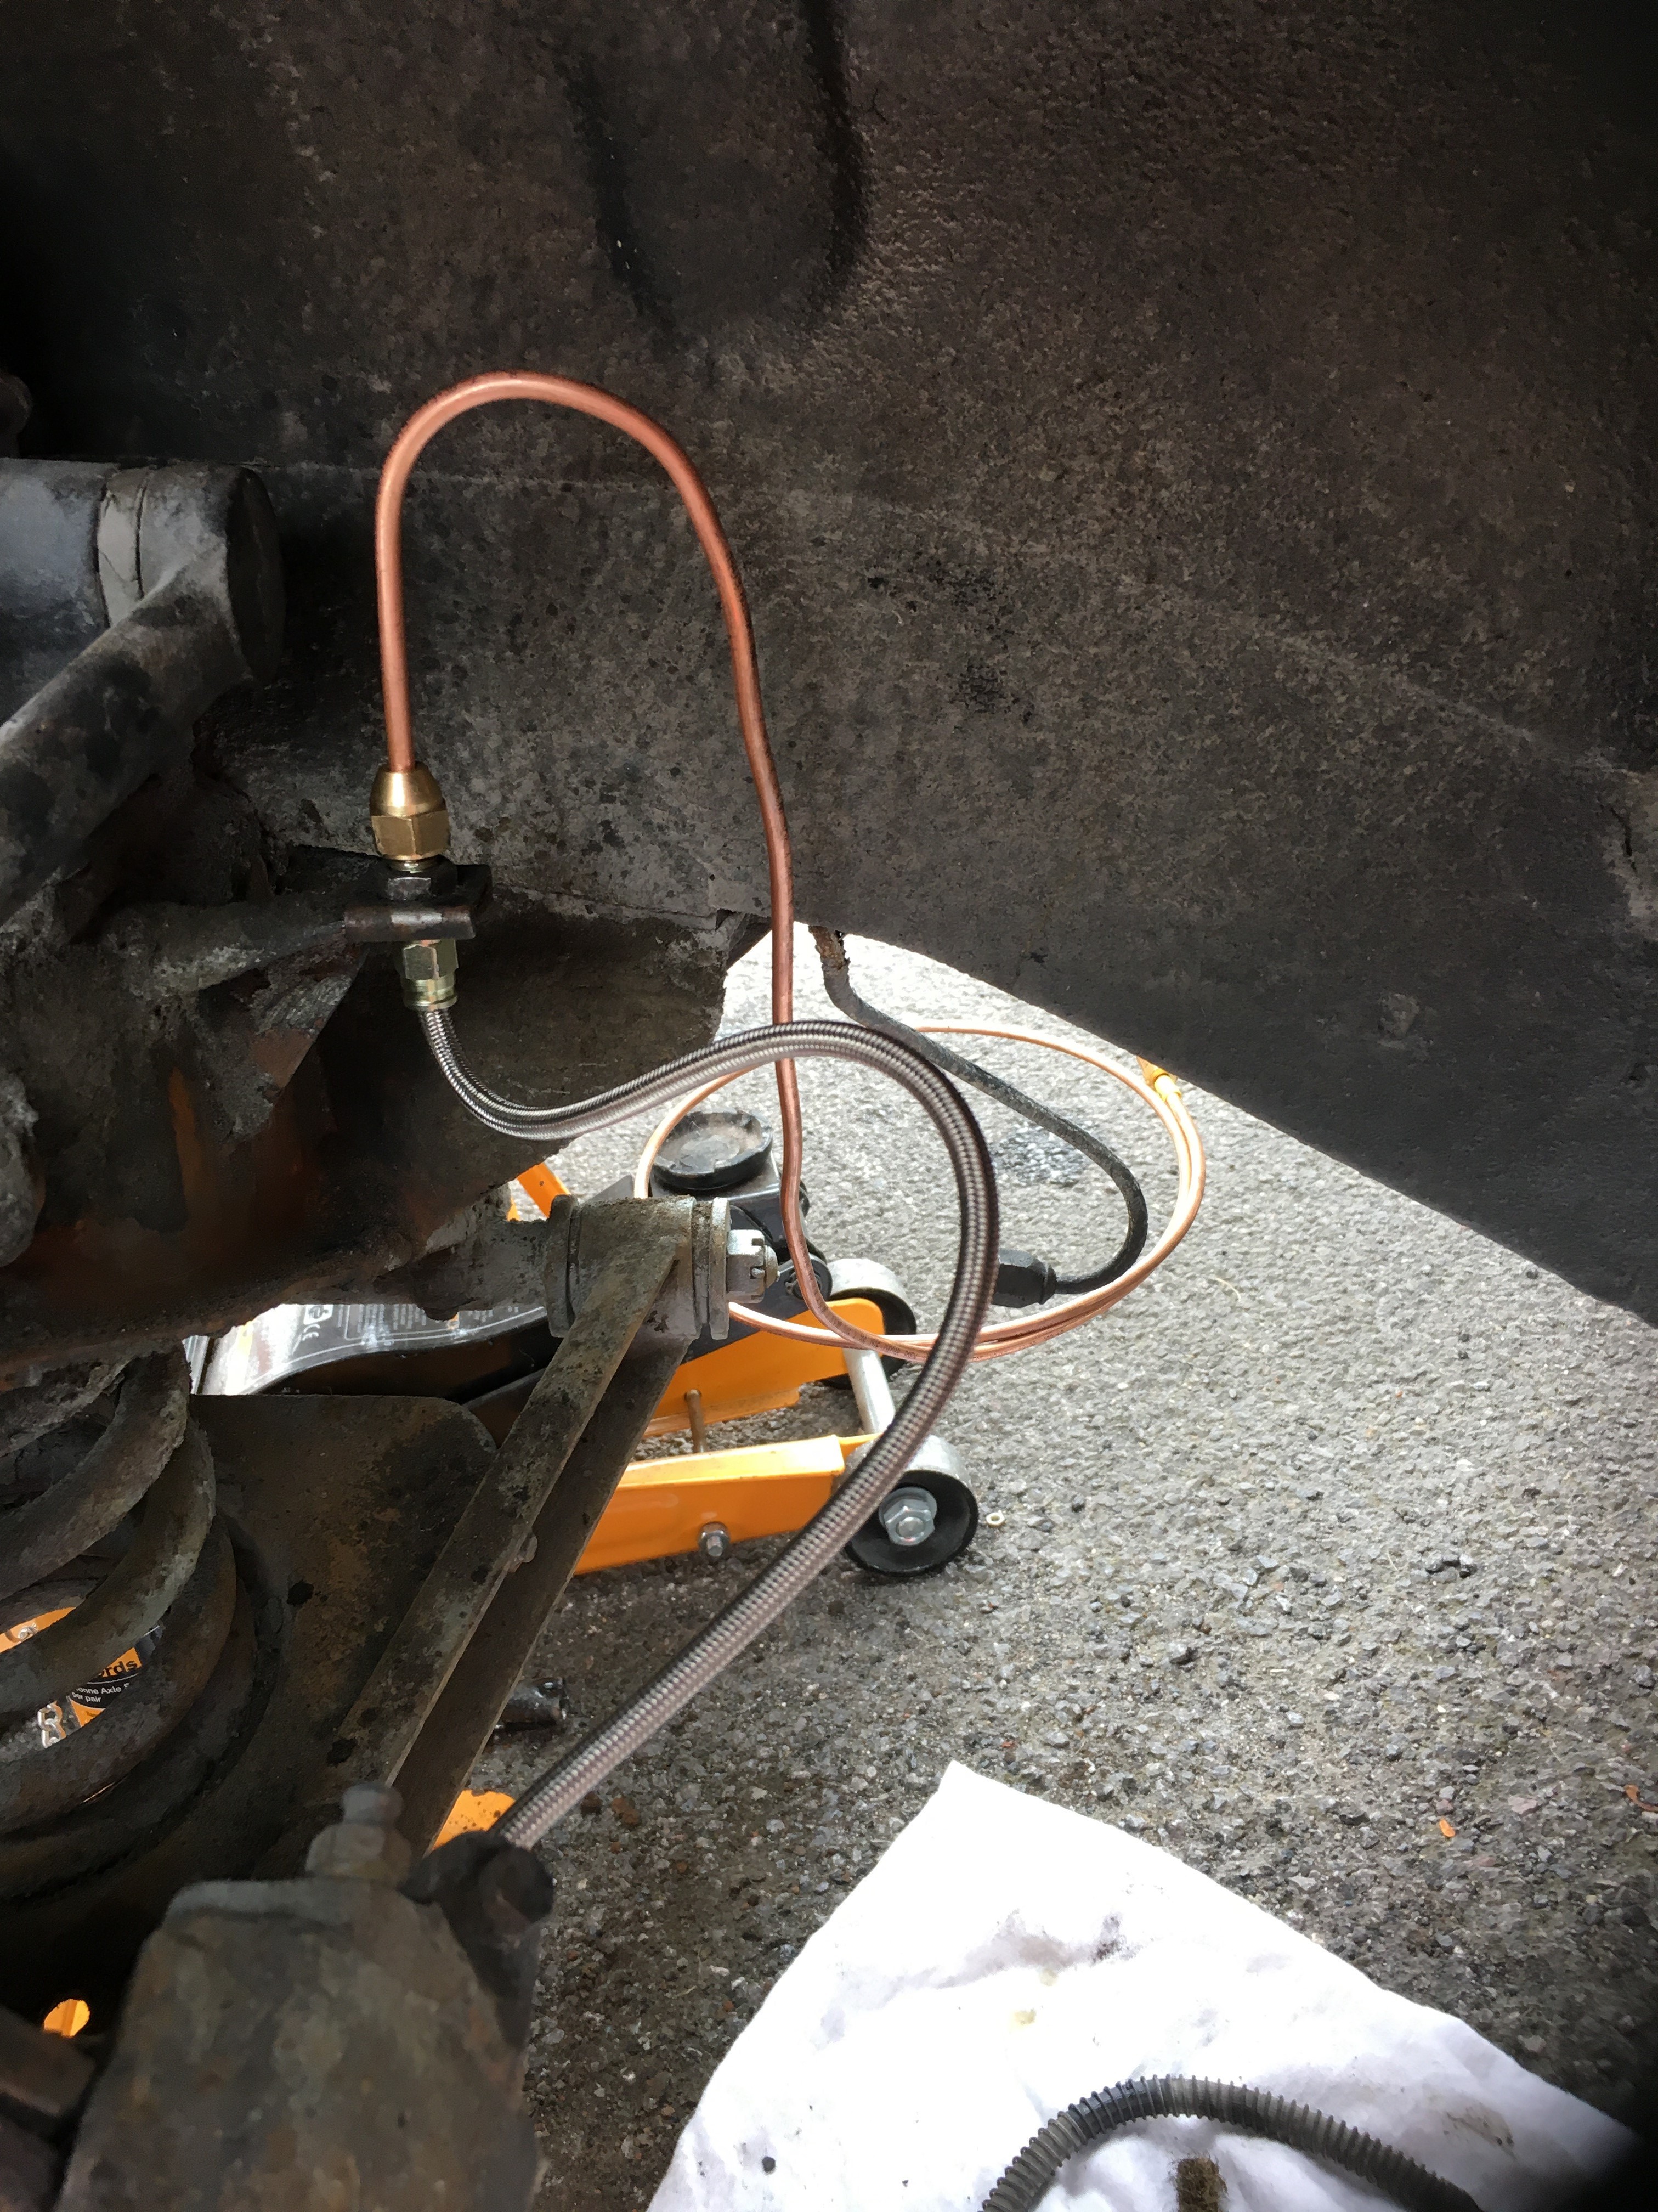
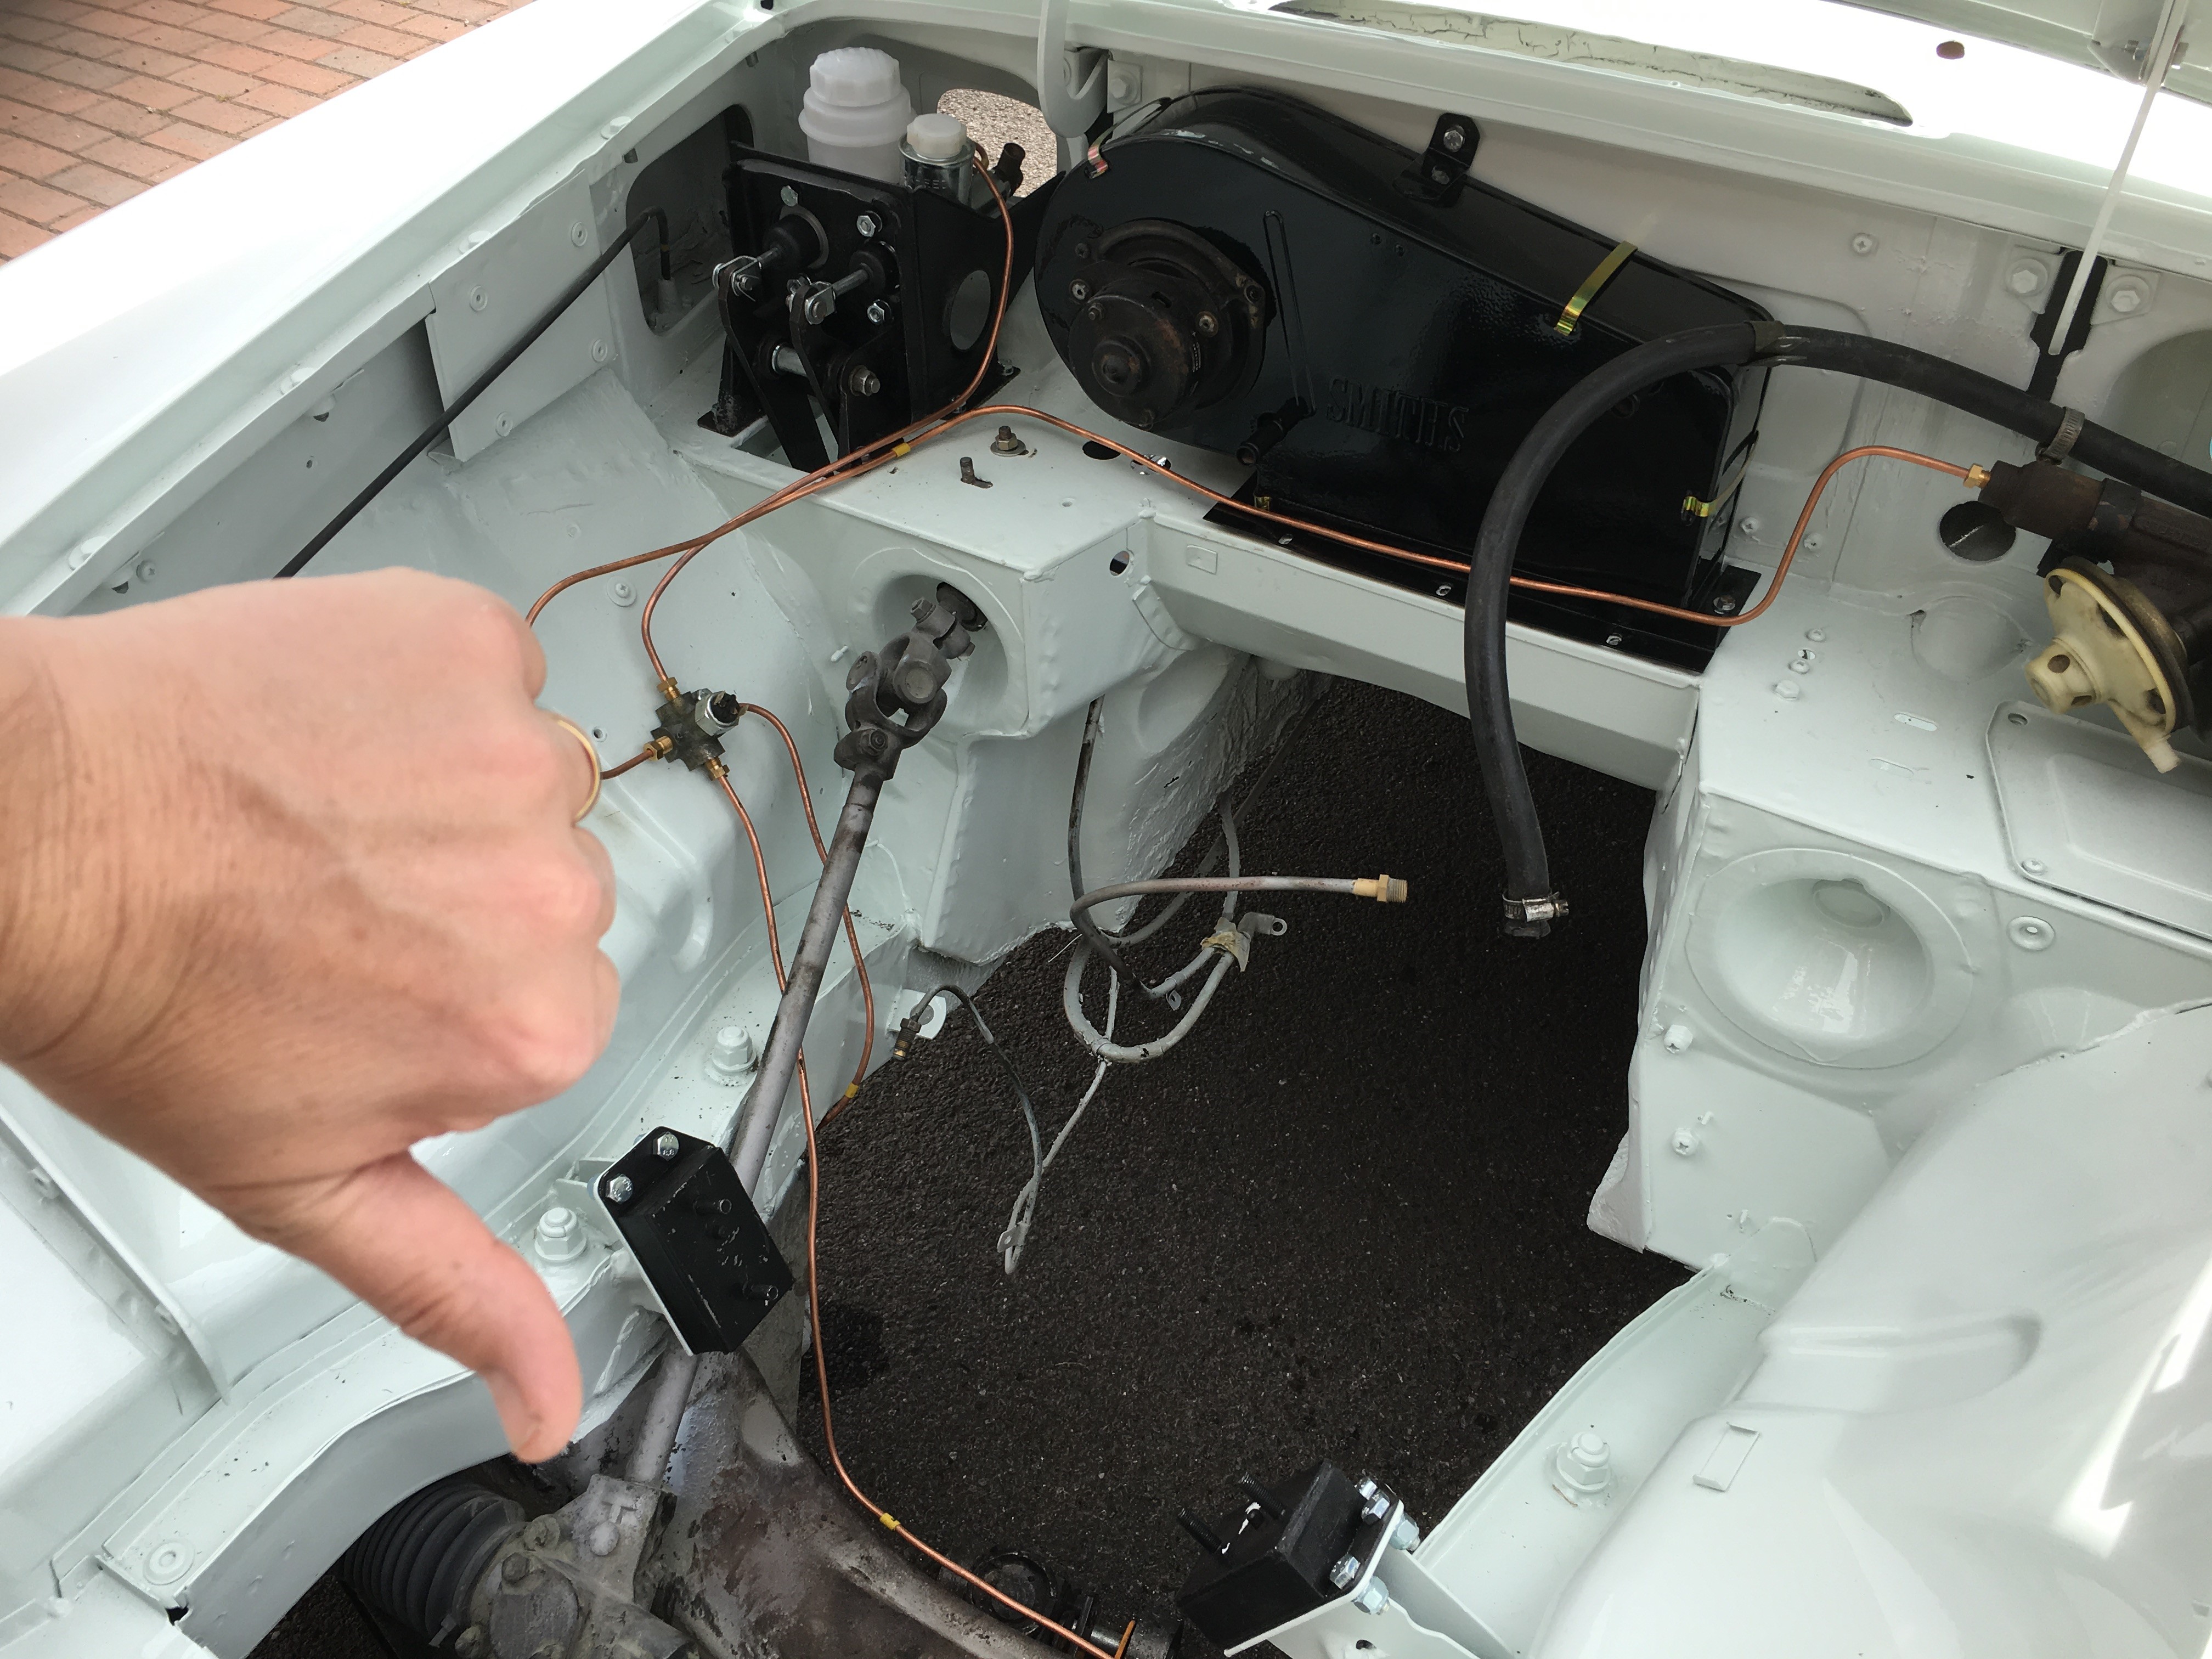
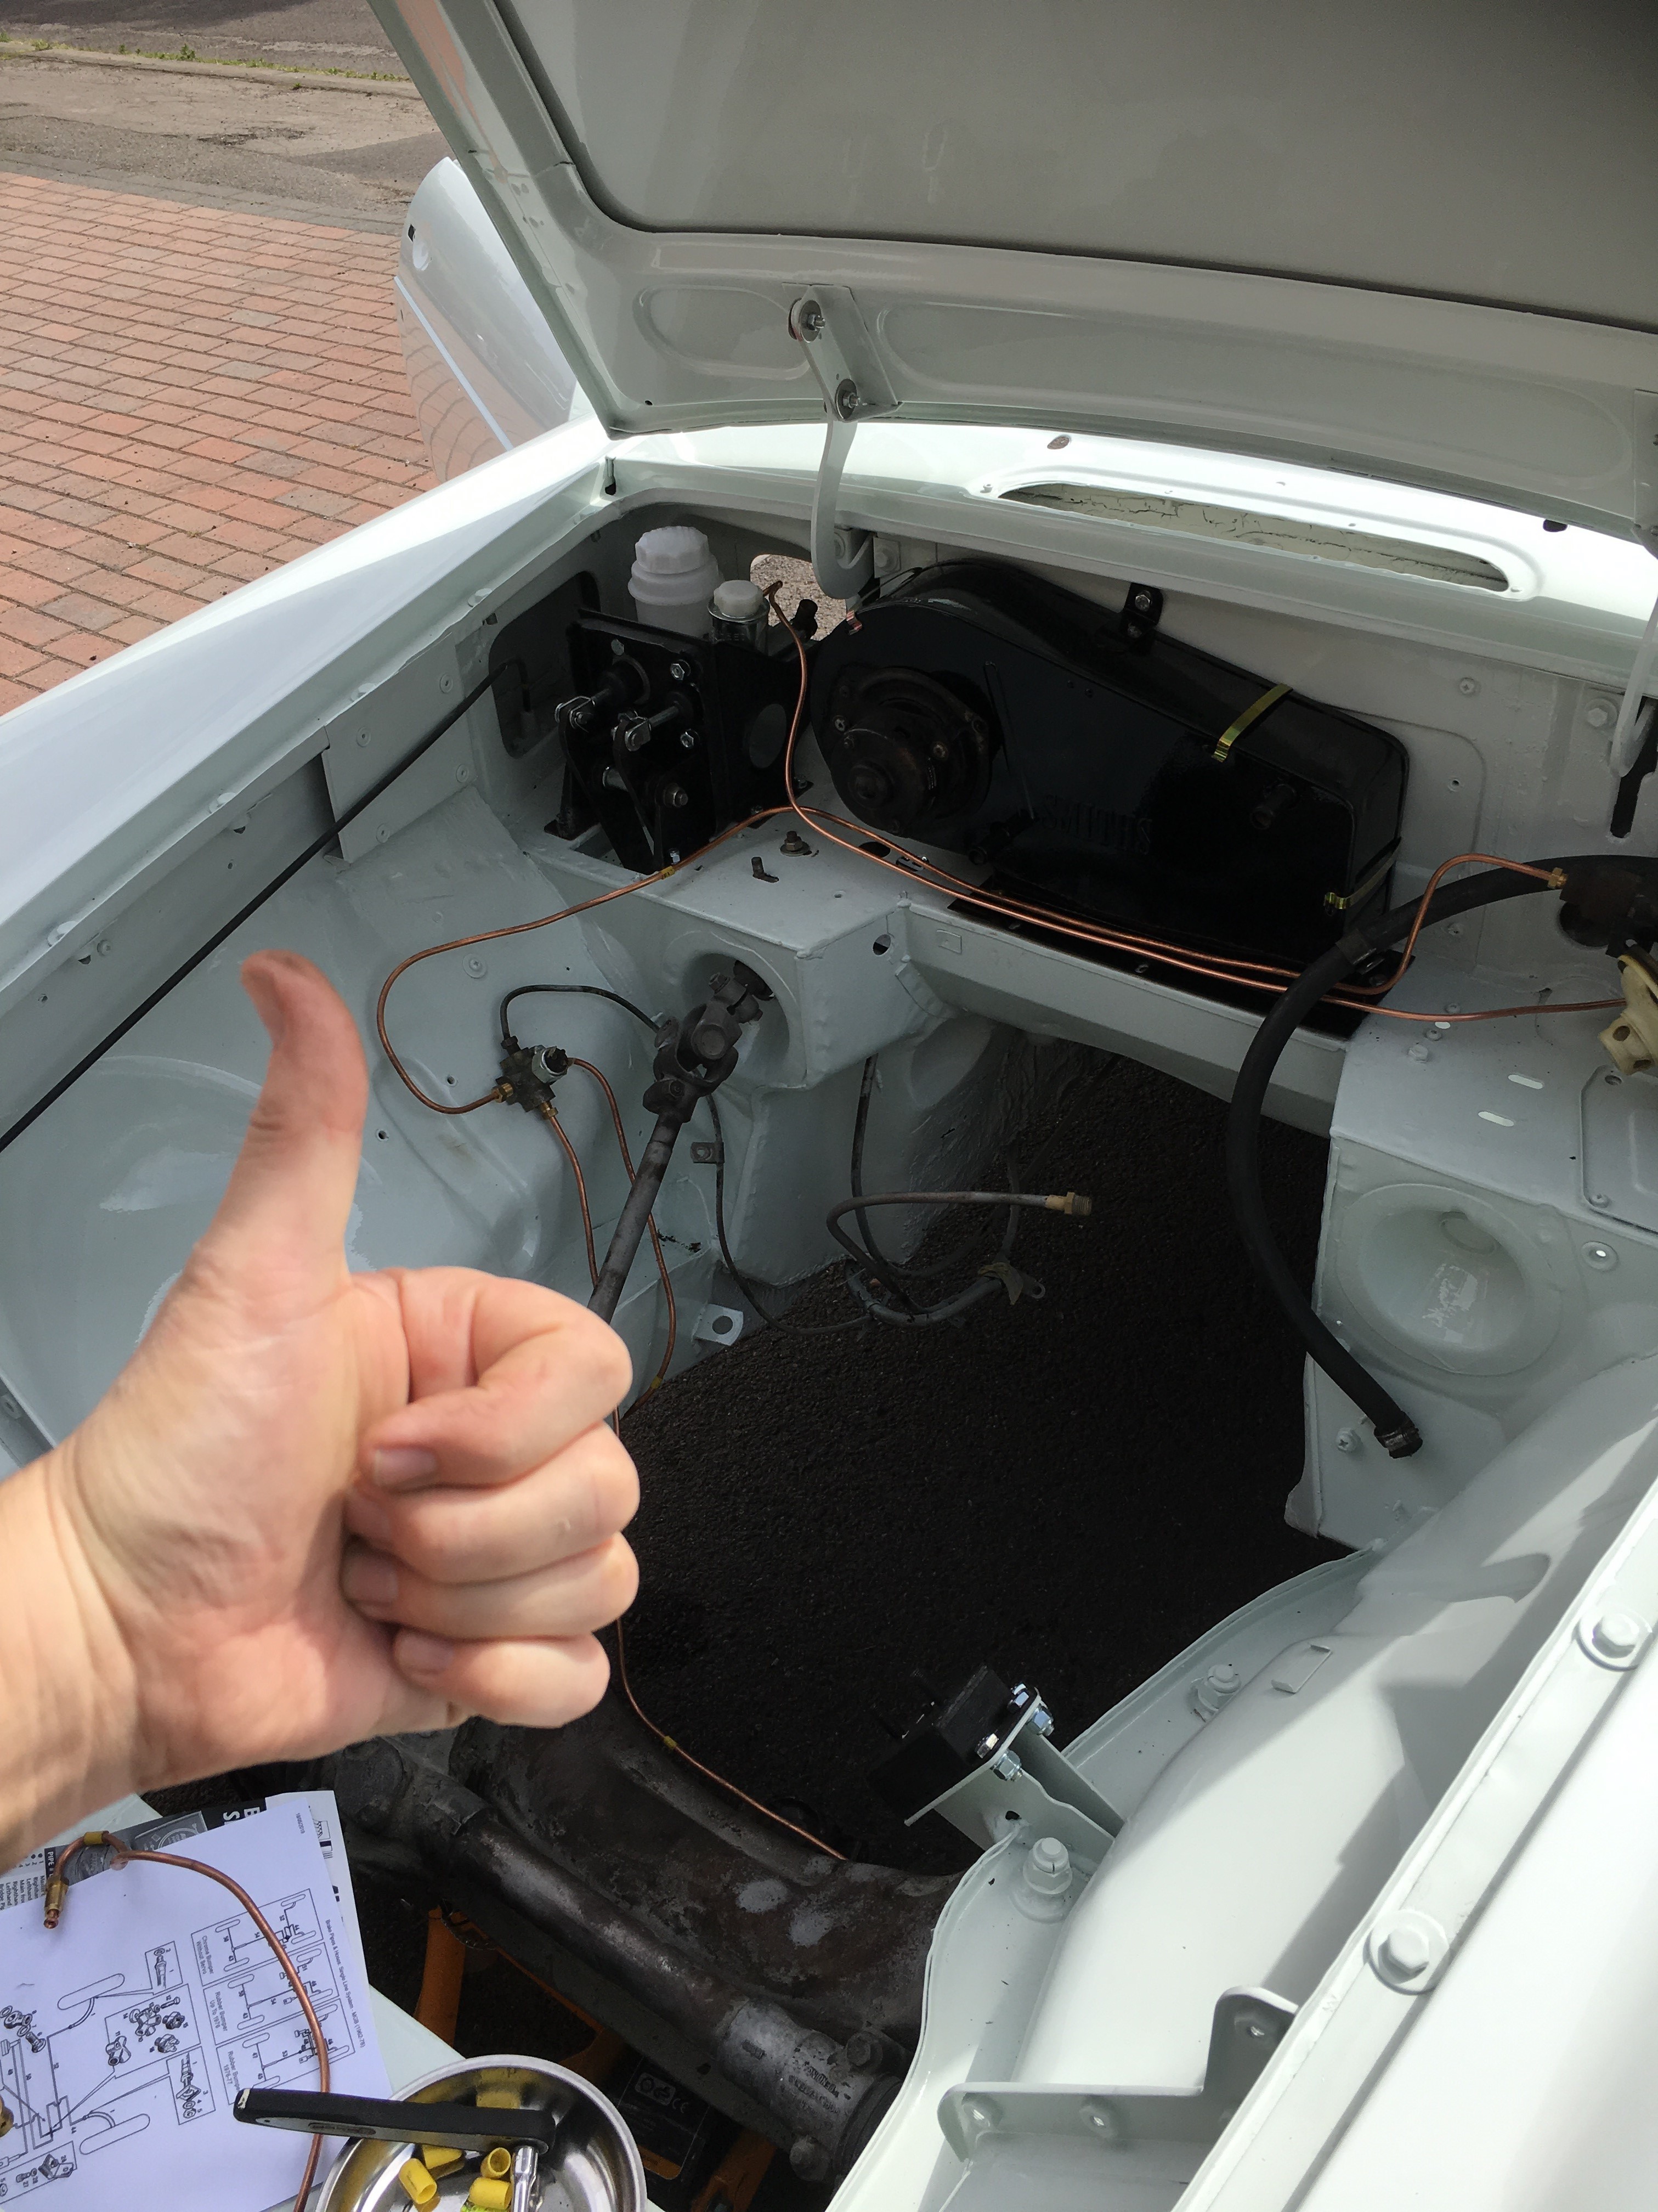
Okay so it didn’t go all that smoothly, but as always, staying calm and thinking saves the day. First challenge was working from the flexible hoses fixed to the caliper. Removing the hoses was a bit tough and I had to wire brush all the suspension which was still filthy with paint-booth muck so that took a while. Once I have built the car, I will go back and refurbish the suspension, including refreshing the paint, but I want to be up and rolling by that stage. When putting it back I forgot the nut so got in a bit of a pickle – one of the those situations where it didn’t feel right, so it couldn’t be right . After I stepped back to think, I discovered the forgotten nut and then it went back nicely. I fitted the flexible hoses and the new copper pipes and then worked my way into the engine bay, even getting some help from Helen who had to hold a pipe under the bonnet while I accessed the master cylinder from the inside of the car (through the firewall). Feeling smug, I finished up under the bonnet with the remaining brakes and stepped back to admire my work. At this point I realised that having mis-installed one pipe I effectively had created the world’s first MGB with only front brakes. Cue much concerned consultation of the manual and internet searching before I realised my mistake. I had missed the second servo brake pipe, but it was a relatively easy fix to re-pipe what I had done and correct my mistake.
So it was all sorted out in the end. I still have to install the pipes under the car to the rear, but I am now much more confident about this work.
As I still had some time left in the day, I decided to take on a simple job, but one which would remove some more clutter from my shelves. Installing the rear quarter windows was relatively simple but first I cleaned them up using some kitchen spray and a ball of kitchen cooking (aluminium) foil which I had been told (by Rob) was good for refurbishing chrome and it did prove to effective. They went back in nice and simply with all the fixing intact and available. There are a lot of trims to go these windows as well as new rubbers, so they may have to come on and off, but it just felt like a useful thing to do and the car seemed to appreciate it (as mad as that sounds)

So a positive day and I was pleased with progress. It was an inspired decision to work from the calipers into the engine bay, but I am not sure who to thank – either God, or some long passed-away relative was looking down and saying ‘do it this way’. In either case, thanks!
