I’ll get straight to the point. The clutch is proven to work! A friend from Church, Andrew, came over to bleed the clutch. Andrew is an experienced mechanic, but the MG threw up a few challenges! First of all, a problem with Halfords pre-order. I wont go into details, but basically I ended up with a very basic bleeding kit. Secondly, the master cylinder cap was cracked weirdly (its new). Fortunately I have a spare master cylinder from an earlier ordering mistake so I swapped that one on. Thirdly, I had read what turned out to be a crackpot bleeding method an MG forum involving cable ties which didn’t work. Overcoming these challenges, Andrew led the way in bleeding the brakes the old fashioned way. I sat in the car, operating the clutch while Andrew lay underneath the car operating the bleed screw. The method was, put light pressure on the clutch, release the bleed screw, clutch pedal to the floor, tighten the bleed screw, clutch back up the the tops of it’s travel. This method worked, we topped up the fluid in the master-cylinder and before long we had a nice firm pedal. We tested the clutch by putting the car in gear, which (just about) held it on the drive, then disengage the clutch (i.e. press the clutch down) and observed the car racing off down the driveway. Success – thanks Andrew. It was good to have enrolled another person onto the team and Andrew offered to help with other jobs.

Before Andrew arrived, I had time to do a few other jobs. The first was to finish off fitting the nearside lock which I had partly fitted last week. As I got to the end of the thread, the nut was failing to make much purchase and I have concluded that the thread must be compromised. The locks are not expensive to buy – there are enhanced versions which have improved security, so I will purchase some. Seems silly to skimp on security. I was able to examine the chip in the paint which is not as bad as I had thought. I will do a repair on this soon to avoid any rust as I have some left over paint and it only needs a dab.
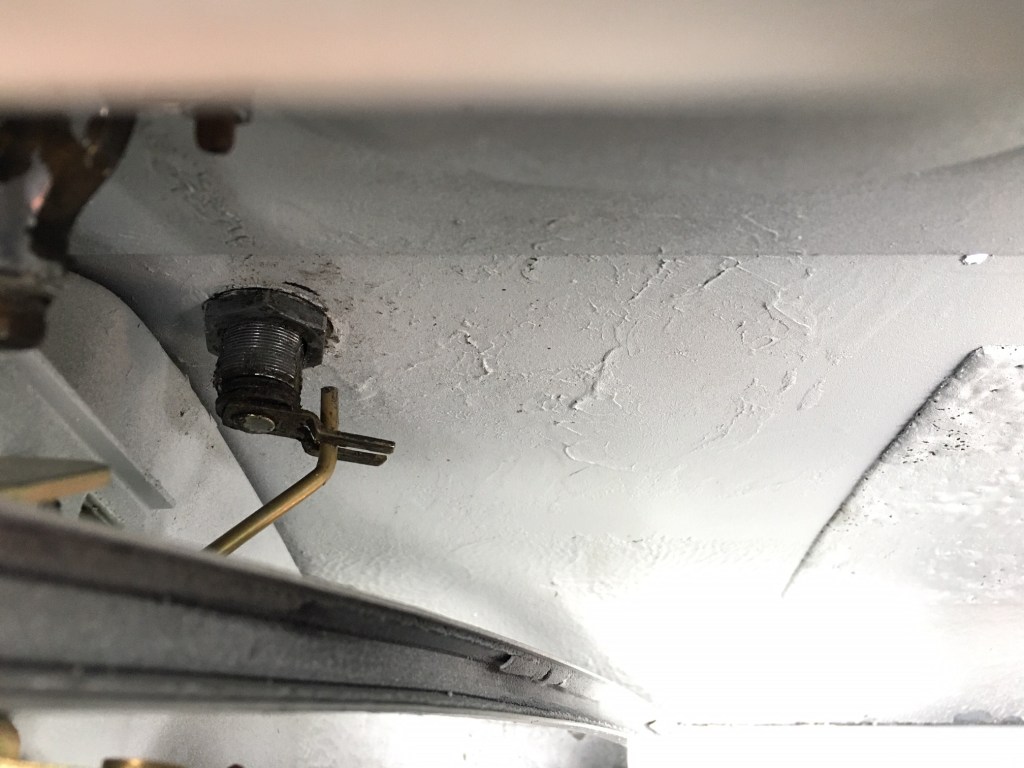
Inside the doors looking at the lock – cannot get this done up tight 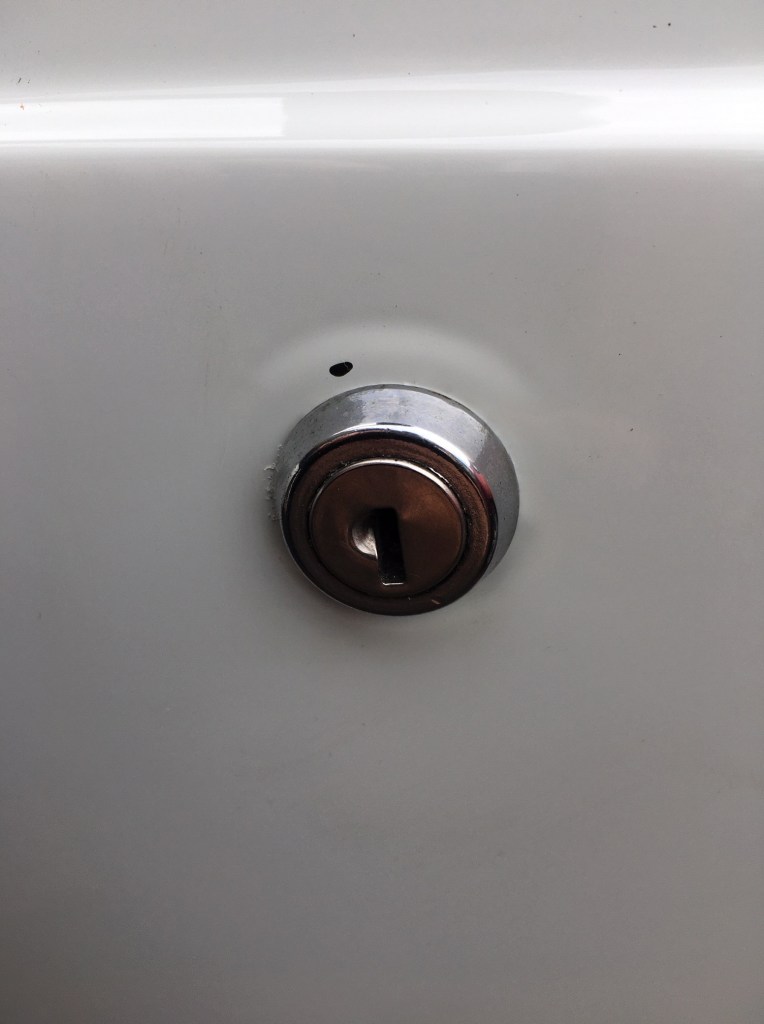
Paint chip, annoying, but fixable
A job which is critical to the dash going is fitting of the wiper system. I got the parts out today to inspect. The wiper motor was fine, and I managed to fit this – awkward, but do-able, but the wiper mounts were truly knackered. Unfortunately, the threads (it was a day for awkward threads) were worn, and even with copper grease, the nuts would not do up nicely. Unfortunately this means buying new parts, but maybe it was asking too much for 40 year old wipers to be re-usuable.

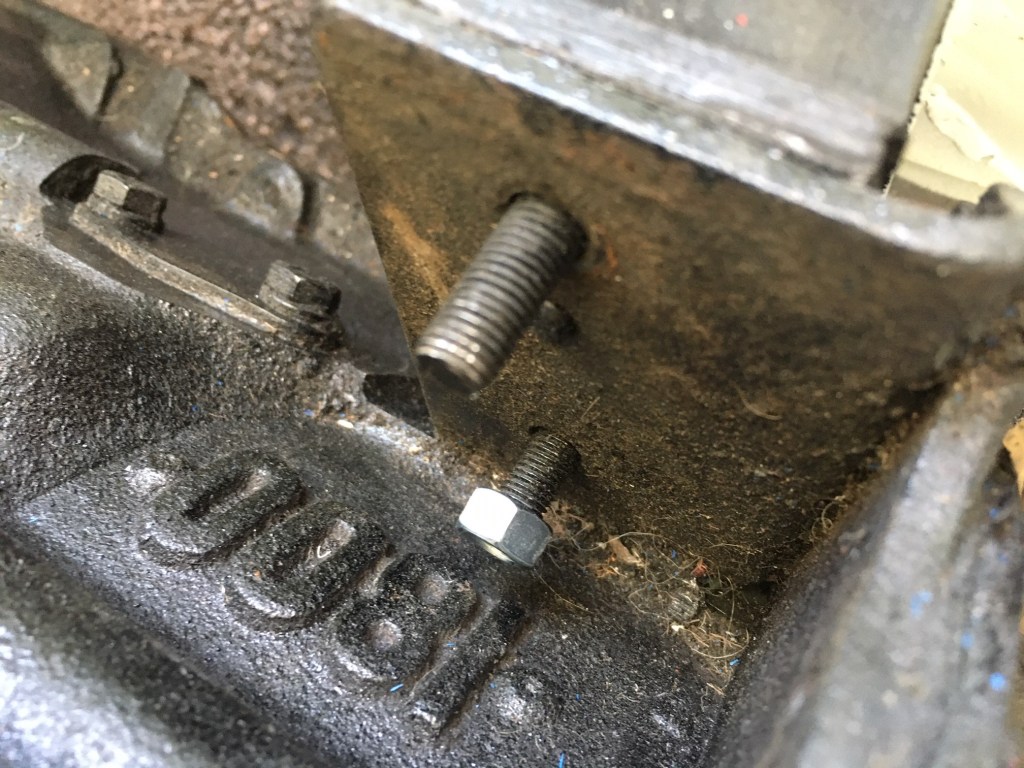
Earlier in the morning, I had finished fitting all the bolts to the engine mounts, something I hadn’t done since we installed the engine a couple of weeks ago. This was easy enough to begin with, however, there was one nut which had to go on the n/s and the bolt was up tight to the engine, preventing me from getting the nut on. Baffled at to how this could be the case, I then hit on the idea of gently jacking the engine on this side (with the nuts on the other side loosened). This created just enough room, and I popped the nut on. The nuts are all new as I bought a set of imperial nuts and bolts from MGB Hive to improve aesthetics over old nuts and bolts. This is called ‘showroom appeal!’.
Another job critical to fitting the dash is fitting the heater ducts and controls. I inspected all the parts today and unfortunately identified that one of them had a broken end (see picture below) so I will need to buy new. As per the wipers, I need to get on with purchasing this so I can proceed with the build sequence.

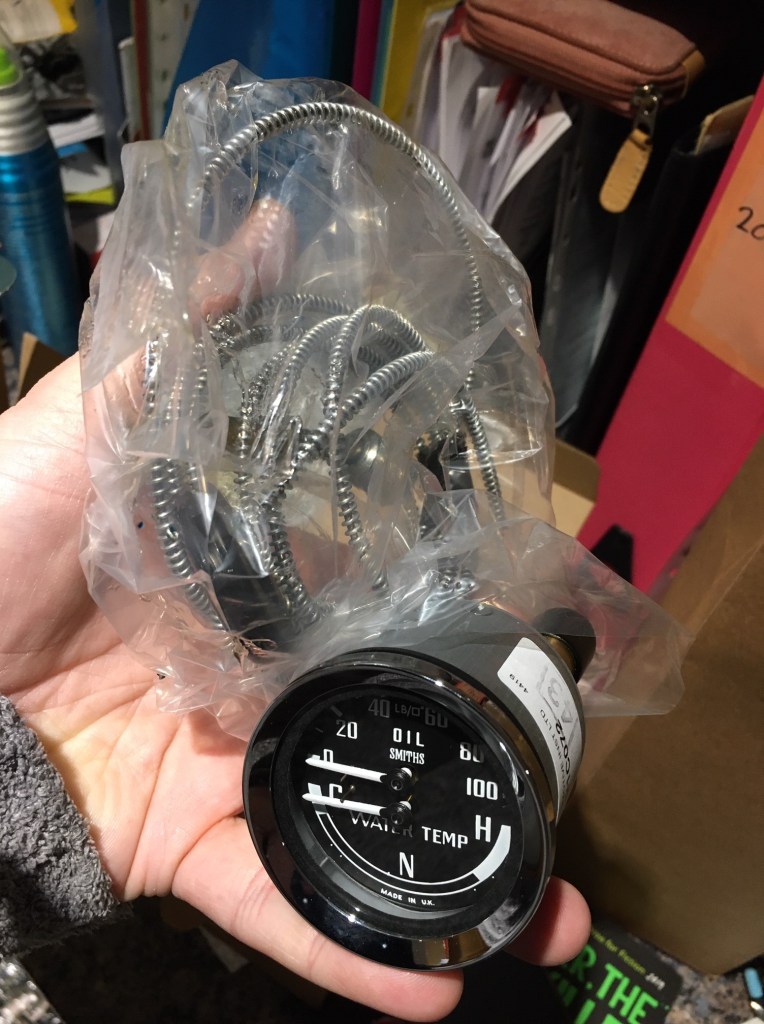
Final point for today’s blog is to report arrival of the dual gauge (Oil and Temp) which I had ordered from a company which produced instruments. Rapid turnaround and I now have the gauge and capilliary tube to be inserted into the head. The tube can look a bit randomly placed under the bonnet, however I have seen it coiled into a spring-like shape which looks quite neat, so maybe I will do this. Here is a photo of it straight out the box.

Re door lock nut problem. Have you tried putting a spacer or two (large washers?) on before the nut? This would mean that the nut is coming to its tightening point on another part of the lock thread which might be good enough for you to nip it up.
LikeLike
Aha! A good idea, I’ll try that – thanks
LikeLike