Here’s a record of my first experience of refurbishing an alloy wheel. The alloys on Lou’s VW Beetle were pretty beaten up, despite having been professionally refurbished three years ago. A combination of factors – a low profile (40 section) tyre and difficult visibility of the car’s extremities meant that they had extensive scuffs. There are lots of companies offering wheel refurbishment (I have had previous cars done in this way) but something made me want to have a go at these wheels myself and see what sort of standard could be achieved using hand tools and spray cans.
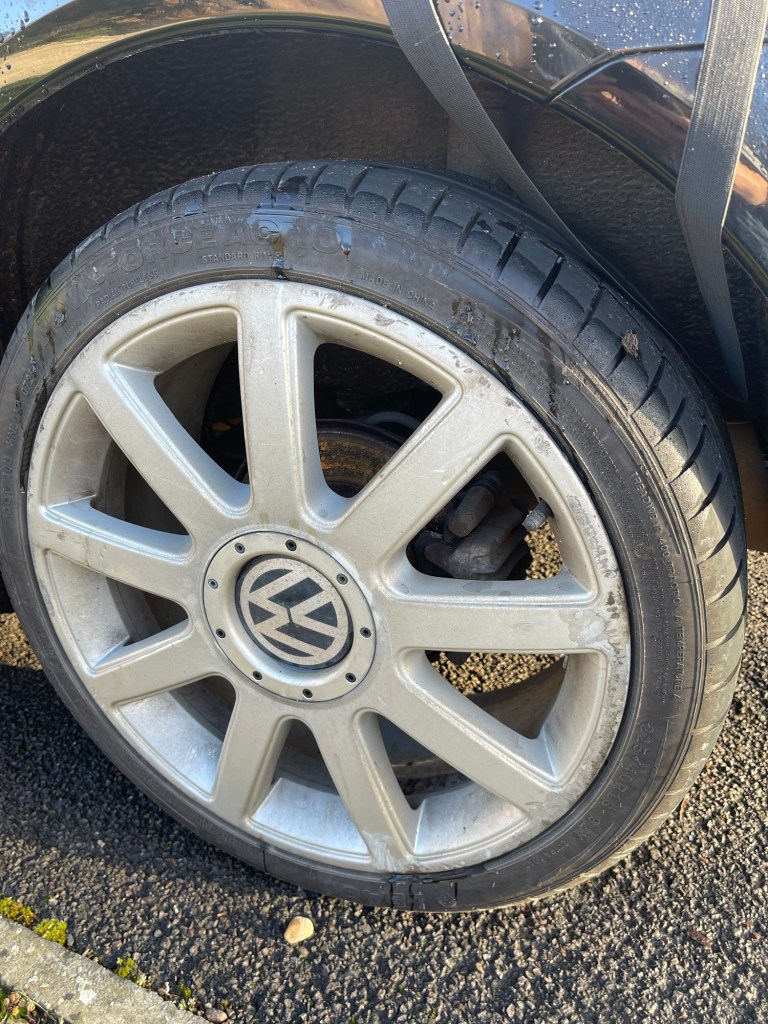
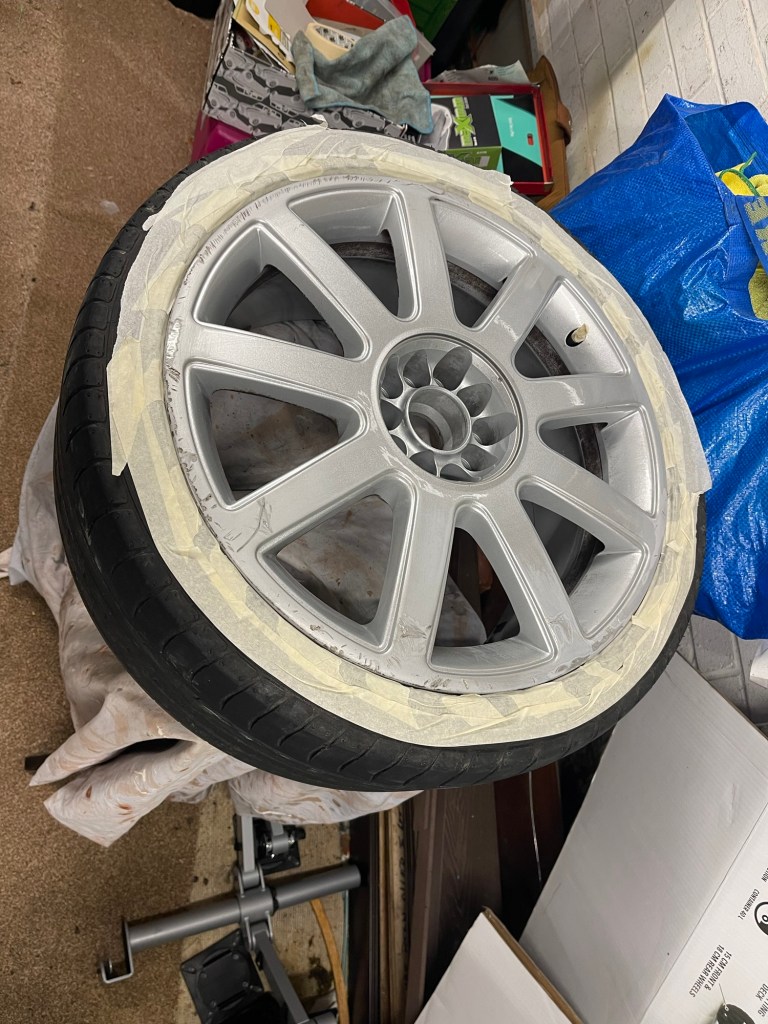
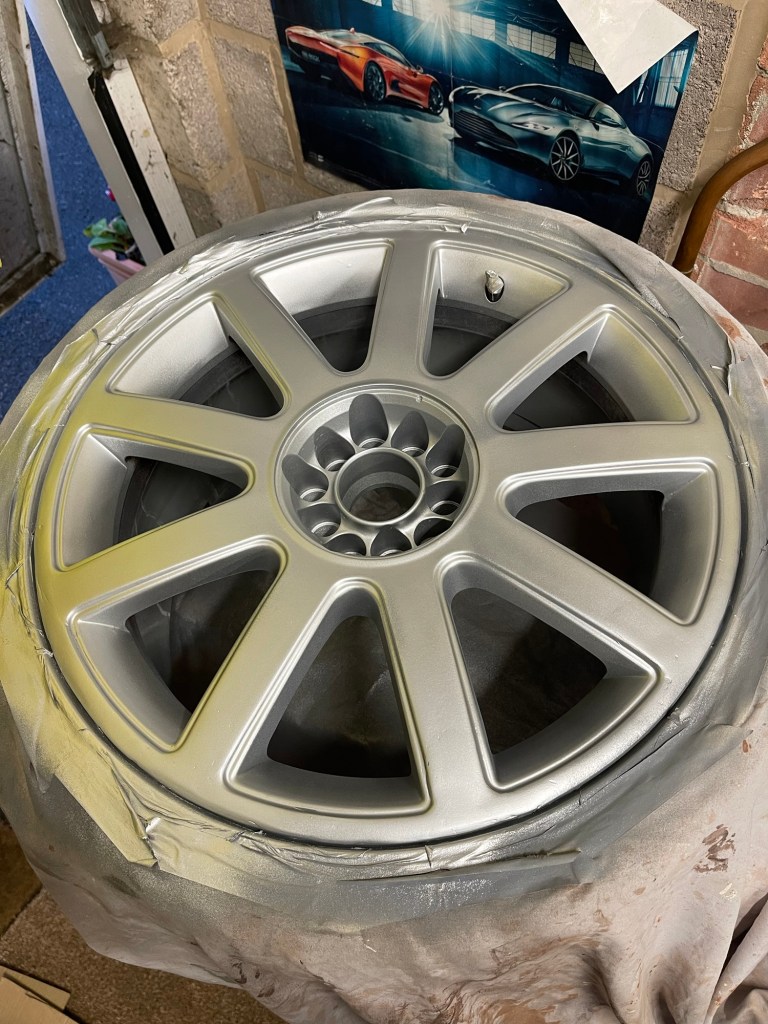
The photographs below first show the wheel in-situ. The rim is scuffed as well as some of the spokes so the initial rubbing down had to be quite extensive, although it was interesting how thin the previous finish was and I wondered how good a job that had been. I masked off the tyre with tape and then covered the rest with an old bed sheet with a round hole cut out of it. I mounted the wheel on a black and decker workmate so it was a good height to work on.
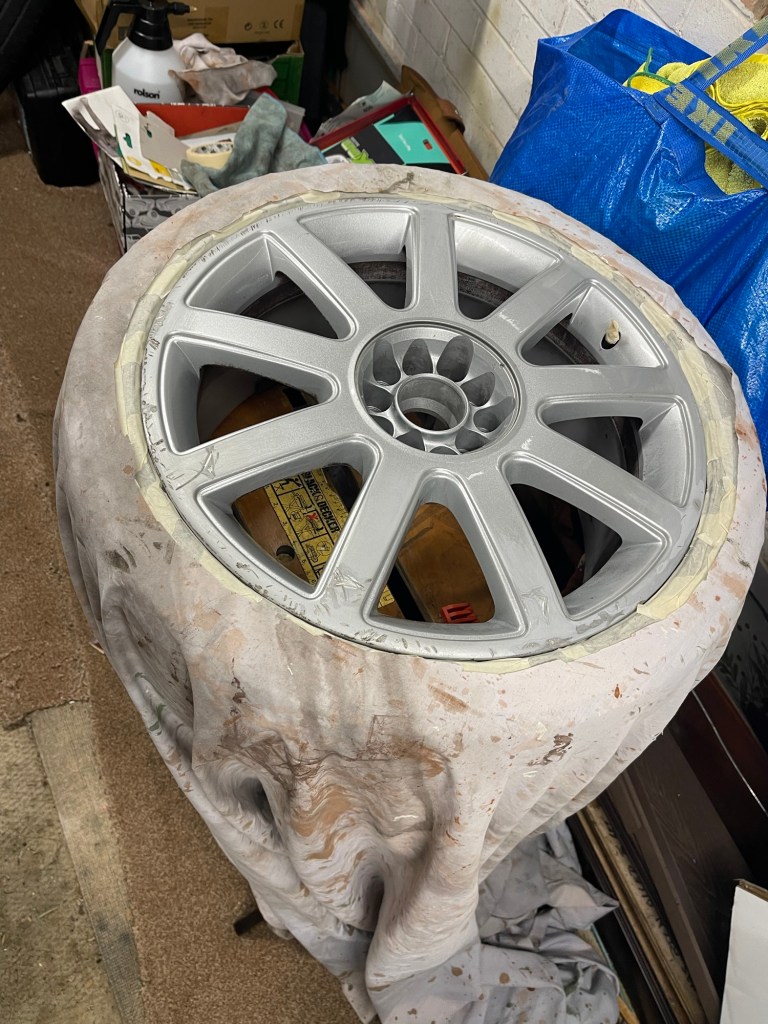
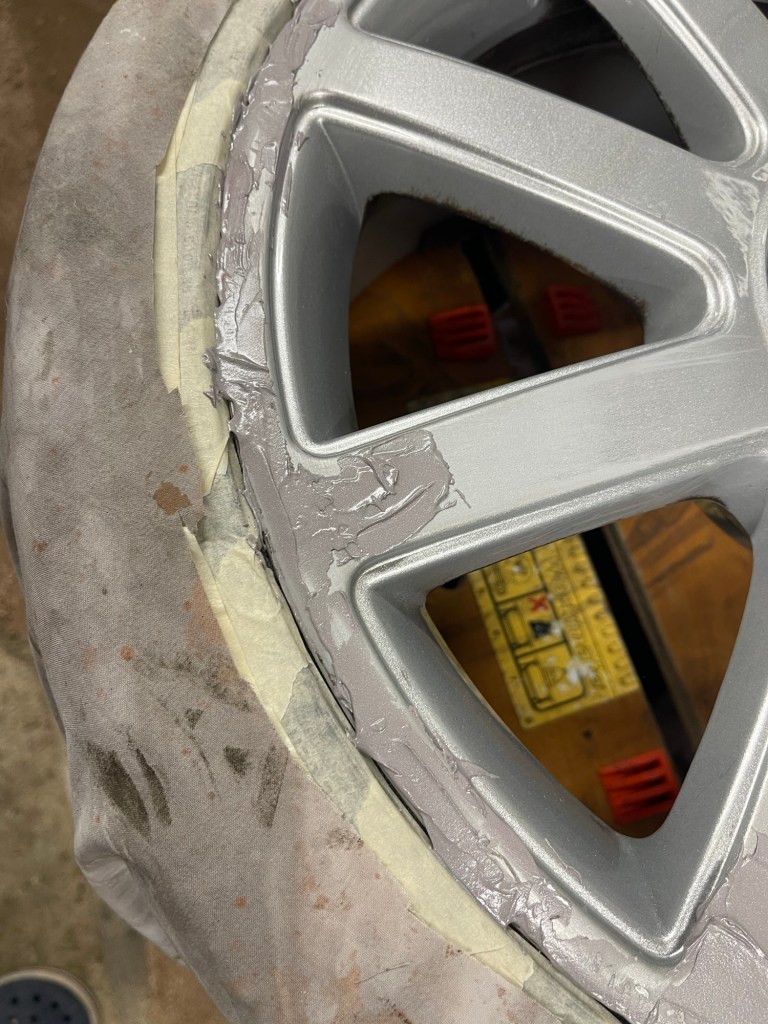
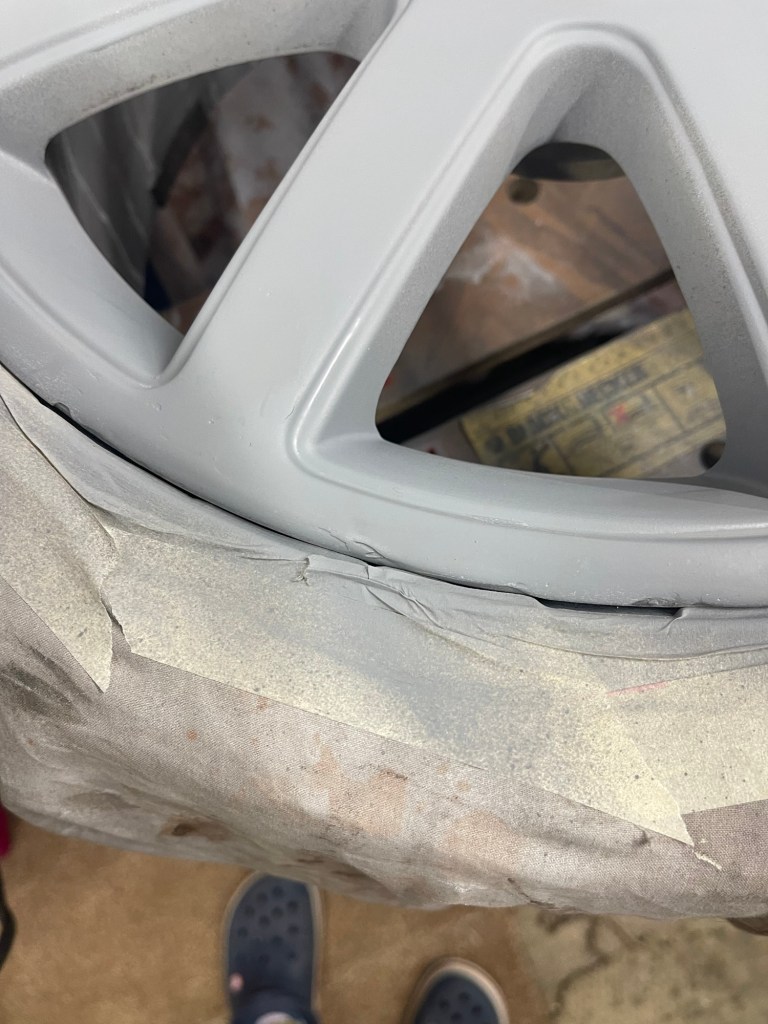
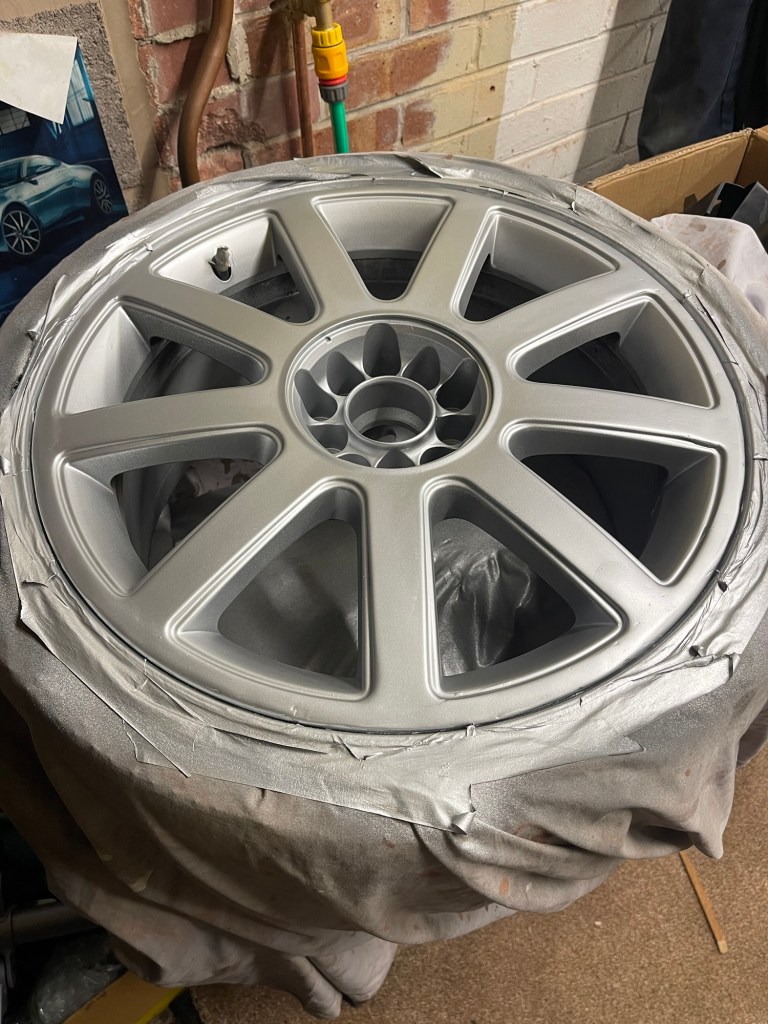
I used some alloy wheel filler to fill in the deeper scuffs and then used grades of sandpaper to rub them smooth. This was the most time consuming part of the exercise as the filler cures extremely hard – there is a careful balance to strike between rubbing the filler down to nothing with course paper and seemingly having no effect with the finer stuff. This is really not my forte and I regretted those areas where ‘put plenty in’ had been my approach, creating me a lot of avoidable work. Further, it is very hard to accurately replicate the profile of the alloy wheel which has subtle curves and radiuses. Also, I had decided to keep the tyre in place and just deflate it and this caused a problem trying to get a good edge to the rim. For a wheel in bad condition I think it would be better to remove the tyre.
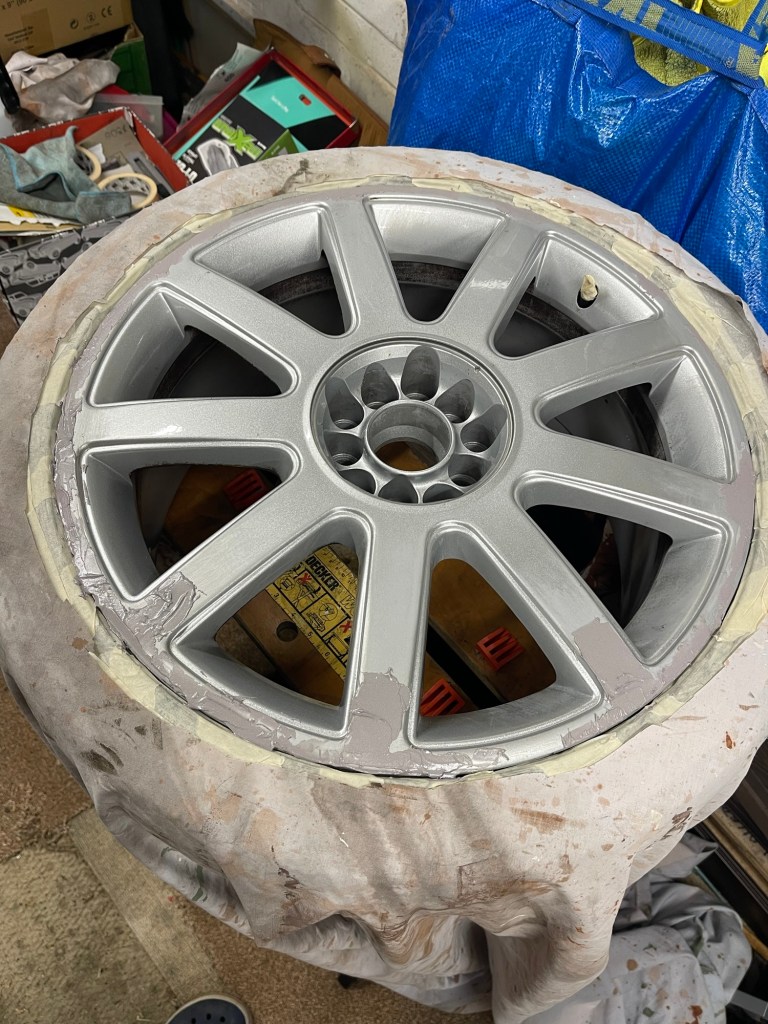
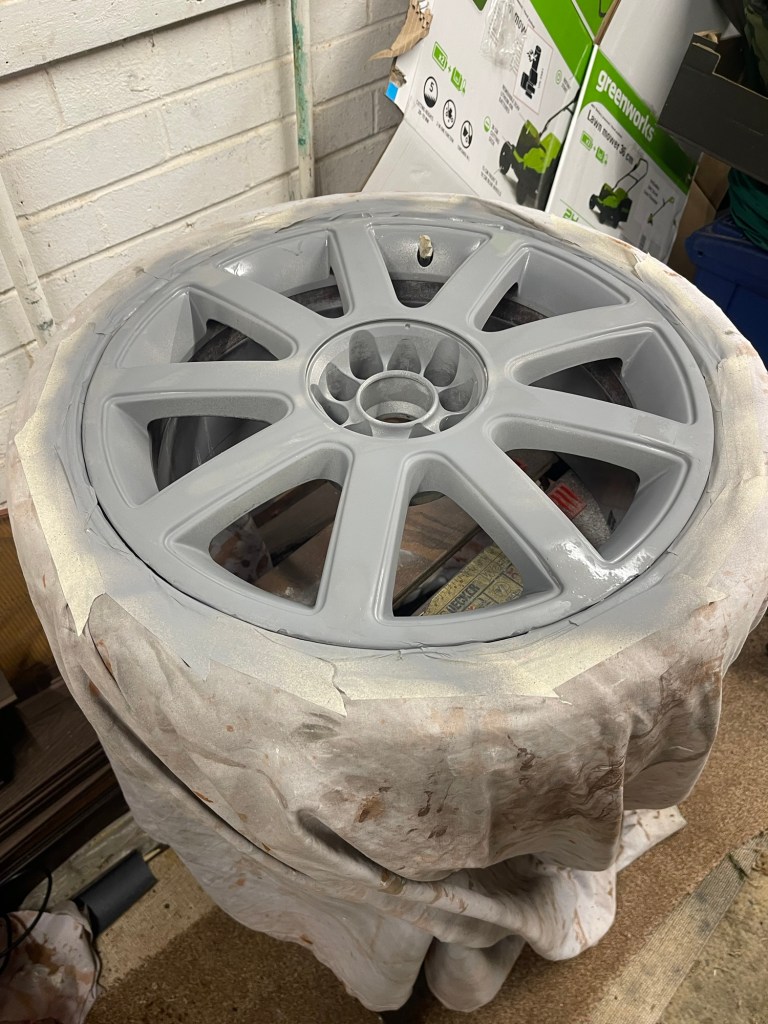
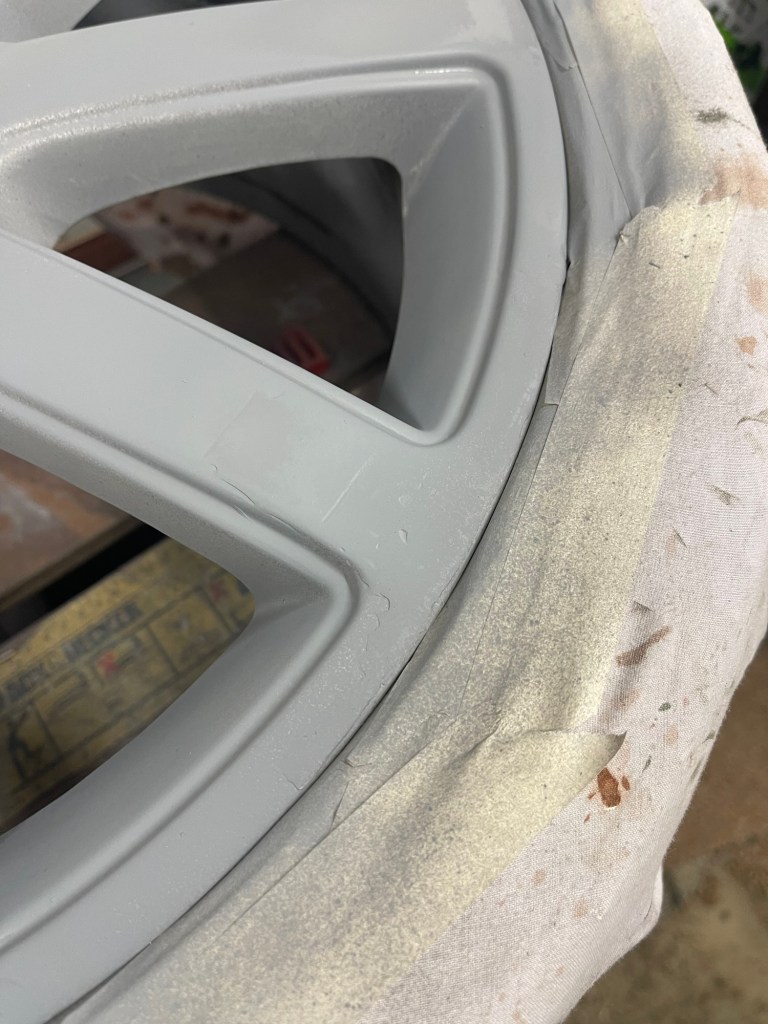
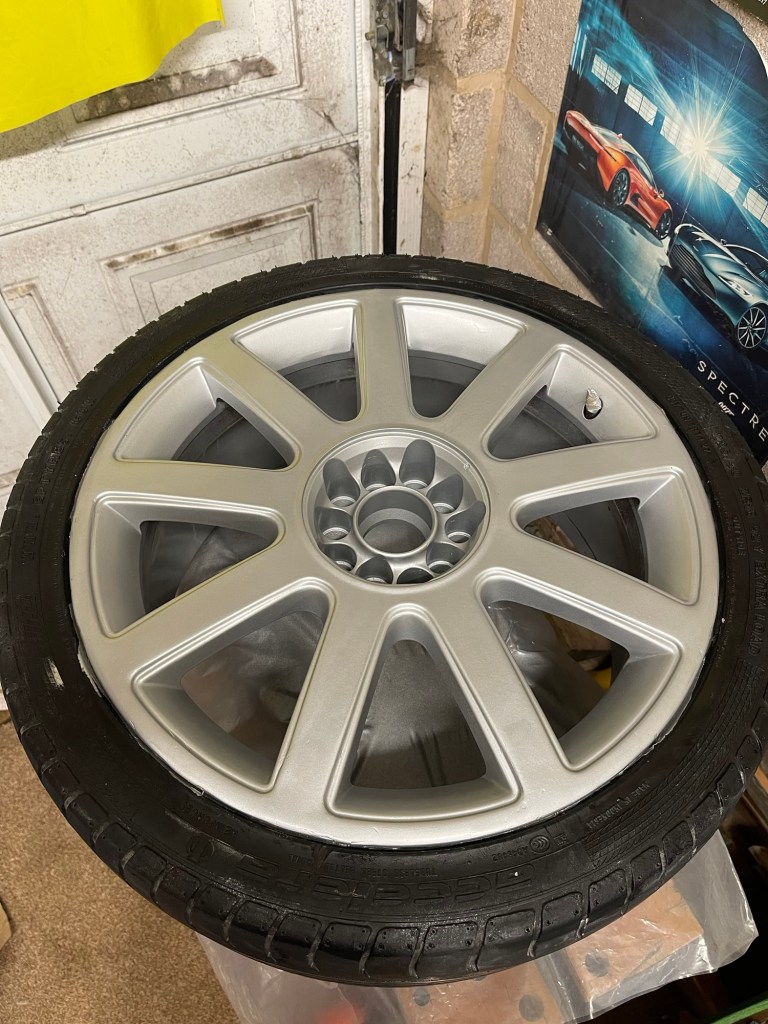
After several evenings sanding the filler I got to the point of just wanting to get some paint on it. I applied about four coats each of primer, colour and lacquer. I used a heat gun to gently warm the wheel as the ambient temperature in the garage was in single figures and after each coat I used the gun again to encourage the drying process. I was reasonably happy with the overall result which is less sparkly metallic than the professional finish from a paint gun, but not bad from a rattle can.
I wonder now whether I should have started with the ‘best’ wheel and aimed to improve technique as I move through the set, but I chose the worst instead. The next wheel I have lined up is a partial respray so I will need to learn how to blend the new with the old or just commit to a complete respray. Watch this space…
Wish me luck!


Well done, wheely good update.
LikeLiked by 1 person
Hi Ad, looks good, I’ll read the detail later on my computer ratter than this tatty laptop. Love Dad
LikeLiked by 1 person
Cant believe I’ve got three more wheels to go….!!!
LikeLike