29 Mar 19 Homecoming

This update is nearly a week late, but its been a busy time so this is the first chance I have had and maybe it benefits from a bit of reflection before posting anyway.

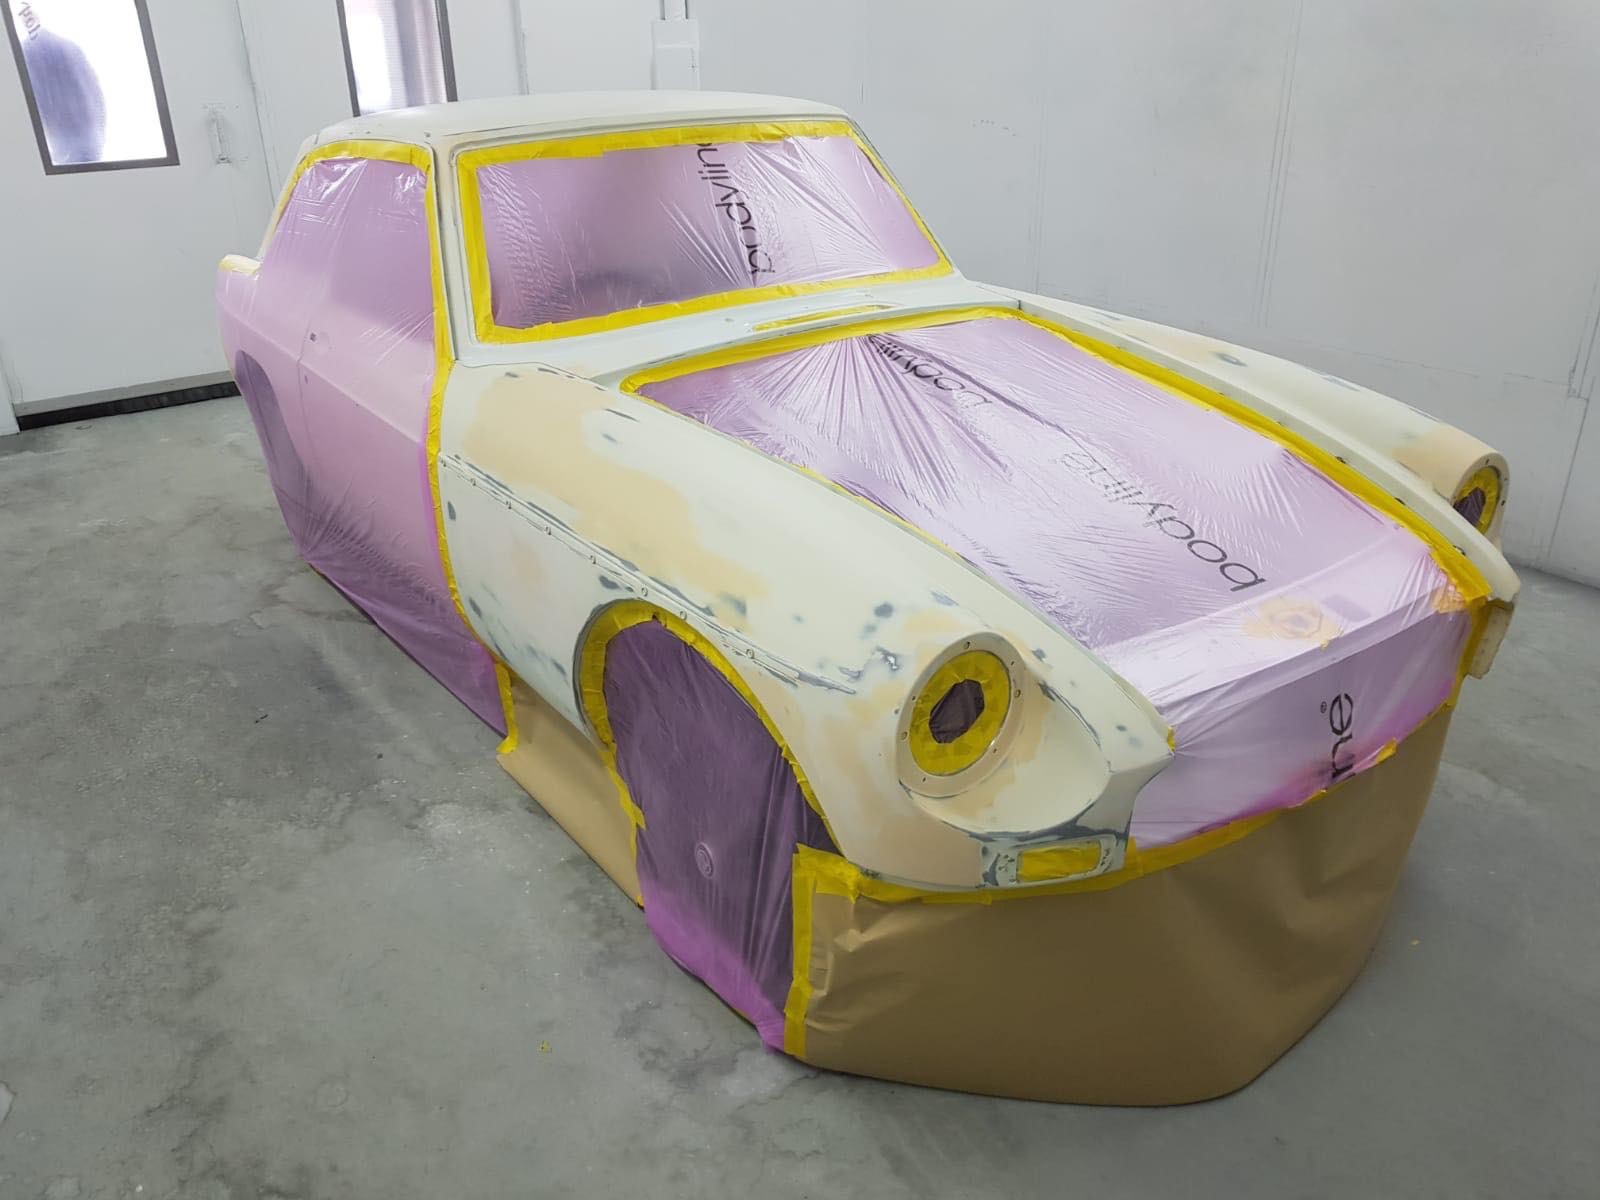
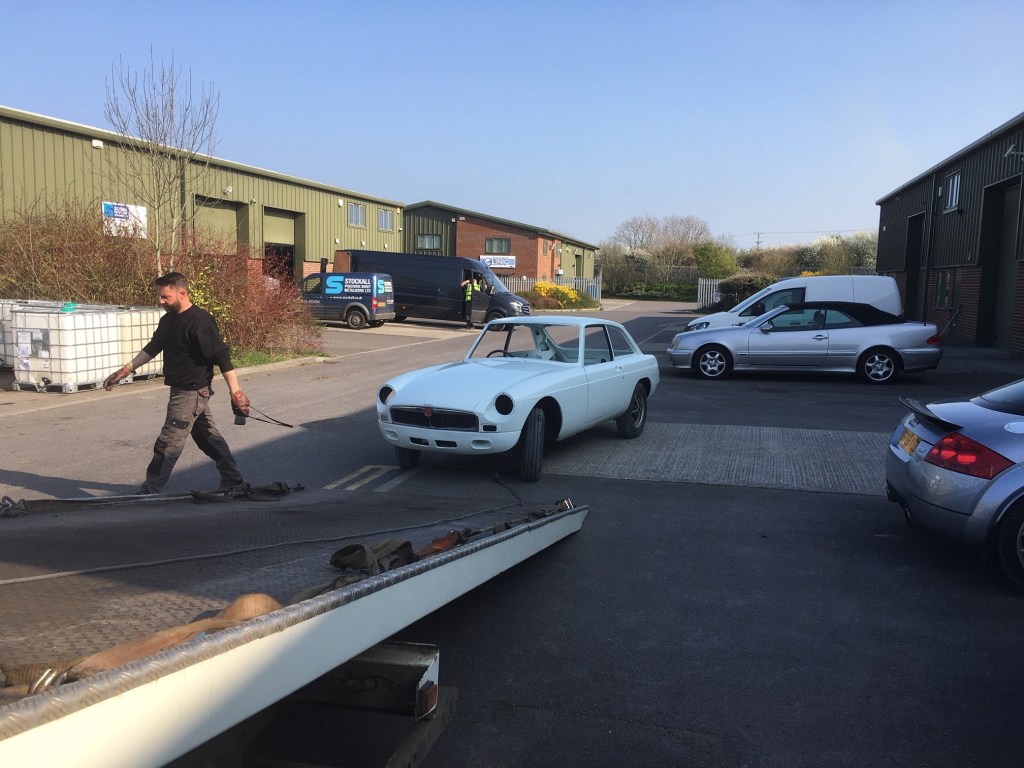
The MG is back home! The respray/body restoration is finally over and the car is back in my possession with its beautiful new coat of paint. I am really pleased with how its turned out and the way that the whole process with Gavin from Reef Paint shop went. Gavin was completely straight with me throughout the process and so its just as I expected, including the final bill. The car threw up a few challenges at the paint shop with misaligned panels and various parts not being willing to fit without a fight. its certainly made me realise that when buying a part restored car, you have to be sceptical about all the work previously carried out, because you just cannot tell from looking whether its been done right. In fairness, despite the challenges, the price I paid for the car still stacks up, so no regrets.

Here are some photos of the finished job, first at the paint shop

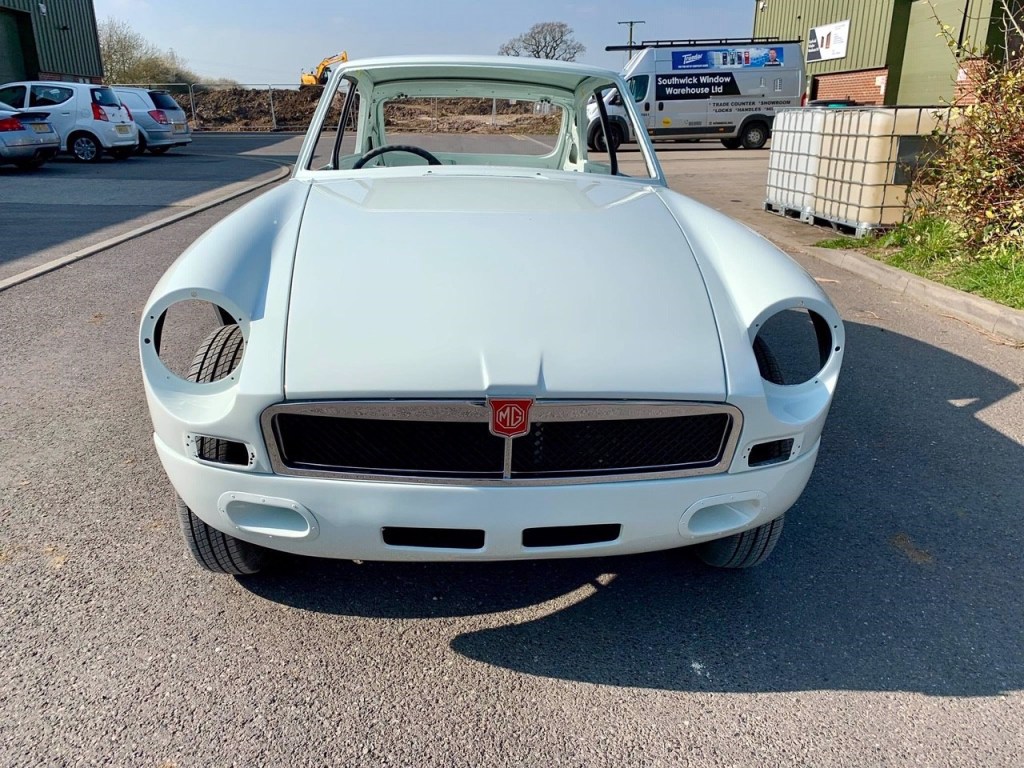
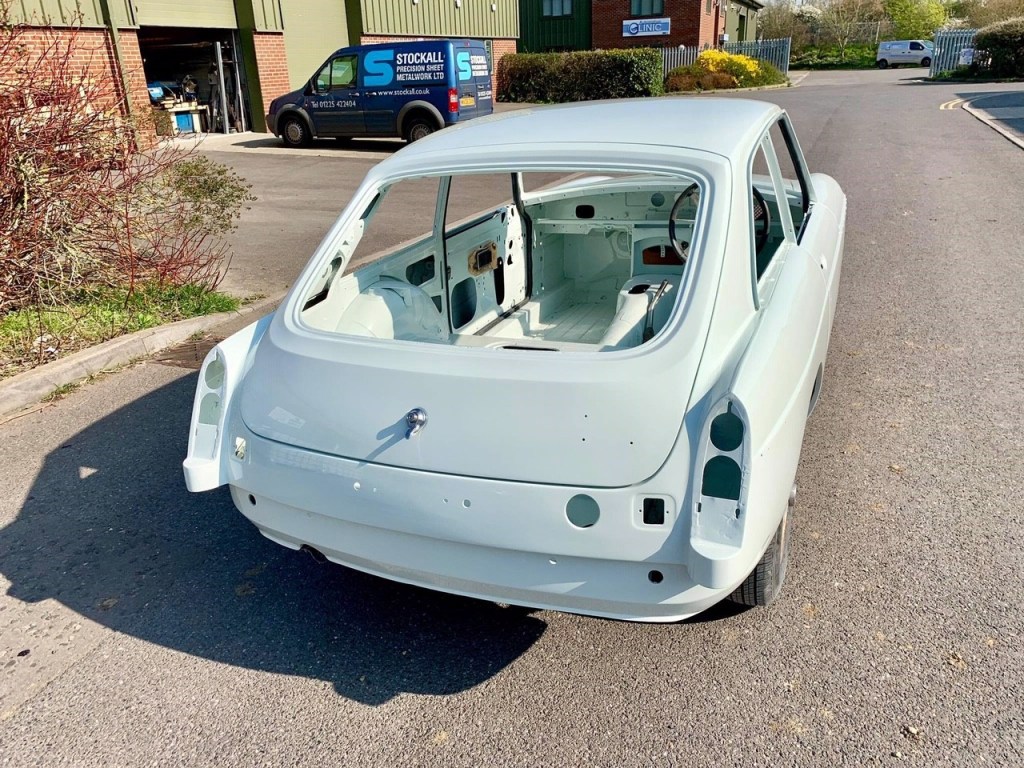
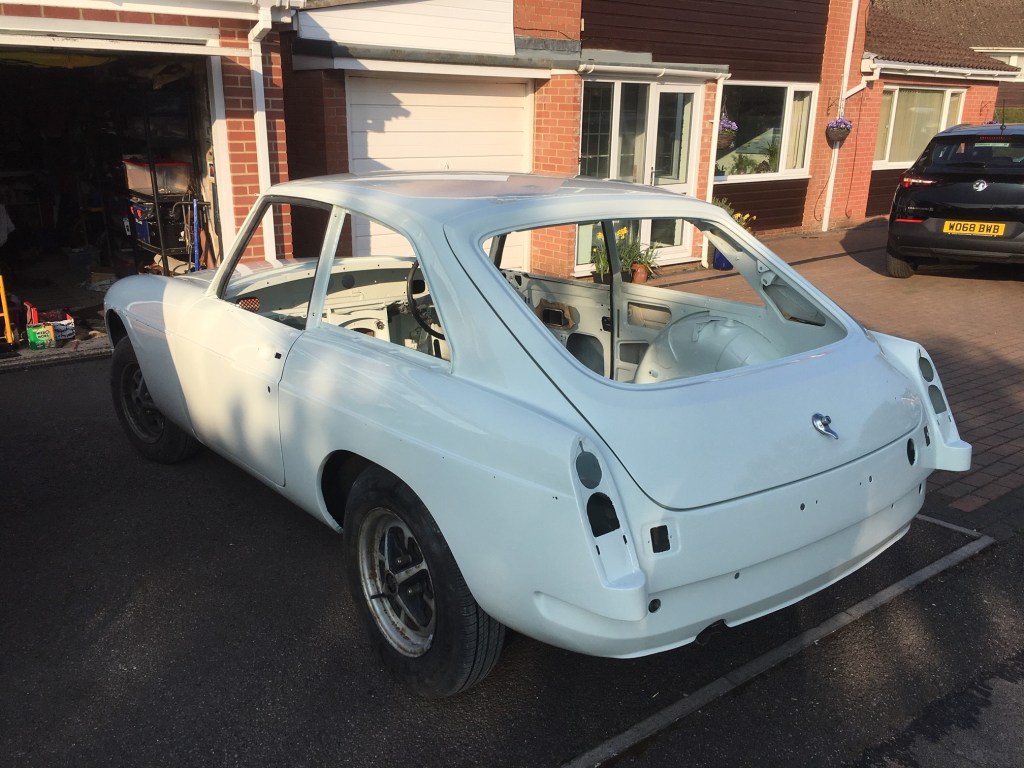
Next photos taken at home, I like how the sun bounces off the bodywork

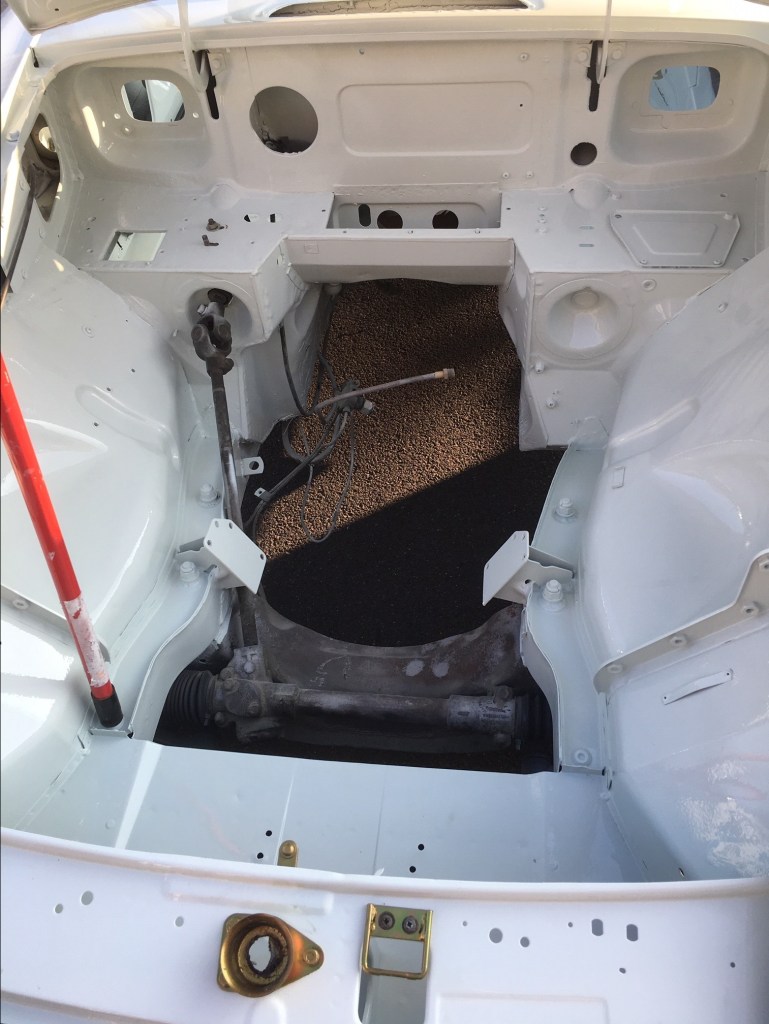
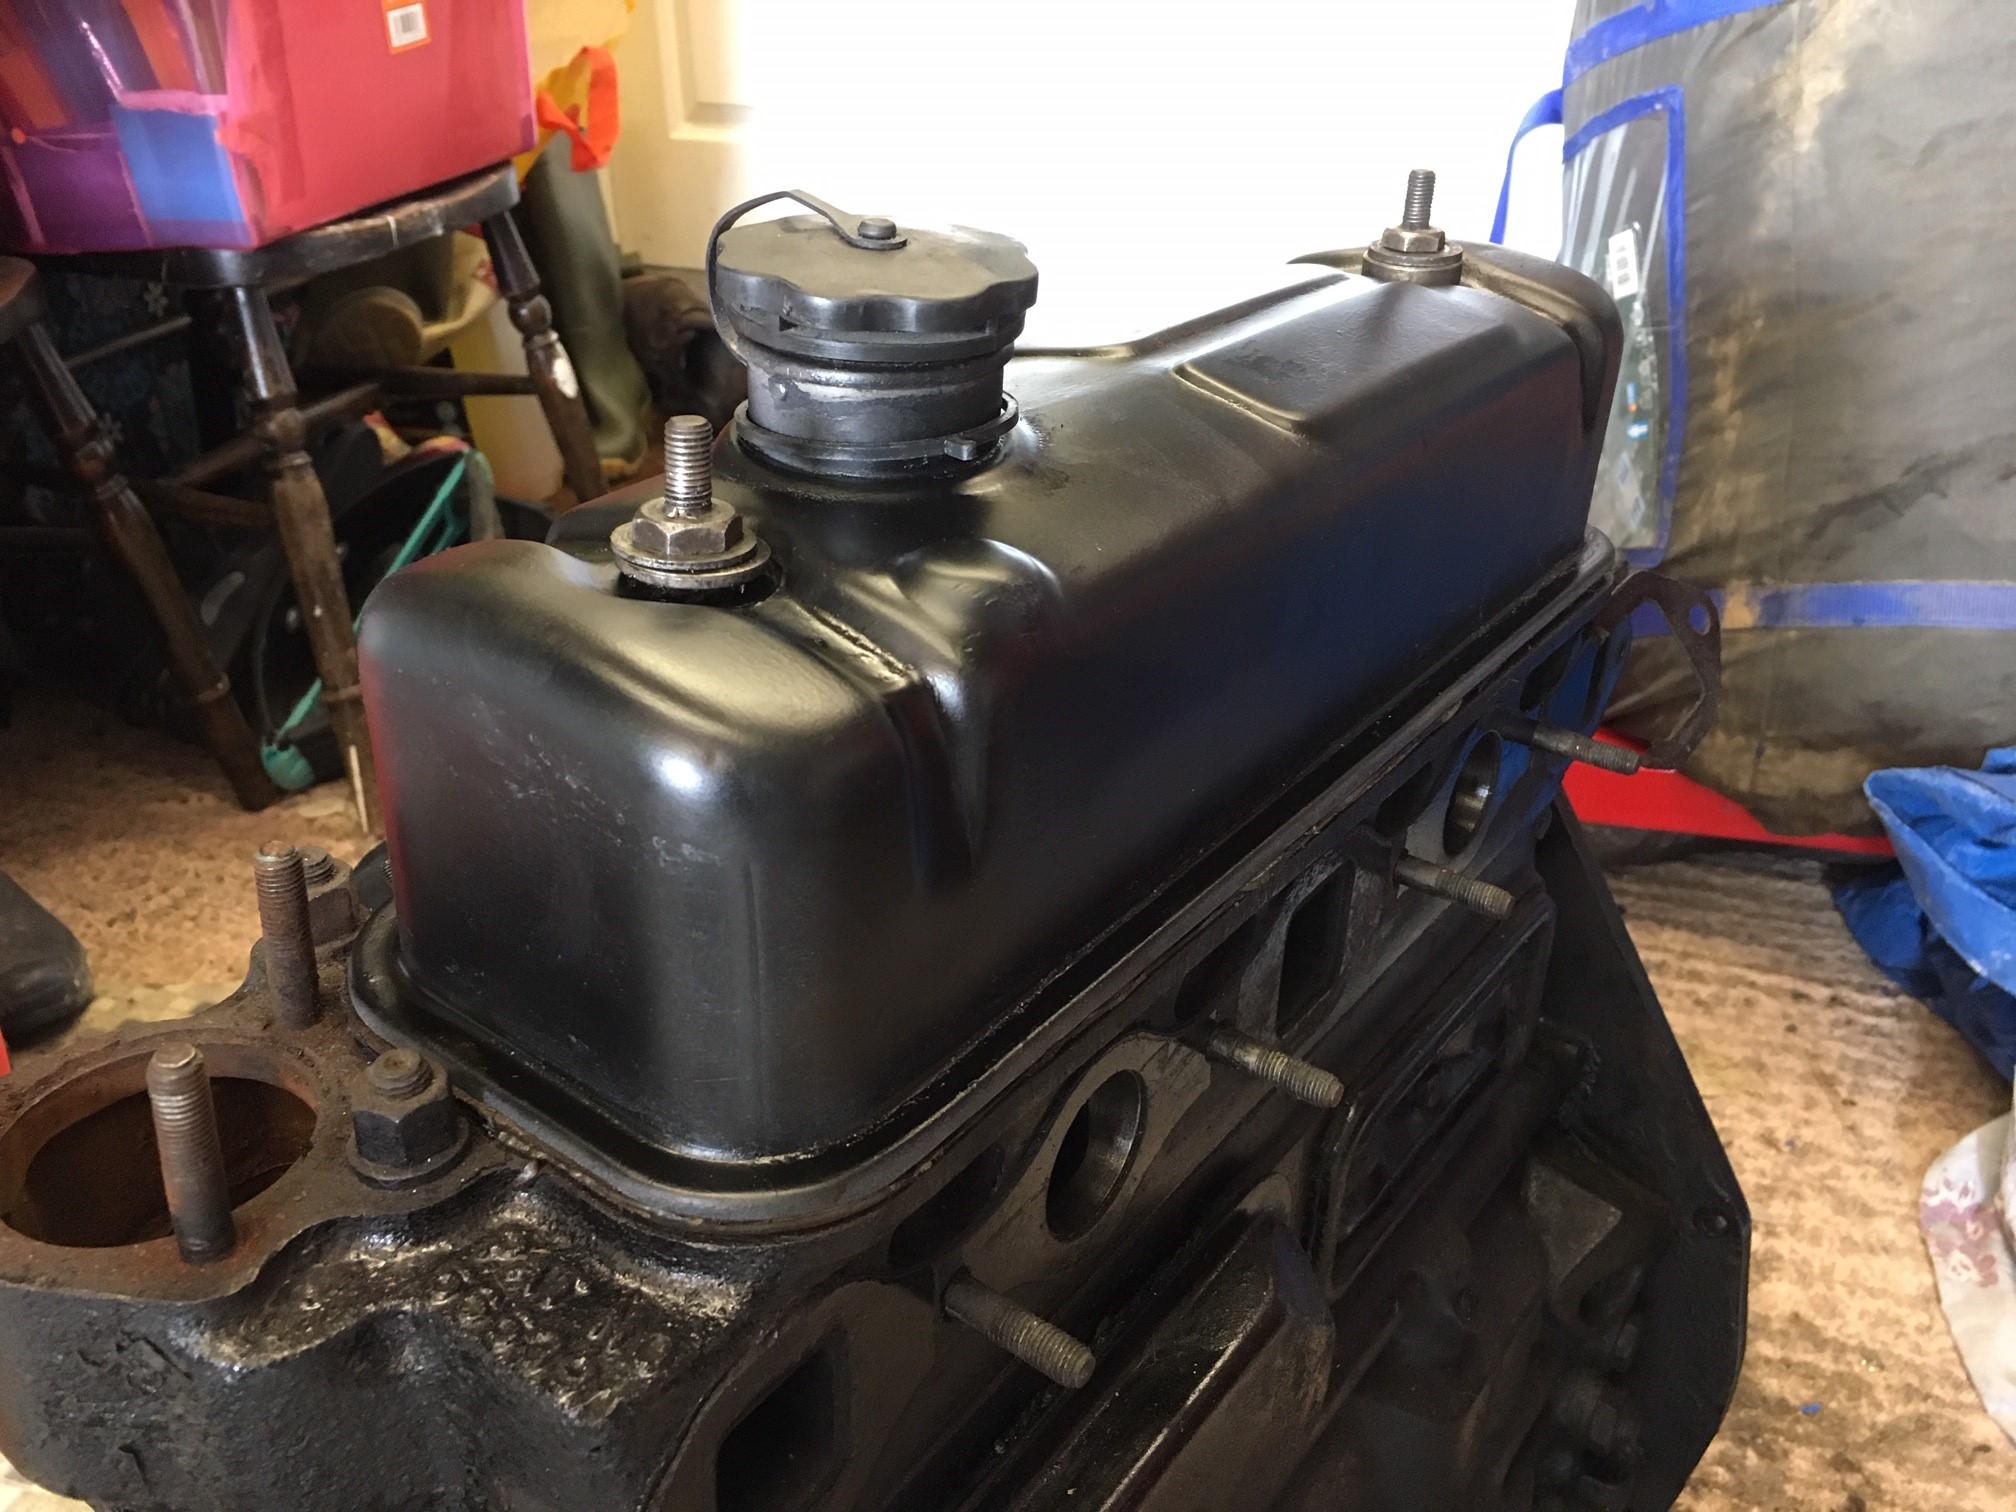
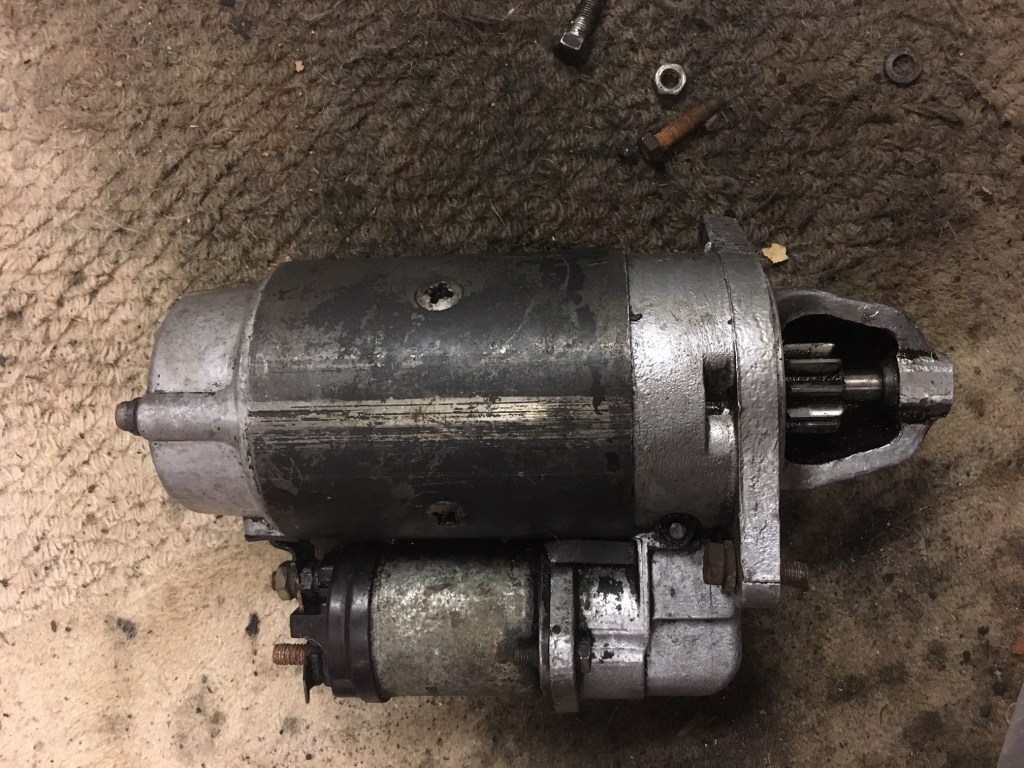
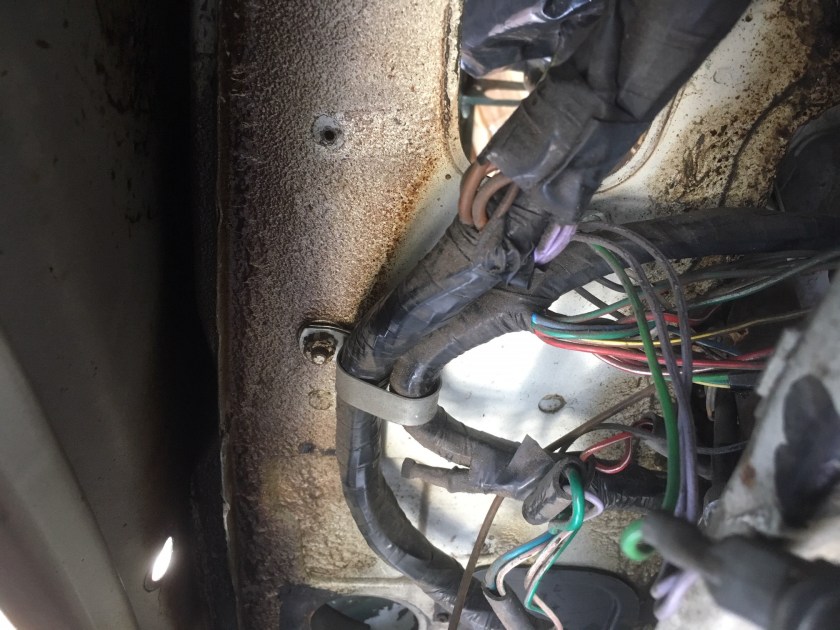
So there we are. Strip down complete, bodywork complete, the rebuild phase now commences. I’ve got some parts on order already (wiring harness, clutch) but I need to order some more to get really started including brake pipes, exhaust and cables to name but a few.

I rang Gavin earlier to discuss care of the paint. He advised that the paint will harden over the next few weeks so it just needs to be left rather than treated. Then, as its been machine polished, it can just be hand washed for some time without the need for any product.

Looking forward to the build phase!

23 Mar 19 Rocker cover

Lovely spring day in Chippenham, so I opened up the garage door and pulled on my overalls. I have now got a firm date for the MG returning from its body restoration, so not long now before the rebuild commences. I have a couple of parts which need to be freshened up including the gearbox cross-member and the rocker cover. I cleaned both items up with a bit of sand paper and had time to put a coat of etch primer on the rocker cover and then some satin black. For the minimal work involved, it came out quite nicely. Certainly it looks tidy enough to go back on car for now.

The gearbox cross-member needs a bit more preparation, then I might use up some of the wrinkle finish paint I had left over from the dash. The cross-member is quite exposed under the car, so a tougher paint finish probably a good idea.

Still debating what to do about the carburettors. Just give them a clean and stick them back on, or send them off for refurbishment. There are some nice little businesses which will turn them around for about £300, but that’s a big old chunk of money so I am a little reticent if its something I can put off – any thoughts?

23 Feb 19 Little steps forward

Earlier this week, working away in Cambridge, I invited Rob (friend and colleague) over to my place for dinner. I was clear about my motives, saying to Rob that I had homework for him to do. After a satisfactory curry, we sat down with the MGOC, Moss and David Manners catalogues and my list of parts required for the initial build of the MG and worked our way down the list comparing prices and working out which parts to order from whom and also what were the peripheral parts required. Helpfully Rob has extensive mechanical experience having raced TR6s for years as well as his back-catalogue of interesting cars. At 10pm we called a halt and were about 3/4 down the list, but it was a really useful session. Thanks Rob. I now have a schedule against which I can place orders, although I need to be sure I’ve got space for it all as it arrives.

I nipped over to see Gavin and Dean at the paintshop when I got back from Cambridge, to deliver door rubbers and to collect the faulty front valance. I also took over some donuts which went down well. I had ordered a new valance from Smith & Deakin, a specialist fibreglass company who do Motorsport parts. Hopefully this will fit better than the other item which I hope to return to Moss in due course for a refund. On Friday, Gavin posted updates photos on FB and it was good to see the progress that had been made.

I am really pleased with the work being done, the inner wings look especially tidy compared to how they looked previously. The identified problems are gradually being worked through and we are moving ahead.

This afternoon (Saturday) I spent a couple of hours in the garage sorting parts, adding to the junk pile and just generally getting my head around what’s ahead. For example, I plonked the gearbox onto the cross-member with the old mounts just to see how it goes together. I also removed the thrust bearing as I am going to replace the standard carbon item with a roller bearing version. That has to be the easiest part I have ever removed, two circlips to rotate and it couldn’t wait to come off. Nice to have an easy job for a change. I also trial fitted two more gauges into the dash just for fun. They have all cleaned up okay, but the acid test will be whether they work when they are all reconnected and I have my doubts about some so am prepared to replace what doesn’t work.

17 Feb 19 Sunday : Taking it easy

Treated myself to some easy time in the garage today. I had a grub through a few boxes and made a pile of parts which are not going back on – water pump, distributor, oil cooler and hoses. I haven’t decided whether to hoard these in the long term or just toss them. I think once I have rebuilt the MG I will cart them off to the recycling centre. It helped to thin out the piles a bit. I also sorted a few of the boxes a bit better – all the heater components in one place, that sort of thing because it didn’t all come off at the same time. I can then concentrate on one system at a time when I rebuild, that’s the idea.

I did take a couple of steps forward though. I trial fitted the starter motor which goes back in place very easily and I fitted the new water pump in its place, together with its new gasket. I realised in doing this, that I needed to get the pulley off the old water pump (I presume it comes off). The pulley appeared to be held in place with four bolts, which I did manage to get off, but they were extremely tight. As it was a 7/8 fitting, I was using my mini-socket set, which is great but it doesn’t get much leverage. I did manage to get them all off without rounding them off or snapping them, so maybe I am learning something here. However, this effort was not rewarded with the pulley separating from the water pump, so I will need to investigate further or consider buying new.

Attempting to remove the pulley from the old water pump
The new water pump in position
The Starter motor bolted back onto the engine

I also trial fitted the rev counter, speedometer and choke knob to the dashboard just for fun. First I dug out the dashboard cowl (a plastic item on this MGB) which needed a good clean and then treatment with an Autoglym trim product which feeds the plastic and makes it all black and shiny. I fixed the cowl back in place with the original screws which I HAD CAREFULLY stored when I removed it. It amused me that the cowl had been such a pig to remove when I had done this in the summer with the dash in place, so needing me to feed my hands through behind the dash. What a muppet I was attempting that, anyway, lesson learned and that all part of the fun. The grazes to the back of my hands have healed up anyway so no harm done!

Trial fitting the gauges

So that’s it, barely an hour’s work in total, but it was nice to just take my time and the rebuild is all about putting back new, or at least cleaned up stuff, rather than the strip down which was about penetrating years of grime. Working for the rest of the week, so no progress on the MG although I’ve got some researching to do and purchases to ensure the paintshop can continue to progress.

9 Feb 19 Small steps towards the rebuild

While the MG is away being resprayed, I am preparing what I can ready for re-installation. For example, the exhaust manifold was sand-blasted so needed painting, so I got some shiny silver VHT (Very High Temperature) Paint and gave it a blast over. Its rated to over 800 degrees so should be okay on the exhaust. It will look great in the engine bay!

The manifold didn’t look like this when I first got the car!

Rummaging through the boxes of parts I came across the chrome strip that goes across the fascia, so I cleaned it up and refitted it, along with the lock which I found in another box. Pleased with how this looks and I will be gradually adding other bits to the dash over the coming weeks. While I was sorting through the parts, I also dug out the face-level vents which were quite dirty, so I washed them up and put them on the kitchen drainer. Later Helen enquired as to why there were car parts in the kitchen leaving grubby marks on the drainer and pointing out to me that we had a sink in the utility room for such purposes. Point taken.

The glove box looks great with its chrome strip back

Final bit of progress today was a thorough clean up of the starter motor. I applied a de-greaser and then rubbed off the grime with cloths and a bit of poking with a blunt screwdriver. I then attempted to fit it back on the engine, but unfortunately I couldn’t locate the correct bolts. I did find some likely looking bolts which were very rusty, so maybe it would be best to buy new in this case.

The cleaned up starter motor, ready to refit

So some small steps today, but it all represents forward progress. I heard from Gavin at Reef that they hadn’t made much progress this week due to other work, but I’m not bothered as I’ve got plenty to be getting on with and with the Cappuccino back outside under its cover, I have the whole garage in which to work. Tomorrow I am going to the MG and Triumph Spares day with a long list of things to look out for (if not actually buy), so I am looking forward to a fun day, and Phil is coming too.

9 Dec 18 – Final respray prep

Gavin from Reef visited to inspect the MG and to agree details for the respray. The bad news is that his schedule means we have to put the respray back until the first week of January, not mid December as I was planning. The good news is that gives me a bit longer for some final preparation. First job is to remove the wiring loom. Gavin advised this because no matter how well you protect the loom, there is always dust that gets into the connections and there is a danger this may affect systems during the rebuild. The advantage of removing the loom is that you can inspect it and deal with any defects in the garage before refitting. Second job is to remove the front wings. This is to ensure there are no nasty surprises under them (e.g. rust) and also to make it easier for panel removal at the spray shop. Anything to make the job easier is to my advantage, especially as I have asked Gavin for the sand-blasting company to blast a few loose components at the same time. The wings are bolted on, so removal is relatively simple, although I can expect some fun and games with the odd rusty one I am sure. Before I had the car, repairs were made to the front wings, so they have come off relatively recently (in the last five years or so), its not as if we are going back to production in 1974! That’s the main jobs, I also need to arrange transport, order a front valance and do any final tidying up of sheared bolts and so on. 

Gavin was really positive as always and it is exciting to now have a date to work to for the respray. 

Today I rolled the MG out onto the drive and loosened a couple of bolts, one of which clipped the loom to the under-dash and the other which was an earth for something or other. I didn’t really have much time, but I had a good look where the loom from under the bonnet enters the car through the firewall – there is an intact grommet which I will have to remove and I have heard that its a tight fit to feed the cables through, just a matter of being patient I think. 

I also took the Suzuki Cappuccino out for a spin. The Cappuccino is stored under a cover for the winter, but as it was a dry day and with recent rain meaning any salt had been washed from the road, I took the opportunity to exercise the car and check everything was okay. The Cappo started first time, as usual, with a little more screeching from the pulleys which is normal when it has been left inactive. The rear brakes stuck on a little, but otherwise she warmed up nicely and drove fine. The disks had some rust but this cleared with a couple of pushes of the brake and otherwise everything was working. It was really good fun to have half an hour in the Cappo, it’s such a nice car to drive with great handling at moderate speeds, light and direct steering and that revvy little three-pot engine singing away up front. I filled up with fuel as I have heard this can prevent corrosion in the fuel tank and then put her back to bed again under her cover after a cooling down period.