Beetle Progress Report

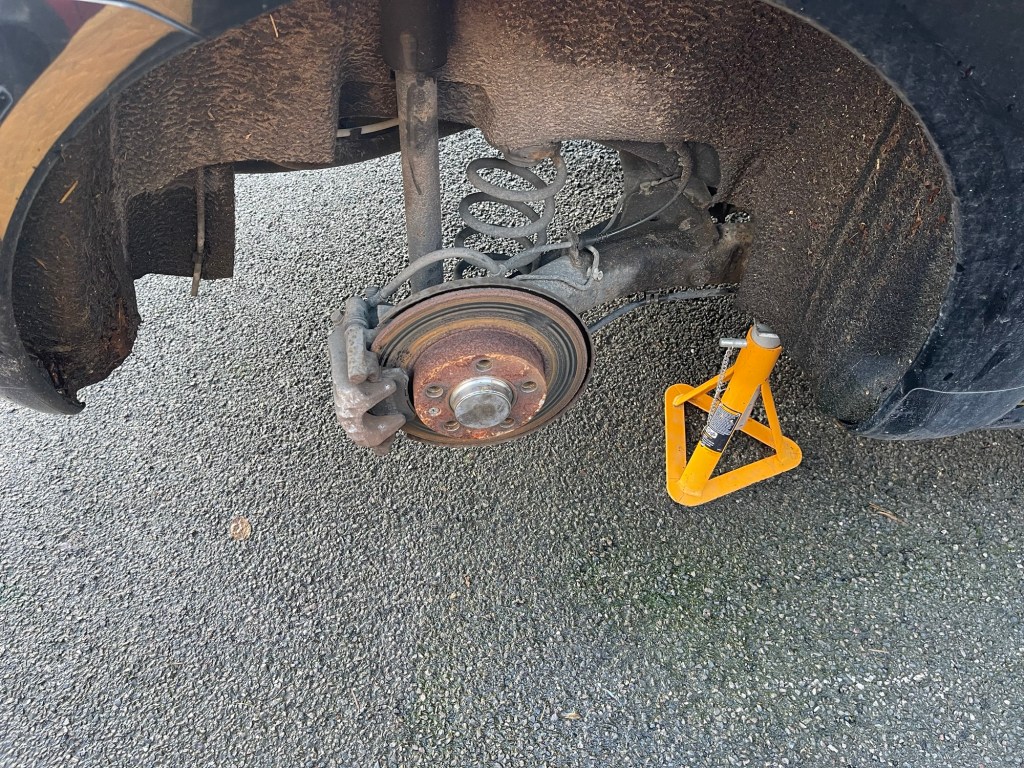
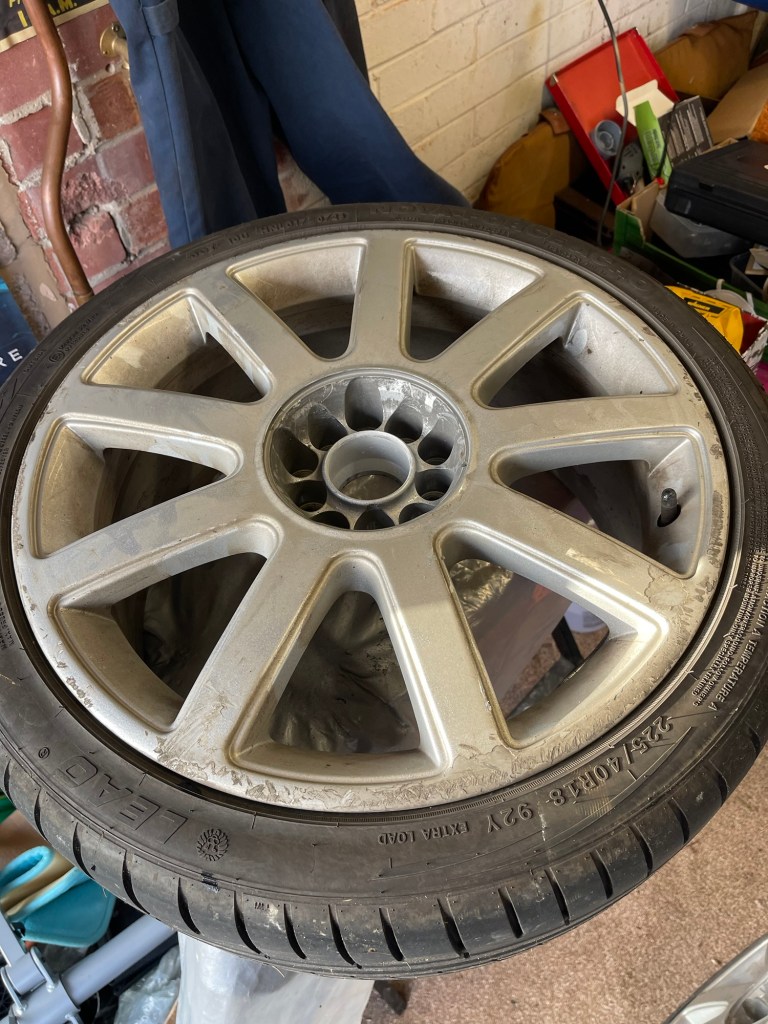
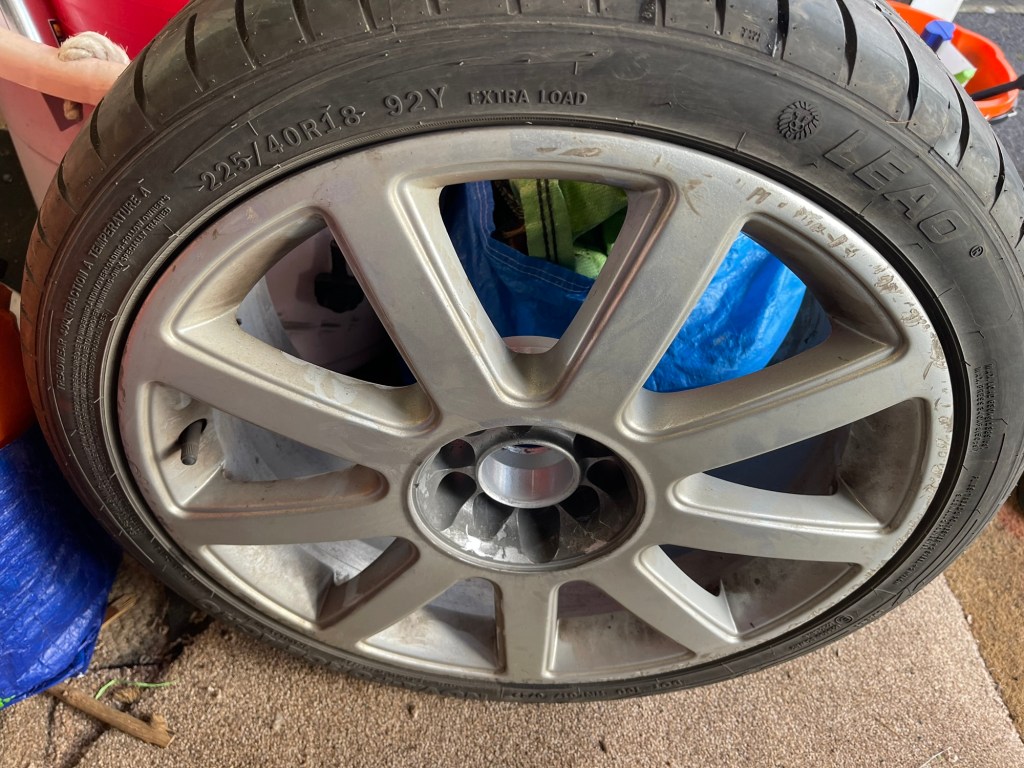
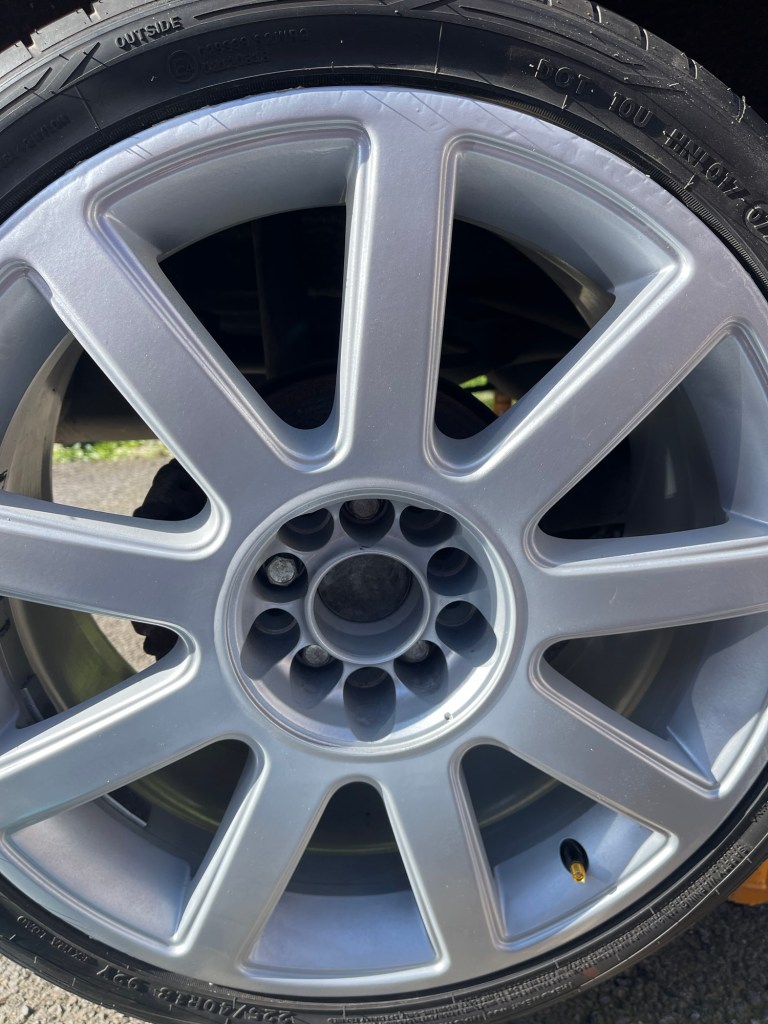
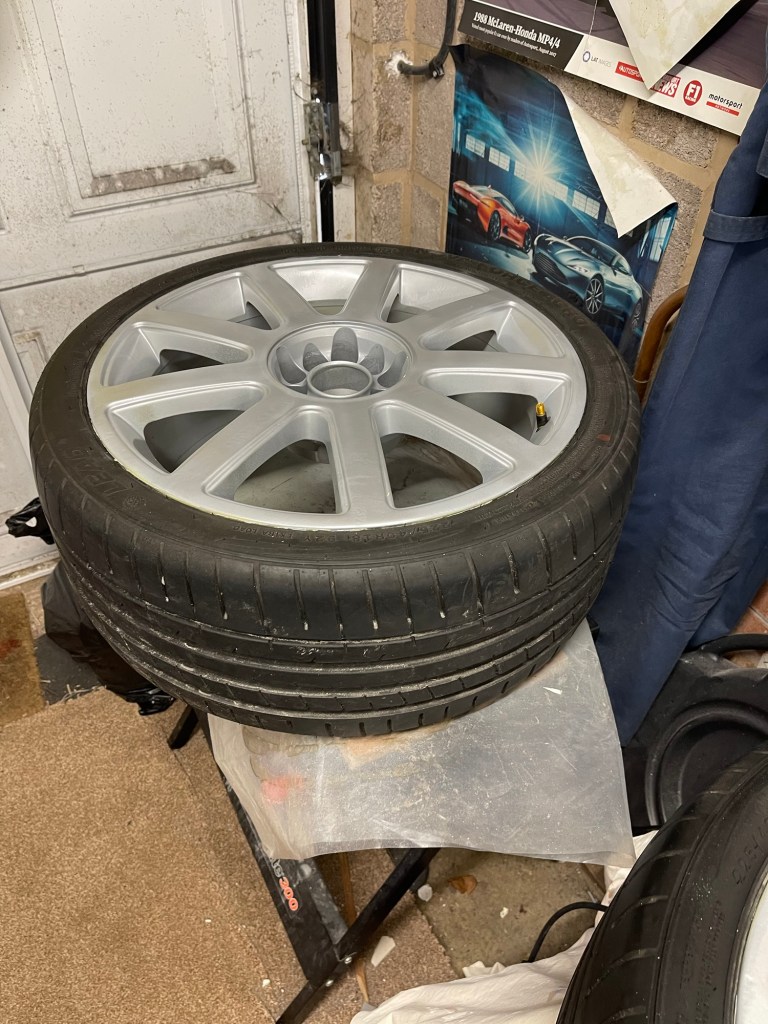
I managed to finish my repaint of the rear wheels through the week so first thing this morning I removed the last of the masking tape and refitted the wheels. There’s a nack to putting a large heavy alloy wheel on with studs and I started to get there today, with it between my knees and shuffling on my knees to ease it onto the stub at the same time threading one stud to secure it.

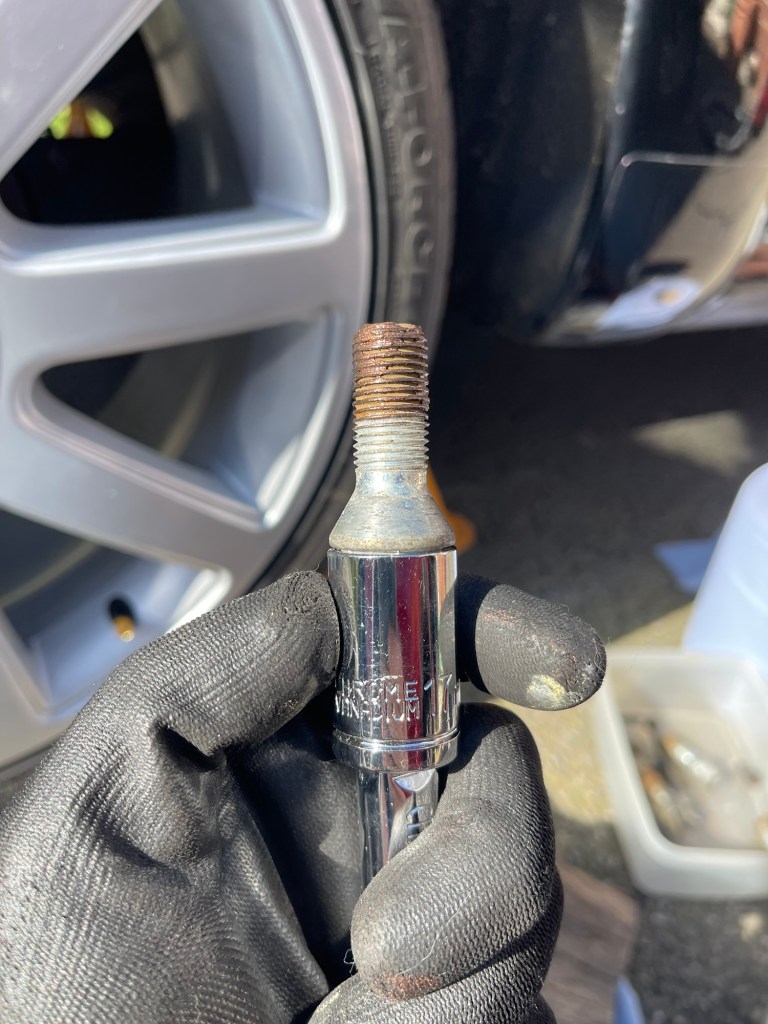
Given the aggro when removing the wheels (one broken wheel wrench) I applied a little Copper grease to each thread on the rear wheels. Then I had to remove the front wheel studs one by one to grease them. So that’s 16 studs I greased and then had to retighten to the correct torque with my torque wrench. I really do sometimes question my life choices and as I’m selling the car will anyone really care.

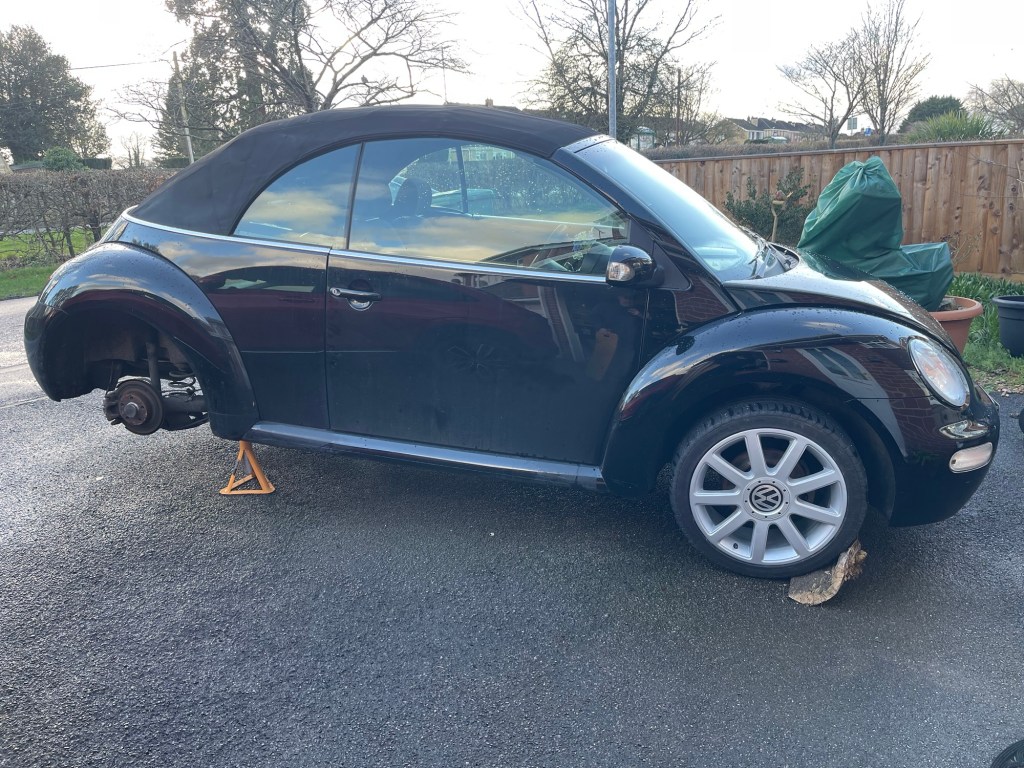
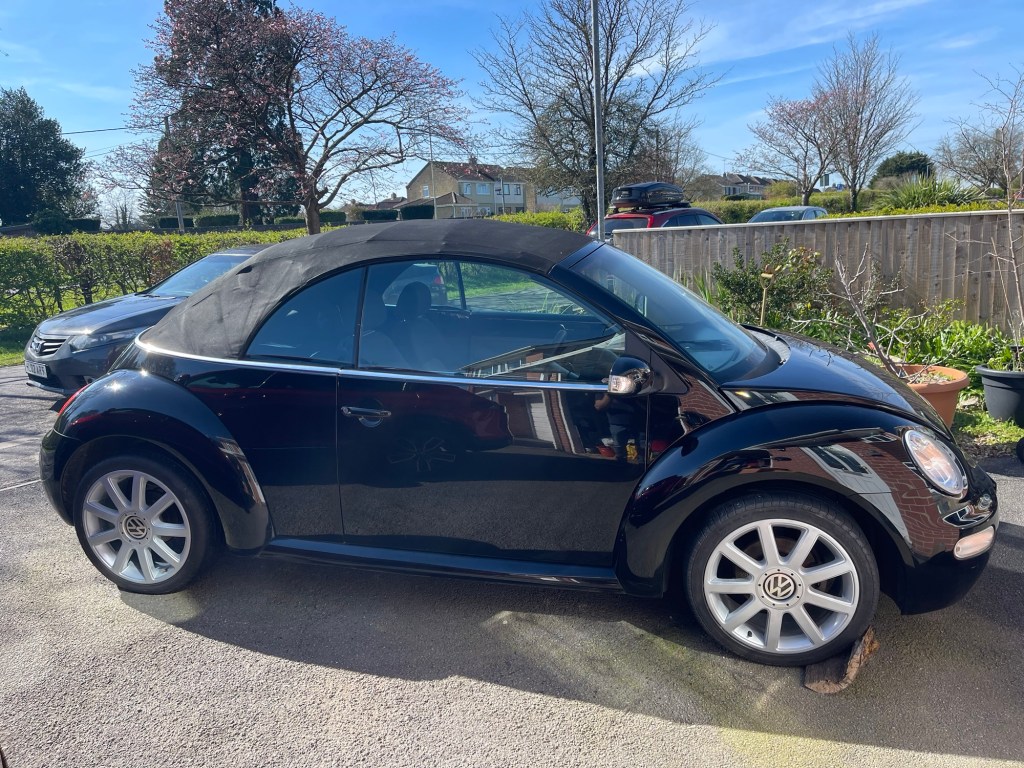
Anyway, a few mins of a puny compressor had both rears inflated and the Beetle was once again in its own four wheels.

I am never ever doing alloy wheels myself again, it takes such a long time and is very fiddly. The results are pretty average versus the effort but as this is a budget job it will have to suffice. The car sadly is not worth enough to send the wheels away for refurbishment.

In between doing this I had given the bodywork a quick once over with a spray on cleaner that you can use dry. This was just to give it a bit of shine as it was looking a bit sad.

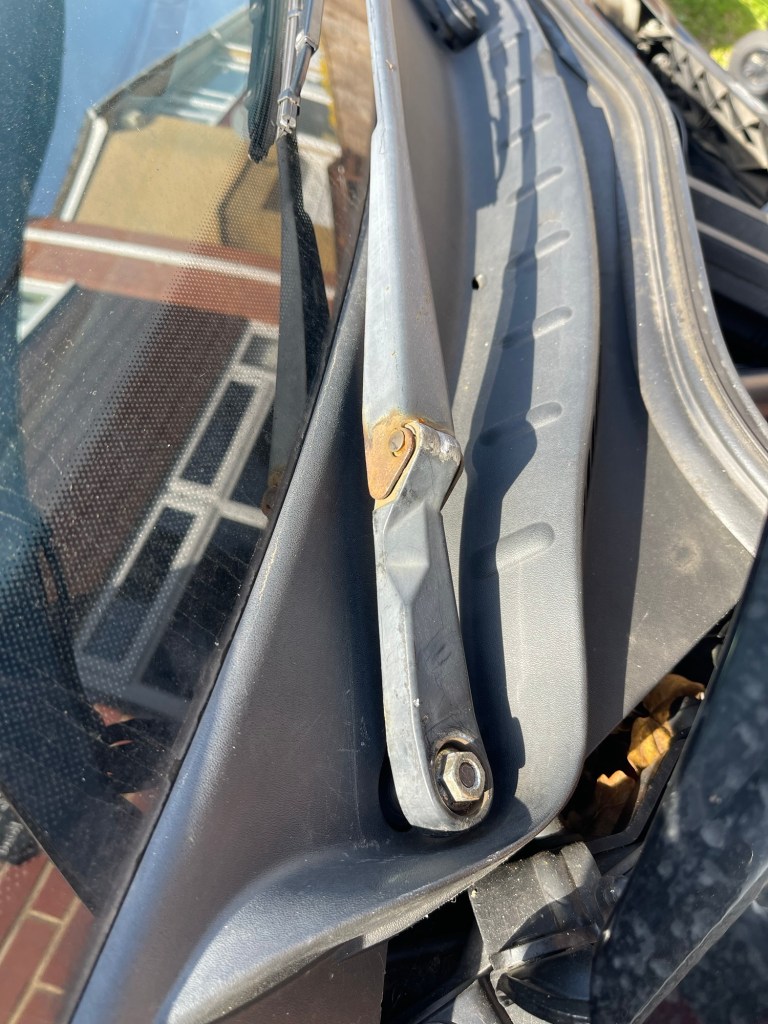
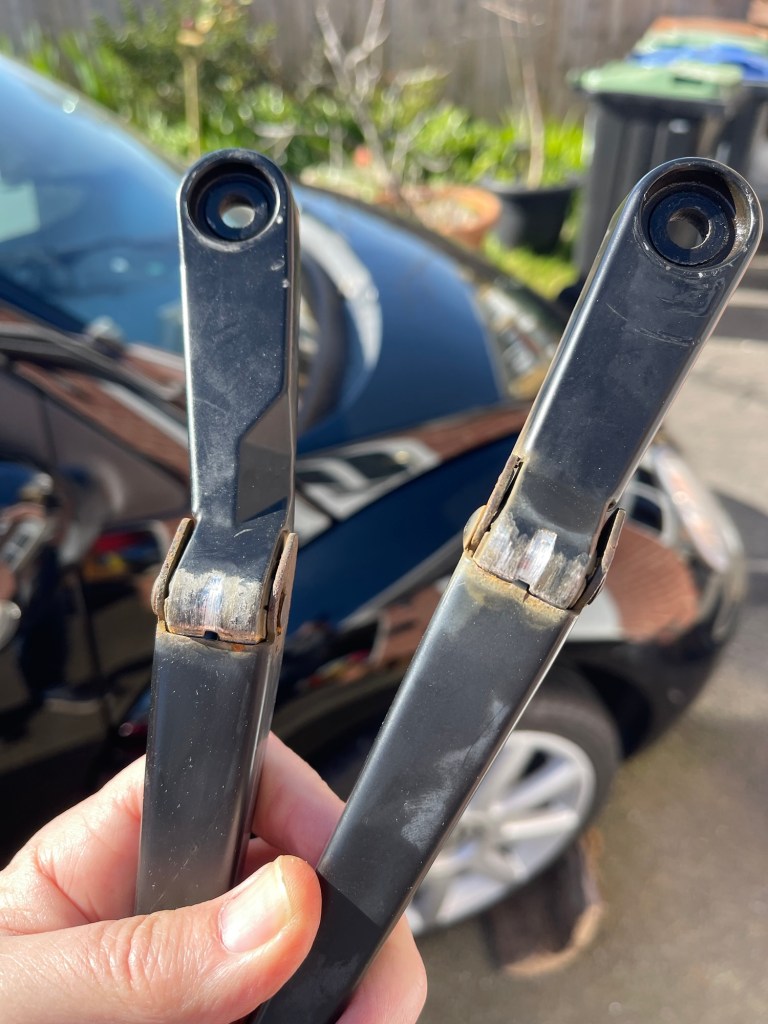
Next I removed the wipers arms which are in a rough state. The sprung mechanism is worn and so it’s scratched itself to bits. To begin with I’ve oiled it but I may need to replace as I can’t see a way to repair them. New units are over £60 so I will see what can be had second hand.

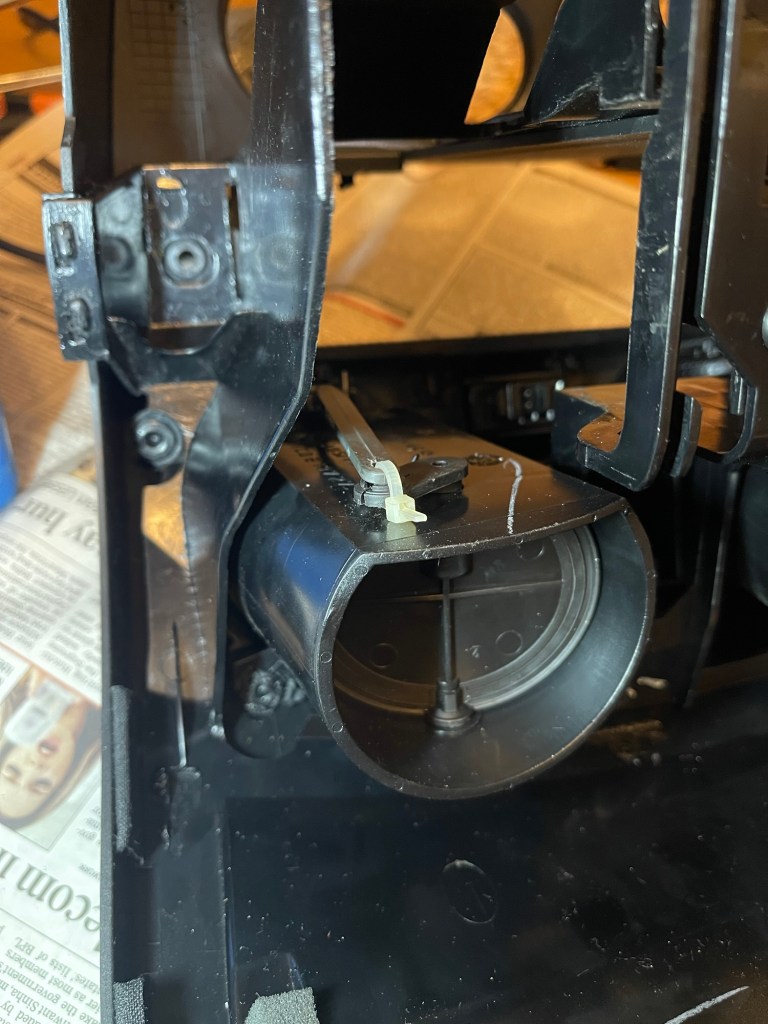
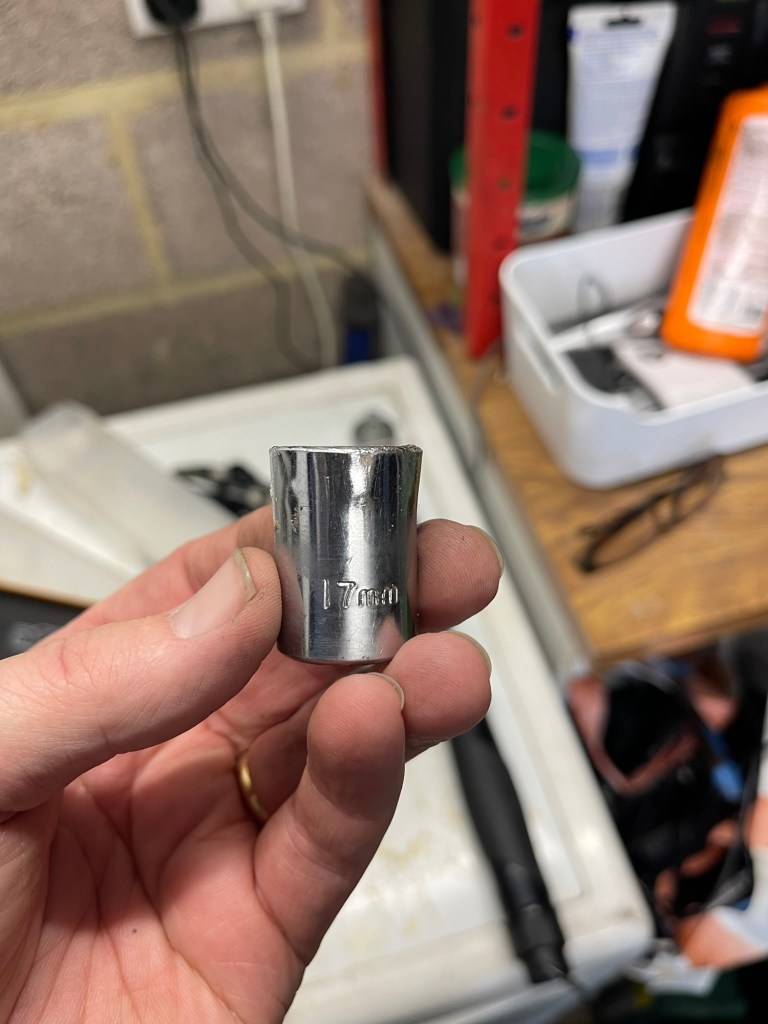
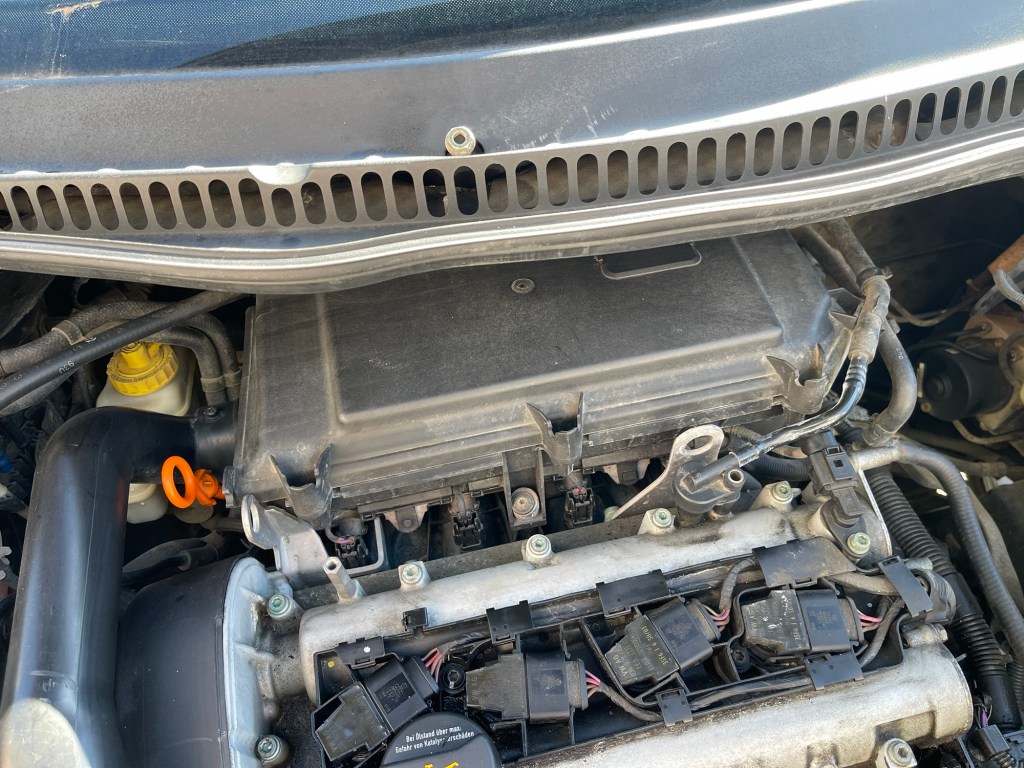
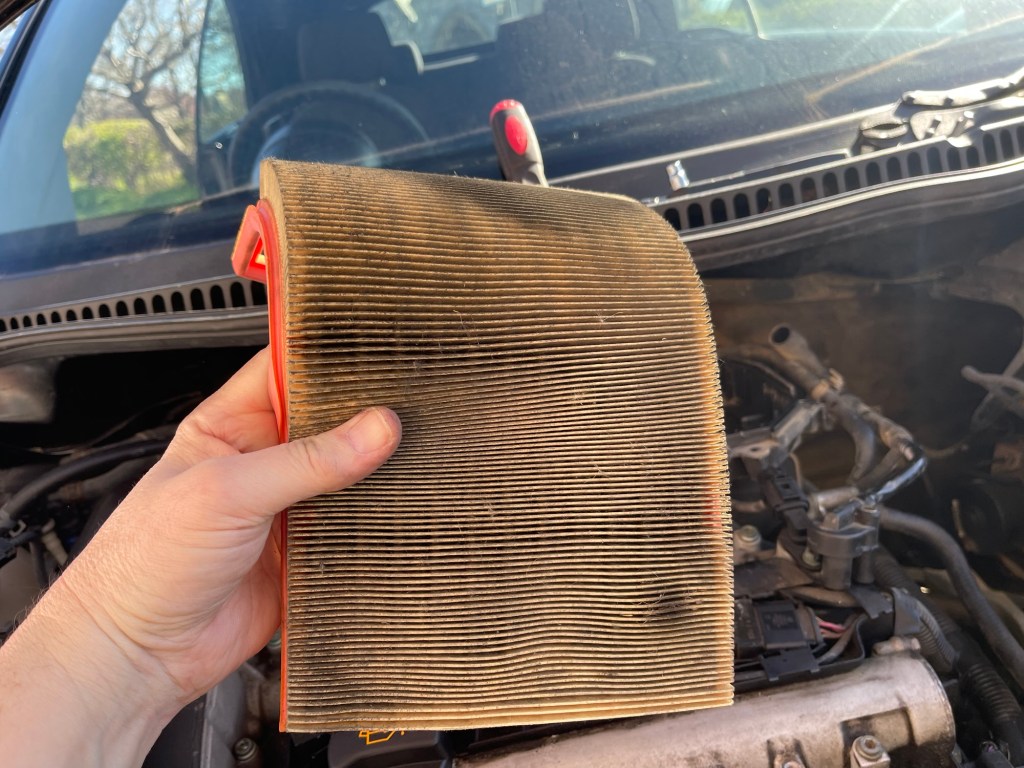
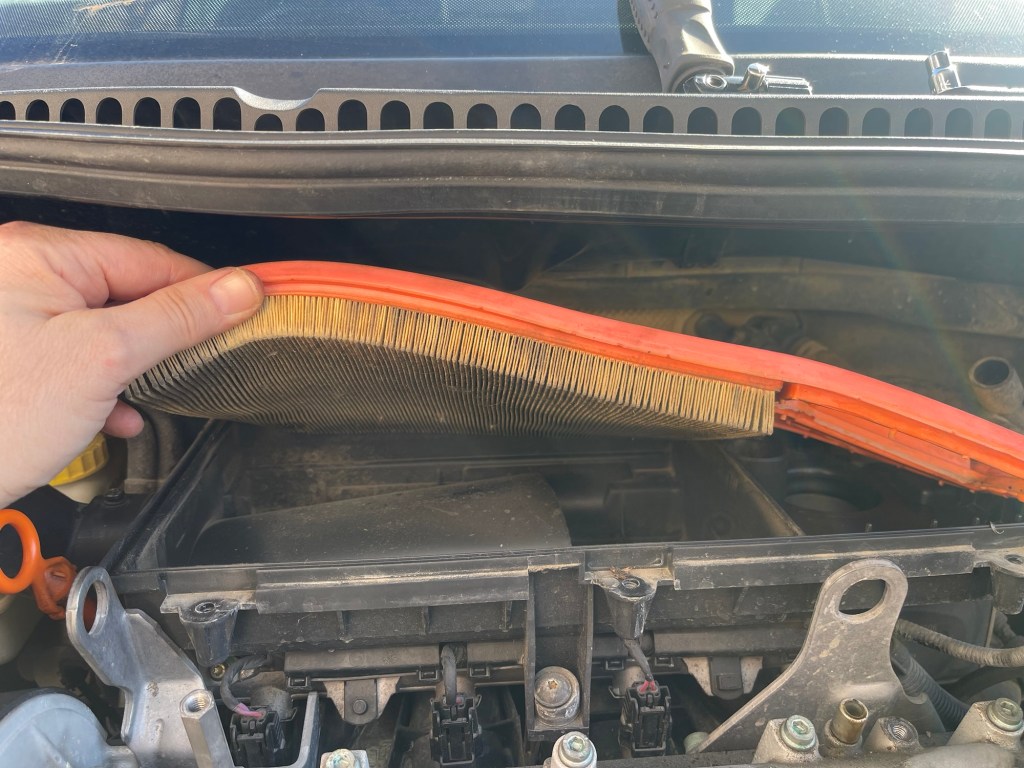
As I still had some time I explored removing the air filter which is at the rear of the engine bay tucked under the scuttle. This means that the front three screws come out easily but the back two are very awkward. I tried a few different tools, eventually finding that my screw bits fitted a socket in my mini-socket set and that gave me a low profile screw using the ratchet. I was impressed with myself for my ingenuity! I was glad when the air filter was found to be dirty because that justifies the effort in removing it. I’ll order a new one online.

Unbelievably that little work took most of a day but to be honest I was just doing it all for fun really and just enjoying being outside in the sunshine. Oh – I did clean the interior of Helen’s car as well so not that unproductive!

Beetle Report: Dashboard

One of the face vents on the Beetle had ceased working a long time ago and with me also wanting to replace the hazard lights switch which is in the same panel it was time to tackle the not uncomplicated task of removing the central dashboard panel.

First you have to remove the front top panel which simply slides out and lifts off to reveal 2 x screws. At the bottom end there is a switch panel which comes apart with a combination of push fit and screwed fittings.

Next to remove is the radio and I’m going to give the short version here. I used two special keys which slide into slots on either side of the radio unit which unclip the radio and allow you to pull it out and disconnect it. I made that sound simple. It wasn’t.

This reveals the final 2 x screws which enables the panels to be removed and all cables disconnected. Only the panel doesn’t want to come off. Something is keeping it on – it comes so far then stops fast. Mmm. A wiggle. An exploratory tug and the brittle plastic creaks ominously. more perseverance, a few different angles and I can ease the panel off – phew.

Panel removed I can clearly see the snapped lever which operates the face vents. Later I try to screw it together and end up drilling a tiny hold and using a small cable tie. Not elegant but effective.

I borrow some long nosed pliers from a friend to free the hazard switch and order a new one online. It will be funny if the new switch doesn’t fix the clicky indicators….! (An internet search diagnosed this as the problem).

Watch this space!

Beetle Report – More Wheels

A brief easing of the relentless rain and a spare hour or two gave me the opportunity to pay some attention to the Beetle. First job was to inflate the two front tyres which had been deflated for repainting and torque the studs, duly completed with my trusty torque wrench. There followed a brief test drive around the estate during which nothing fell off.

Giddy with excitement I went to loosen the rear wheel studs which had apparently been put on by an ape. Hmmm. I was using my old wheel nut wrench with its useful extension which usually has the upper hand, but after loosening each nut by standing on it (approx 98kg) and breaking the bond with a rifle like crack the poor old wrench was split. Damn. As was my 17mm socket which was pretty stretched. Damn. Fortunately not my best 17mm socket.

Anyway the rear wheels are off and ready to refurbishment in the garage, then I will have a matching set!