So today was looking good to get the MG started. I borrowed a fuel bottle from my friend John and made a list of what I had to do. First job was to connect up the oil gauge pipe. This was relatively easy although now I look back at it, I have routed it through the same hole as the temperature gauge pipe so that will need re-routing – doh! Second was to disconnect the fuel pump because I was going to use a fuel bottle to feed the carbs, not the fuel tank (not wanting to leave fuel in the car for a long period). I also placed a bolt in the inlet manifold in lieu of not being able to connect the vaccum advance hose. I haven’t been able to work out how this works to date, but I figured the MG could start without the pipe in place. So far so good. I then attempted to connect up the ignition switch which proved to be more difficult than I had imagined because the terminal were not clearly marked so I had to guess which was which. I connected the switch in what I assumed was the correct way and proceeded to connect the battery. This is where things began to unpick somewhat. Dad has given me a foolproof way of testing the loom before proceeding to connect the battery. This involved using a test lamp and the idea was that if the light came on, the loom was not correctly connected in some way and had a ‘dead short’. Anyway I performed the test and the light came on, but I proceeded to connect the battery. On connecting the positive terminal, the cable and terminal sparked violently and started to weld themselves together. Okay so something not right here. So I abandoned the MG for the day, posted a query on Facebook and made a mental note to call Dad later.
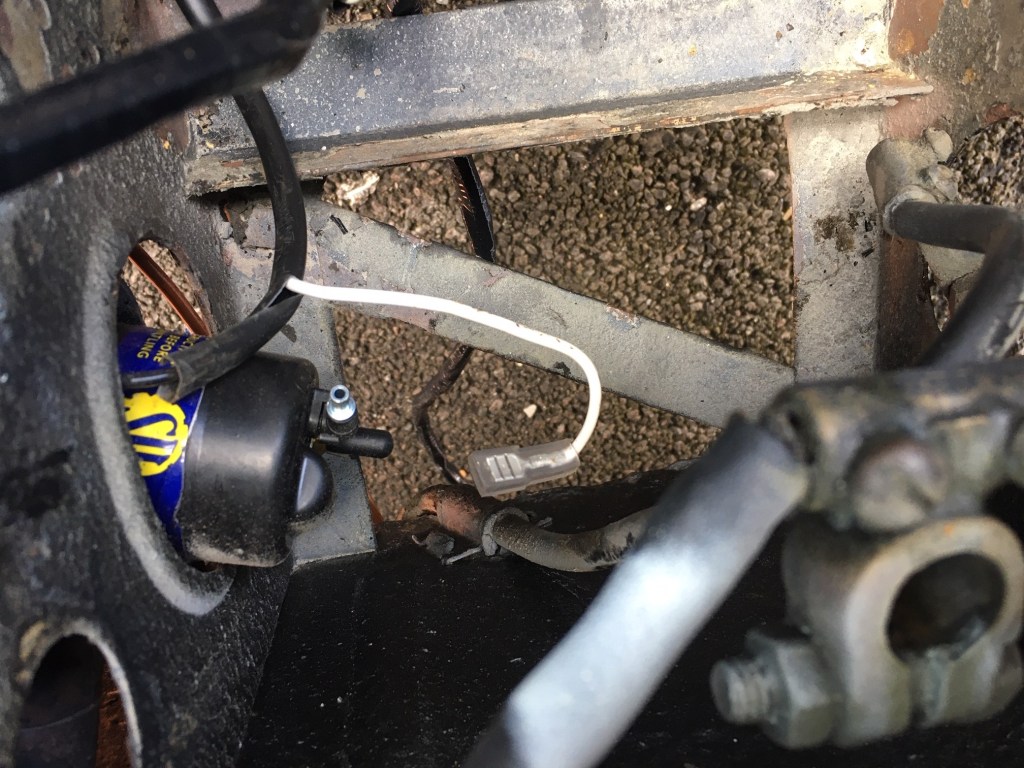
Fuel pump disconnected 
Oil gauge pipe connected 
Vaccum advance fitting blocked with a bolt temporarily
I moved on to the Suzuki Cappuccino, my other ‘toy’ on which I needed to replace a corroded metal cooling pipe. I had bought a new pipe from Suzuki recently, for the princely sum of £50 (!) and thought I would get on with the job today as it was dry and I had come to a dead halt on the MG. There were five hose connections to this pipe and each of course had to be undone. Due to the angles, this proved challenging. The clips were those springy ones that you have to either have fingers of steel (I have soft office hands) to open or manouvre a pair of pliers to release them. It was a tedious process to get them all undone and even then the hoses were a swine to get off. I used my trusty heat gun to soften up the rubber and this worked really well. I managed to catch a lot of the antifreeze which poured out into my waste oil container. I then fitted the hoses to the new pipe using new jubilee clips and secured it to the bracket with two nuts. I took the opportunity to wash the overflow bottle and hoses while I was there and then filled the radiator with fresh ready-mixed antifreeze. I then took the Cappuccino for a road test during which I definately didn’t taunt a sleeping Mini Cooper, nor did I exploit the perfect 50:50 balance to zap around a couple of local roundabouts. That definately didn’t happen. All was well and after the Cappuccino had cooled, I topped up the radiator a little. I’ll keep an eye on the levels for the next few drives, but it was good to get this job done.

Shiny new pipe ready to fit 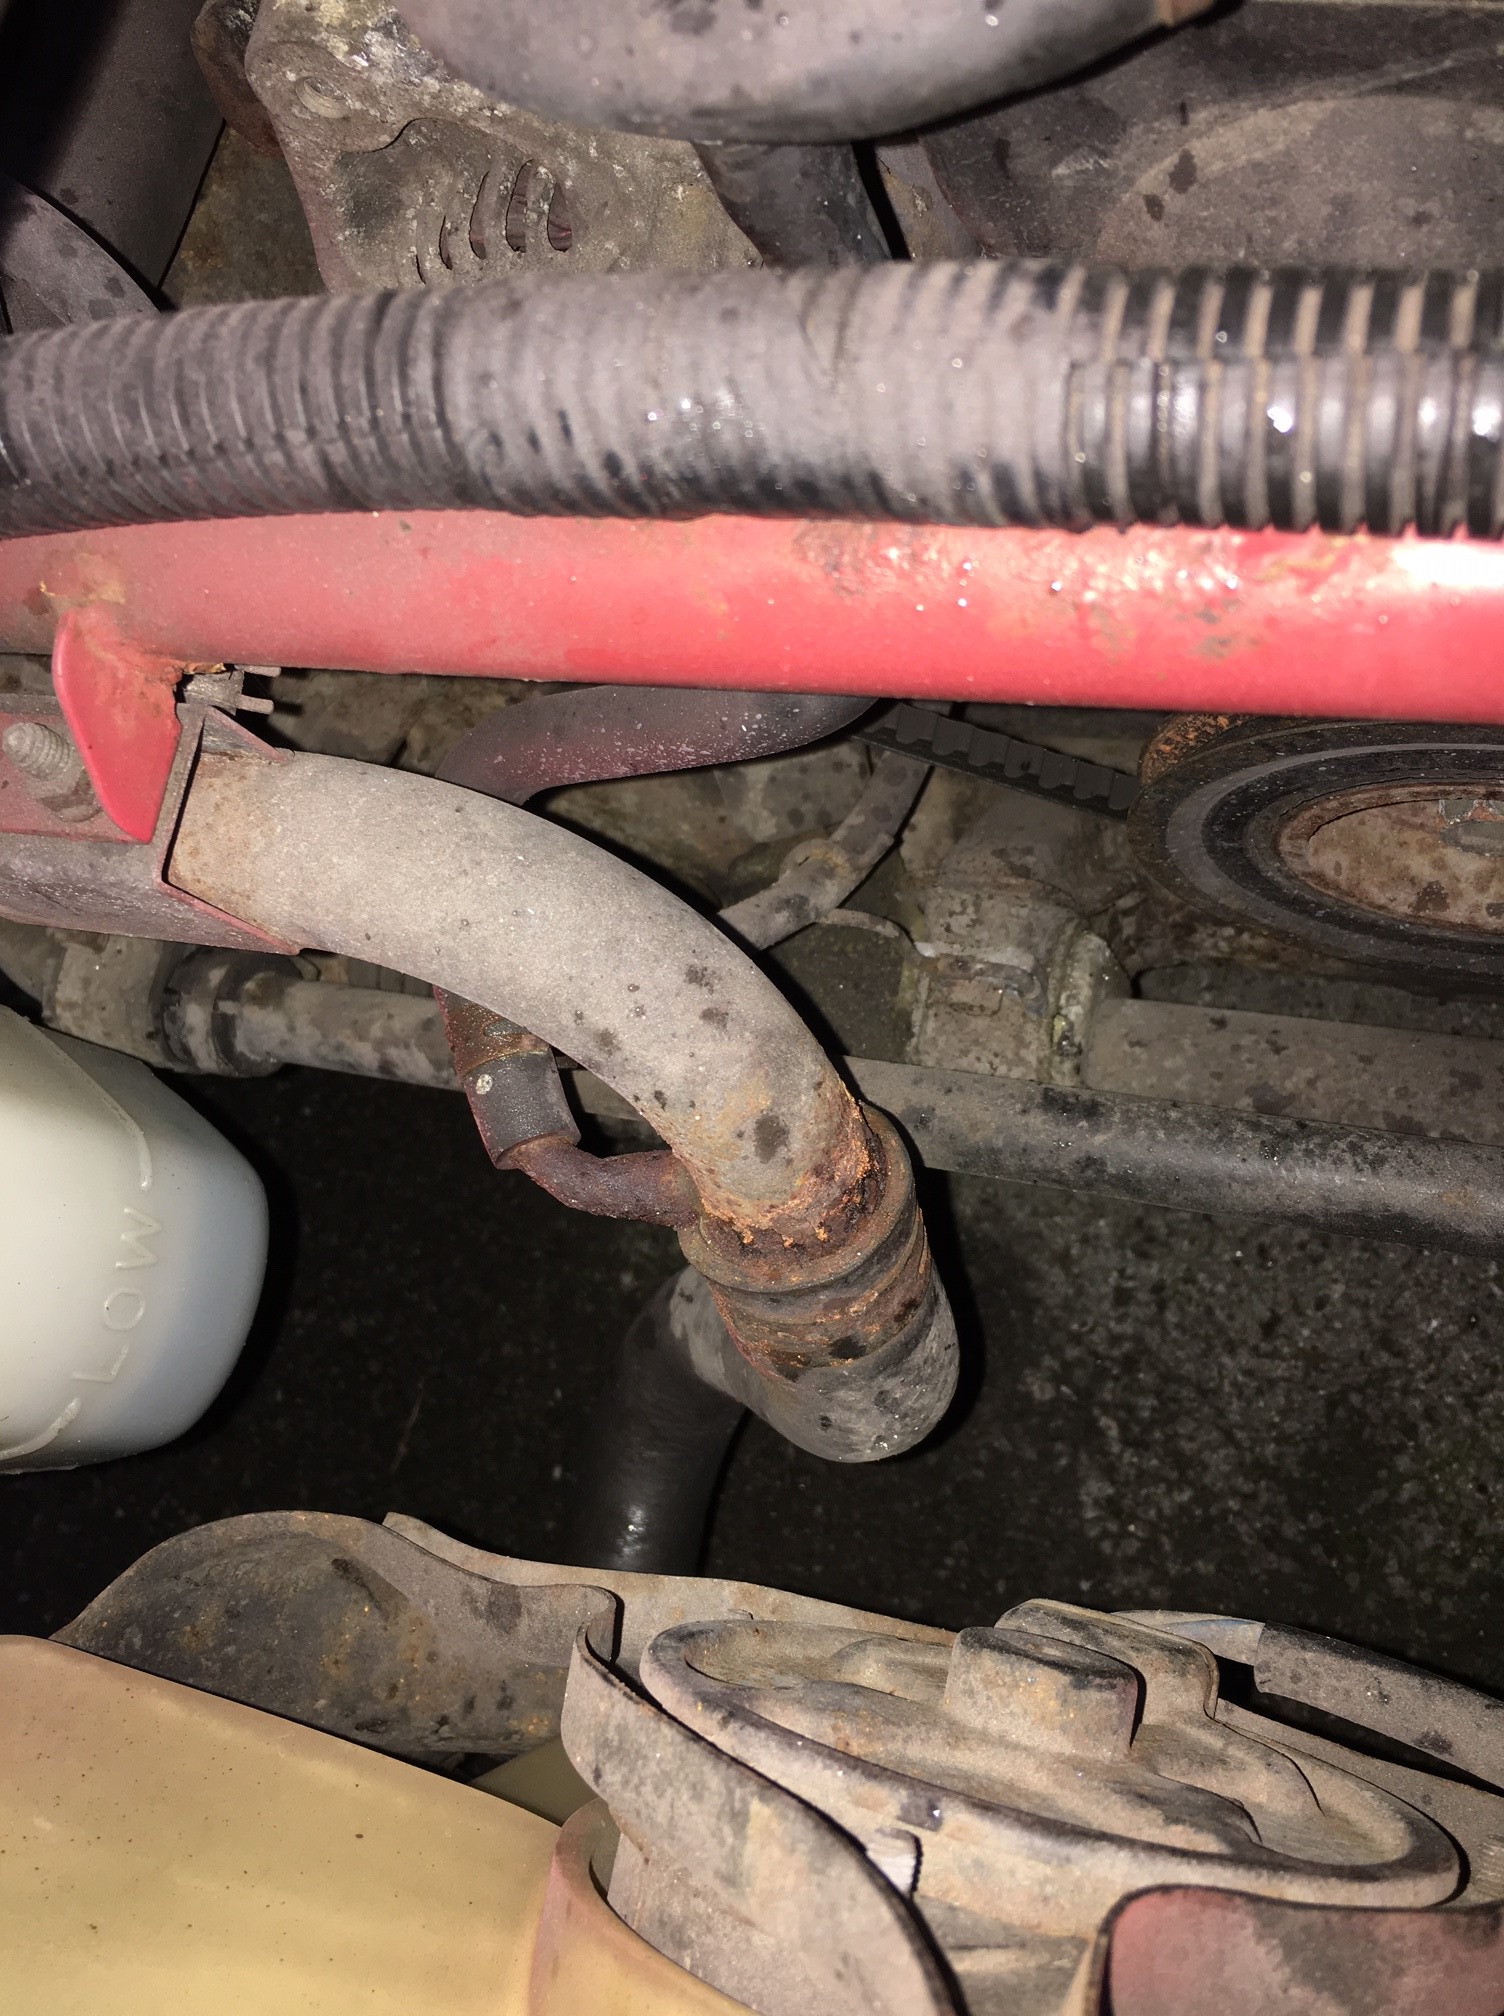
The old pipe was looking a bit sad 
New pipe installed 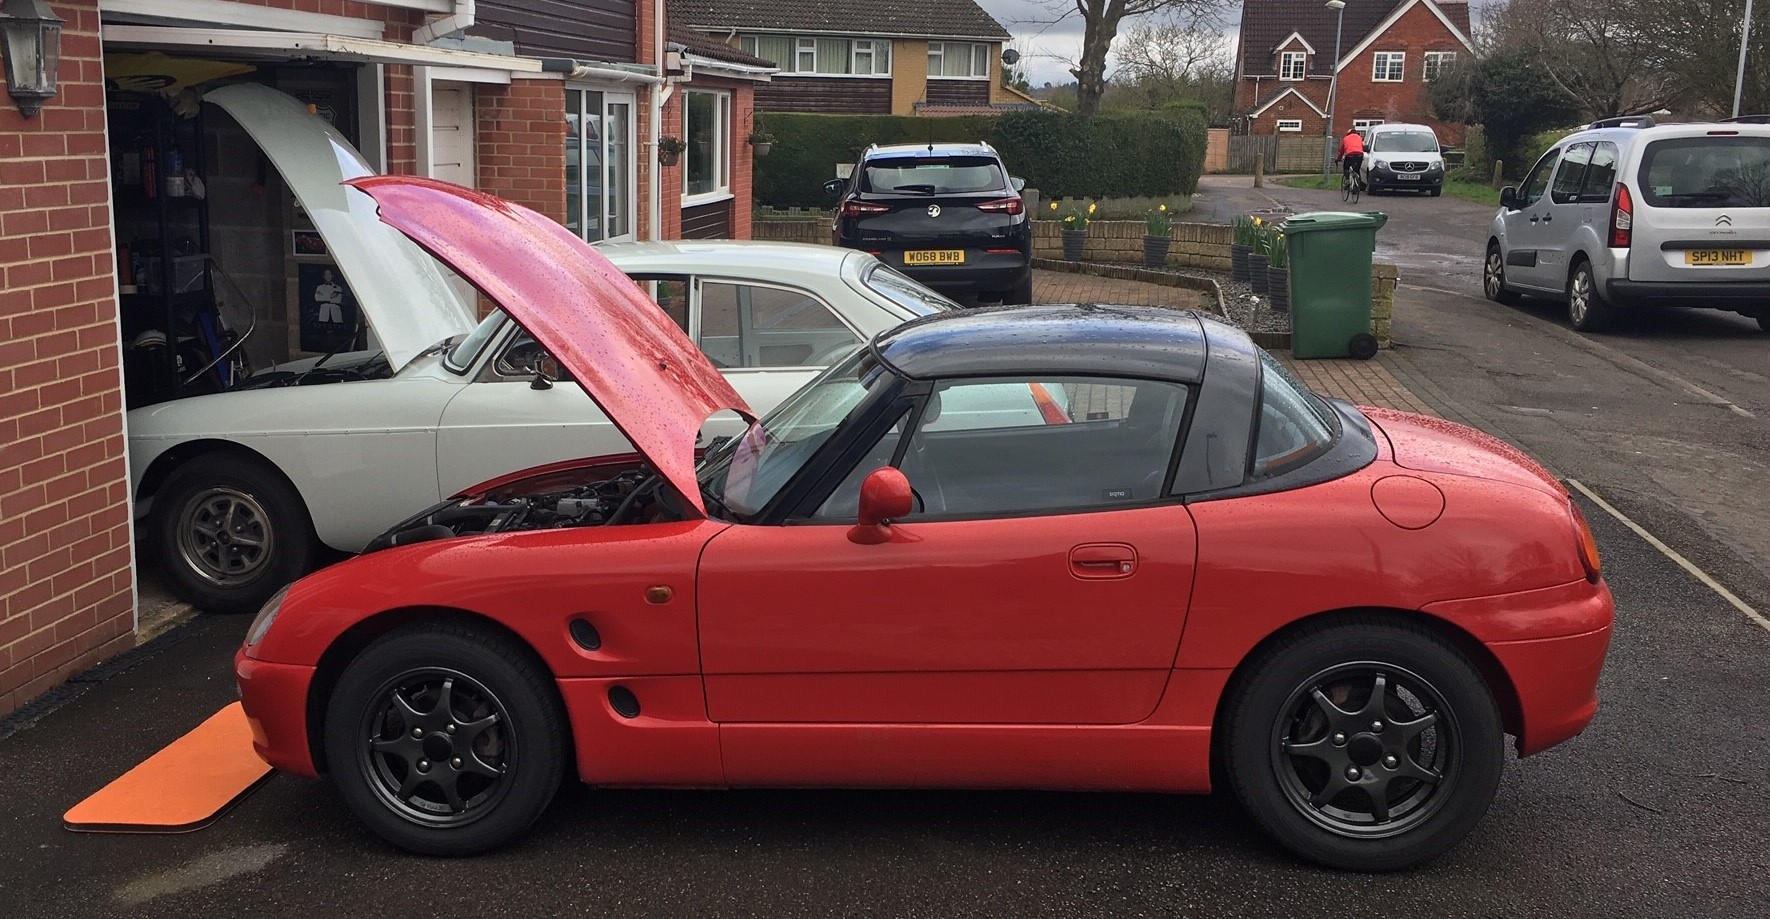
Relentless Duck Restorations – Open for business
