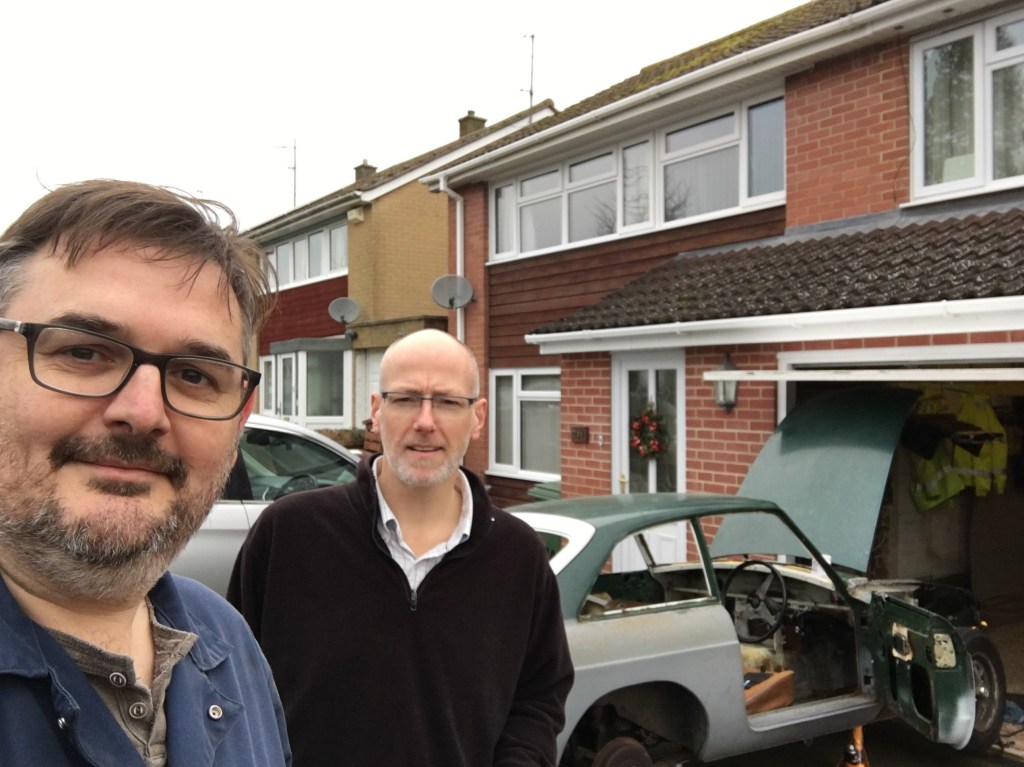
An opportunity to complete a few of the jobs which need doing prior to the respray. I was just getting the MG out and was door-stepped in a nice way by Russell, a dog-walker and classic car enthusiast who has owned a number of MGBs, MGCs and MGB V8s – we had a good chat about the rebuilt and I marked him for future help.
m I was soon joined by my childhood friend Phil who had come along to help. First priority, after making cups of tea of course, was the removal of the loom. Given that I am likely to buy a new loom, this job was easier that it might have been, but it was still fiddly feeding all the connections through the small hole in the firewall. Within minutes of arriving Phil had added value by relating the accepted wisdom that the loom was removed from under the dash and fed into the engine compartment, rather than the other was around, so that’s the way we chose to do it. With me feeding cables from the interior and Phil pulling them through we got the job done surprisingly easily. I now have a complete loom as a template.
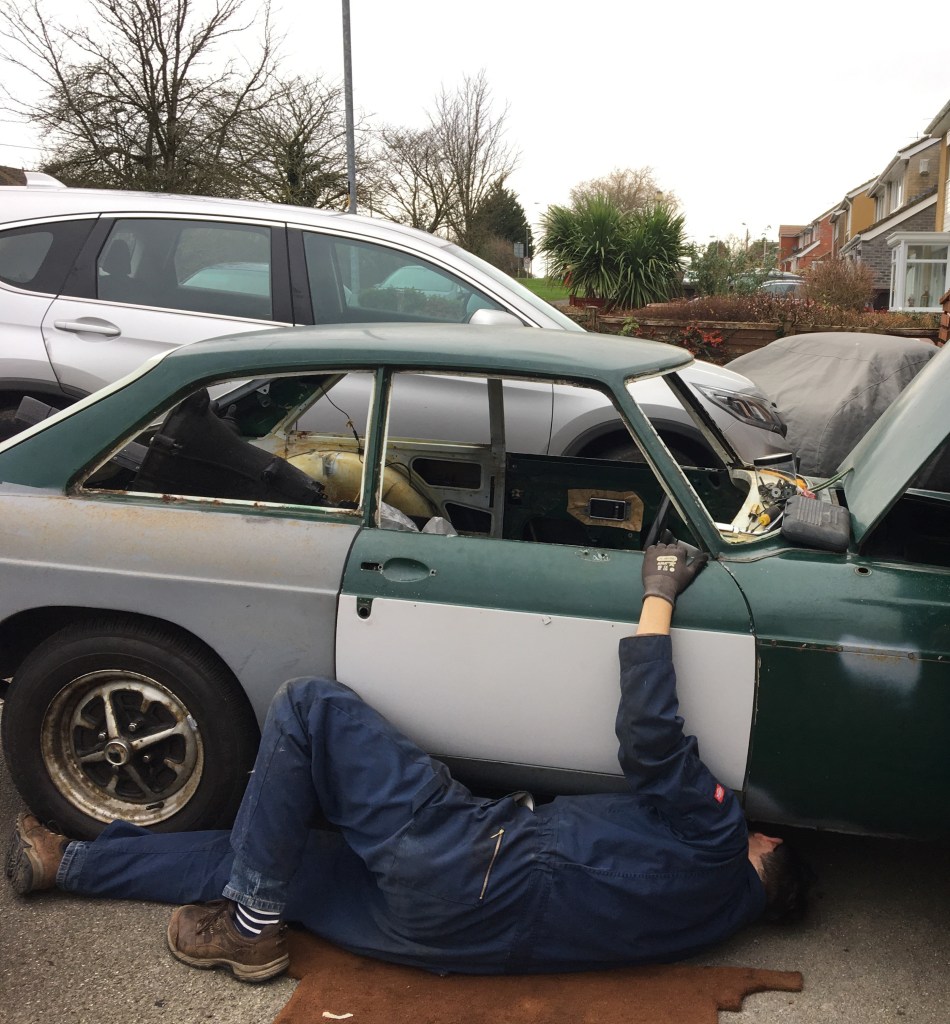
Next job on the list was to remove the near side front wing. This was to check for any unexpected rust prior to the respray. Having done the off side recently, we knew where all the bolts were, so it came off nicely without any hitches. There were no horrors stories under the n/s wing so we then put both wings back on with just two bolts at the top and one at the bottom for the car to be transported to the shot blasters.

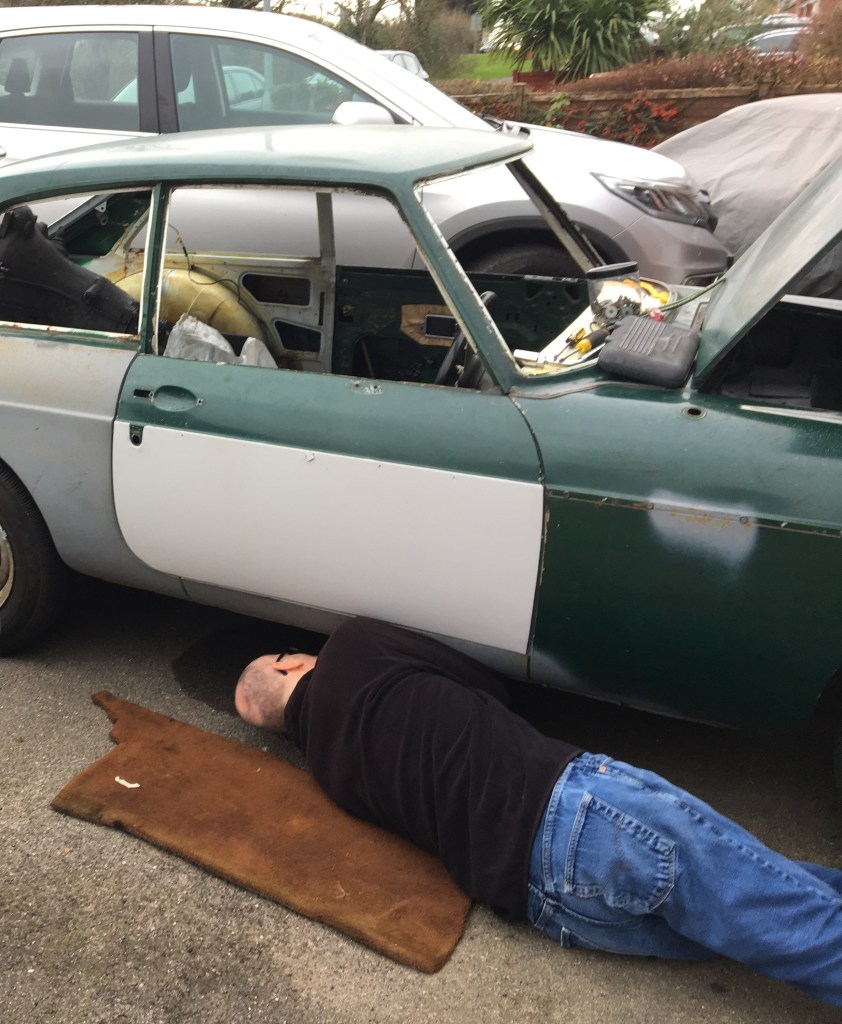
I had earlier disconnected the rear loom from the main loom and inspected the route it took under the car. While initially sceptical that it was a good idea to remove it from its clips, I was encouraged by Phil and Helen to reconsider and remove this too. However, this is planned for another day.
I lifted the battery out of the car as it won’t be needing that for a while and removed various random rubbish from the interior. Phil and I looked for the gearbox cross member but couldn’t find it – I would like it to be shot blasted, so will need to have an organised look soon. In showing the dashboard to Phil, I explained the troublesome chrome strip on the glovebox lid which I had been worrying about. I decided to attempt to remove it and fortunately with a bit of light prying with a tiny flat screwdriver it came off nicely – another job off the list.

I love it when someone helps with the MG restoration. Everything seems easier with two people and much as I enjoy working with just the radio for company, sometimes another person can make things appear more do-able. For Phil and I to be working together, with our shared MG history dating back to when he owned MGs and we used to go to events in them, was to fulfil a long held ambition. I look forward to other days when we can work on this project. Thanks Phil.
