A couple of hours on the MG this beautiful sunny and warm Easter Sunday and I was focussed entirely on one task and one task only. This was to get a nut onto the threaded trim connector which was poking through the front o/s wing right on a seam which prevented me getting the nut onto the thread. I jacked up the front, placed an axle stand under the car and removed the front wheel to get better access to the thread. I then spent about an hour using including a hammer and dremmel cutting wheel to slowly but surely make space for the nut to fit on. It sounds easy now as I write it, but it was blooming difficult. Ideally, I would have turned the whole car upside down and sideways as this would have made the whole job easier, or at least ‘put it on a ramp’ as my Dad sometimes says (that fully equipped workshop being someway down our family list of priorities). One of the issues was that surprisingly the deep recesses of the front wing are a little dark and so I had to improvise a lighting solution. See pictures below for reference. I finally got the nut to bite on the thread (Halleluiah!) and from then on it was simply a case of tightening up the nut until the trim sat snuggly on the front wing. I had read in my restoration book that it was possible to snap these threads so I was very cautious in tightening it up and decided against jumping up and down on an extension bar which I am not sure is ever a good idea. A satisfying time overcoming a problem while I listened on Radio 4 to a profile of the new Labour leader Keir Starmer and some other analysis of the Coronavirus pandemic.

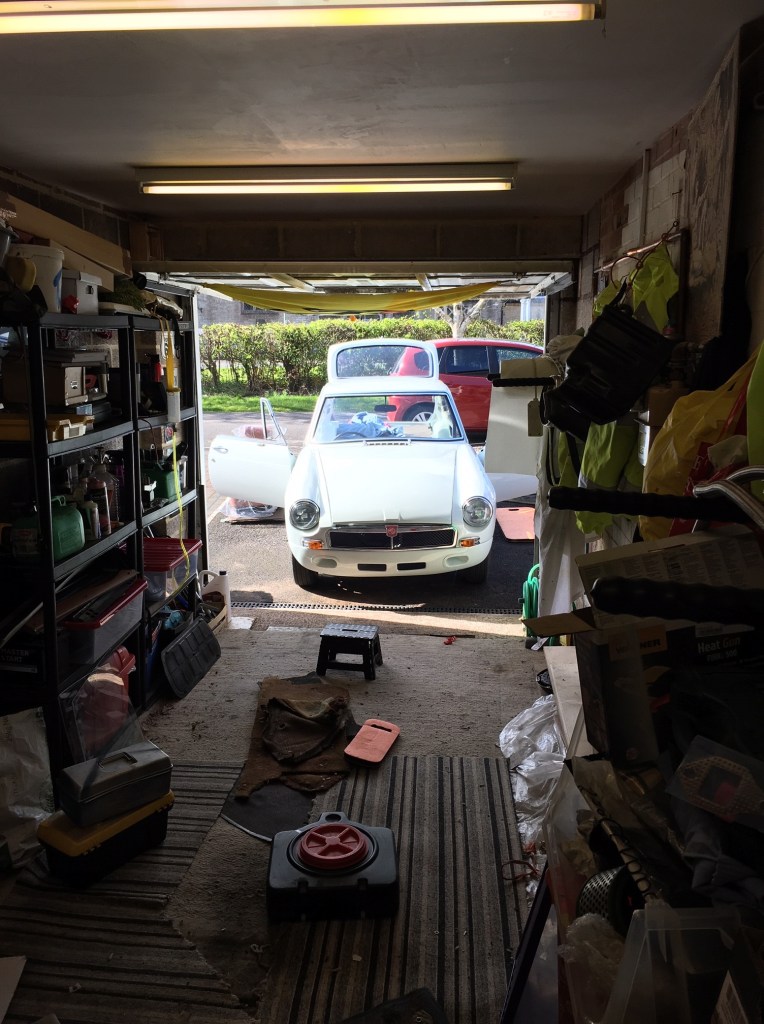
This is where I spent about two hours 
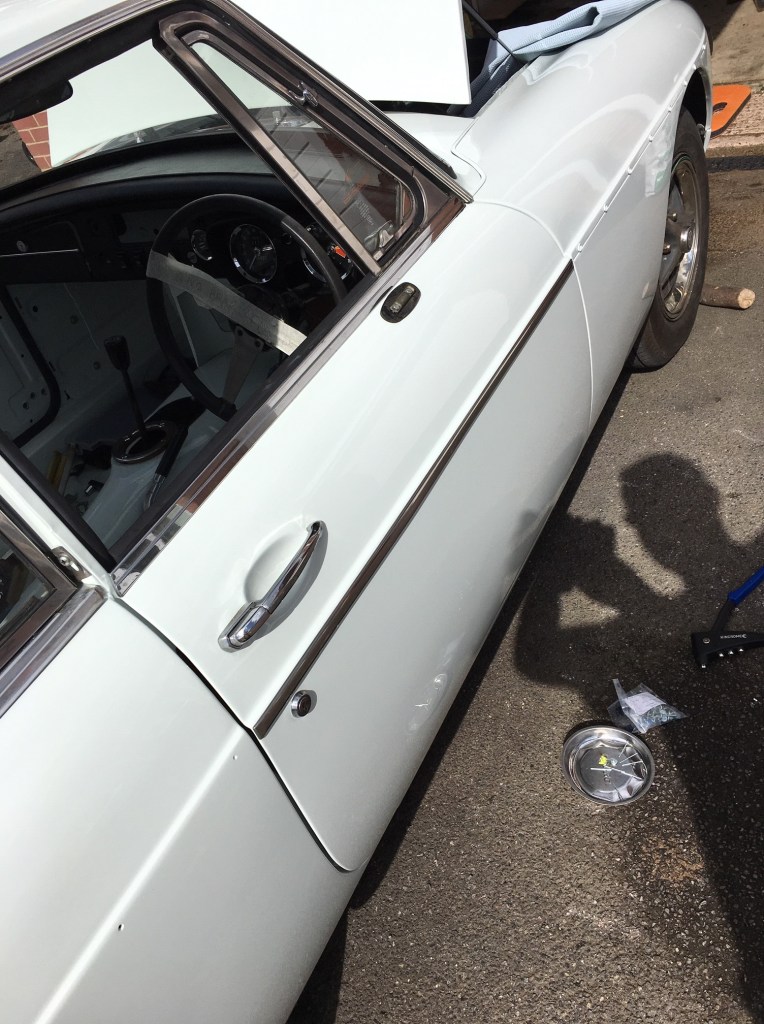
My innovative lighting solution 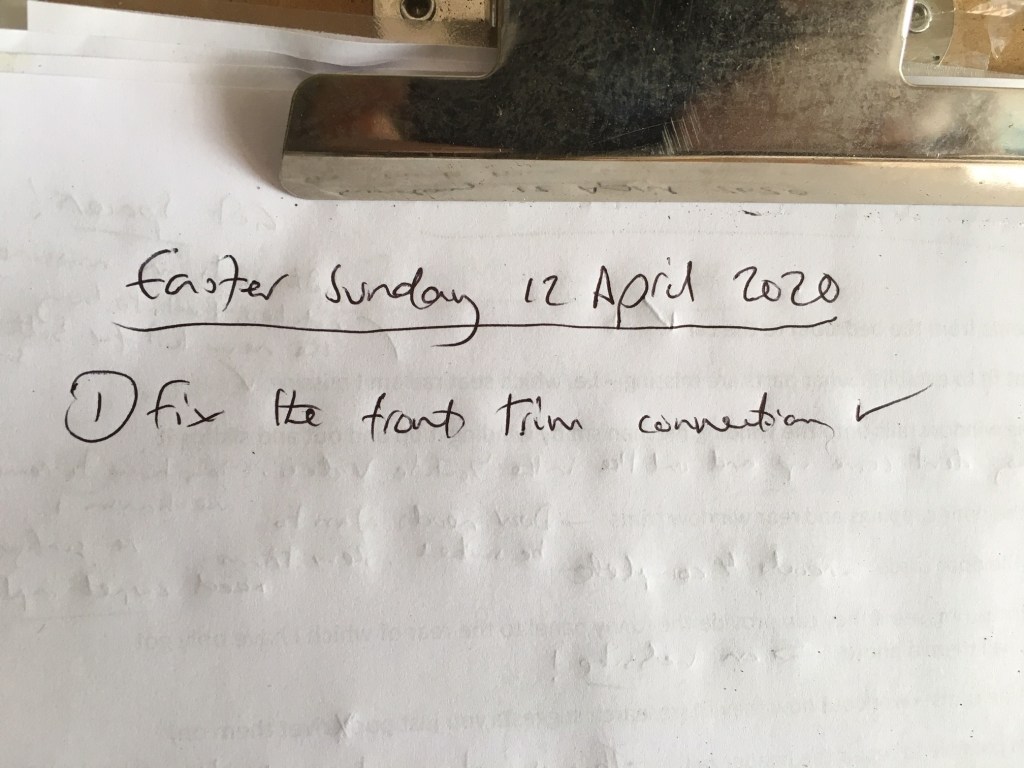
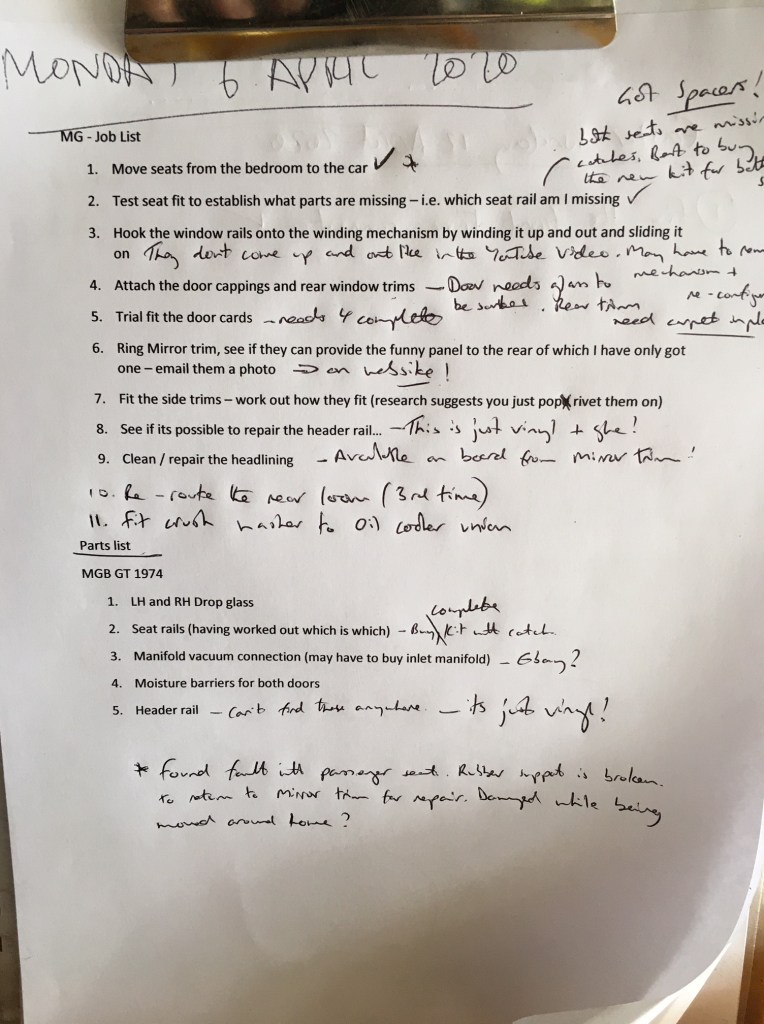
Only one item on the list for today