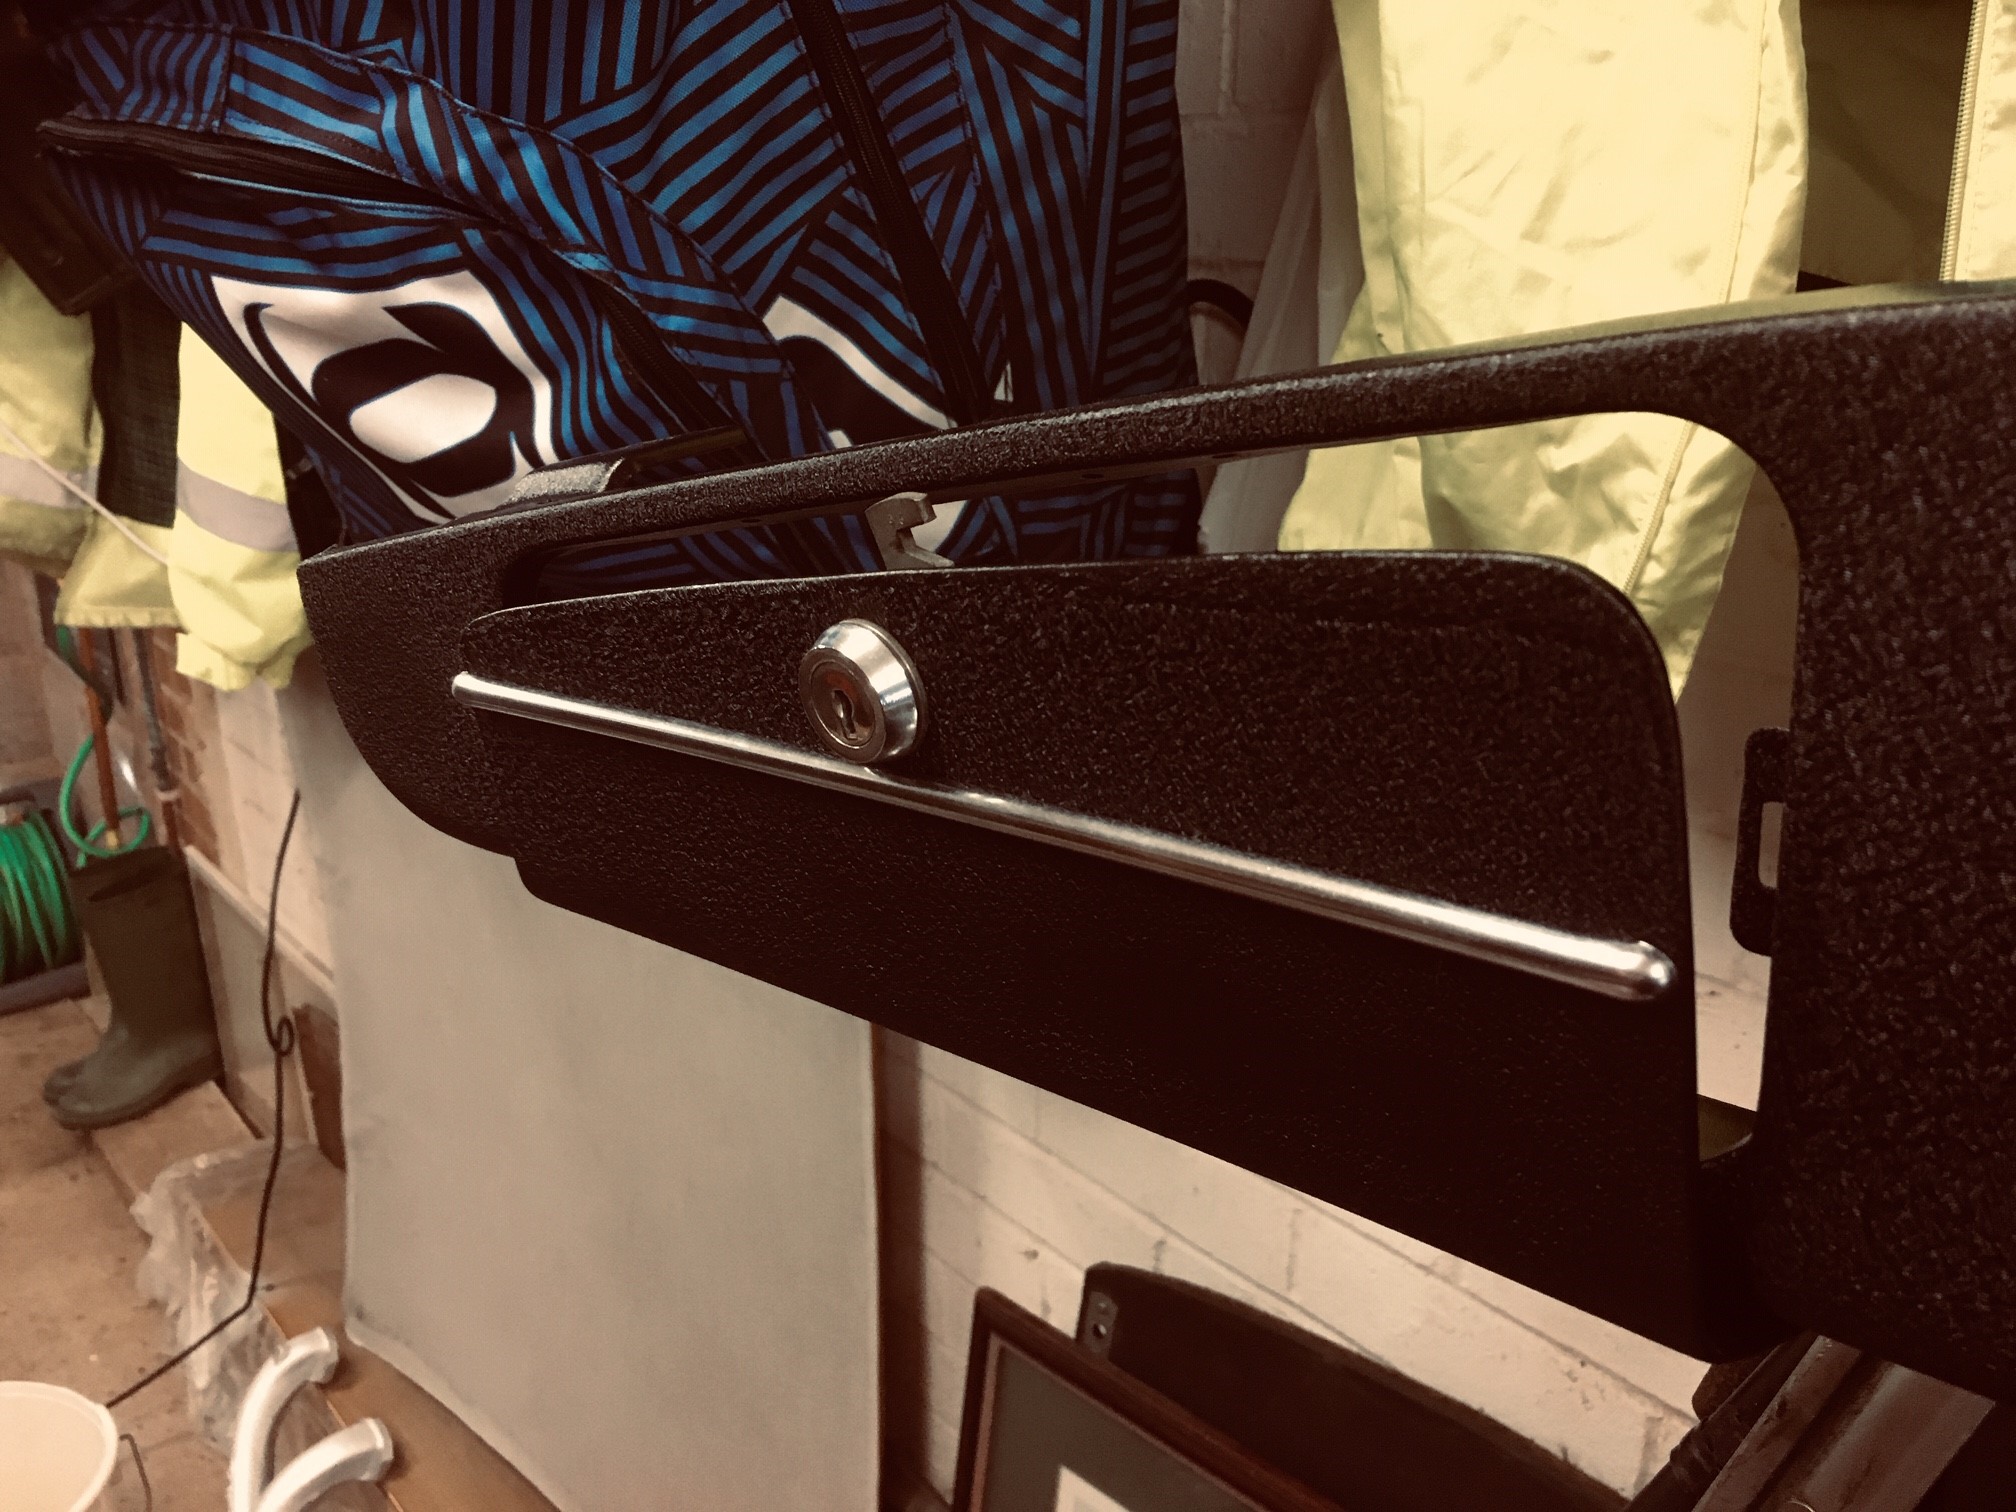
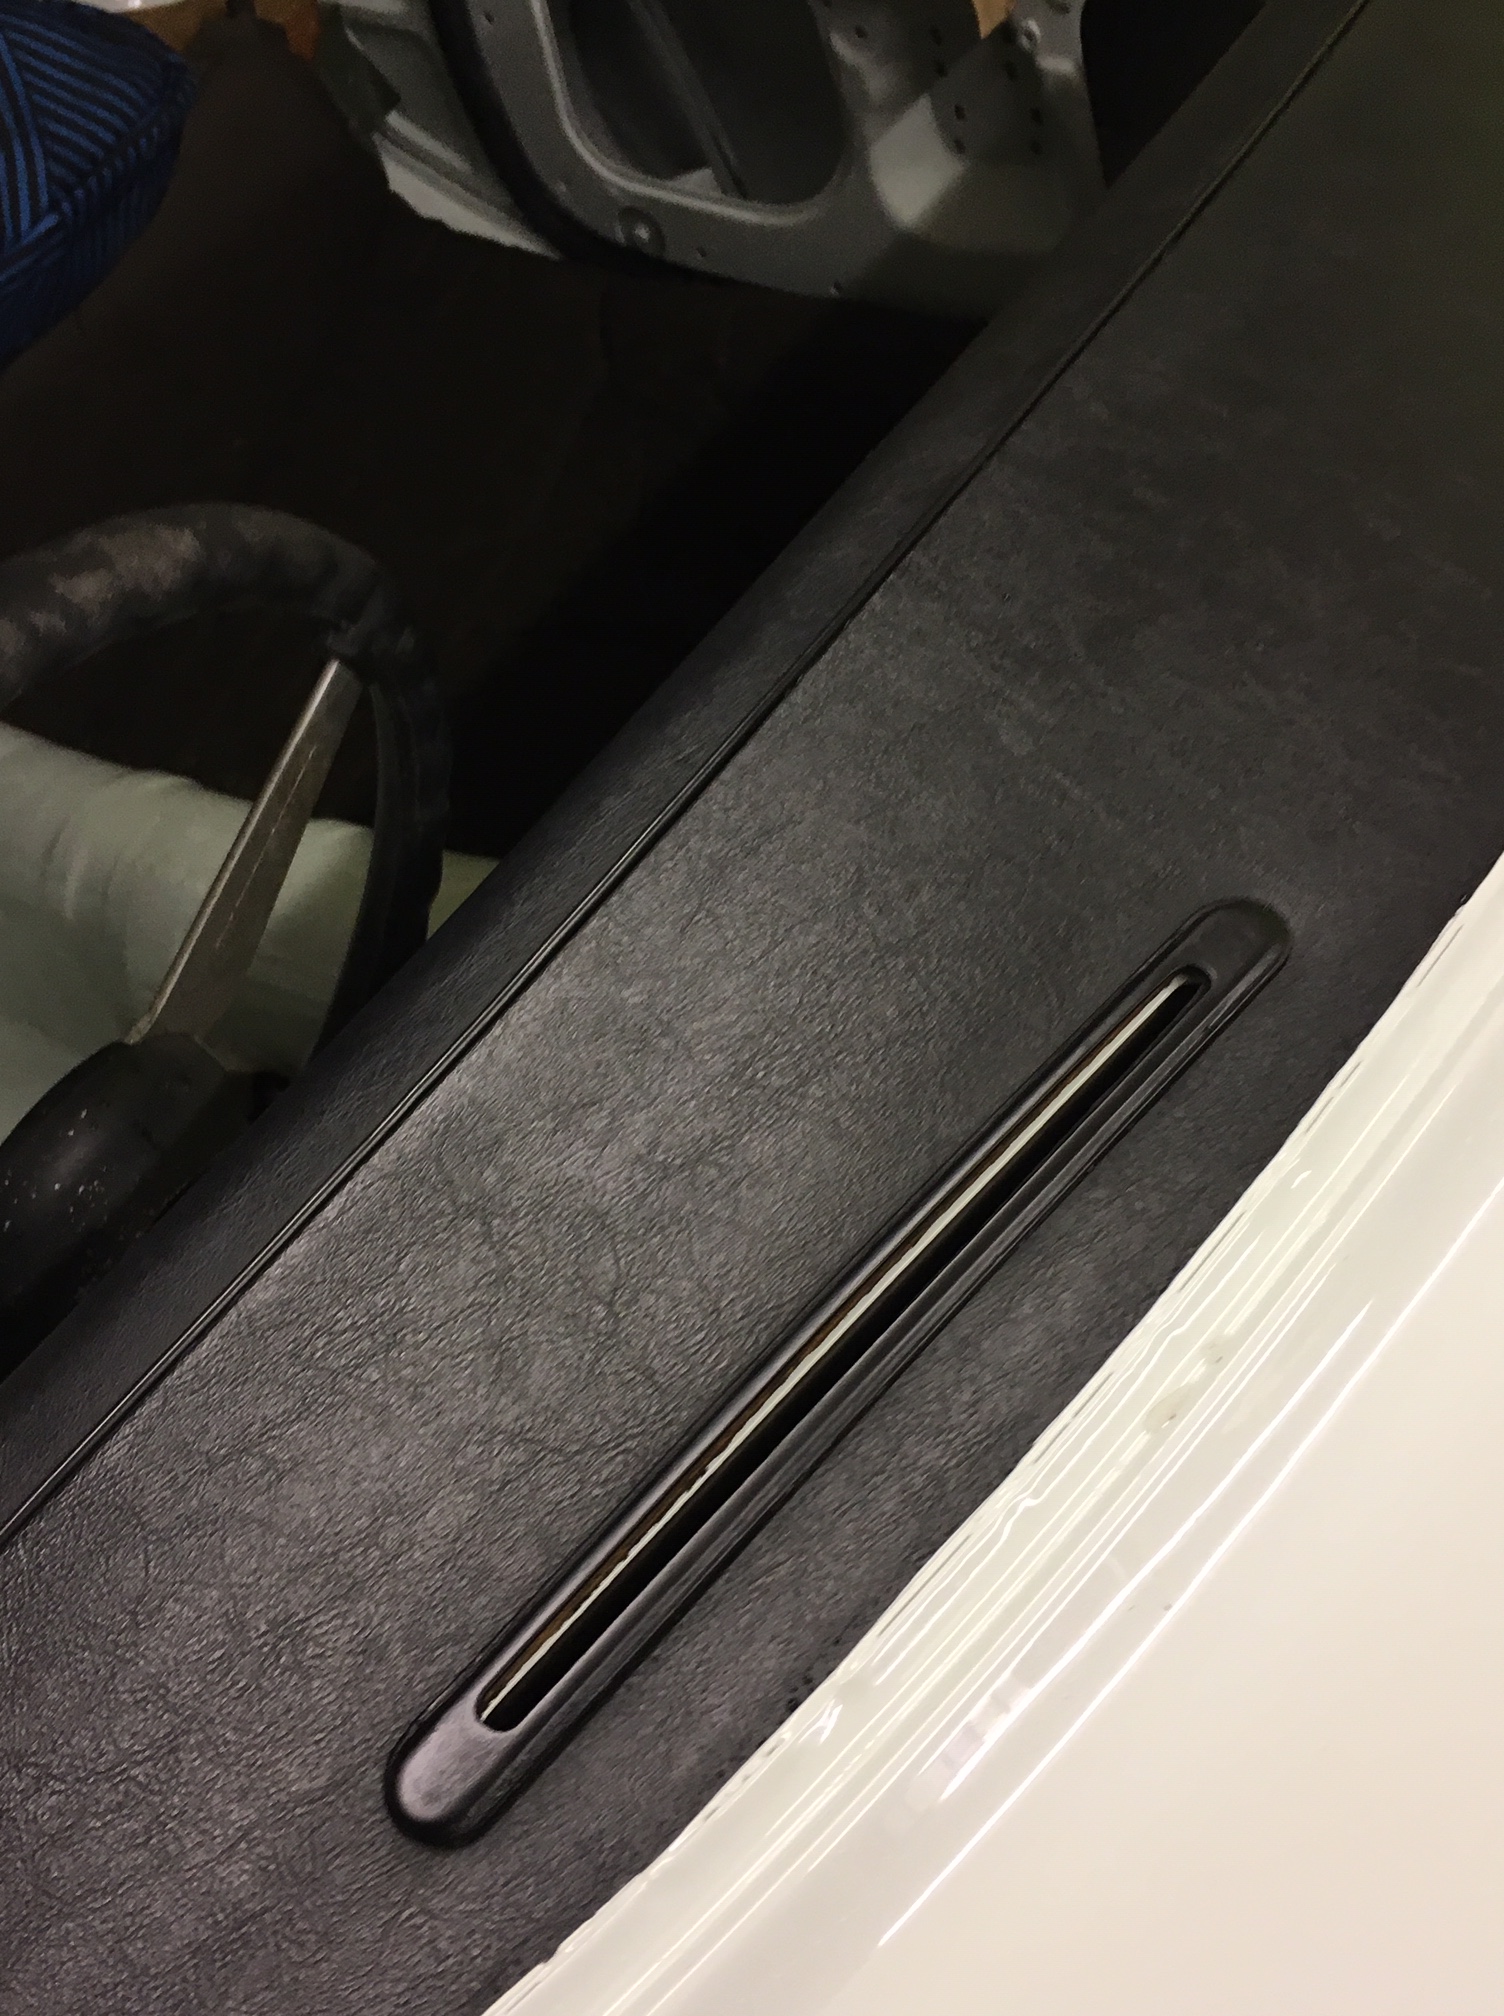
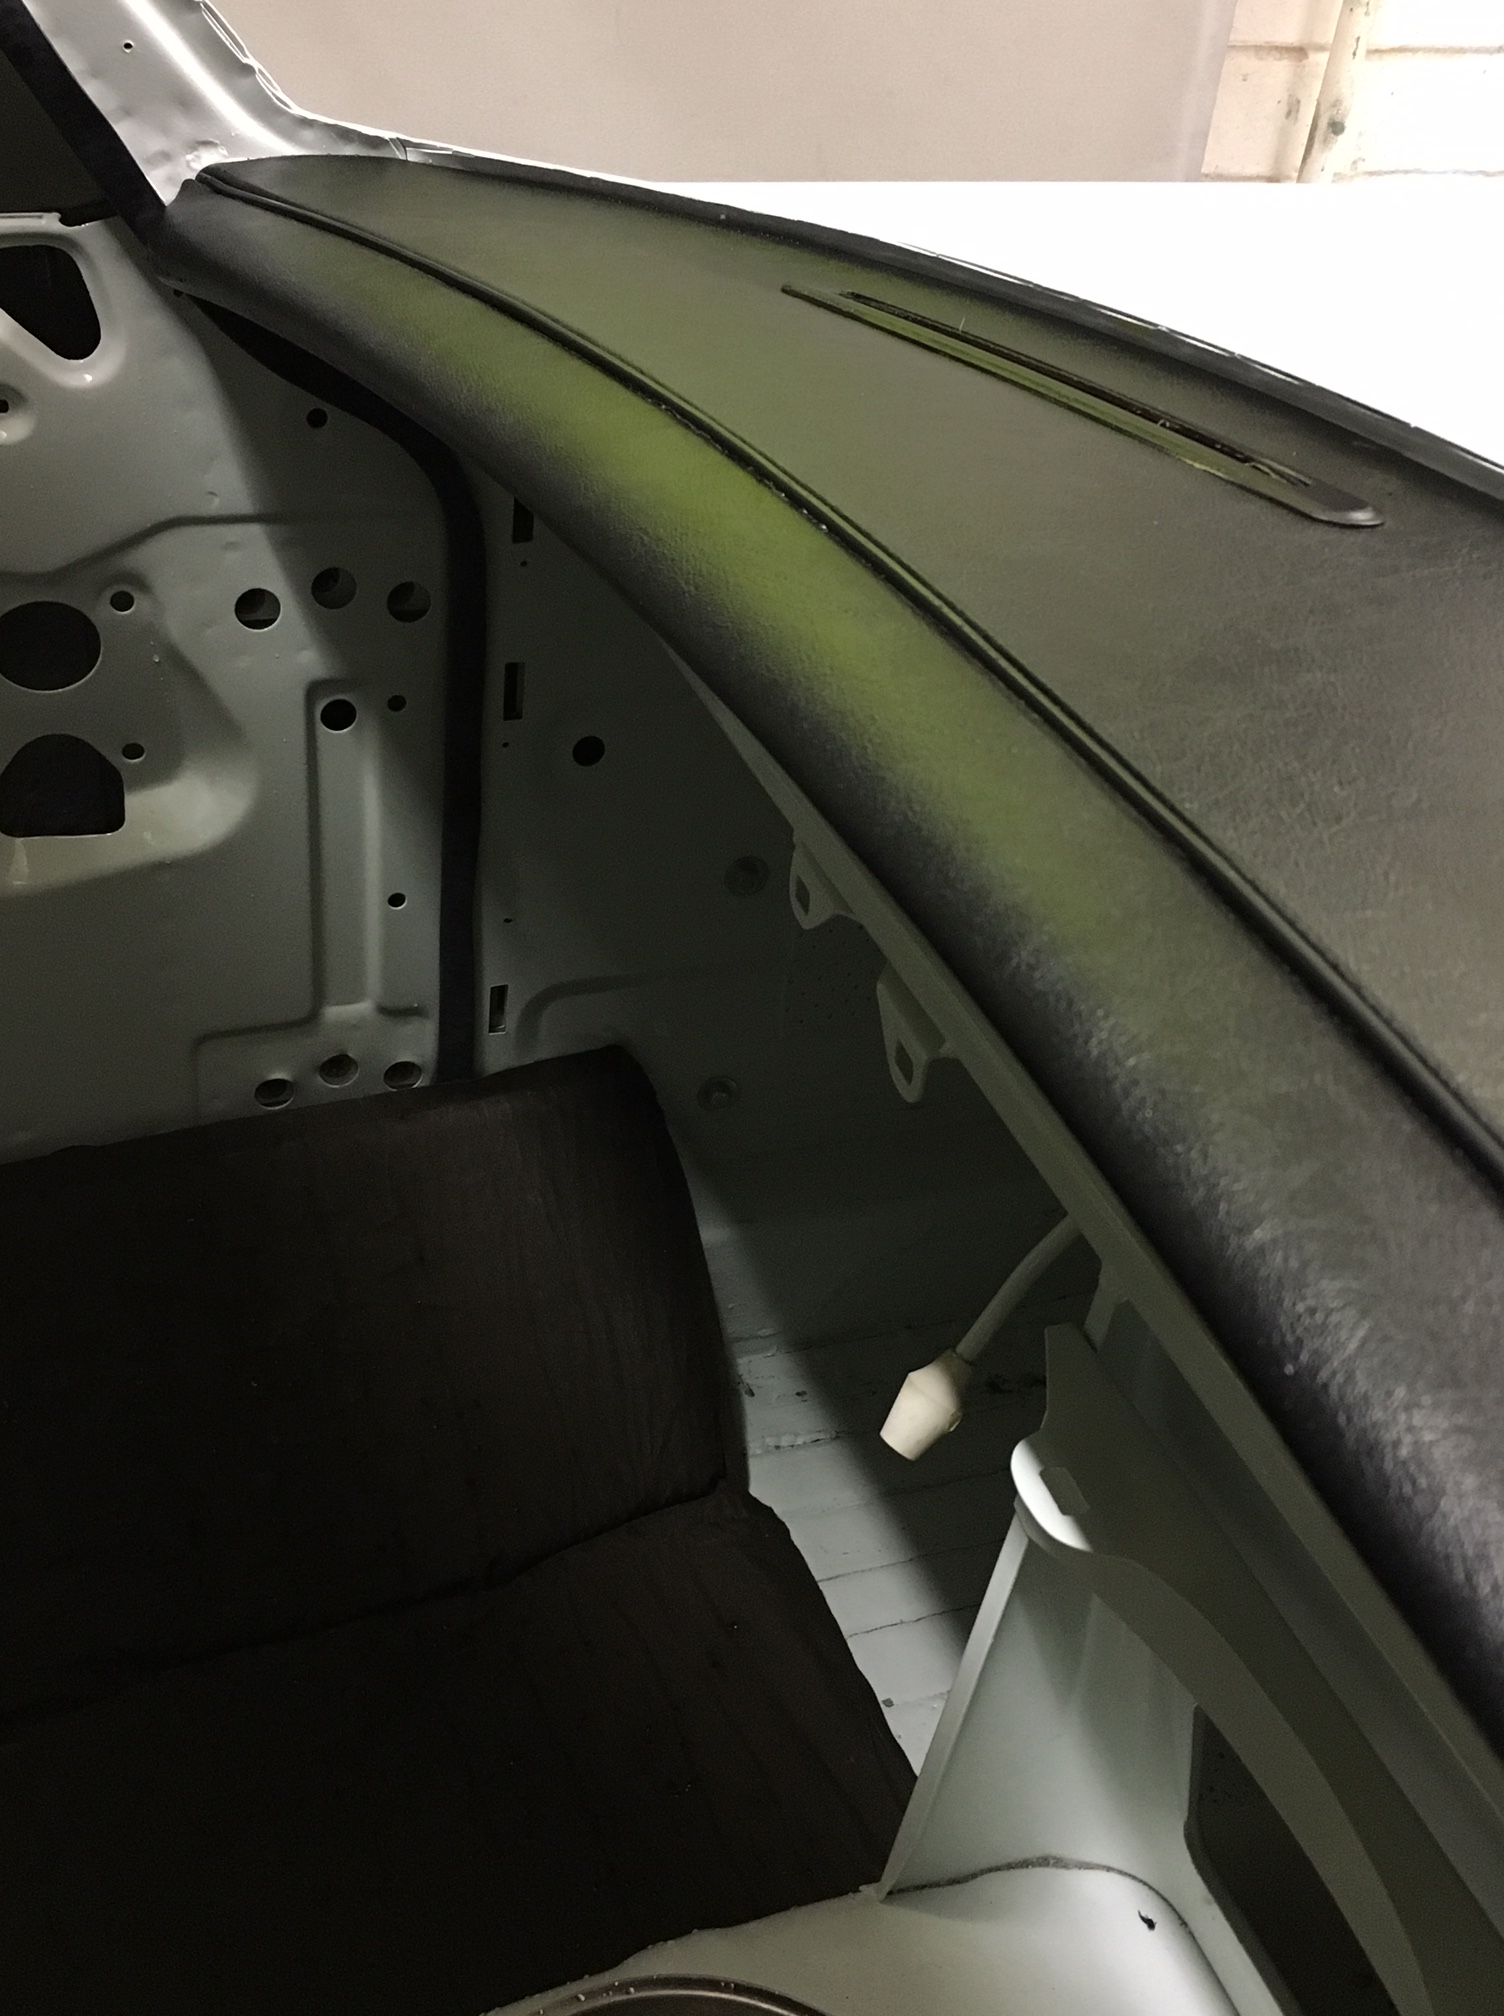
Back from very hot holiday in Crete to a rainy August day in the UK. I had intended to spend a while today on the MG, progressing a few jobs, but after an hour, the rain was cleary set in for the day, so I packed up and retreated inside (in mitigation, I only got back at 2:00am last night and with the time difference, our bodies really thought it was 4:00am). I did manage to get one job done today however. I had recently resprayed the demister vents which sit on the dash top, so I decided to fit them today. The vents themselves hold down the vinyl dash top, so fitting this starts the whole dash re-fitting sequence. The vents fitted back easily enough on the original (to my knowledge) vinyl and I then bolted on the crash rail, which is what MG offered as it’s interior safety feature in 1973. Compare that to contemporary cars with their air bags, air curtains and interior padding, its quite a contrast.
The resprayed vents in place on the dash-topThe crash rail in place, looks okay doesn’t it? The yellow colour is a reflection of my Hi-Viz jacket if you are wondering
A few things to report. Firstly, not much progress. I was a little distracted with preparing for and then undertaking a sponsored walk for the charity Open Doors, which serves persecuted Christians worldwide. Christians get beaten up and worse for their faith and that can’t be right. So a friend of mine, Chris and I walked 140 miles over 7 days, attracting donations of £3,600 and raising awareness of Open Doors.
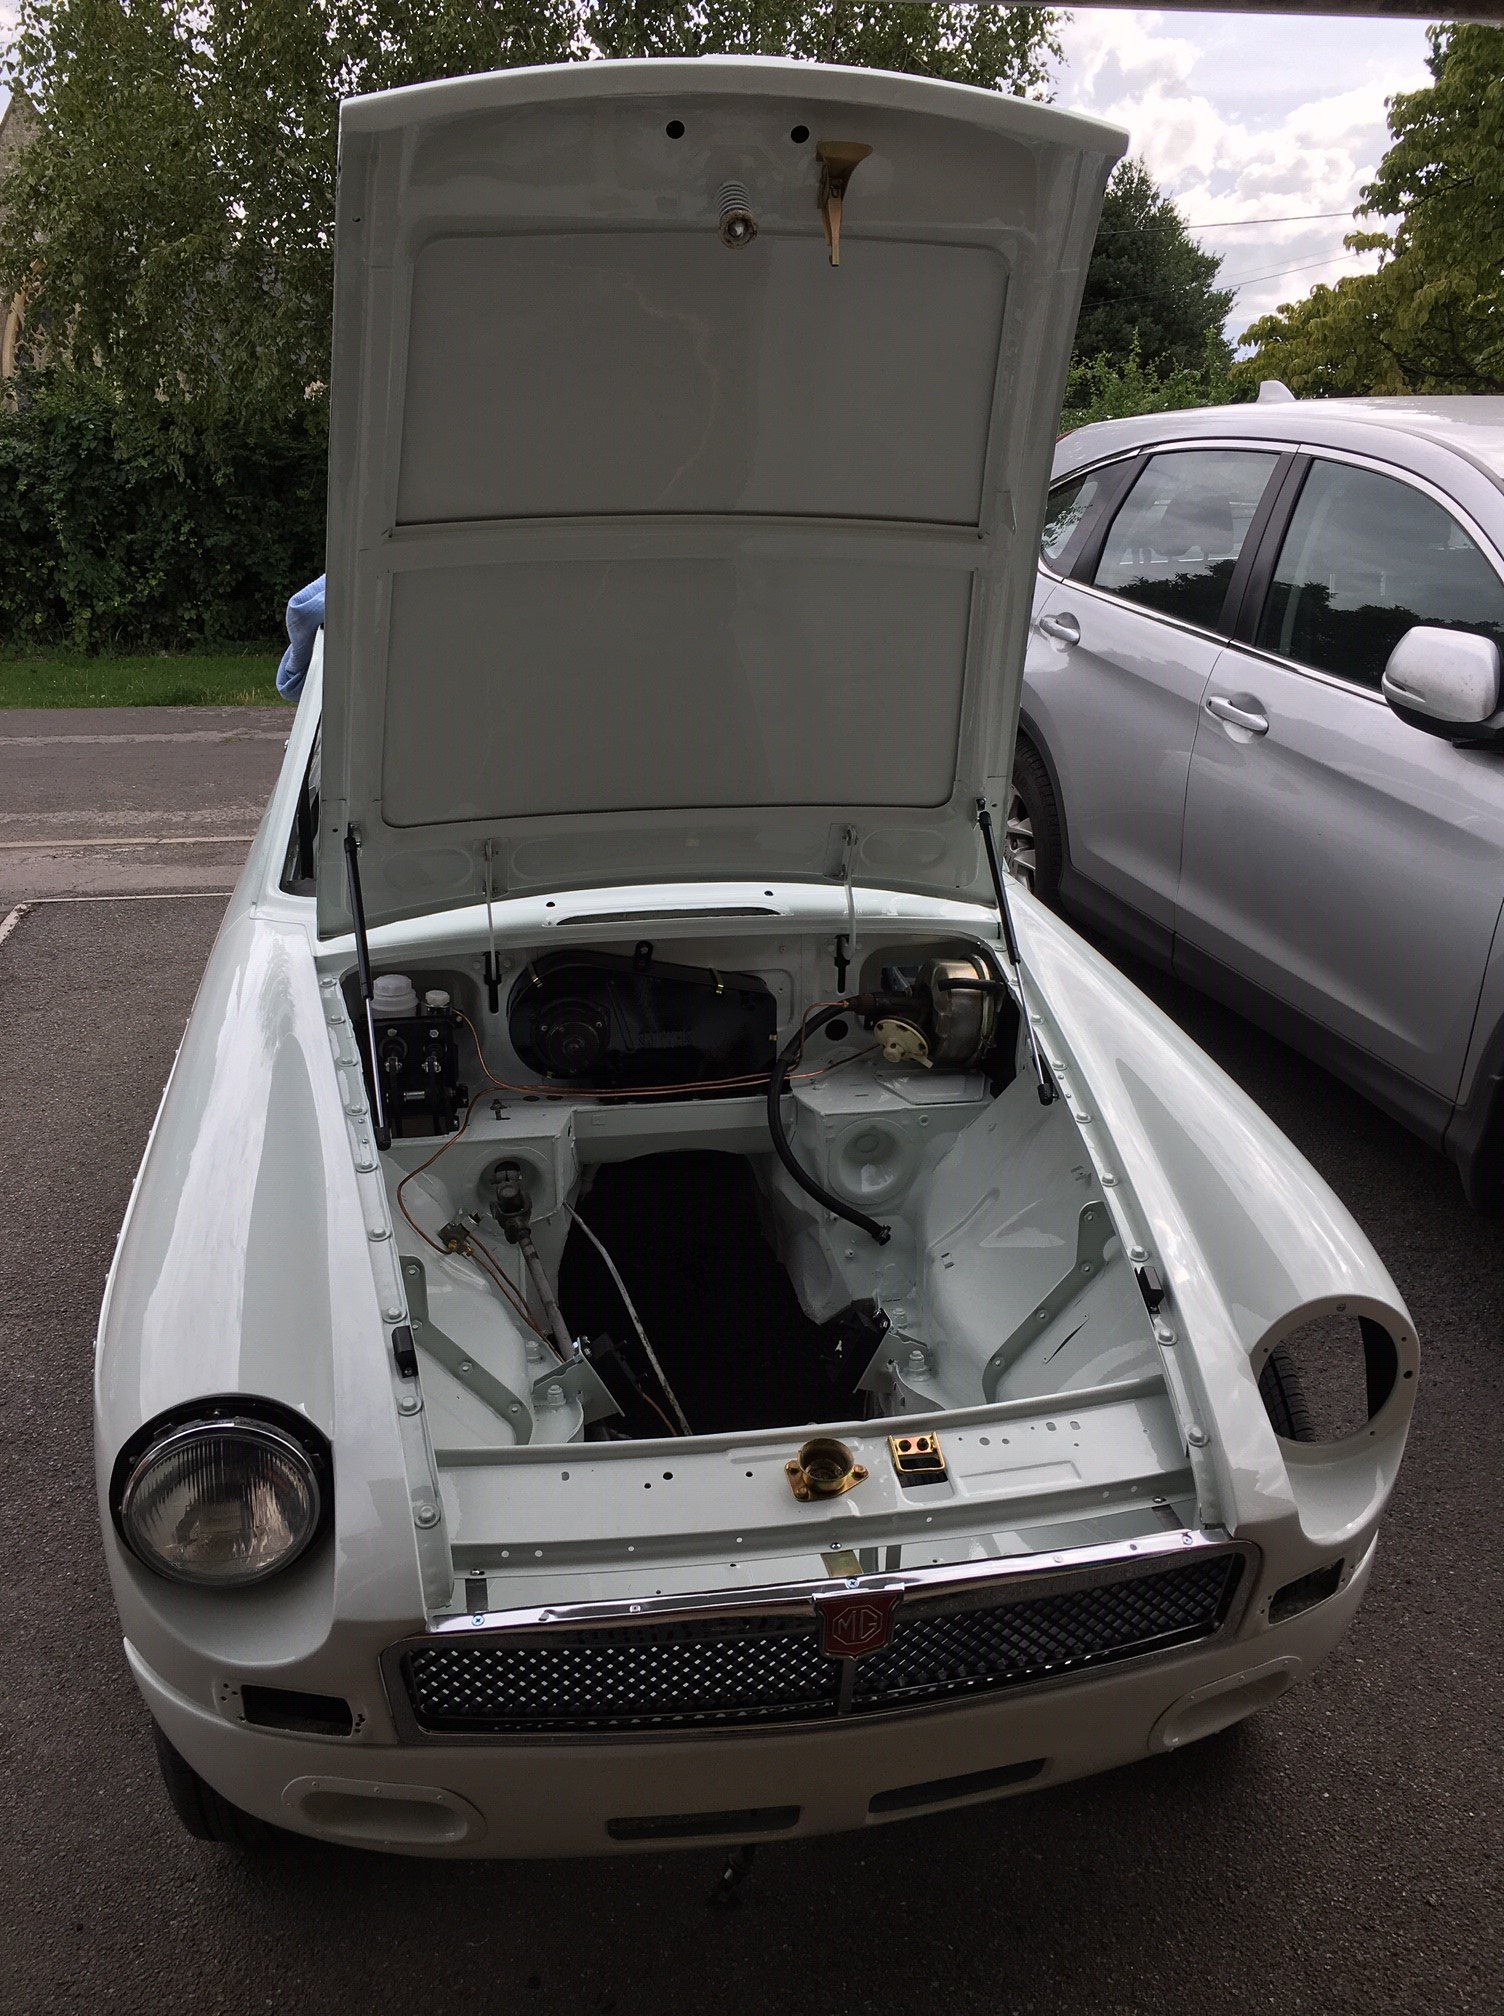
Back to the MG, I had recently managed to obtain a part on the bonnet gas strut that I had mullered on installation, so that’s now working and here is a photo showing the bonnet proudly erect on its struts. All very nice, but during fitting, the hinges took a bit of stick with one gas strut agressively pushing up one side and so now the bonnet needs a press at the top edge when lowered so that is something to be sorted one day…(not a priority!)
The gas struts raise the bonnet to a much higher angle than the saggy original single strut
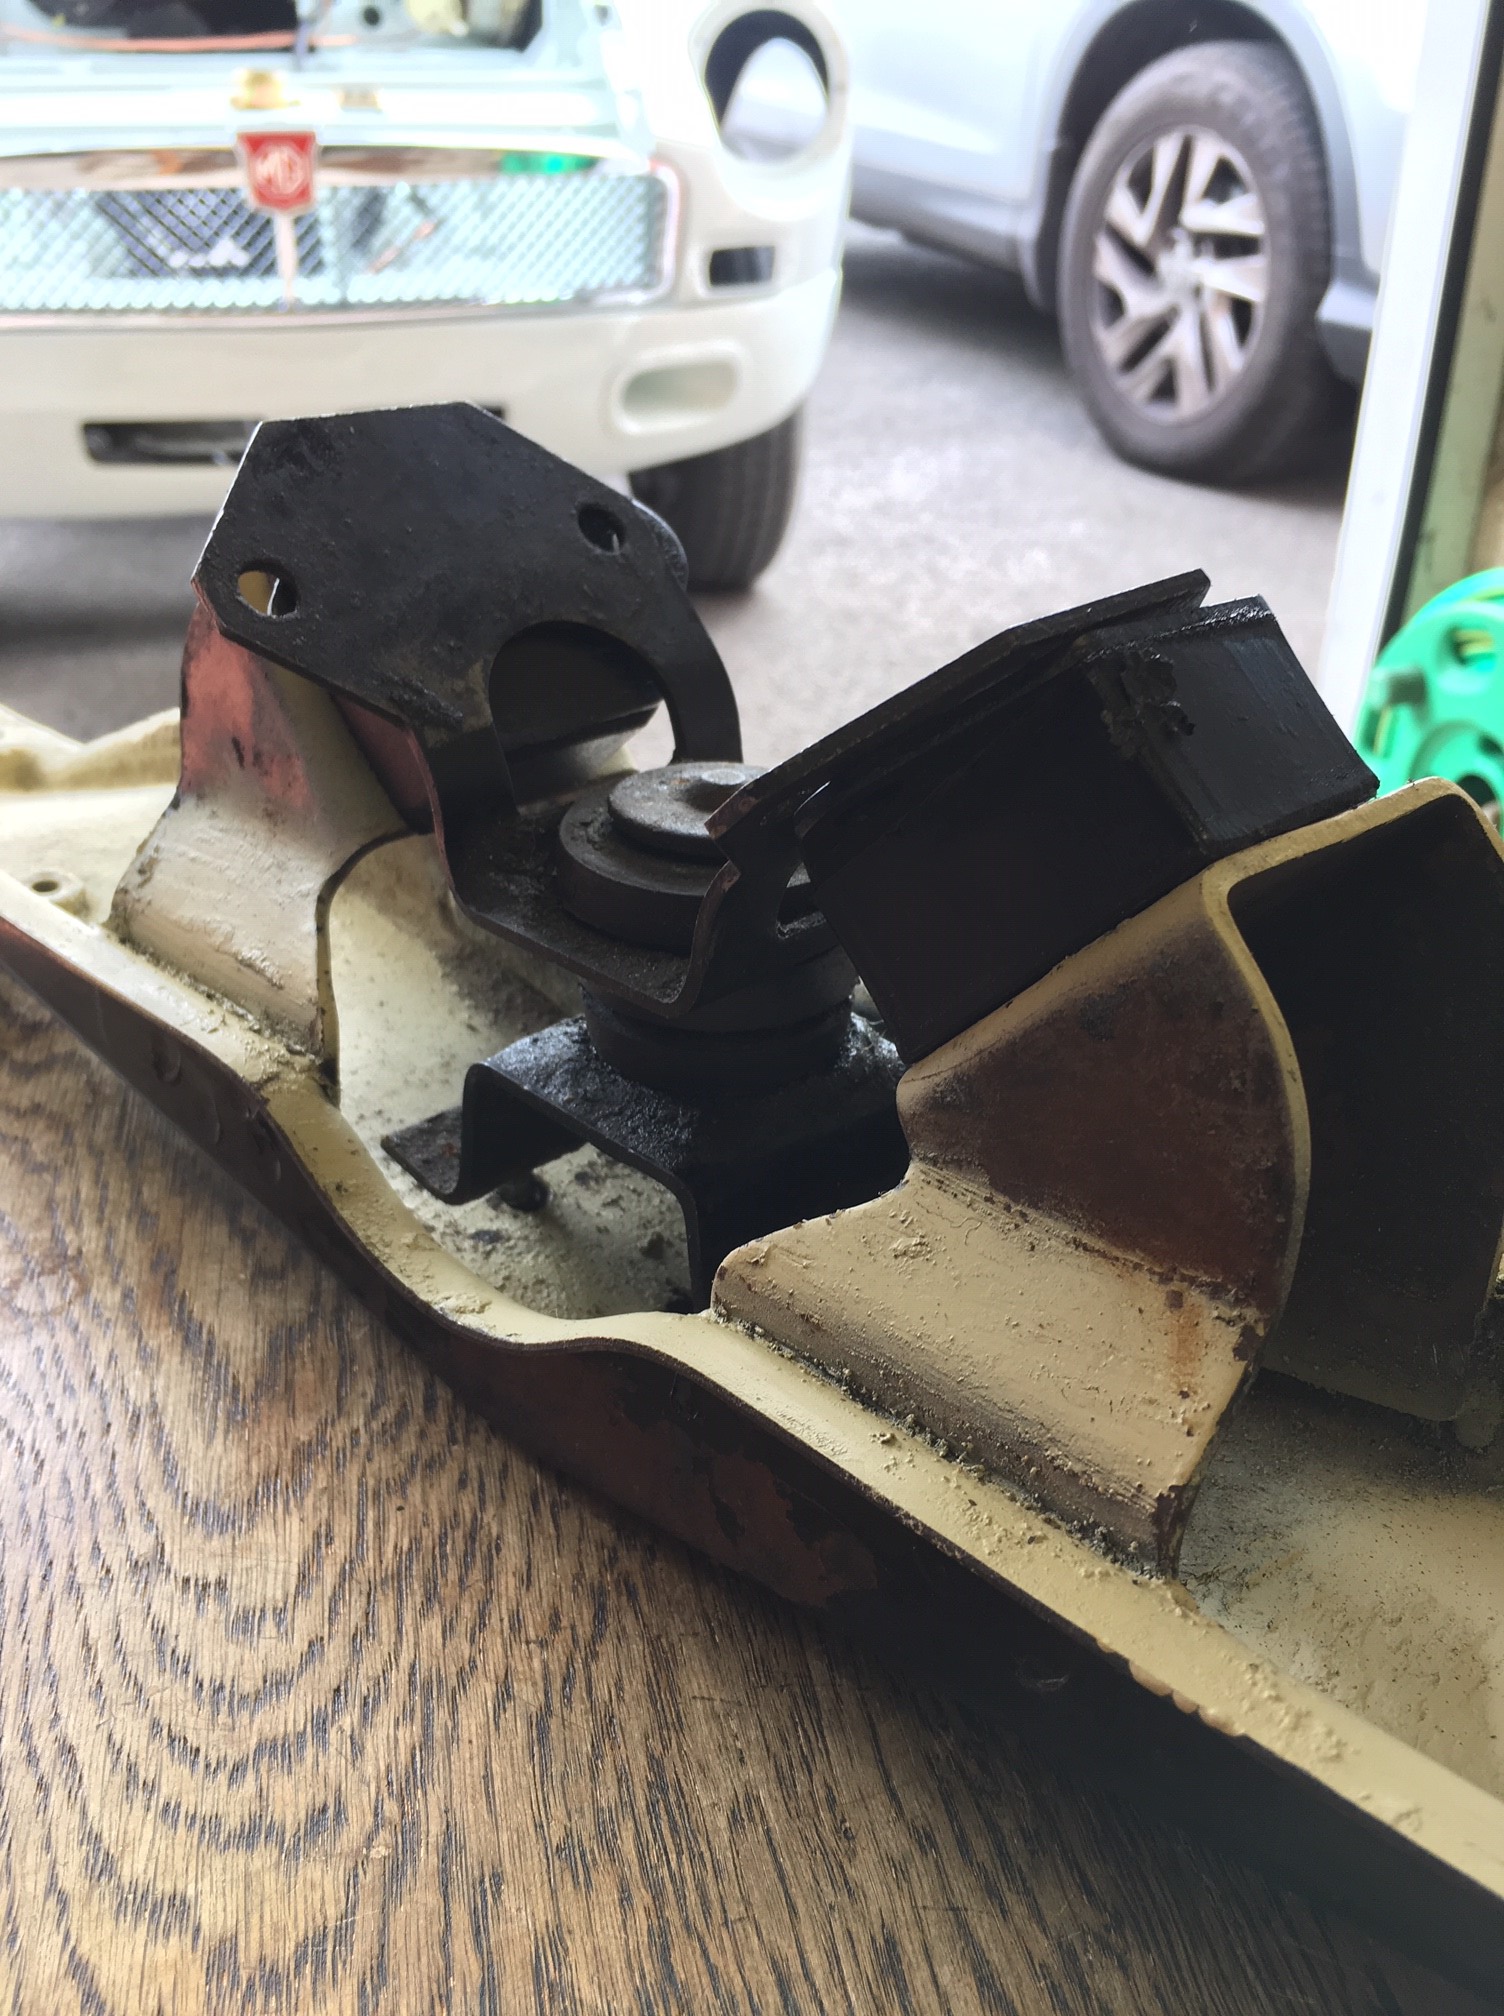
I didn’t have long on Saturday to work on the MG so I had to be selective about what I tackled. As usual, a quick garage tidy is always a good start and I managed to reorganise things to give a bit more room. Then I focussed on what parts I would need to have organised to tackle the engine and gearbox installation. Chief among these is the cross-member and its associated mountings. As I did not take the engine and gearbox out, this involved a bit of guess work in sorting through the bag of nuts and bolts I was given after it was taken out. It actually didn’t take too long to figure it all out, althought it is quite a complex arrangement and I think will be very fiddly to install. See photo below of the mocked up cross-member. Its still in primer as I haven’t finished refurbishing it yet.
The dreaded cross member – how easy will it be to fit this to the gearbox?
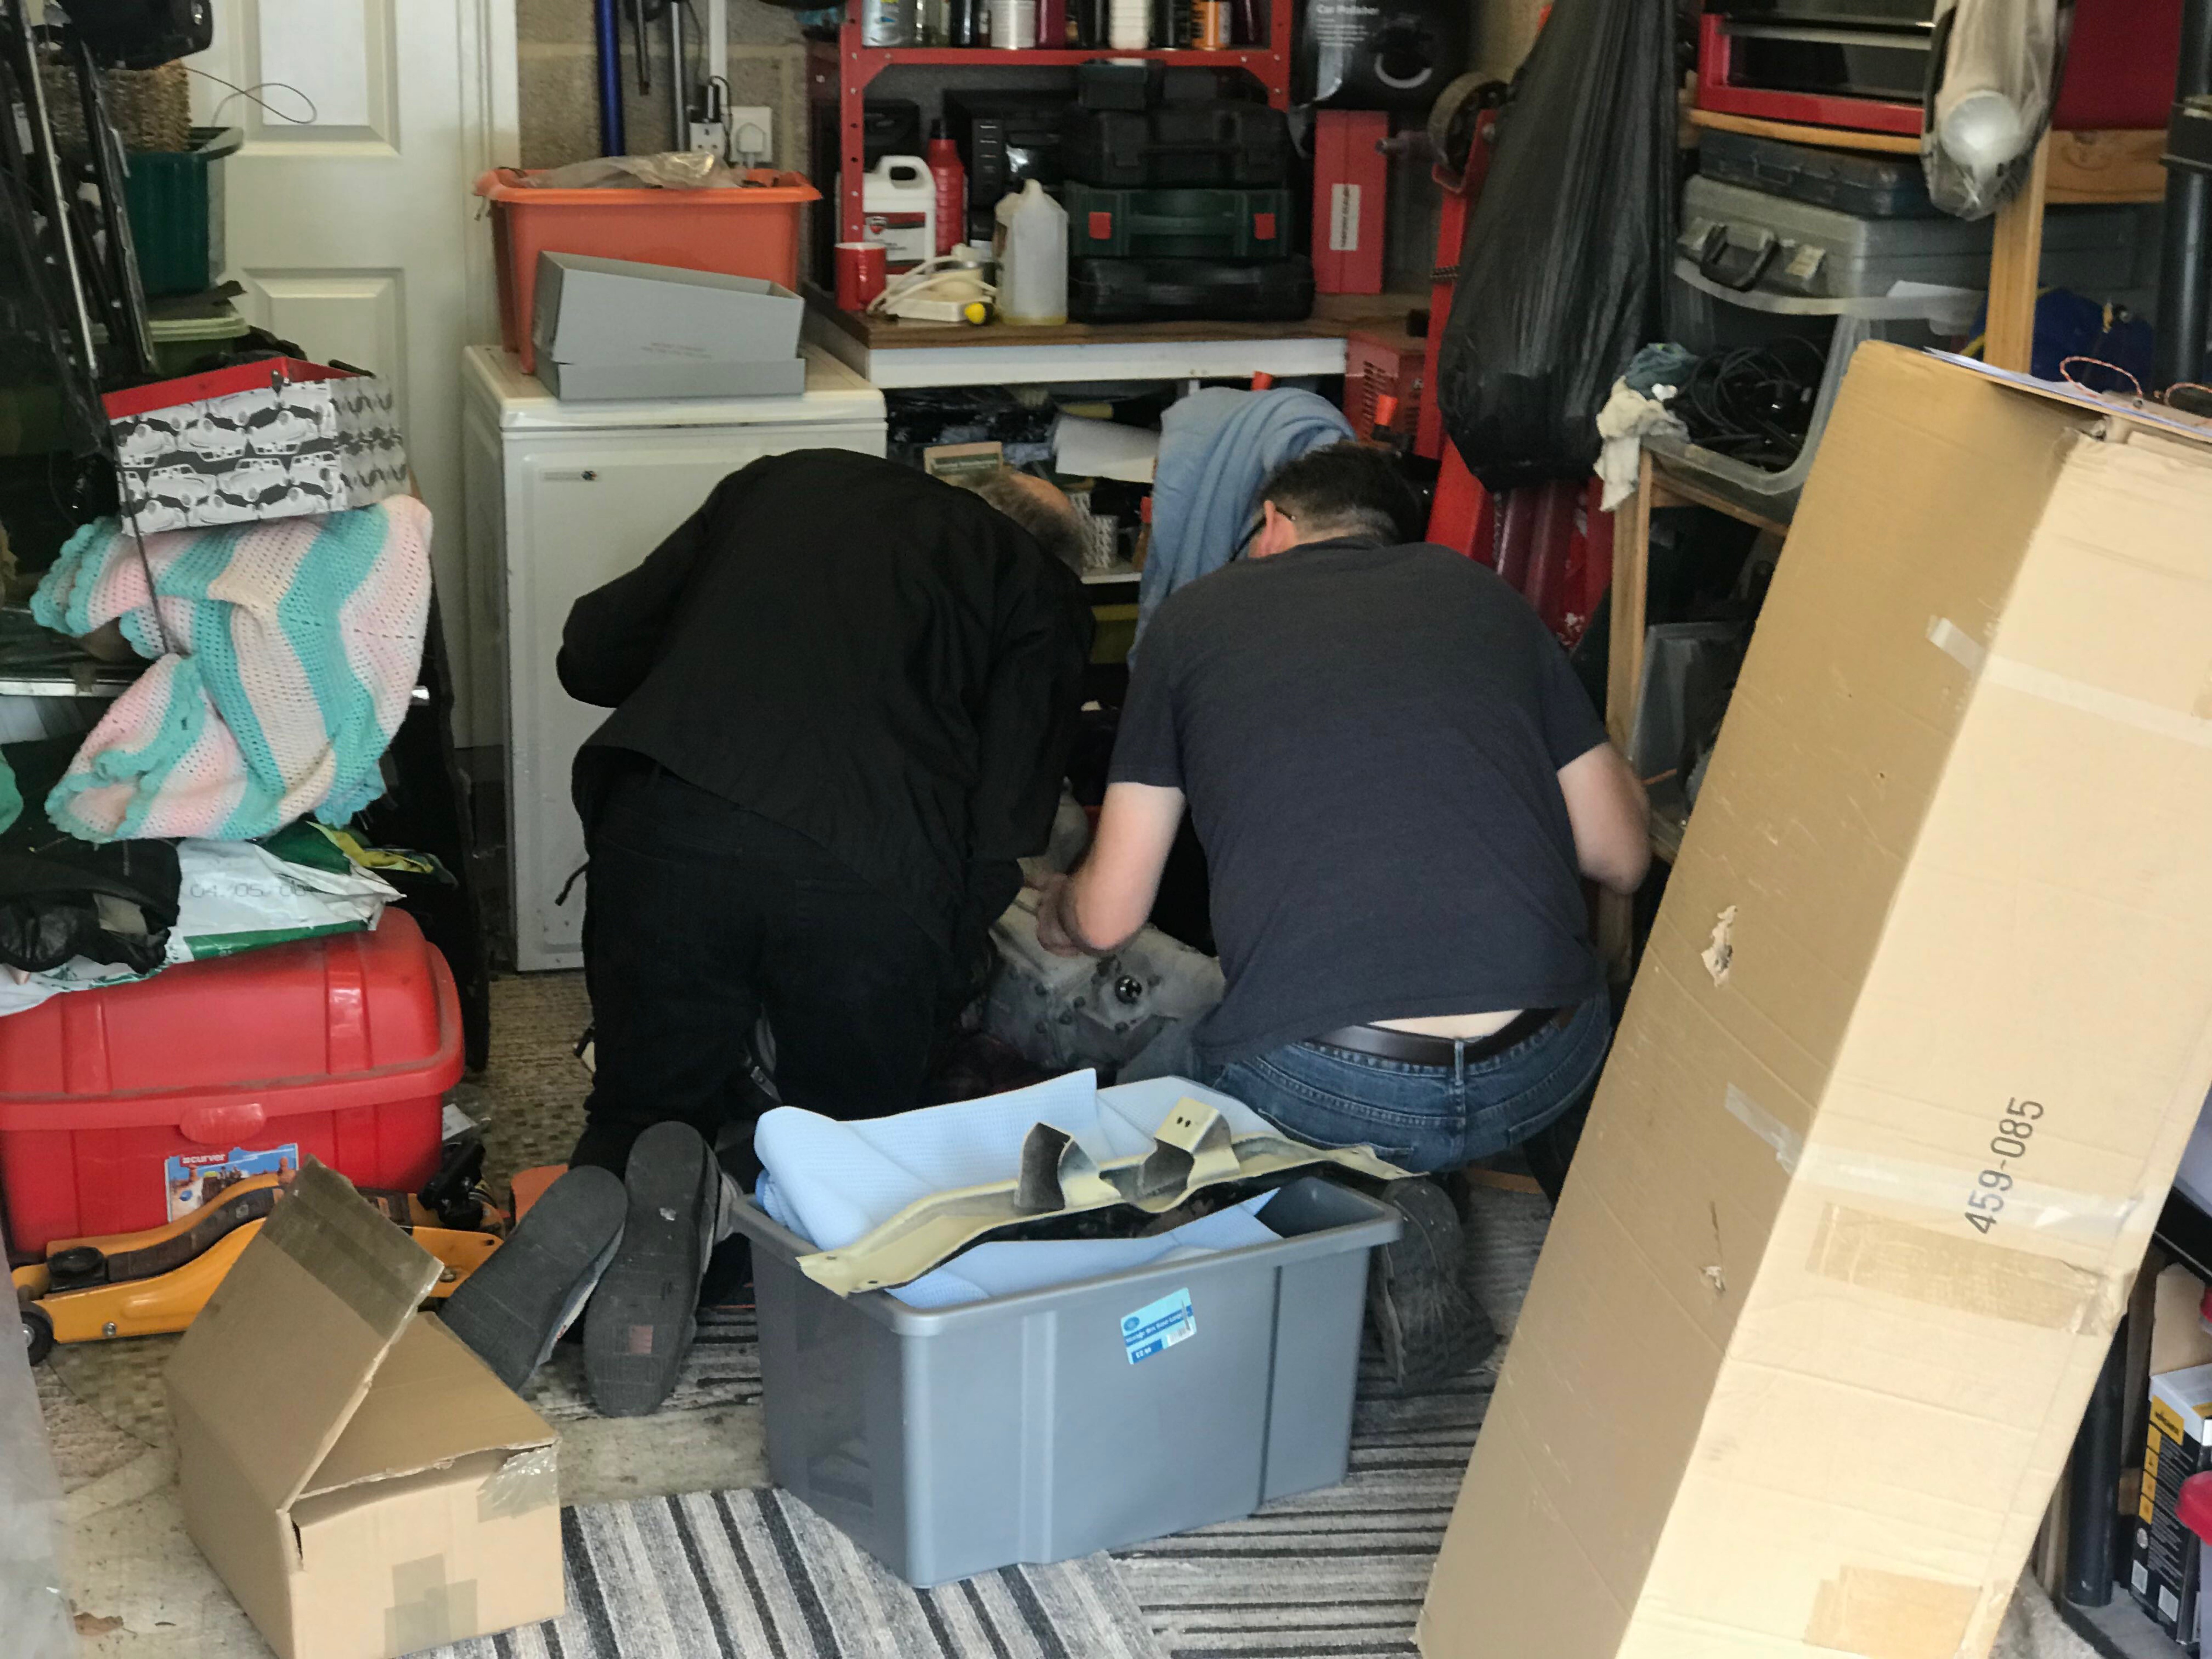
Latest theory from having taken some advice, it to install the gearbox first, then the engine, having trial mated them together first. This is because the combined unit is very long and its challenging to get all the angles to work to fit it in. So I am now focussed on getting this installation done (with a little help from my friends of course) as soon as I can. This won’t be that soon as my 25th Wedding Anniversary is coming up and a holiday to Crete, but after that I am going to focus on this and push on with the job. Wish me well, this next bit could be a challenge!
Had a couple of hours to spend on the MG, but the weather wasn’t playing ball with steady rain. I limited myself to an inside job, although I did push the MG halfway out of the garage so I could move around a little bit easier. Decided to install a front headlight as I had all the parts having recently purchased nice new rubber seals from Moss. The rubber seal is quite a robust piece which sits on the headlight plate (remember that the headlight plates are new, having been installed as part of the respray to address the serious front wing corrosion in this area). When I got the car, the lamp bowls were held in place with big screws, but I didn’t think that British Leyland intended it to be this way so I had previously bought some stubby bolts which I figured could be manouvred to fit. I had already found out on another occasion that longer bolts could not be fitted, so shorter ones had to be obtained.
A gorgeous front end, but the bevel doesnt want to go on
First task was to make holes in the rubber seal for the bolts since as bought they just have markings where the bolts go. Tricky job, but the dremmel made a reasonable job and then a craft knife, carefully wielded to avoid a nasty cut eased them open. With the seal held in place with two lugs, I held the lamp bowl up to the seal and worked the bolts through the holes and then with the other hand reached around under the wheel arch to fit the tiny nut on the end of the little bolt. If anything, the bolts were a bit on the short side, but once tightened up, there was plenty of thread on which to bite as the rubber does compress a bit. A fiddly job. Final task to install the lamp is the clip the chrome bevel onto the bowl and push it home. This didn’t go well unfortunately as the bevel declined all requests to hold tight. I wonder if I have installed something wrong? I am going to have a look at the other lamp and see if I can better understand how the bevel clips on. A quick search on YouTube had some smug restorer clipping it in place with a short tap. Mmm, not how it turned out for me. Anyway, something to overcome along the way, and progress of a sort (maybe too tightly fitted?). Another challenge identified was in the fixing of the combined indicator / side lamp. The fixing for the new unit from Moss has different mounting points to the existing unit so while one side fits nicely, the other fixing misses the aperature and to all intends and purposes needs to be fixed to fresh air. Currently reviewing options on that one, but I am sure I can figure something out and learn some more. All comments welcome!
‘Two hours to do a 15min job’ is how my Dad summarised this Saturday afternoon’s effort. My Dad was a mechanic in his younger days and so when he visited with my Step-Mum Pauline on Saturday it was an opportunity to ask for his help with the MG. His first quip among many was ‘put it on a ramp, Ad’ recongnising that a lot of what I do is made harder by not having a fully equipped garage in which to operate. I remember when as a little boy I would ‘help’ my Dad at the garage where he worked, a British Leyland Dealership with full workshop facilities. When I got into car ownership, Dad would do jobs on my cars and when neccessary we could utilise the ramps to get the car to the right height to work on, not to mention access to air tools and welding equipment. We would also use the PDI bay to polish cars, often bringing tired old paint to life with a bit of elbow grease and cutting paste. Happy days.
A look around my ‘Parts Department’
Back to Saturday and we jacked up the rear of the MG, took both wheels off and had a look at the brake pipes. We replaced the flexible hose (on the o/s) and the short copper brake pipe from the three way union to the o/s drum. The copper pipe needed to be bent to shape and we were able to use the old one as a template.
look at the old chap, in his element
view of the new shiny braided hose
Shout out to Dad for his YouTube channel here 257 subscribers and 39,000 views and counting, take a look. What an absolute legend. Thanks for your help Dad – love you.
So today I fitted the brake and clutch master cylinders into their assembly and then fitted that to the car, including the pedals. Sounds easy doesn’t it, but it took a while believe me. First I had rashly mounted the pedals to the assembly and then when I took it to the car realised that the pedals wouldn’t fit down the hole. So I took it apart again and mounted the assembly sans pedals. This went quite well although at one point I had to lie upside down in the footwell to do up the nuts and that involved some interesting contortions, hence the MG yoga title above.
With the master cylinders in place I can now imagine the first job involved in replacing the brake lines which is to fit the first two lines which come from the master cylinder. This involves them coming out of the cylinder and then performing a 180 degree turn so that is going to test my pipe bending skills. Might get some help for that bit! I did have Mark on hand today to help me fit the bonnet gas struts but with it being a windy day (Storm Hannah), we thought better of doing a delicate drilling job in a gale and instead had a good look at the brake kit which seems quite organised.
After a pleasant meal out with colleagues I returned to my chalet (I’m working away at present) and got the carbs out on the table to do some more work on the cold start enrichment mechanism on the rear carb, which I will call the choke from now onwards. Despite some earlier efforts to clean this up, the mechanism was still so stiff that the return spring couldn’t well, return it.
So I stripped it down again and sanded the surfaces with some 1200 grade sand-paper. On reassembling it still wasn’t very free, so I took it apart and used some 800 grade sand-paper and concentrated on what appeared to be some corrosion within the body of the carb which I think was causing the friction. The frustration is that when loosely inserted it moves freely and only tightens up when fully assembled. Sigh. End result, moving better, but still not enough, so another strip down and sand is due, but not tonight because I don’t want to be doing this all night!
On the plus side, I am cleaning more bits as I strip them and I am getting to know how it all fits together, which can only be a good thing for the future.
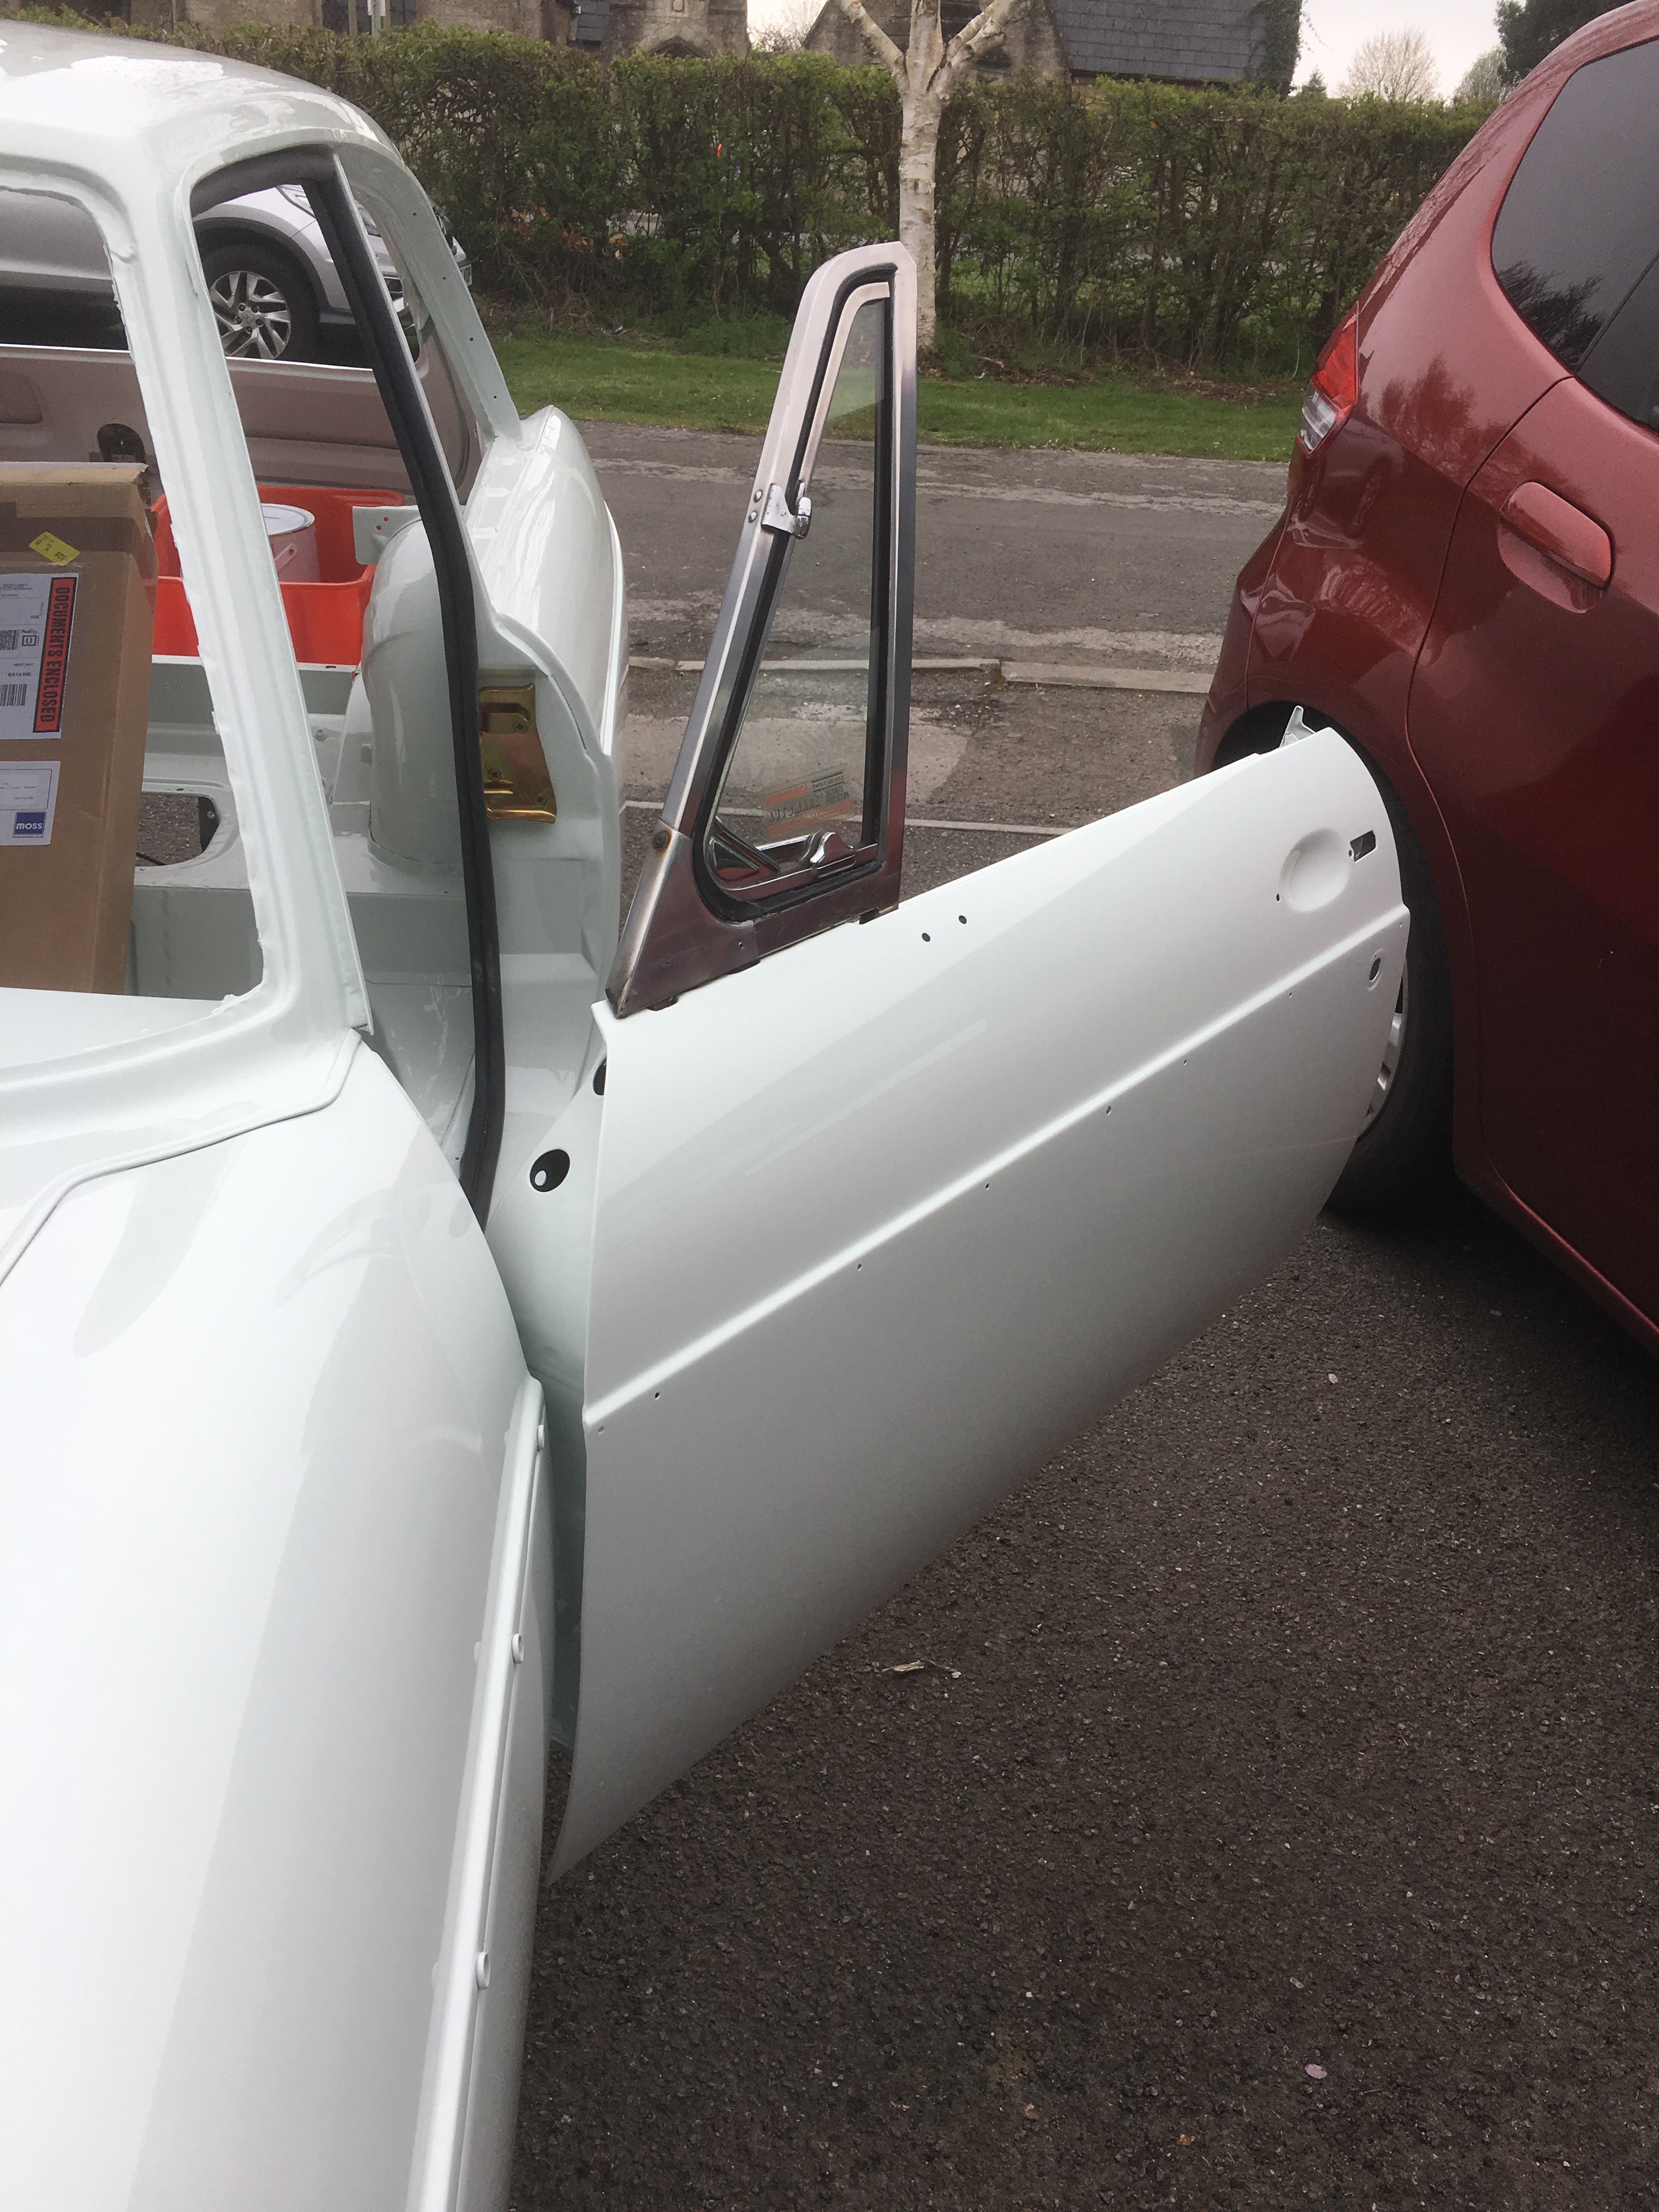
First opportunity this morning, since the respray, to push the MG out of the garage and look to see what jobs could be done. Noting that I haven’t got the harness yet or the brake pipes I can’t get started on the critical path items, however I am able to put components back on the car which need to be done sometime and which don’t affect anything else.
So I bolted the quarter lights back on to the doors, easy enough as I could remember how they came off. It was a bit awkward feeding the leg through the narrow slot at the top of the door without scratching the new paint, so I wrapped the end in a cloth bag and eased it through the gap at the middle of the door where I could make a bit more room. After this I was reacquainted with the very long threads on the bolts and the restricted access to them.
Just to be make room in the garage I also put the spare wheel into its recess, laid the cover over it, put the battery into its cradle and put the loose rear seat base in place. Well why not.
I also put the heater into its place to try to reacquaint myself with this unit which is an early fit item as the brake lines run past it under the bonnet. Nothing screwed down, just getting a feel for it really.
One annoyance was when I went to bolt in the engine mounts to find that at the MG spares day I had bought two o/s mounts instead of a pair of each. What a dummy.Still, not an expensive item, just need to buy the right one now.
Had some passing interest as I was working on the MG including a dog walker who came up to say hello and tell me about that he had built a Westfield 21 years ago. We had a nice chat and as I’ve said before, this project is about the experience and the people I meet as much as the end product. A nice morning’s work.
Treated myself to some easy time in the garage today. I had a grub through a few boxes and made a pile of parts which are not going back on – water pump, distributor, oil cooler and hoses. I haven’t decided whether to hoard these in the long term or just toss them. I think once I have rebuilt the MG I will cart them off to the recycling centre. It helped to thin out the piles a bit. I also sorted a few of the boxes a bit better – all the heater components in one place, that sort of thing because it didn’t all come off at the same time. I can then concentrate on one system at a time when I rebuild, that’s the idea.
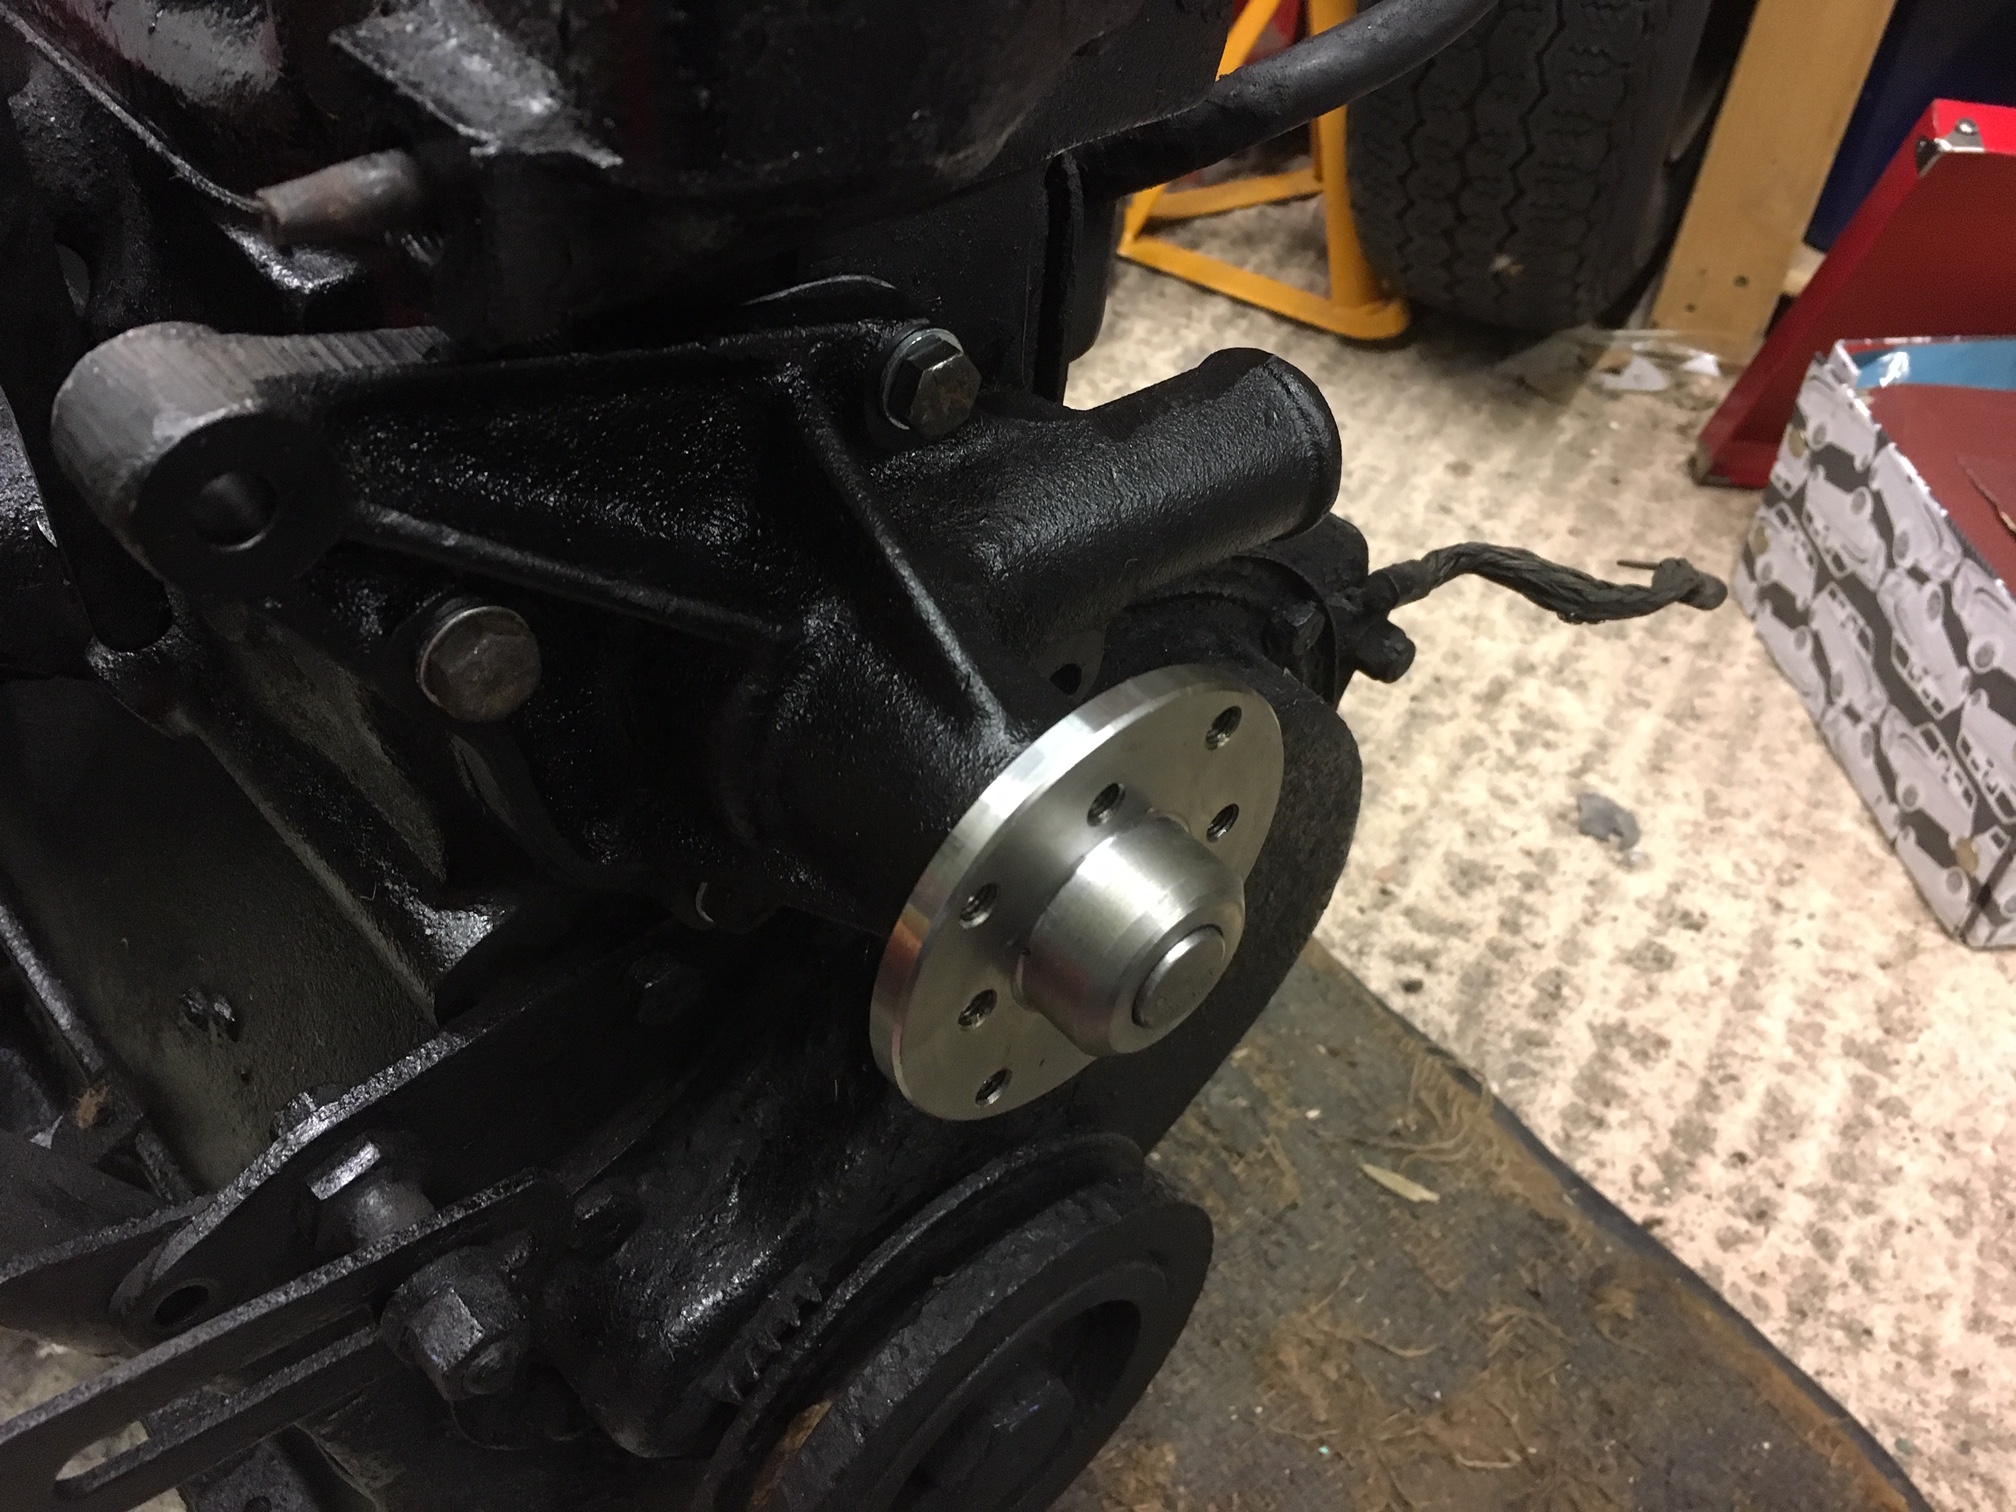
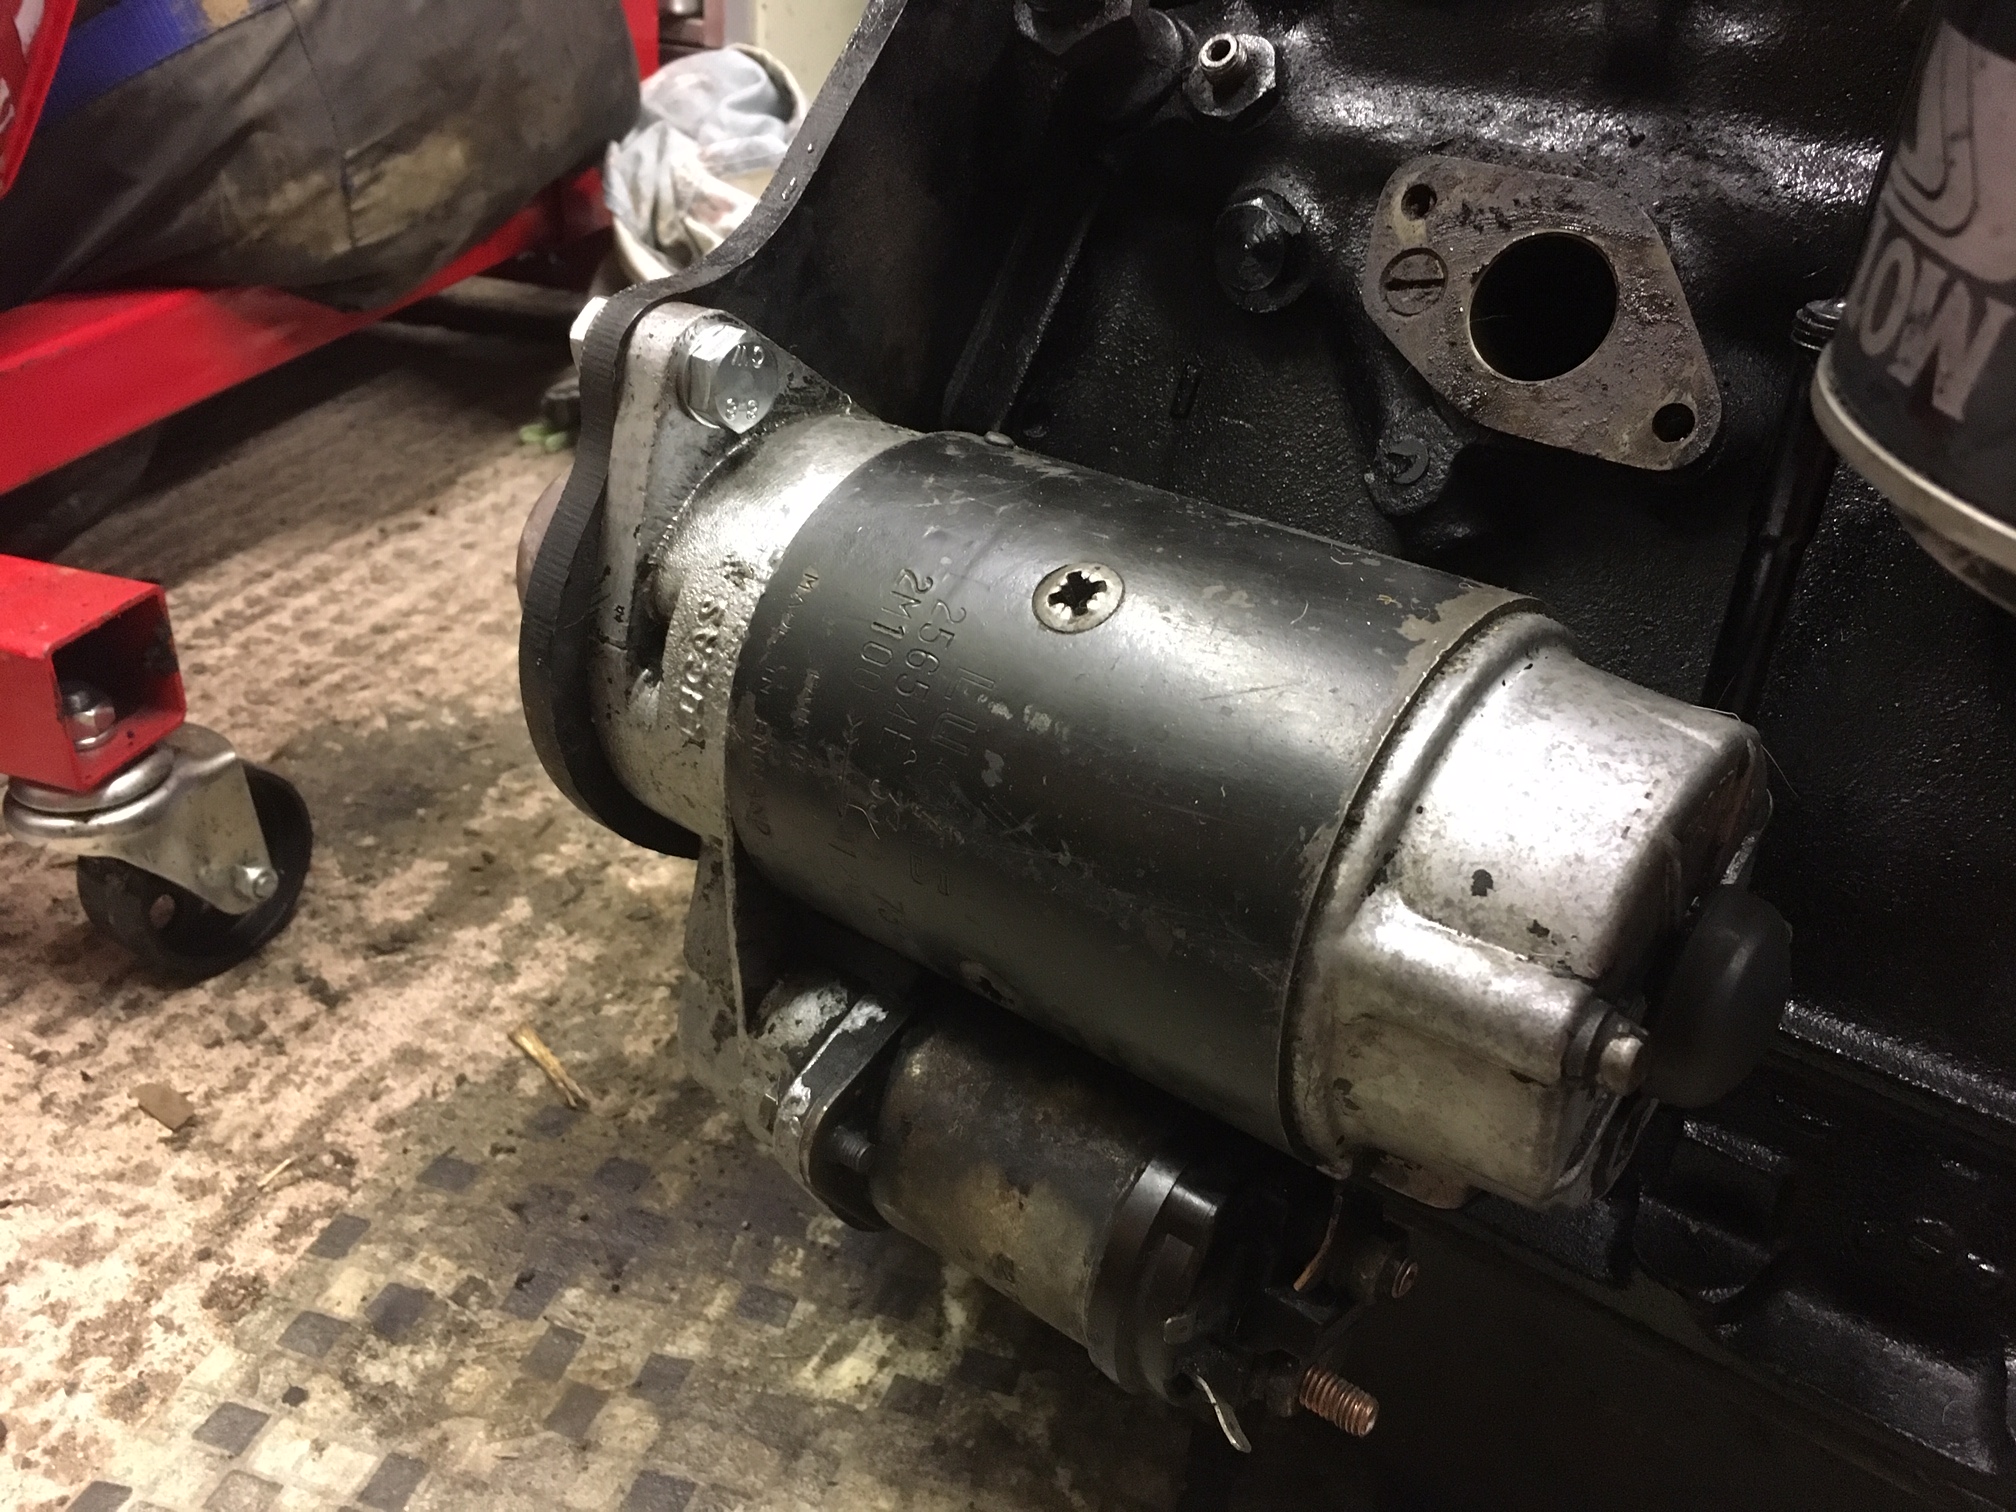
I did take a couple of steps forward though. I trial fitted the starter motor which goes back in place very easily and I fitted the new water pump in its place, together with its new gasket. I realised in doing this, that I needed to get the pulley off the old water pump (I presume it comes off). The pulley appeared to be held in place with four bolts, which I did manage to get off, but they were extremely tight. As it was a 7/8 fitting, I was using my mini-socket set, which is great but it doesn’t get much leverage. I did manage to get them all off without rounding them off or snapping them, so maybe I am learning something here. However, this effort was not rewarded with the pulley separating from the water pump, so I will need to investigate further or consider buying new.
Attempting to remove the pulley from the old water pumpThe new water pump in positionThe Starter motor bolted back onto the engine
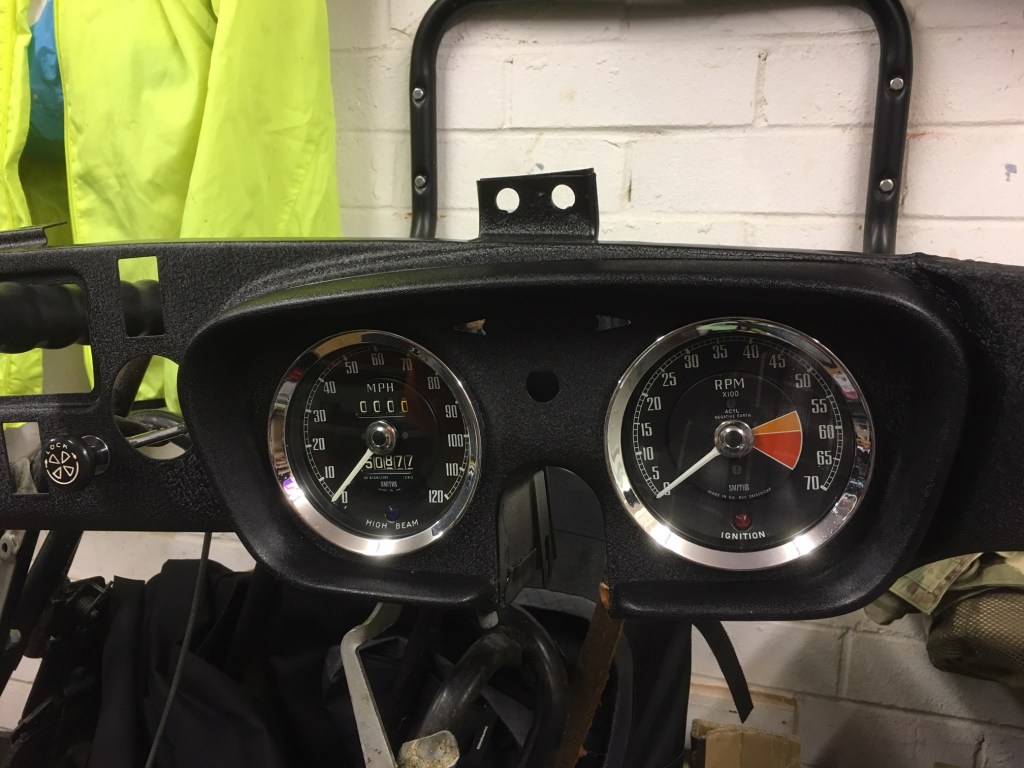
I also trial fitted the rev counter, speedometer and choke knob to the dashboard just for fun. First I dug out the dashboard cowl (a plastic item on this MGB) which needed a good clean and then treatment with an Autoglym trim product which feeds the plastic and makes it all black and shiny. I fixed the cowl back in place with the original screws which I HAD CAREFULLY stored when I removed it. It amused me that the cowl had been such a pig to remove when I had done this in the summer with the dash in place, so needing me to feed my hands through behind the dash. What a muppet I was attempting that, anyway, lesson learned and that all part of the fun. The grazes to the back of my hands have healed up anyway so no harm done!
Trial fitting the gauges
So that’s it, barely an hour’s work in total, but it was nice to just take my time and the rebuild is all about putting back new, or at least cleaned up stuff, rather than the strip down which was about penetrating years of grime. Working for the rest of the week, so no progress on the MG although I’ve got some researching to do and purchases to ensure the paintshop can continue to progress.
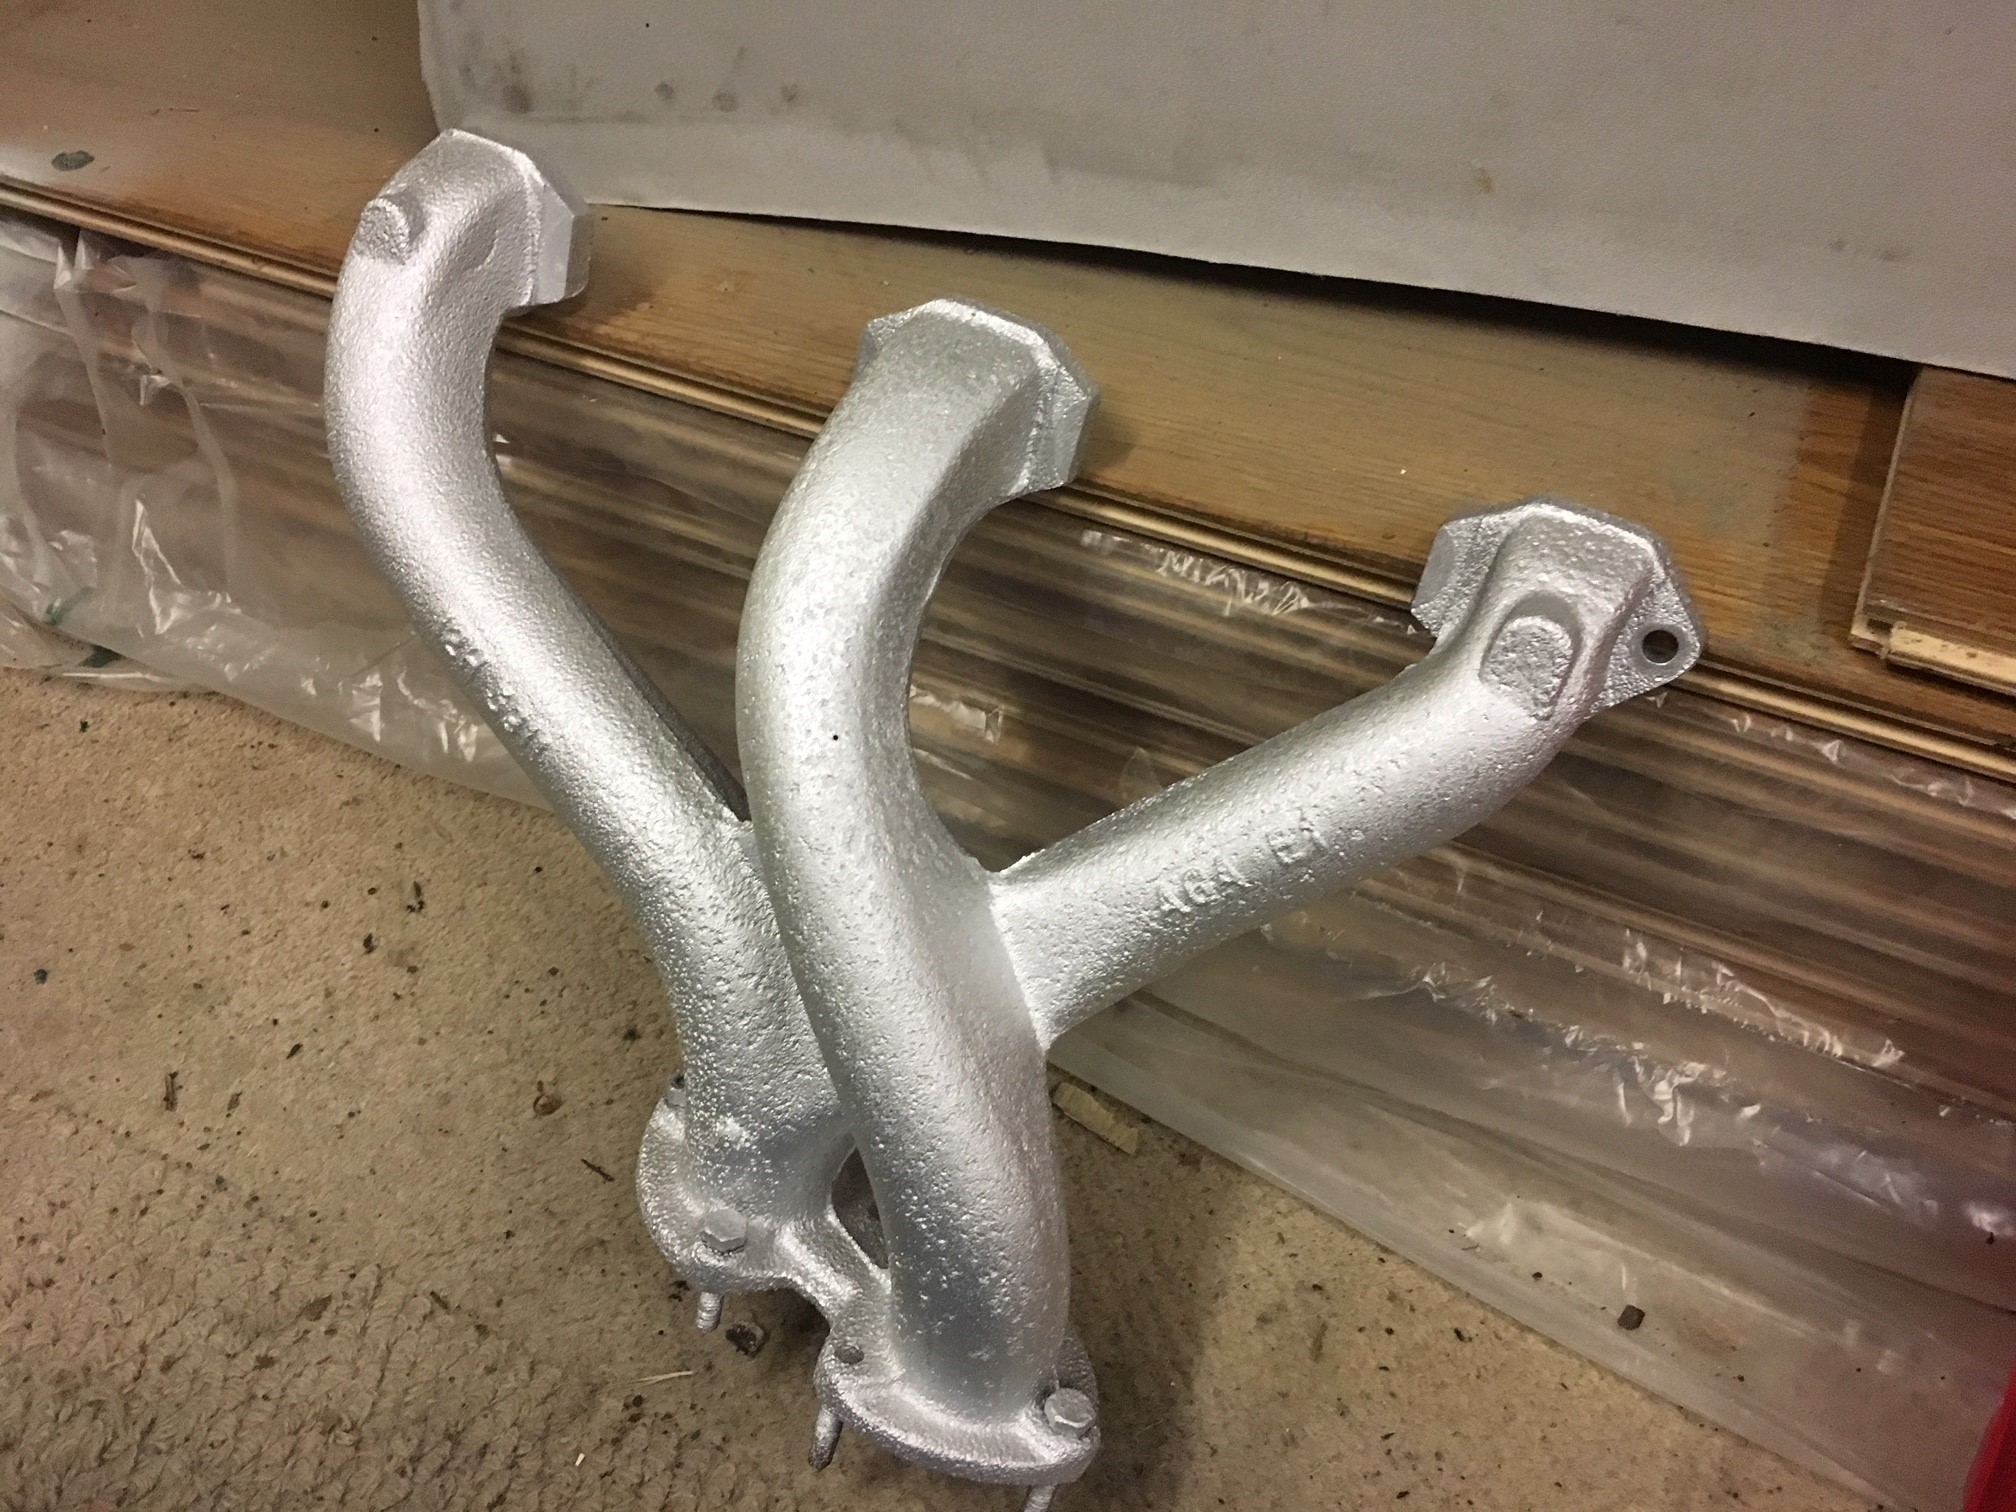
While the MG is away being resprayed, I am preparing what I can ready for re-installation. For example, the exhaust manifold was sand-blasted so needed painting, so I got some shiny silver VHT (Very High Temperature) Paint and gave it a blast over. Its rated to over 800 degrees so should be okay on the exhaust. It will look great in the engine bay!
The manifold didn’t look like this when I first got the car!
Rummaging through the boxes of parts I came across the chrome strip that goes across the fascia, so I cleaned it up and refitted it, along with the lock which I found in another box. Pleased with how this looks and I will be gradually adding other bits to the dash over the coming weeks. While I was sorting through the parts, I also dug out the face-level vents which were quite dirty, so I washed them up and put them on the kitchen drainer. Later Helen enquired as to why there were car parts in the kitchen leaving grubby marks on the drainer and pointing out to me that we had a sink in the utility room for such purposes. Point taken.
The glove box looks great with its chrome strip back
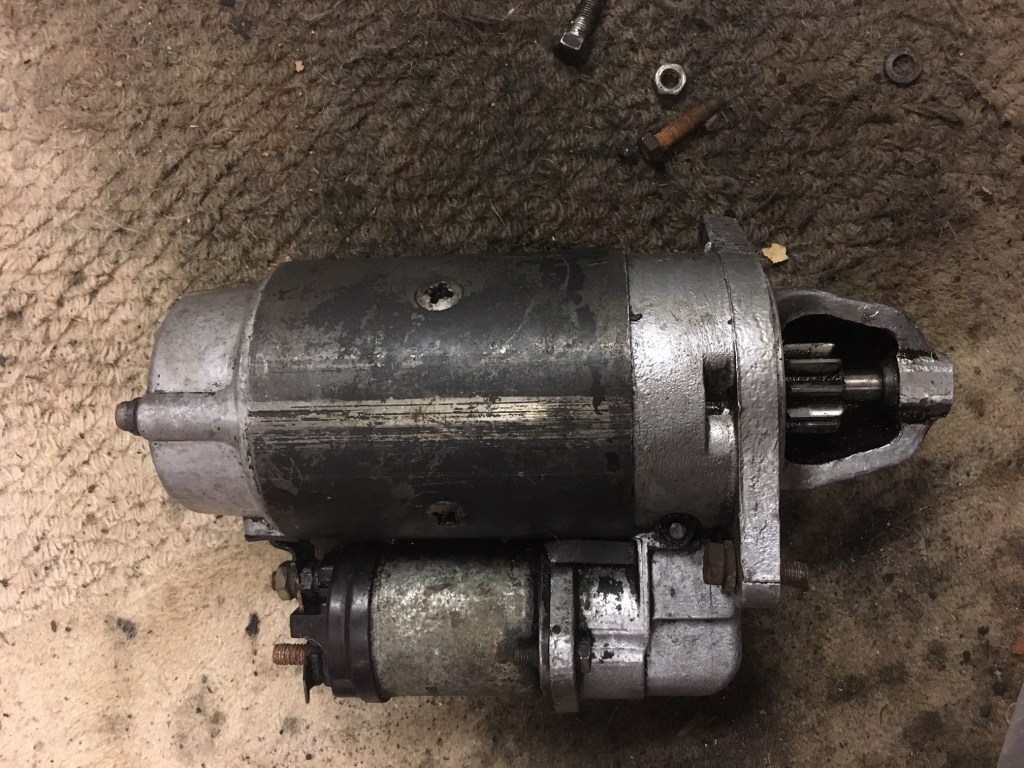
Final bit of progress today was a thorough clean up of the starter motor. I applied a de-greaser and then rubbed off the grime with cloths and a bit of poking with a blunt screwdriver. I then attempted to fit it back on the engine, but unfortunately I couldn’t locate the correct bolts. I did find some likely looking bolts which were very rusty, so maybe it would be best to buy new in this case.
The cleaned up starter motor, ready to refit
So some small steps today, but it all represents forward progress. I heard from Gavin at Reef that they hadn’t made much progress this week due to other work, but I’m not bothered as I’ve got plenty to be getting on with and with the Cappuccino back outside under its cover, I have the whole garage in which to work. Tomorrow I am going to the MG and Triumph Spares day with a long list of things to look out for (if not actually buy), so I am looking forward to a fun day, and Phil is coming too.


 With the master cylinders in place I can now imagine the first job involved in replacing the brake lines which is to fit the first two lines which come from the master cylinder. This involves them coming out of the cylinder and then performing a 180 degree turn so that is going to test my pipe bending skills. Might get some help for that bit! I did have Mark on hand today to help me fit the bonnet gas struts but with it being a windy day (Storm Hannah), we thought better of doing a delicate drilling job in a gale and instead had a good look at the brake kit which seems quite organised.
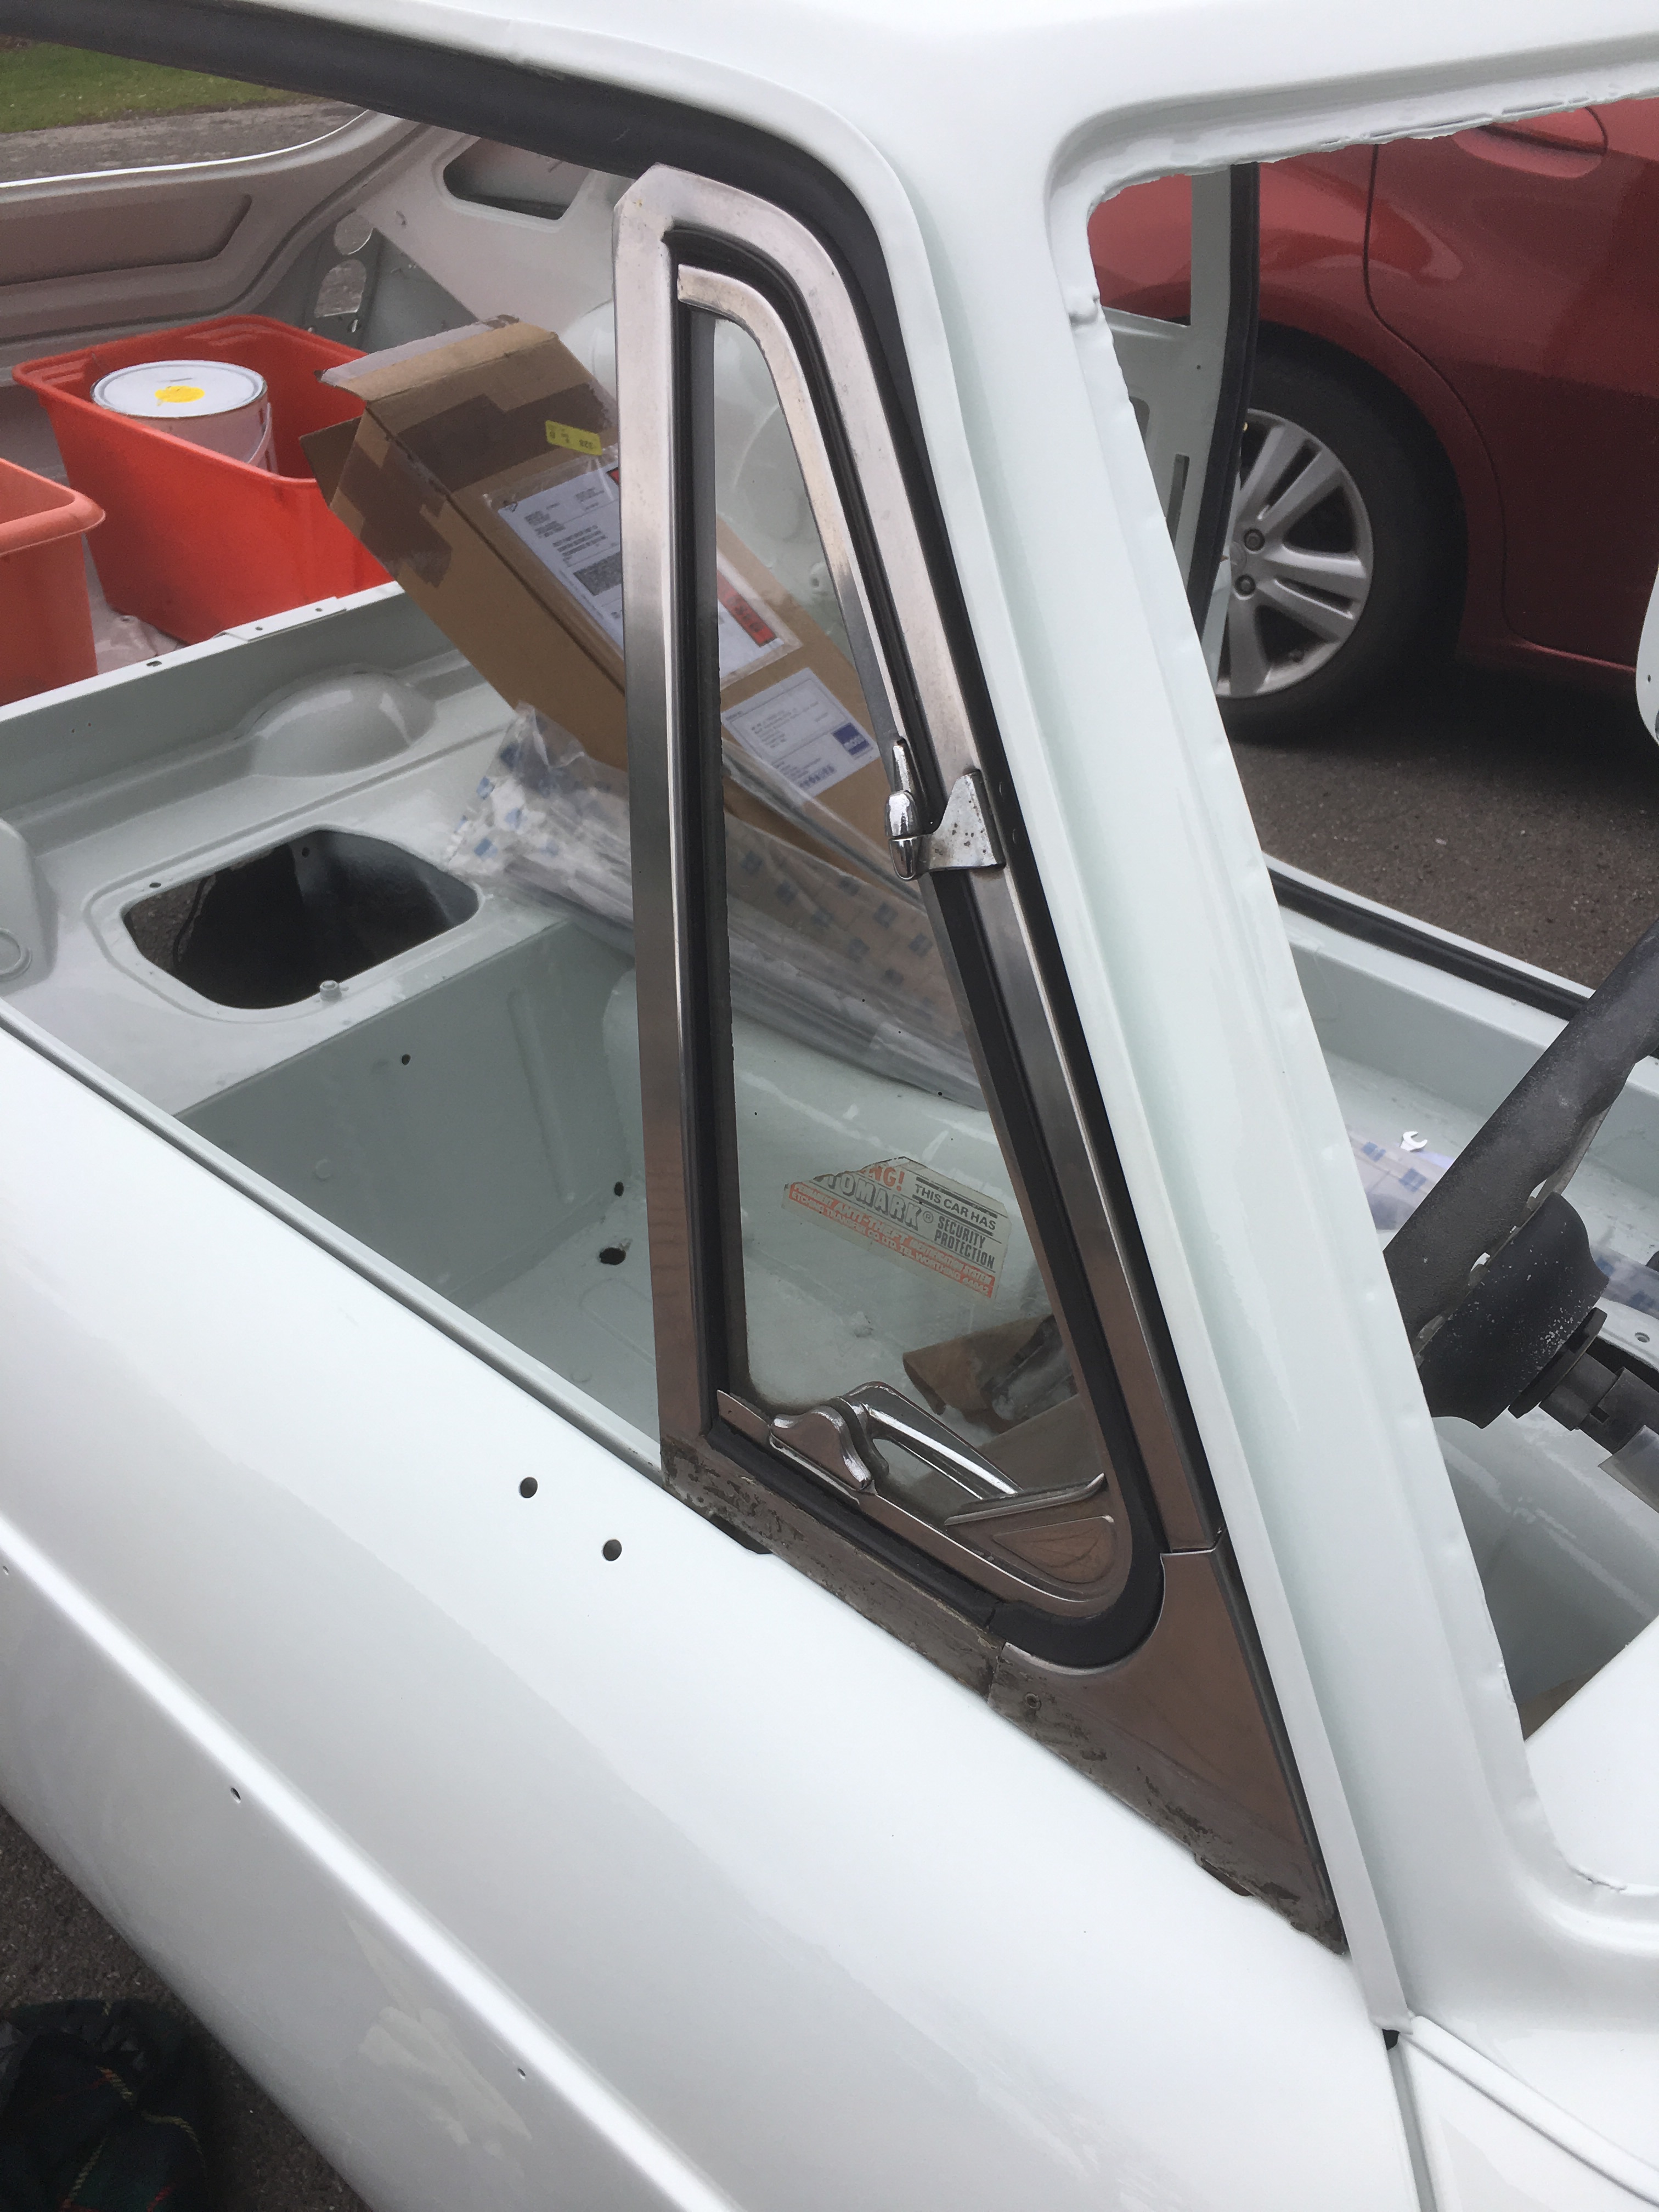
 Just to be make room in the garage I also put the spare wheel into its recess, laid the cover over it, put the battery into its cradle and put the loose rear seat base in place. Well why not.
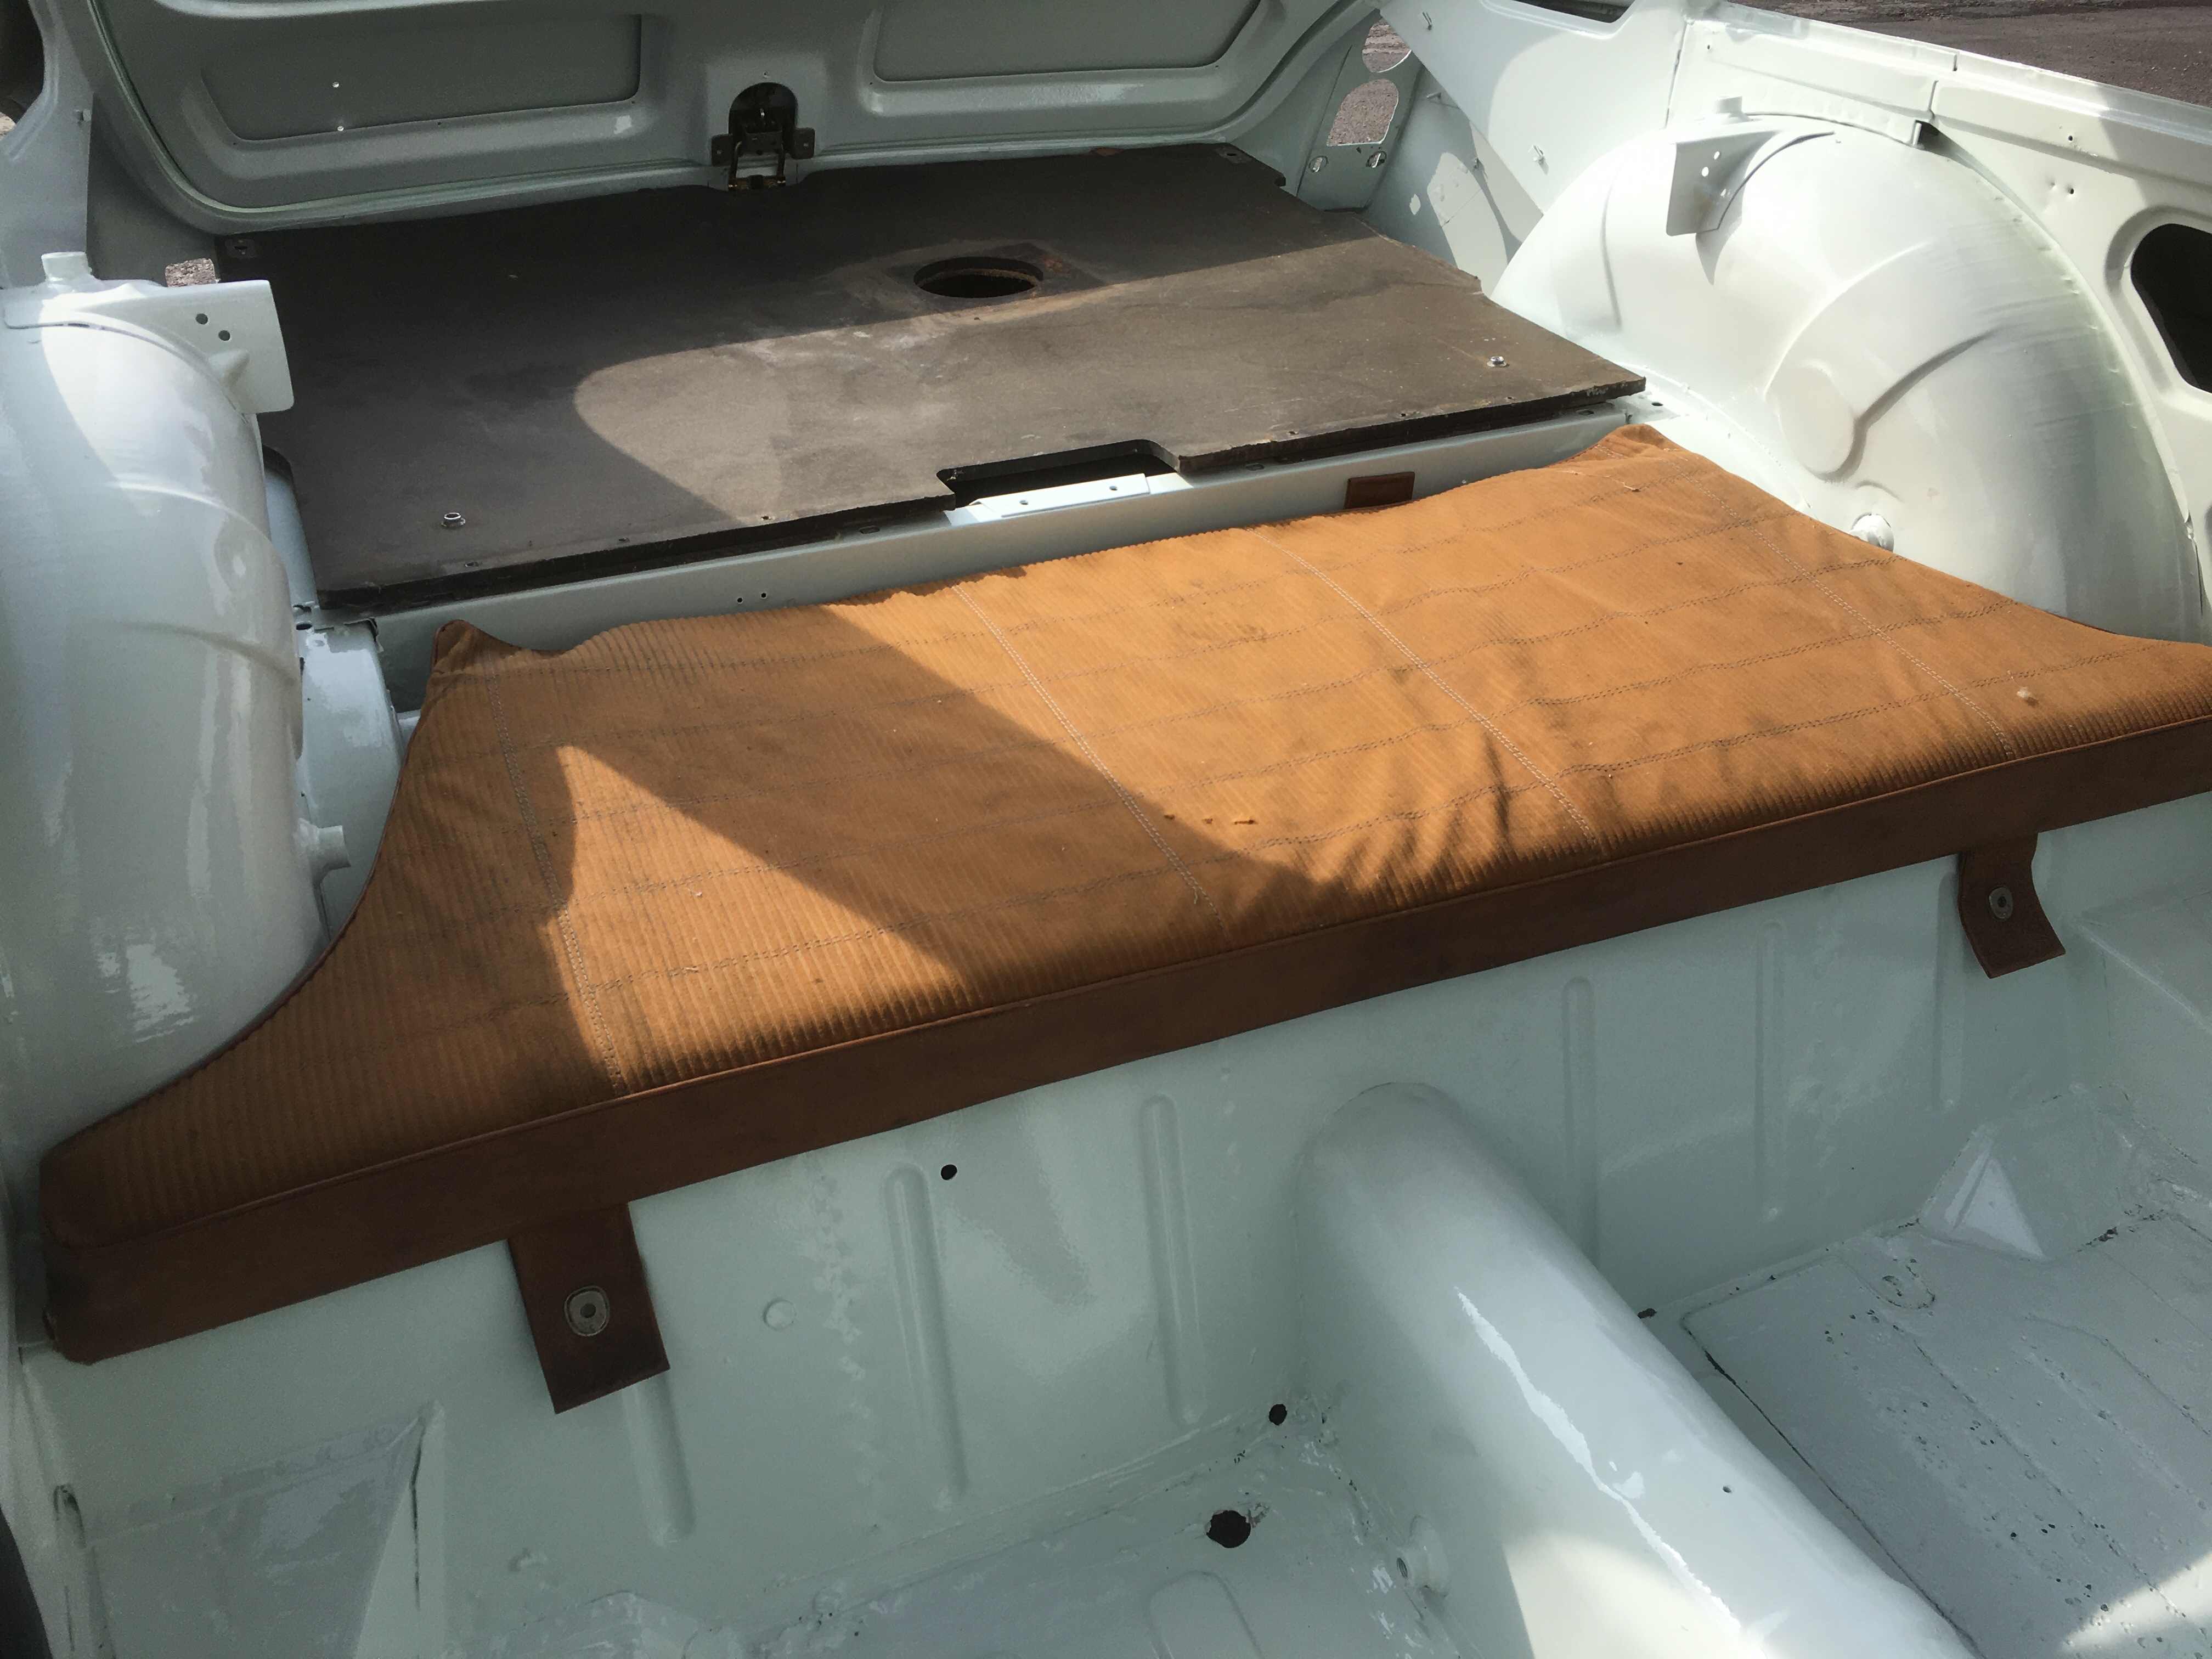
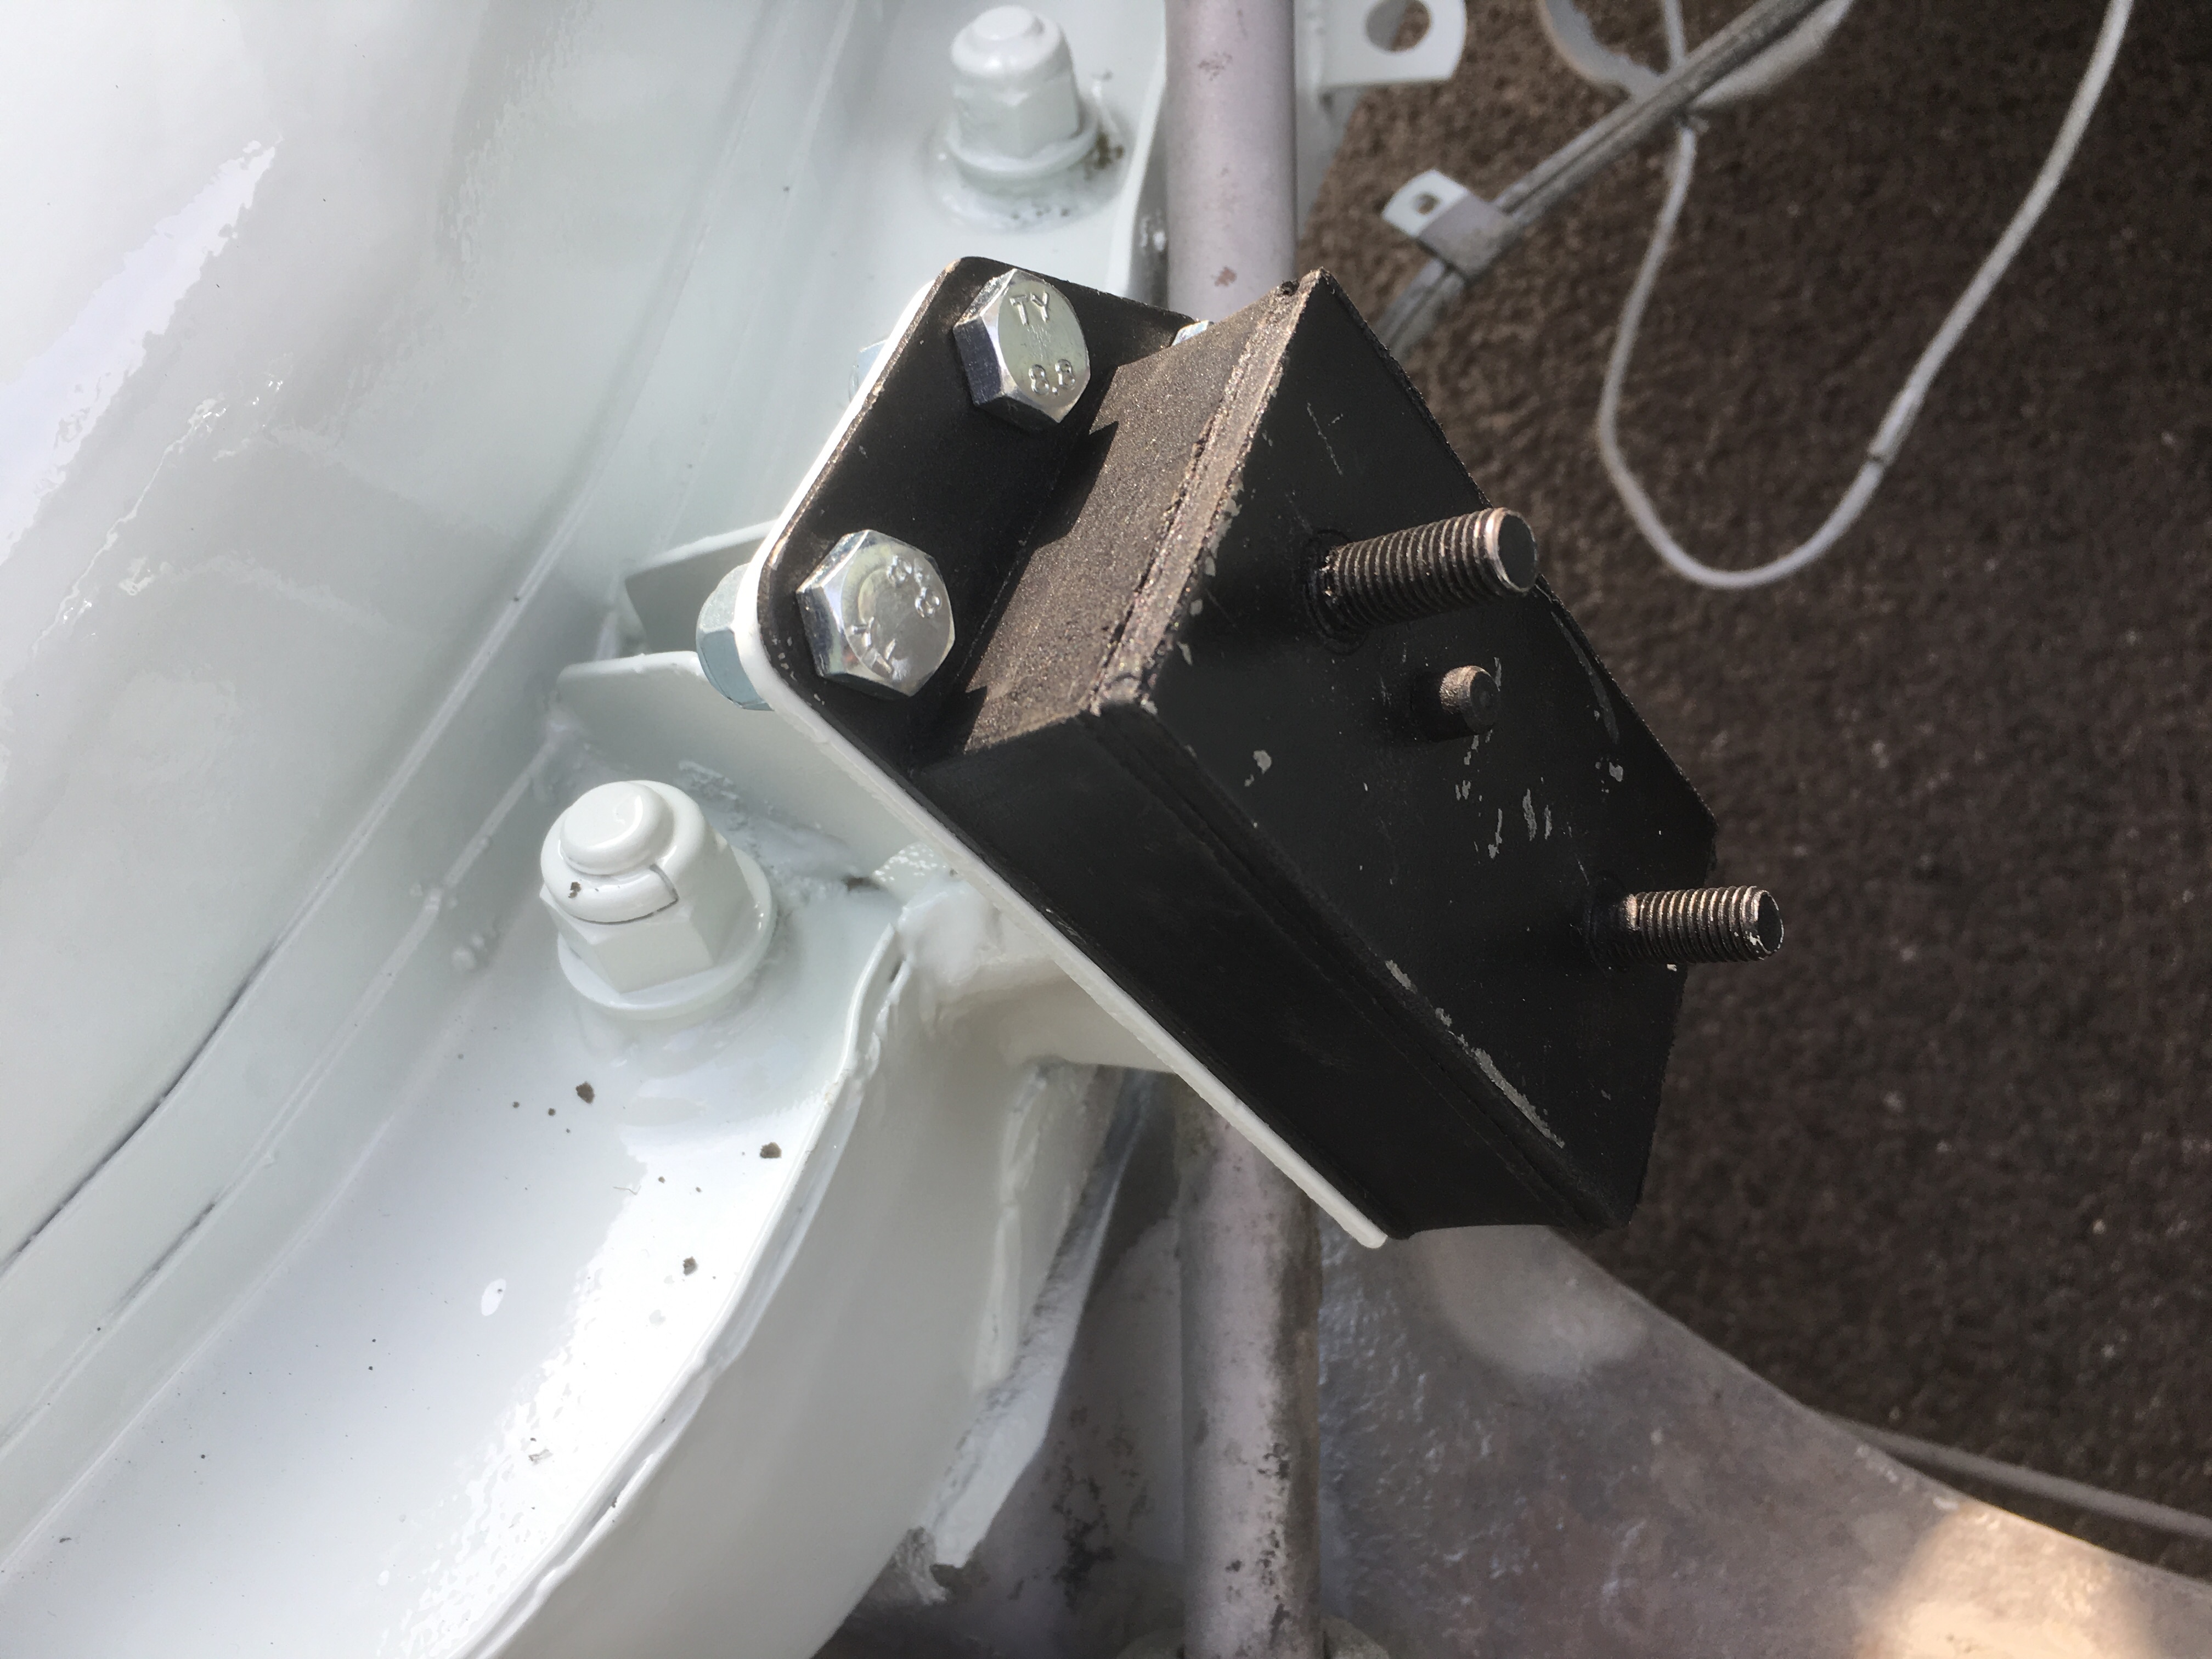 Still, not an expensive item, just need to buy the right one now.