Having established at the weekend, with Matt’s help, that the carburettors were blocked, and having consulted the ‘MG helpline’, A.K.A. my Dad, I found time this evening, with the help of my friend John, to investigate the problem. The UK was in the middle of a heat wave, one in which the temperature and humidity peaked between 5pm and 6pm arond 30 degrees, which was when we started to look at the MG. So the only right thing to do, while we wheeled the MG out, was to crack open a couple of cold beers and take a leasurely look at the problem. With John on board, this was going to be a logical approach to problem solving. Having already proven fuel would flow up to the carbs, we now knew the challenge was with the carb itself.
Step 1: Use a footpump to attempt to blow air into the carb. Result: No air passing through. Conclusion: Float/Needle valve stuck
Step 2: Remove carbs. Removing the carbs in theory is easy, its just four nuts. In practice, its fiddly, because the nuts won’t come off without waggling them to the end of the studs and then getting the angle just right. Having two people on hand is a definate advantage here, unless you are an octopus. Next challenge was to keep the carbs together with the linkages intact. To do this, we had the idea to use the plate that holds the air filters as a sort of jig. That took a bit of work to get right, but without (much) swearing, the carbs rattled free of their studs and were on the work bench.
Step 3: Remove float chamber lids. These come off easily enough, although the ‘O’ ring on the front carb hopped out of its slot and showed little enthusiasm to pop back in. Using the footpump and with the float valve open we used the foot pump again to add pressure and with a nice ‘pop!’ the needle valve on the rear carb freed itself. Surely the front carb would do the same, but it wasn’t shifting, so John tickled it with a pair of fine tweezers and before long both carbs were wheezing along in harmony at each press of the pump. How satisfying.
Step 4: Reassemble and refit the carbs. Hmm. That float chamber ‘O’ ring did not want to play ball and needs to be replaced, however, we think we teased it back in place and made a seal on both float chamber lids. We then man handled and wiggled the carbs back onto their studs, tightened them up and connected the breather pipe, fuel line, throttle and choke linkages.
Step 5: Test start the engine. ‘Hang on a minute,’ said John ‘didn’t you say that the fuel pump and coil are always on when you connect the battery?’ A discussion ensued in which John advised me against firing the engine when we are not confident of how the wiring was configured. So we disconnected the ignition switch and using a multimeter, identified what the various terminals were and then attempted to connect the correct wires. As we were nearing a conclusion on this, the rain came in heavy so we abandoned the task for the day having made some actual progress, but with some work to go to achieve sustained running.
-

Get this right and it will start -

These beauties -
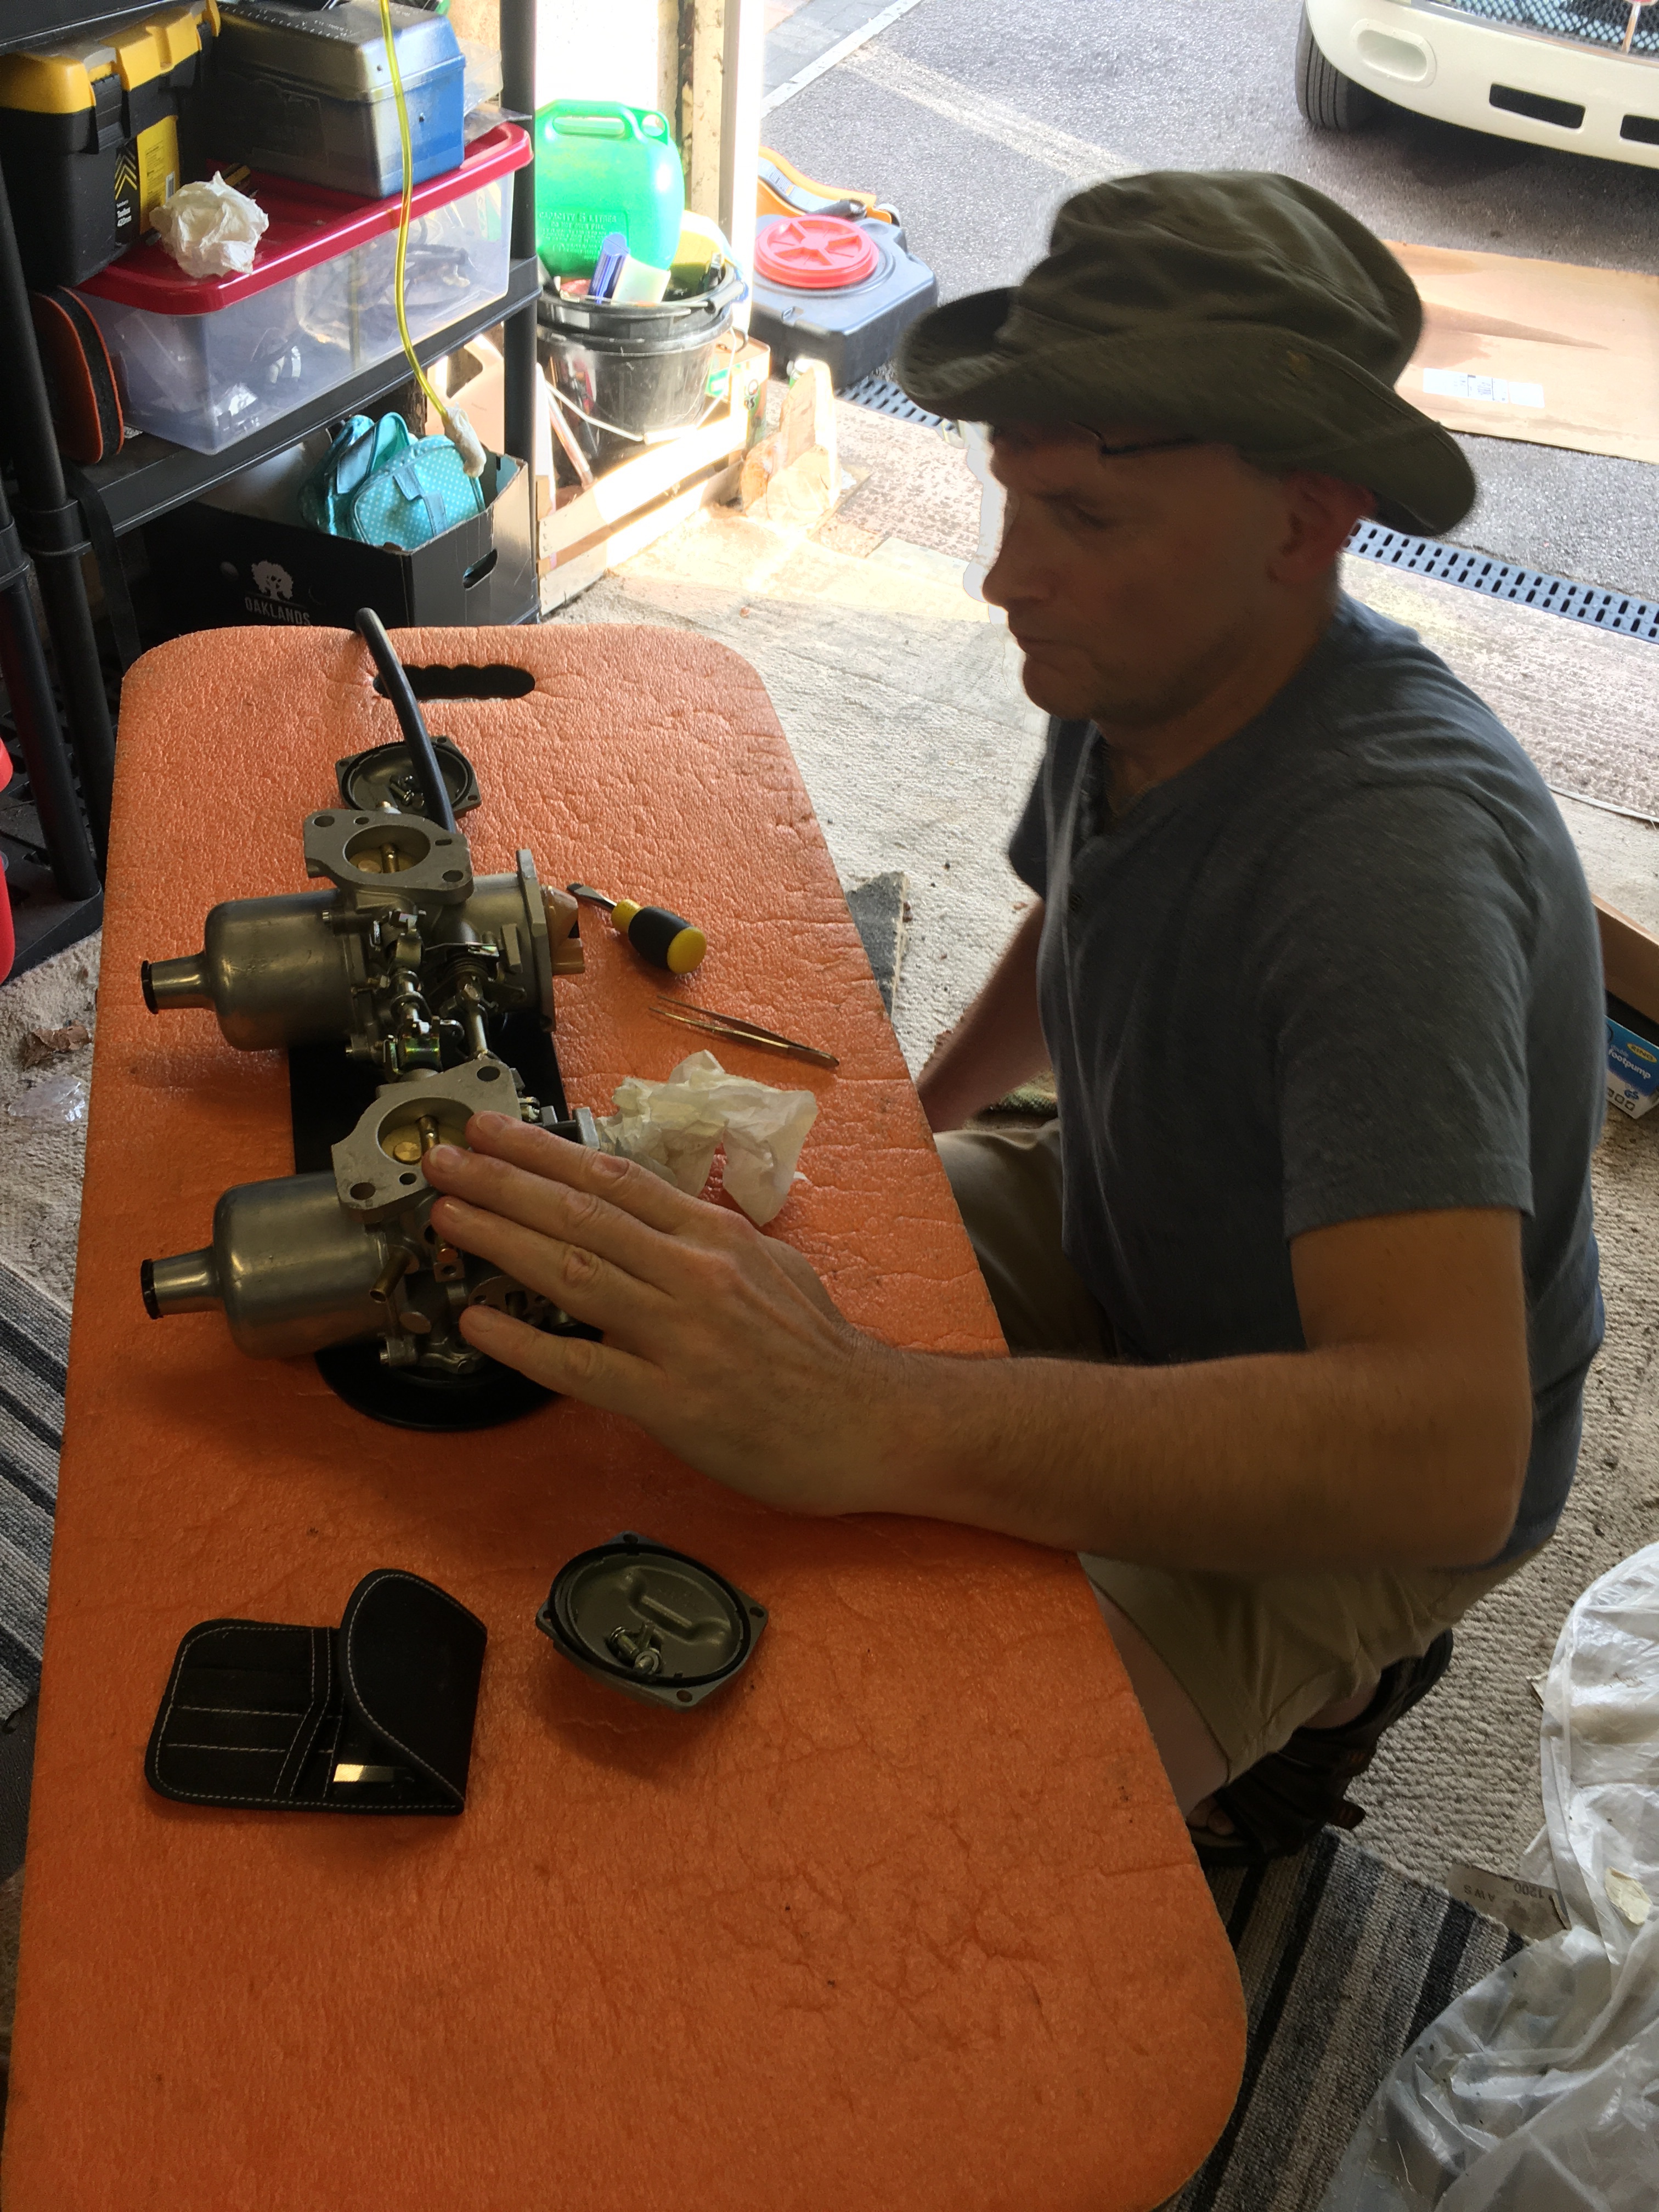
John on the carbs

One thought on “12 Aug 20 Releasing the carbs”