16 Mar 23 Cooling off

It was a dry day so I decided to take the MG on a 20 minute drive to shakedown any issues. The MG pulled strongly and seemed to run down the road nicely. It definitely prefers to be pulling than pootling and isn’t particularly good at picking up from really low revs. I’ve got free flowing air filters, tubular manifold and a big bore exhaust so I think that’s probably those mods and it just being an older car compared to my (ahem) 400bhp Polestar EV with its instant torque!

On return home the engine was idling nicely so it’s feeling a lot better tuned than before. I did however see a bit of coolant around the top hose and on closer examination it was coming from a joint that didn’t look too good with the rubber host not aligned with the steel pipe. So this evening I loosened the clips and wriggled it into better alignment – not perfect, but better. I’ll give it another run tomorrow and check again.

9 July 22 No Show…

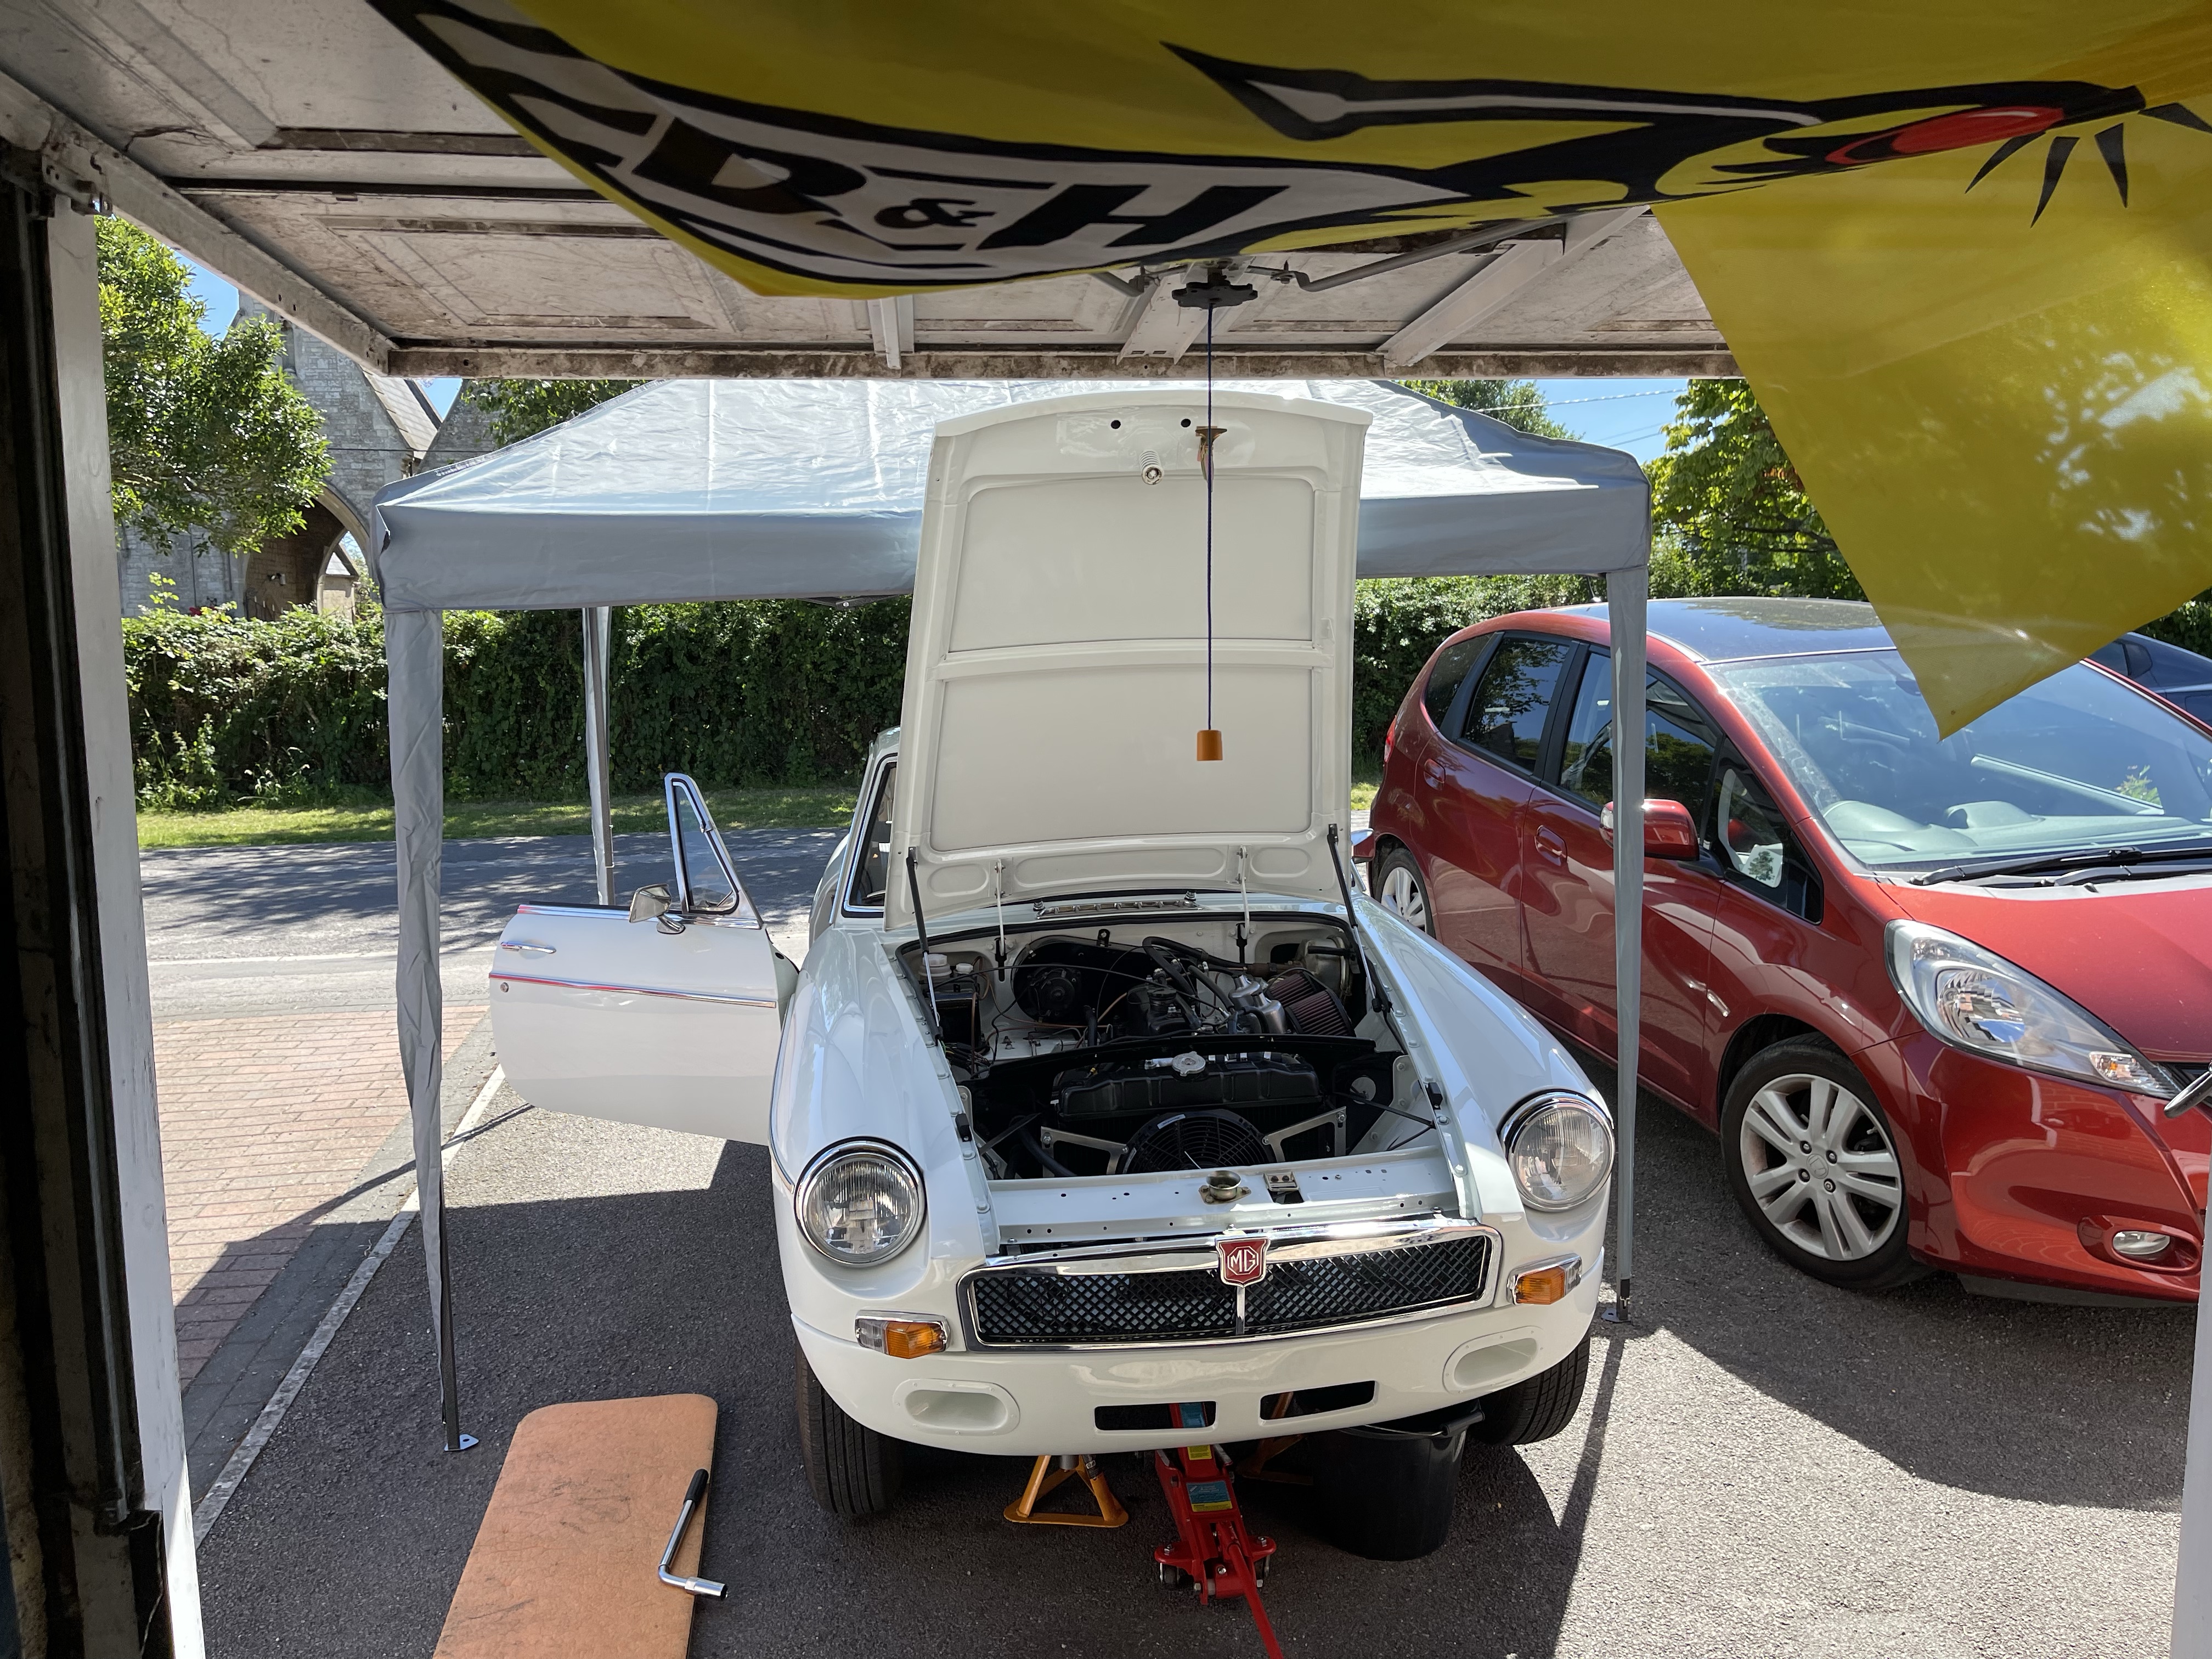
I’ve decided not to take the MG to the show tomorrow. This afternoon, a sweltering day in Southern England (Wiltshire to be precise), I undertook some show preparation, but sadly with one issue unresolved, I’ve reluctantly contacted the show organiser and withdrawn my entry. Sheer stubbornness could have won the day, but a breakdown on what is predicted to be a hot day is not sensible.

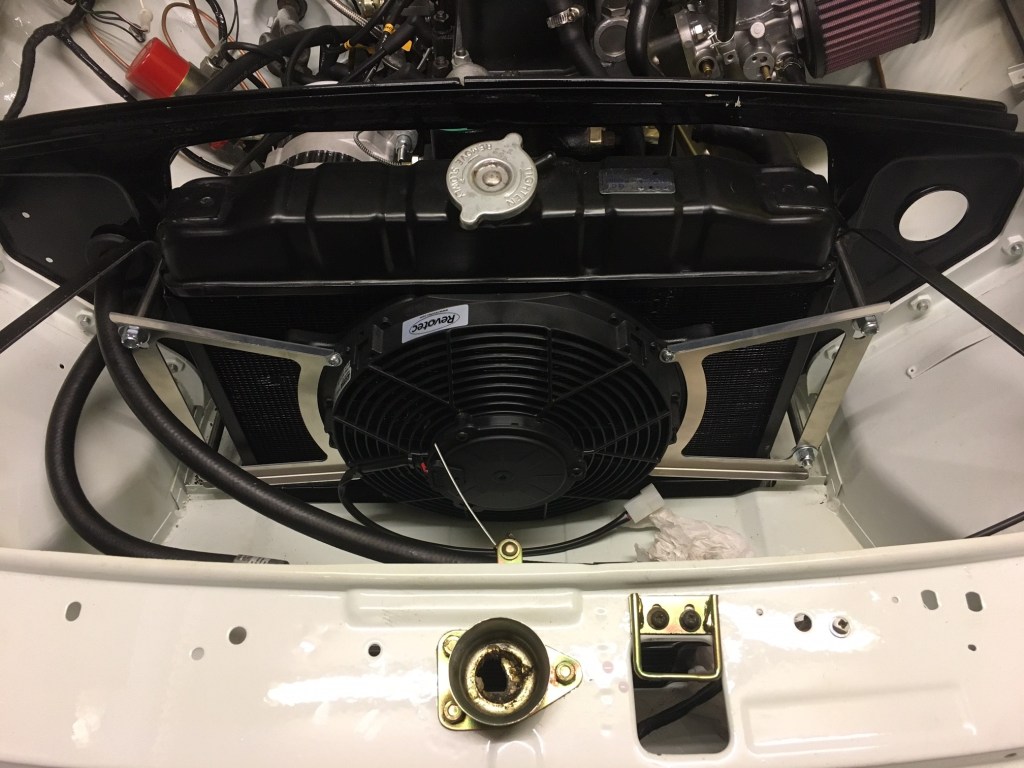
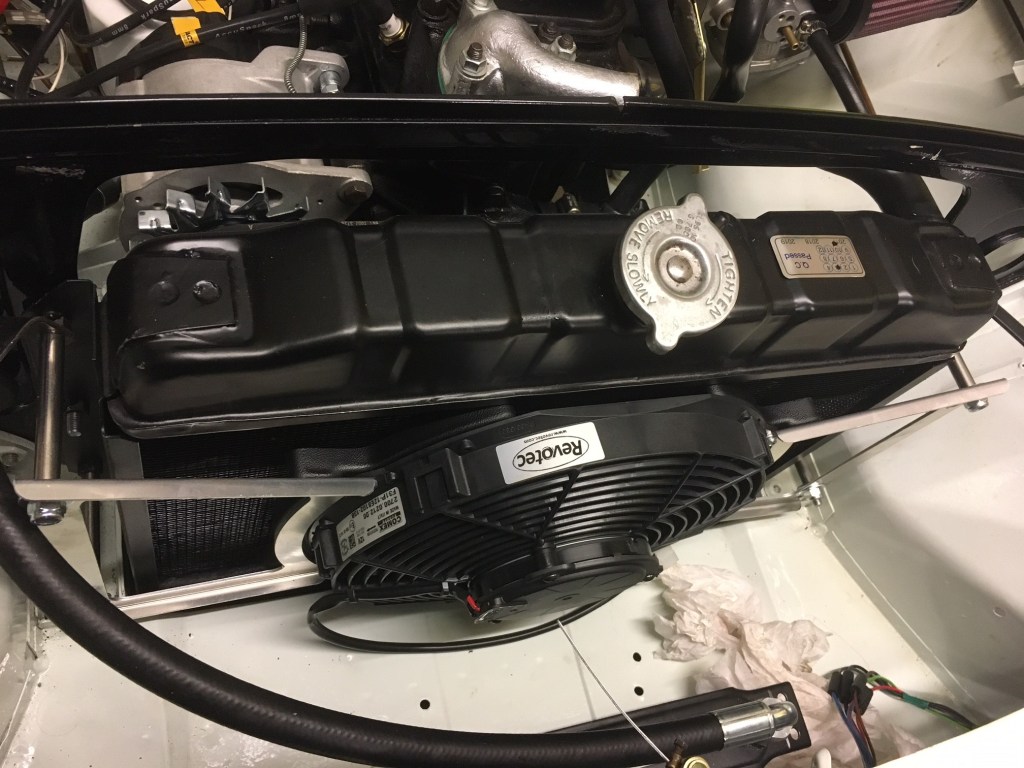
The specific issue which tipped my decision is a seeping leak from the hose which connects to the bottom of the radiator. This hose is a three-way unit with a smaller hose heading off towards the heater, and other end connecting to the thermostat at the top of the engine. The space at the bottom is devilishly tight, even for my skinny arms and when I fitted it, I couldn’t get the hose to slide nicely over the spigot (I’m going to call it a spigot). Hence, this poor fit leaks when the engine is running. What I need to do is to remove it and refit it, but in the heat of the day and with my puny office muscles (optimised for typing), I couldn’t get the fit any better, despite trying. A short road test proved the MG is running alright on the whole but with a steady drip from the seeping hose, a 10 mile drive, even with planned top ups just seemed too risky.

I did sort out a couple of other nagging issues.

Front disk brake shields. The front disks have a steel shield on the back (presumably to keep out road muck) and when I pushed the car in after nipping up the track rod ends recently there was a scraping noise. I reckoned this was the brake shield rubbing the disk. So I jacked up the front end, removed the o/s wheel and spun the hub to trace where the scraping was coming from. The track rod end was actually resting against the shield, so I loosened it off and retightened it so it was clear of the shield. It was then simply a matter of easing the shield away from the disk until it turned freely. Sorted.

Fuel Pipe. I replaced all the fuel lines on the MG early in the build and had somewhat cobbled the filter to carburettor length under the bonnet which consisted of two short lengths of rubber tubing and a straight bit of copper. This seemed to offend my Dad’s eye as he comments on whenever the opportunity arises. Sorting through a box of bits, I found a length of surplus rubber tubing and wouldn’t you know it was the right length (some may say that this was the correct piece all along, but we will never know). Anyway, it was a relatively straightforward job to remove the existing contraption which is like something off Chitty Chitty Bang Bang, and replace with an elegant single length of tubing. Sorted x 2.

All this work was carried out under a new Gazebo we bought off Amazon for £99. It was destined for the back garden, where it has since been erected, but it was first pressed into service to cover up the MG (with the blessing of Mrs Relentless Duck) and what a fine job it did in the hot hot sun.

Happy Summer everyone, I’ll get to a show one of these days.

[Post blog note – just had invite to join friends who are racing at Castle Combe Circuit next week, so maybe the MG will ‘break her duck’ in the near future if I can get that hose seen to.]

21 Feb 21 Electric Fan Installation

Bouyed up by the recent breakthrough on the brakes, I today installed the electric fan from Revotec. I am expecting a visit from Phil James (Classic Auto Electrician) this week, and he is going to wire this up for me, so I needed to get a move on with sticking it on the car. I took delivery of the shiny box of bits some time ago and had mounted the fan on its brackets in the sub-assembly area (Dining Room Table). So all I had left to do today was to install it in place at the front of the radiator. This is a blower type fan which mounts on the front of the radiator as opposed to the engine fan, which sits behind the radiator and sucks. The instructions which came with the fan suggested the radiator was drained down, but as I was just replacing the top hose with new units incorporating the Electronic Control Unit (ECU) I couldnt see why this was neccessary.

First job was to remove the top and bottom bolts which mount the radiator to the shroud, leaving the centre two bolts holding the radiator in place. The bolts, which are new ones I had fitted, came out nicely enough. I then had the fun job of fitting the new bolts which were about 6″ long (long enough to secure the new fan assembly). Threading these onto the shroud was easy, but it was tedious because they had to go round and round many times. Like many times. I used a combination of hand winding and a ratchet spanner depending on how easily they were spinning. Next was to slip on spacers top and bottom and wriggle the brackets with the fan attached onto the bolts. All that was left was to pop a couple of washers on and four lock nuts and that was the fan installed.

Moving to the top hose, I removed this and caught the coolant in a bowl under the car and then mopped up the spillage. The kit from Revotec comes with two hoses to replace the single top hose and in the middle goes the ECU which is mounted on a short length of steel tube. The kit also included four good quality Jubilee clips and I actually remembered to put those on before I fitted the hoses. I orientated the ECU in what I guessed to the right position and this is how I have left it for Phil to complete the wiring. Pleased with the outcome of this little job today.

18 Feb 20 A day with Dad

A welcome visit from Dad who battled through, or rather around, floods in Gloucester to help me out today. Overall we made some useful progress, although as is often the case we had to go back to go forward. Before Dad had arrived, I pushed the MG out onto the drive and ended up unconnecting the loom under the bonnet because I now realise the routing of one of the branches was wrong and unless I pulled it all out, I wasn’t going to be able to connect the heater amongst other things. So a step back, but better to find it now than later.

Dad arrived and I prioritised having a cup of tea and an ice bun inside the house. You can’t mechanic on an emtpy stomach. So onto the work and Dad had expressed concern that we had not flushed the water jacket through. The heater control valve was clogged with rust on disassembly and so there was reason to suspect some corrosive sludge was lurking in the engine block. First we fitted the heater control valve to the engine block – this was to be our inlet for the flush – awkward job this as the bolts are inaccessible. I had tried new bolts, but these were about 2mm too long, so we had to dig out some shorter old bolts from the box of MG bolts. We then blocked up the top hose with a lump of wood wrapped in tape. With a finger in the temperature sensor hole and one on the heater rail pipe, we connected the garden hose and switched on. We got a dose of dirtyish water out the bottom hose, but not the expected deluge of rusty water. Holding my hand over the bottom hose built up a little bit of pressure, but we concluded that we had done what we could, so we refitted the radiator and hoses. This simple job actually took ages, because the radiator is awkward to remove and the hoses were not exactly co-operating either. In any case, we were in good spirits and Dad was great company.

Next Dad’s keen eye focussed in on the distributor which I had ‘fitted’ but he spotted that the clamp was on the wrong way and hence it wasn’t seated correctly, with the cap in contact with the steering column, which was a bit of a clue. Needless to say, he sorted that out although we weren’t able to accurately set the timing which needs to be done with a timing light apparently. Anyway, its in as good a state as it can be prior to attempting a start up in the near future.

What a top Dad he is

We broke for a sandwich lunch during which we were googling MGB engine bay pictures and researching bullet connector pliers. With a target of filling the car with coolant, our afternoon was spent in fitting and modifying in some cases the hoses of the cooling system. Facing a challenge with routing of the capilliary tube for the temperature sensor, Dad came up with a clever idea of using the bottom bolt of the heater control valve to fit a cable clip, lined with rubber hose to gently locate the tube and stop if waving around in the engine bay. Execution of this brilliant idea came down to me, and it was a pig of a job (thanks Dad) as the 7/16th bolt is very awkward to reach and one of those situations where you get about 1/4 of a turn at best with each placement of the open jawed spanner. Couldn’t get a socket or ring spanner to it, so just had to plug away. I only nearly cried once, but that was the wind in my eye. We then wound the excess length of the tube into coils to deal with any vibration in use.

Time was ticking on and Dad needed to get away for 3:00pm as flooding on roads near his house was a real risk, not to mention that he had worked bloody hard all day and is 73 years young. Of course, we made it with minutes to spare – all hoses complete and coolant topped up, and the car pushed into the garage missing a downpour of heavy rain.

So thanks to my Dad – he knows his stuff, he gets stuck in, he’s always looking to improve everything he tackles, he doesn’t let things get him down, he’s great fun to be around, are you getting the picture? He’s one in a million, thanks Dad.

15 Feb 2020 Avoiding Storm Dennis

Seriously stormy weather today in Wiltshire, courtesy of Dennis, so the only option for progressing the MG was to work within the confines of the garage. This limited what I was able to do, but actually we made some good steps forward, so not too bad at all. First of all, a couple of photos attempting to record just how grim the weather was. Its difficult to capture it, but it was just relentless wind and rain.

Decided to fit the radiator and hoses today. I bought the radiator and new hoses over a year ago, and they’ve just been sitting there waiting installation while I have built everything else up. The installation, which should have been a simple bolt on, took a bit longer because the radiator bolts did not align with the radiator shroud to which its mounted. I had previously fitted the shroud so envisaged just bolting it on. I attempted to overcome the misalignment by pushing and pulling, but that didn’t work. So I decided to unmount the shroud, fit the radiator to this, and then fit that to the car (via captive nuts on a lip on the inner wings). This method worked well and as I removed the shroud I could see that the holes for this were slotted so maybe that’s how the misalignment occured. I had plenty of practice putting the bolts on and off, that’s for sure. Next task was to fit the hoses and although these were a bit fiddly, a bit of patience and some Fairy Liquid got them mounted and I then fixed them with jubilee clips. I have now reached the stage of needing to have jubilee clips all facing the same way and I had one hose fitted before I realised the clips was the wrong way around, so that had to come off again! As I was in the area, I fitted the thermostat housing gasket which I had missed off when I fitted it earlier. Nice new shiny nuts and washers improved the look too.

While fitting the bottom hose I briefly managed to get my arm stuck between the alternator and the radiator. I had my sleeve rolled up and was reaching right down to fit the hose and as I went to pull my arm out, nothing happened. My arm just stayed put. This has only happened once or twice on this project, but it it is weird when it happens because you sort of think ‘well it went in, so it has to come out’. From experience, the thing to do is to think your way out as opposed to tugging to get free which just hurts and doesn’t always work. Anyway with a bit of a wriggle, I was free with no need to undo the radiator I had just fitted to free myself.

After this drama, I fitted the radiator stays. I had bought replacements for these, and also repainted the originals. The originals fitted better when I offered them up, so I fitted those, the others will go into my surplus sale box. On the near side, I had to replace one of the wing bolts, as the radiator stay relies on this for its fixing, and the bolt fitted was too short. I fitted a longer bolt and that all worked, but now I have one steel looking bolt, and the rest painted white. Something to touch up at some point.

I decided to re-use the original radiator cap, but it was a bit scruffy, so I cleaned it up using first my Dremel tool, then sandpaper and then metal polish. Quite pleased with the result pictured below.

The last job I tackled was to fit the proper spark plugs which I had bought over two years ago when I started the engine to see if it would go. I have already gapped them before, so it was just about fitting them. I removed the old faithful plugs that came with the car which only served the purpose of plugging the hole when the engine was out the car. I checked the plug leads were fitted in the correct firing order and they were.

Away from the garage I braved two forays outside to Halfords. First time to buy a battery as recommended by someone on the Facebook MG restoration page. It looked a bit big, but I thought I would trust the advice. Second visit to Halfords was to take the battery back and this time taking along my existing battery as a size comparison. Halfords were very nice and I did a quick exchange to obtain the correct size. I like our local Halfords, they have always been helpful and although they don’t stock everything, they’ve been good to me and don’t have any thing bad to say about them. The new battery is to give us the best possible chance of a successful engine start soon.

Feeling quite satisfied with progress made today