Ah, the sweet satisfaction that comes from solving a problem. This afternoon I turned to the engine block to continue the tidying up I have been doing, mainly consisting of wire-brushing and spraying with black engine paint. Having today completed spraying all surfaces and therefore beginning to concentrate on the details I focused on the distributor which has to date steadfastly refused all attempts at removal. I consulted the manual, which suggested you ‘simply remove’ and poked around it with a torch looking for some fixing or other that remained in place. Having found no clues there, I decided on some gentle shock therapy, so I used the wooden handle end of one hammer and some gentle blows with another hammer to knock it first anticlockwise, then clockwise, trying to get some movement out of it. After a half rotation each way, the distributor was certainly beginning to free up. With a gentle pull, it came smoothly free of the engine block at last.
The engine is beginning to look a bit neater
My intention is to replace the distributor with an Electronic Ignition system, so it needed to be removed. Some such systems re-use the original body of the distributor so I will strip it down on the bench and figure out which bits to retain and so on.
While in the garage I put some more paint on the master cylinder housing and on the other end of the brake and clutch pedals. These are now hanging up to dry in the garage.
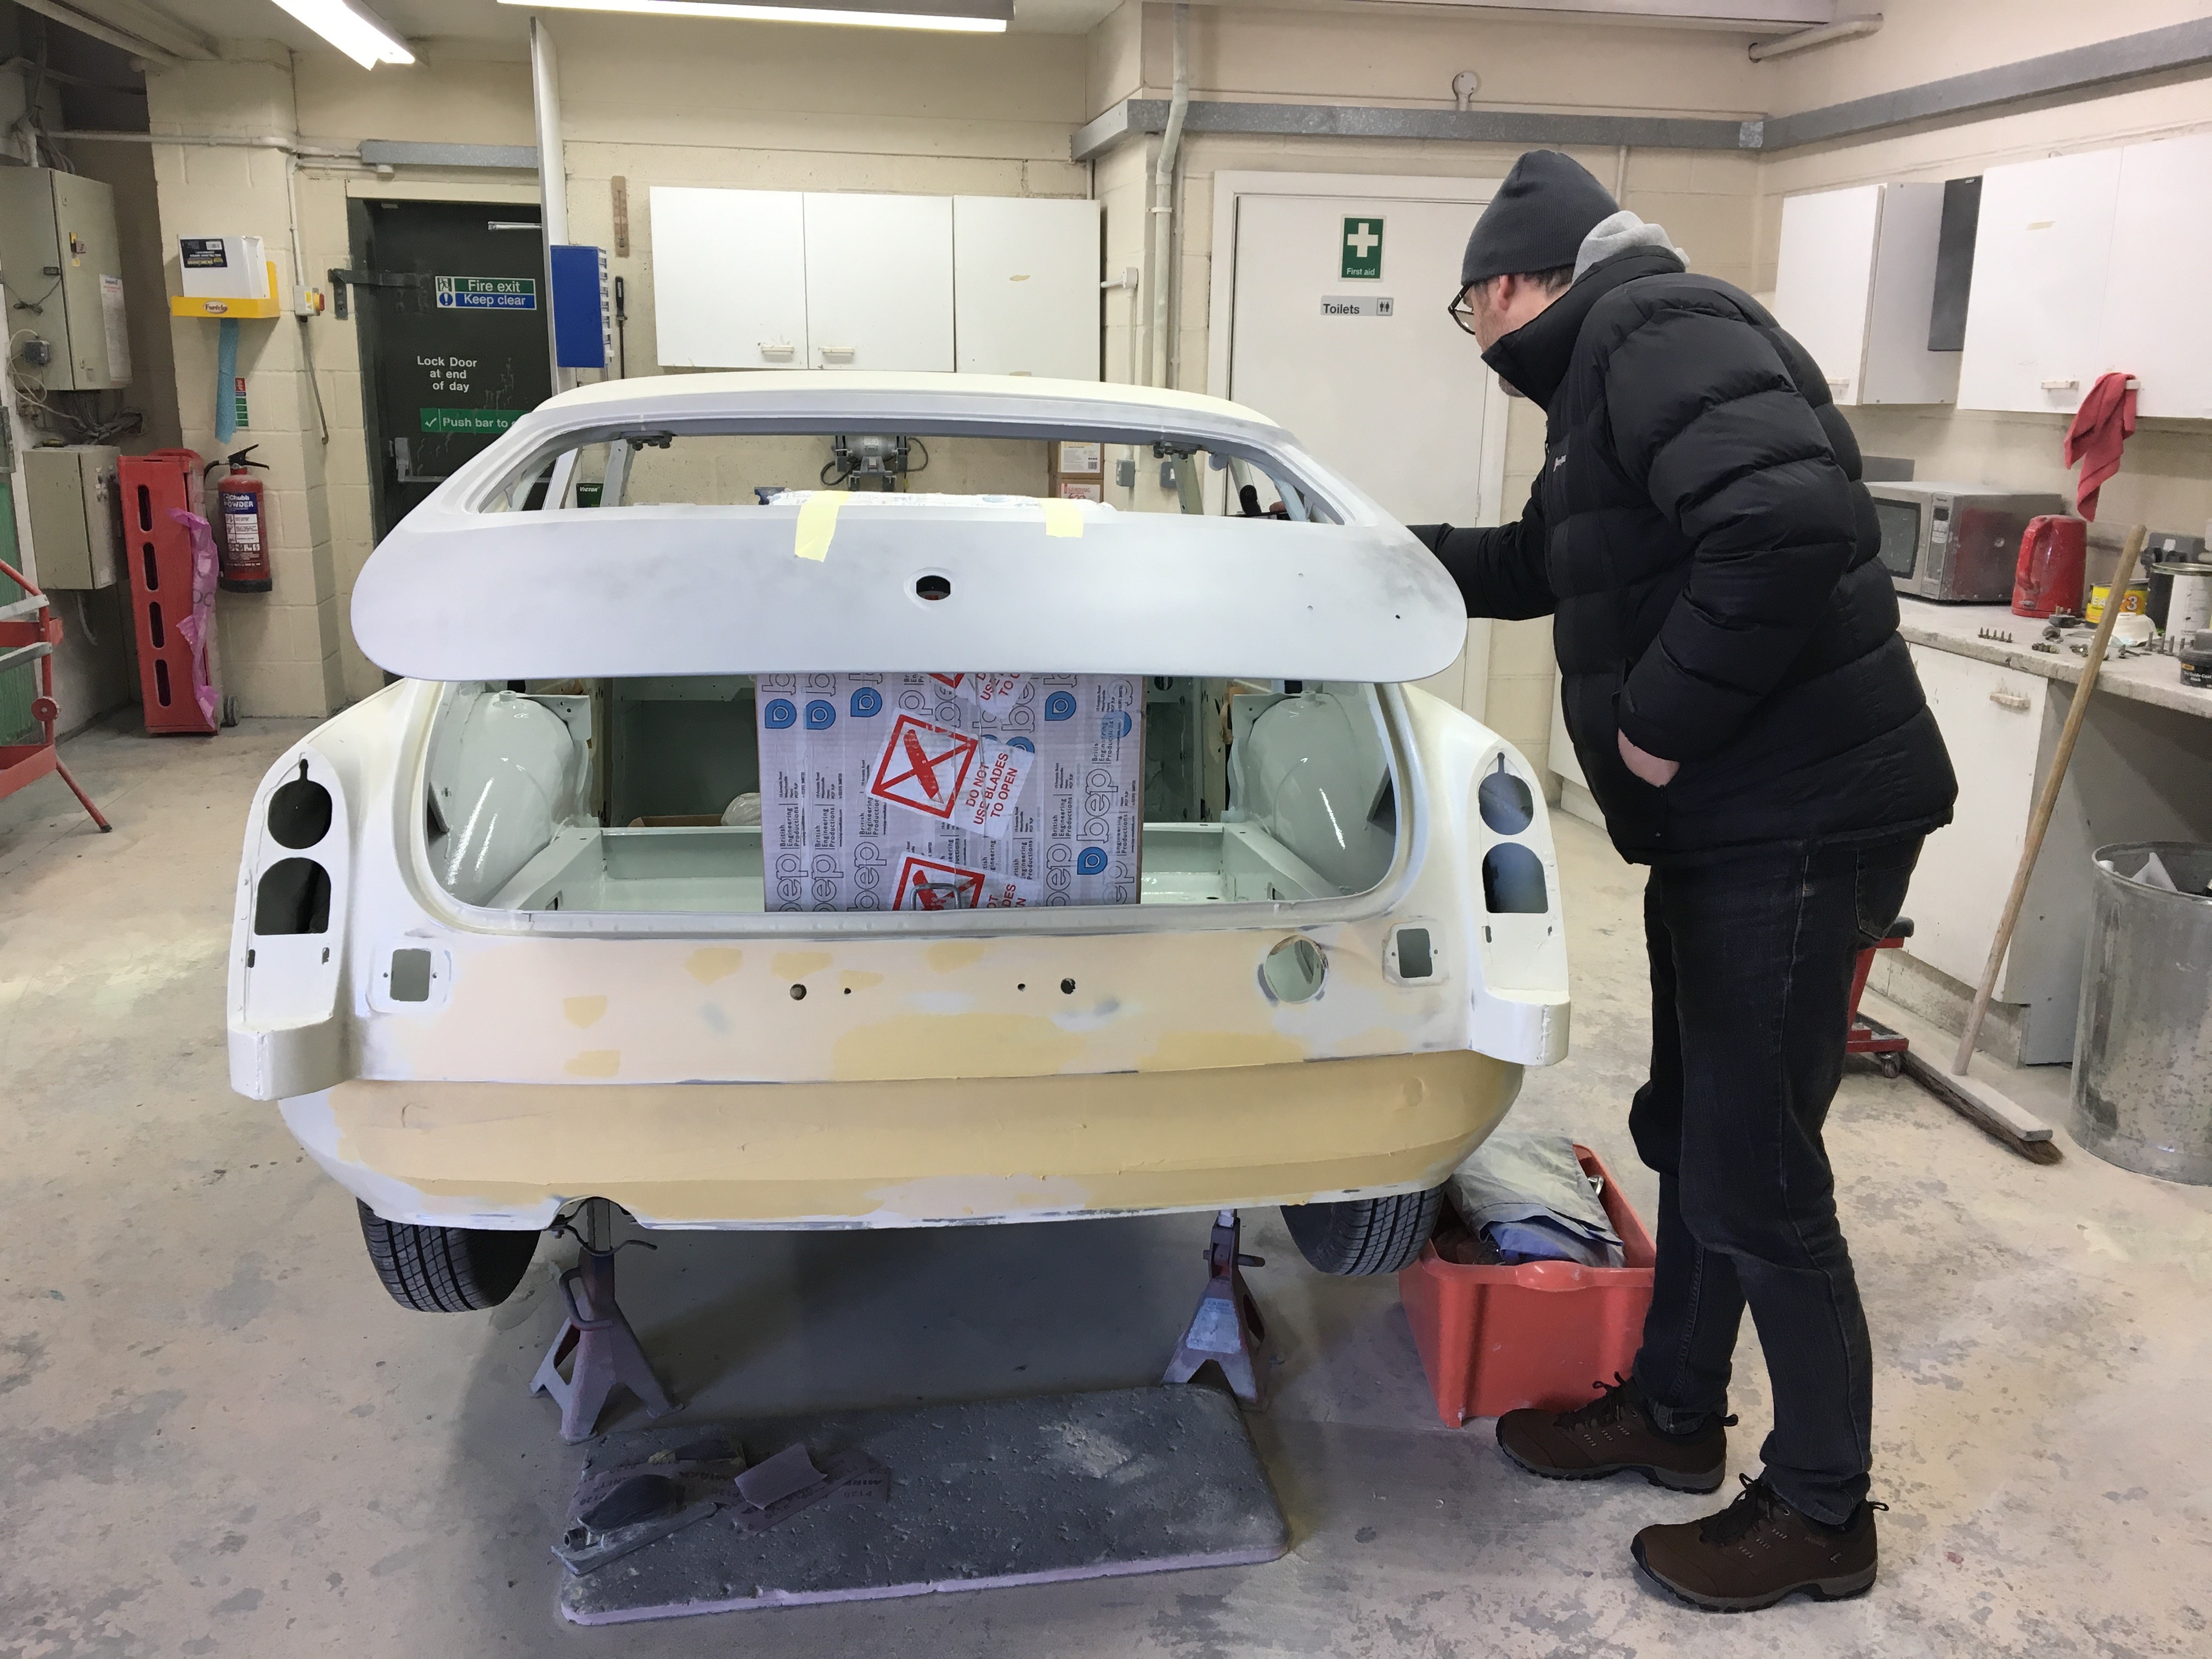
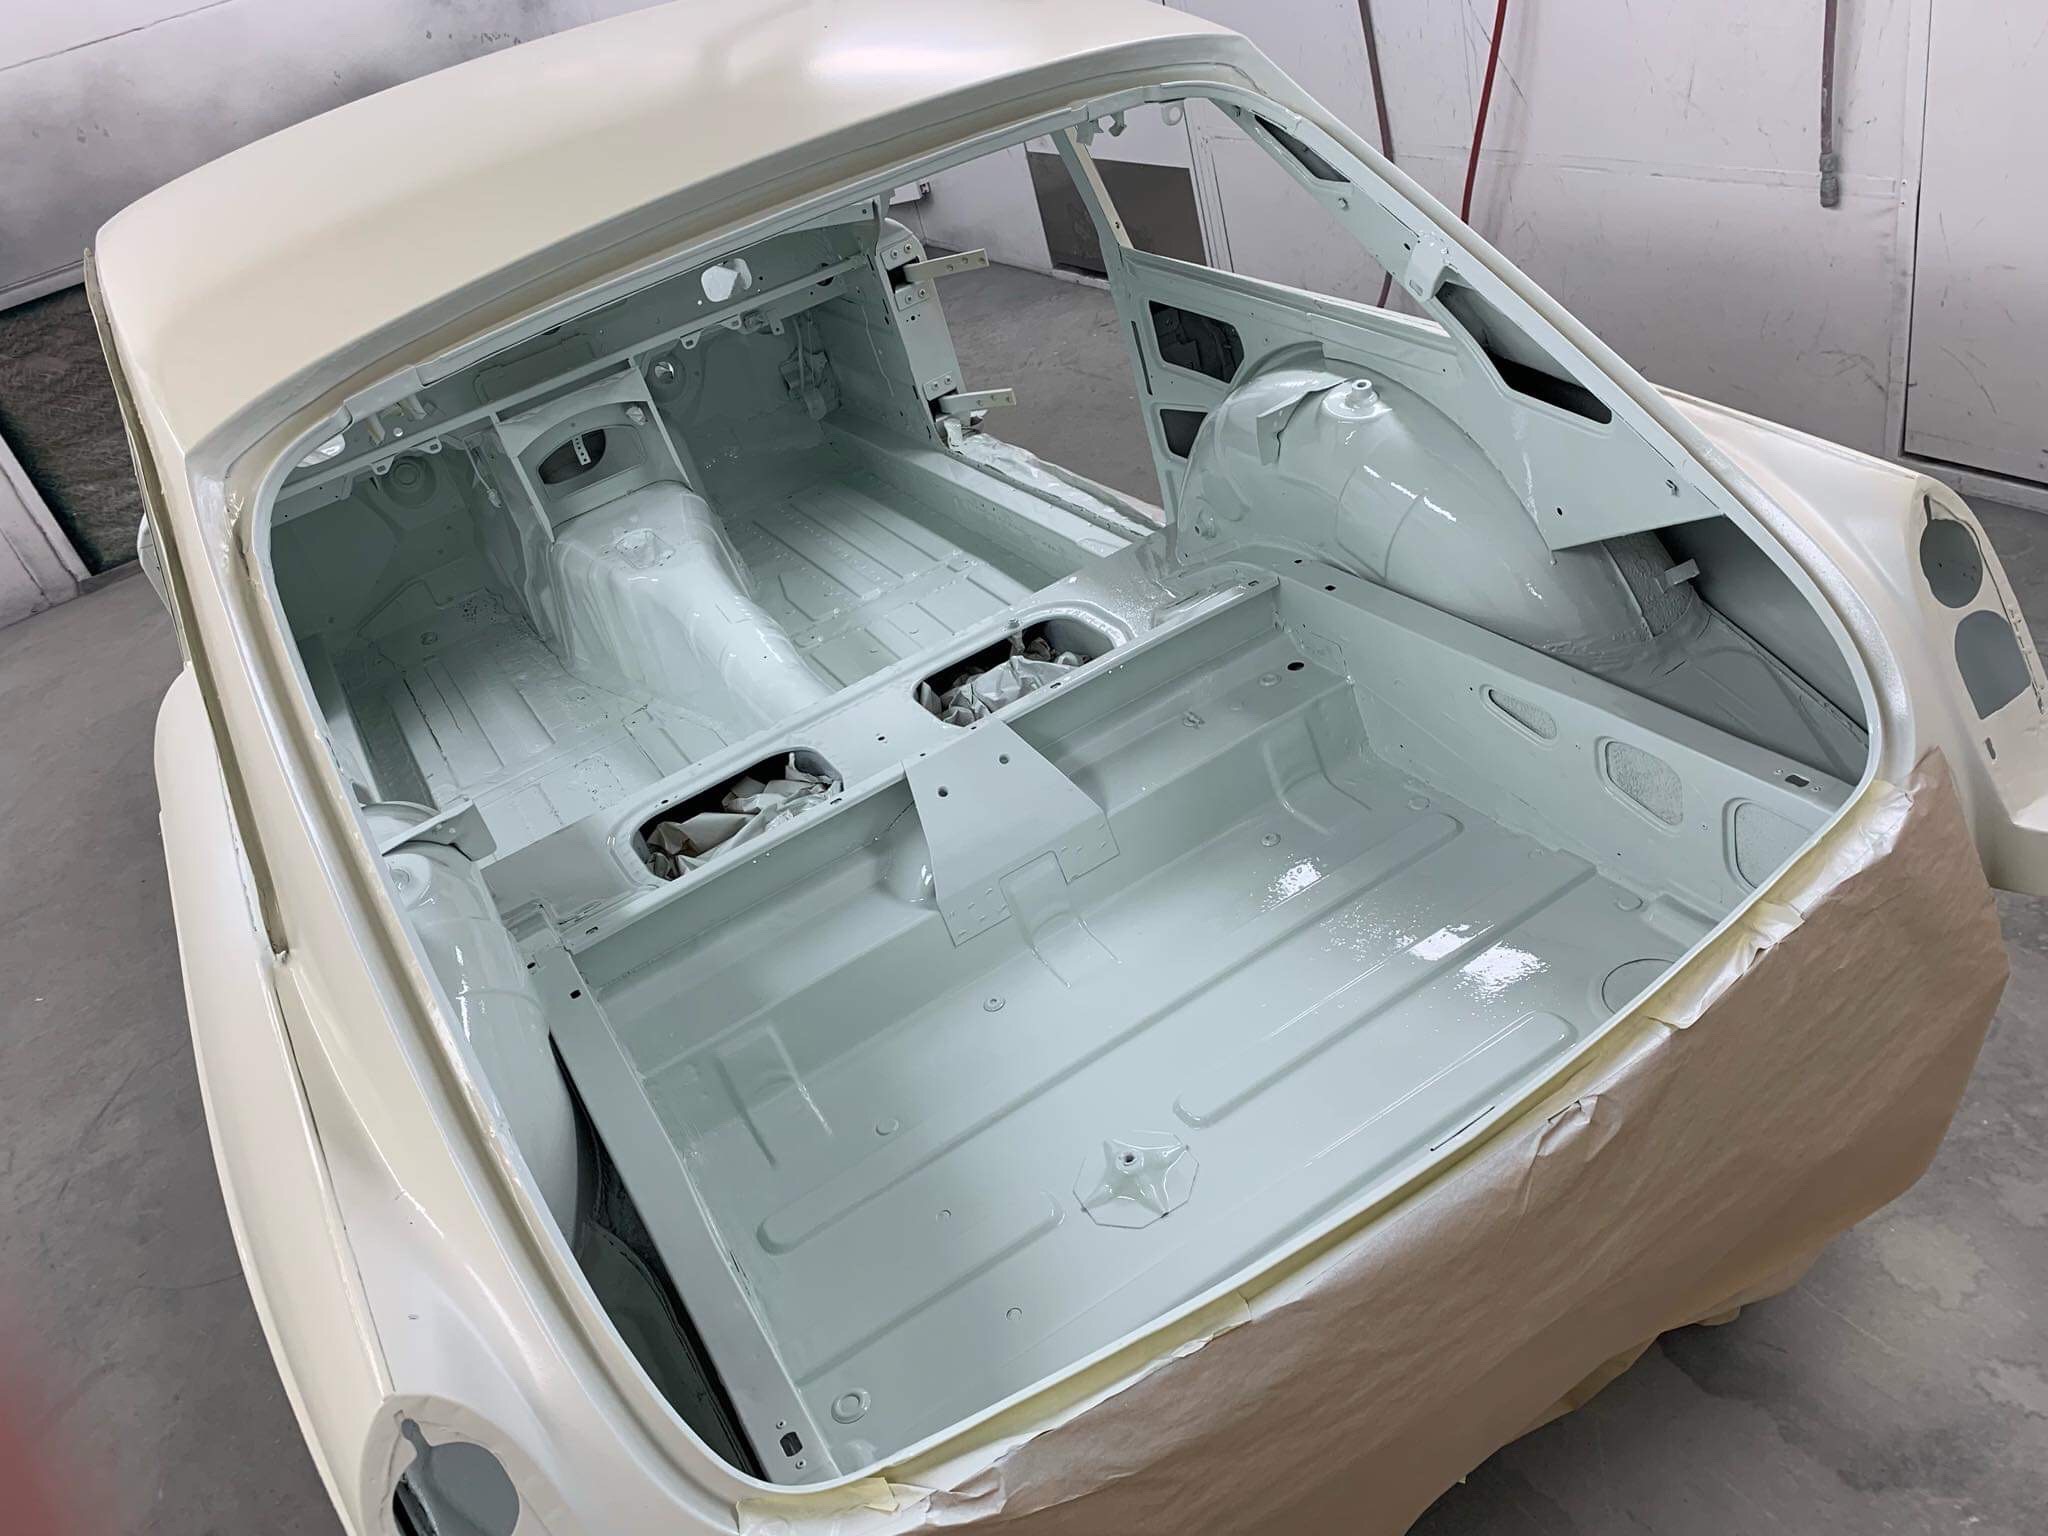
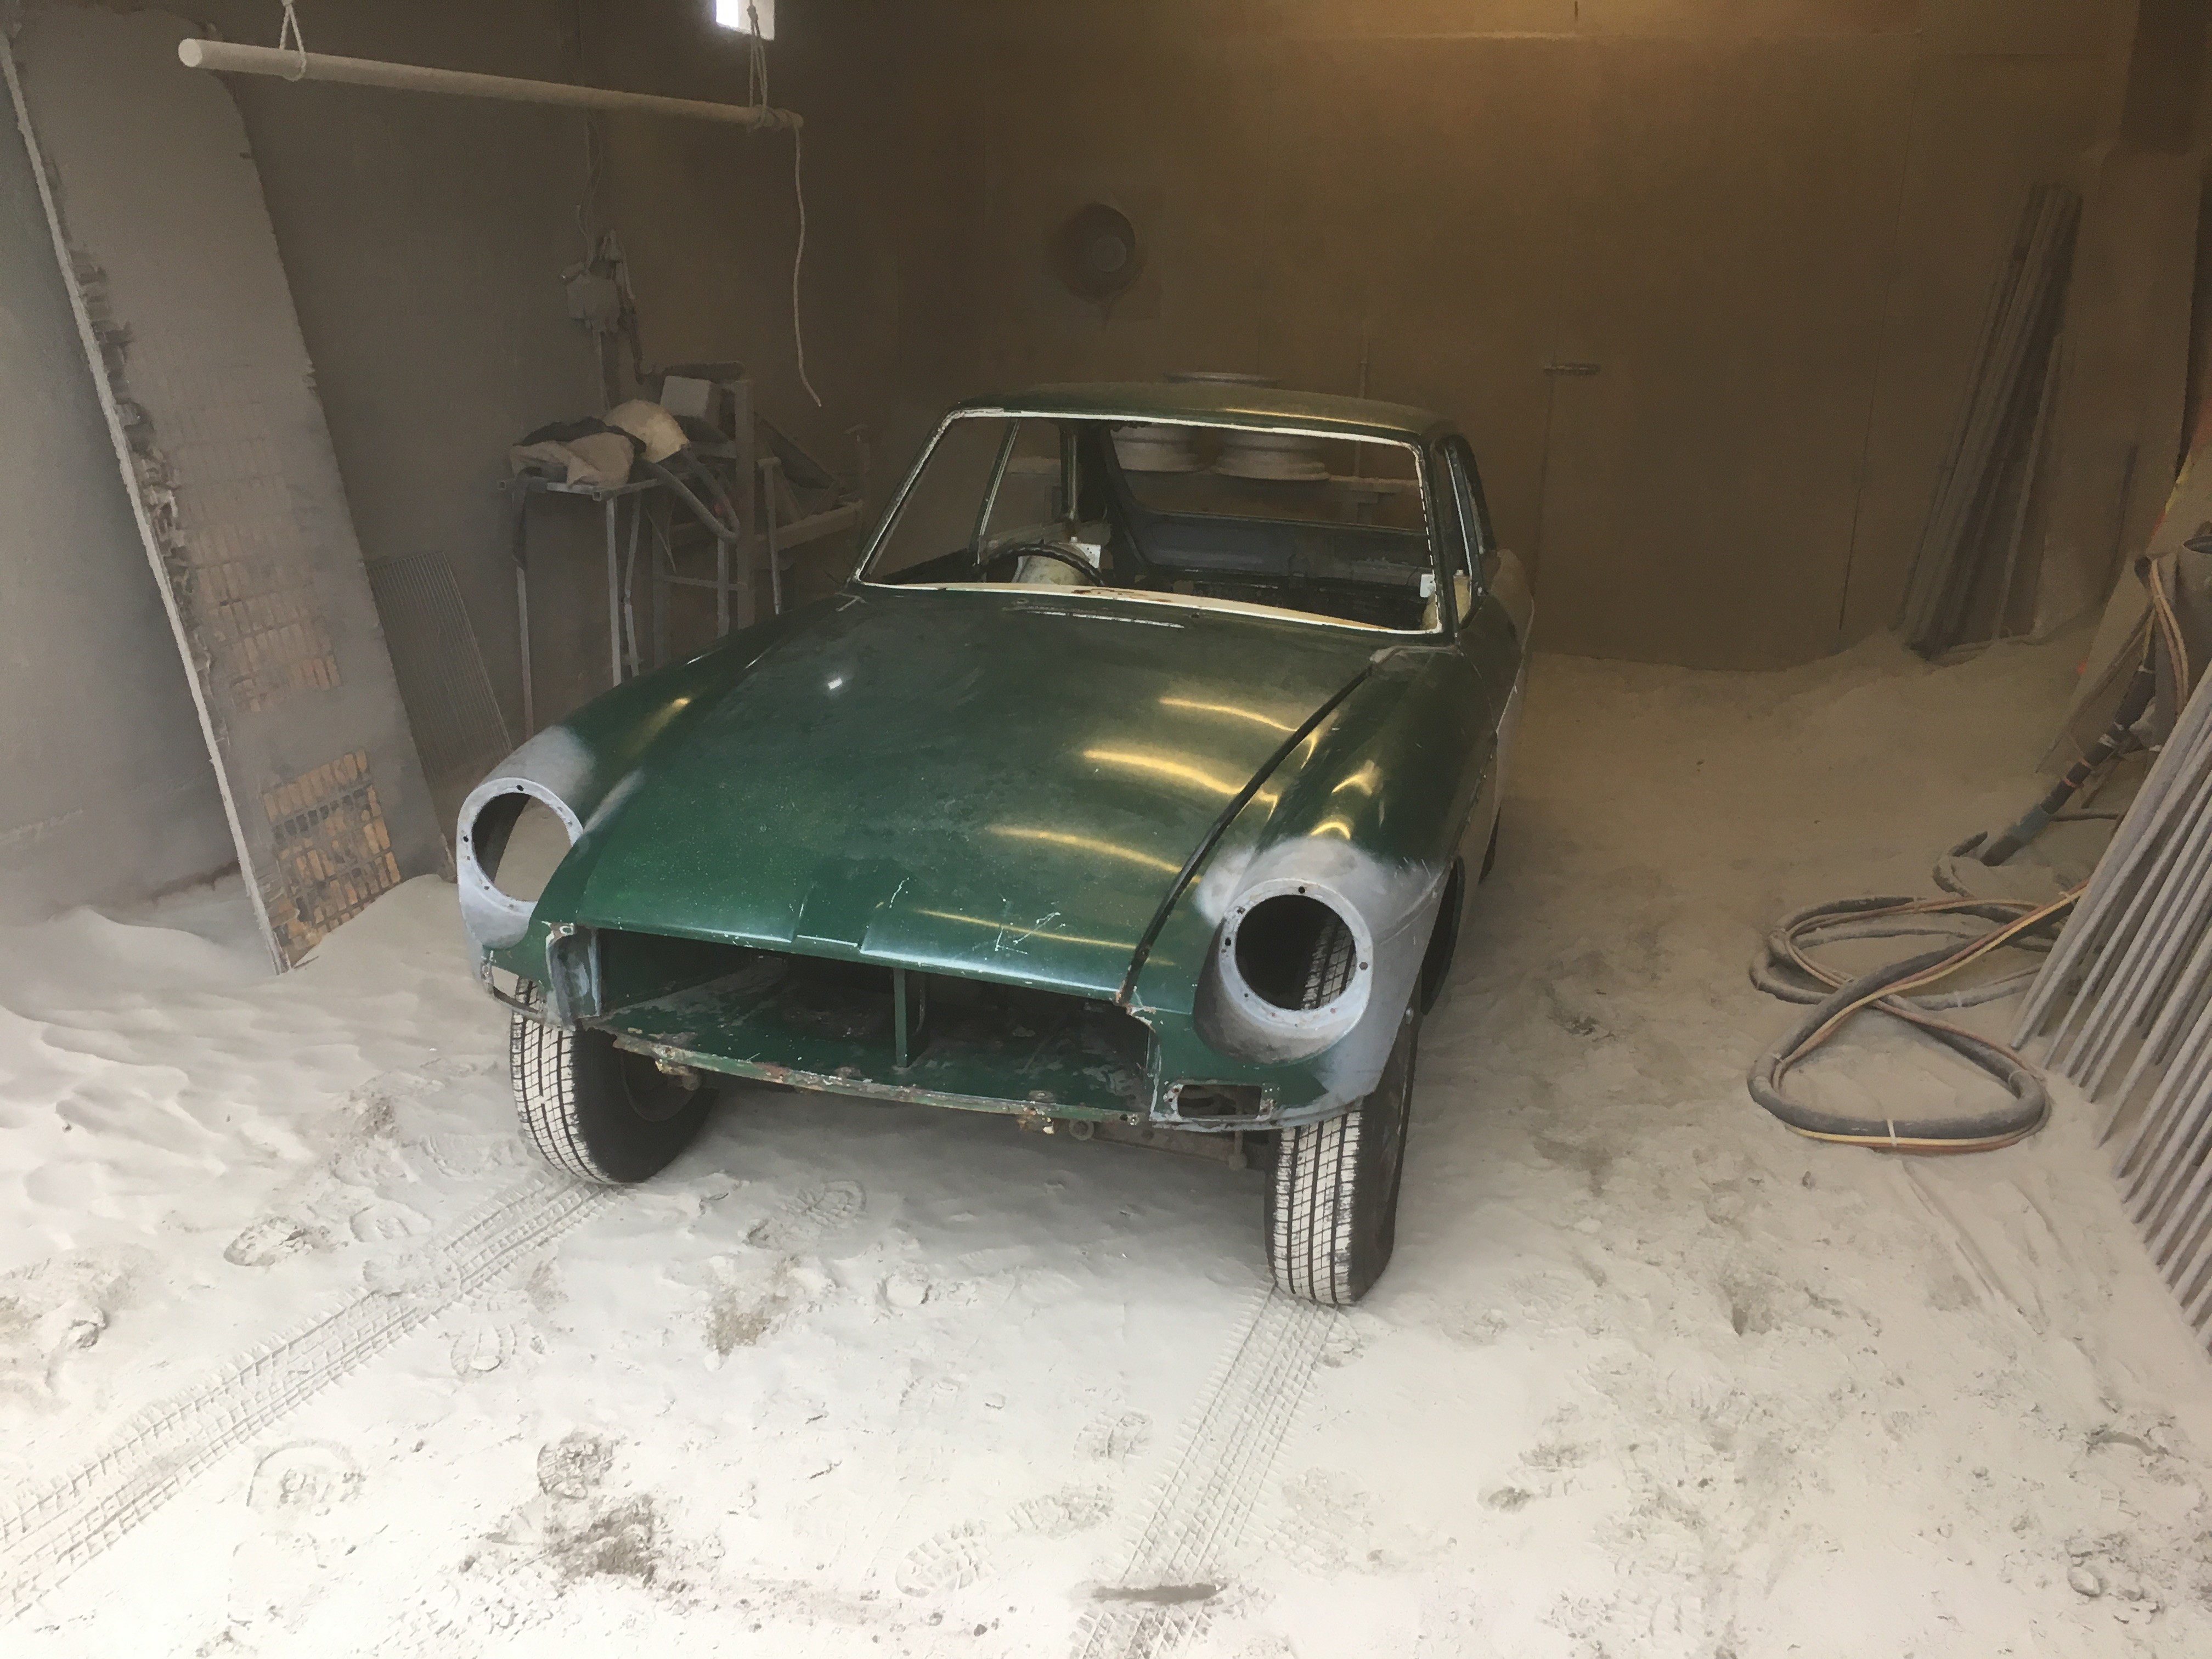
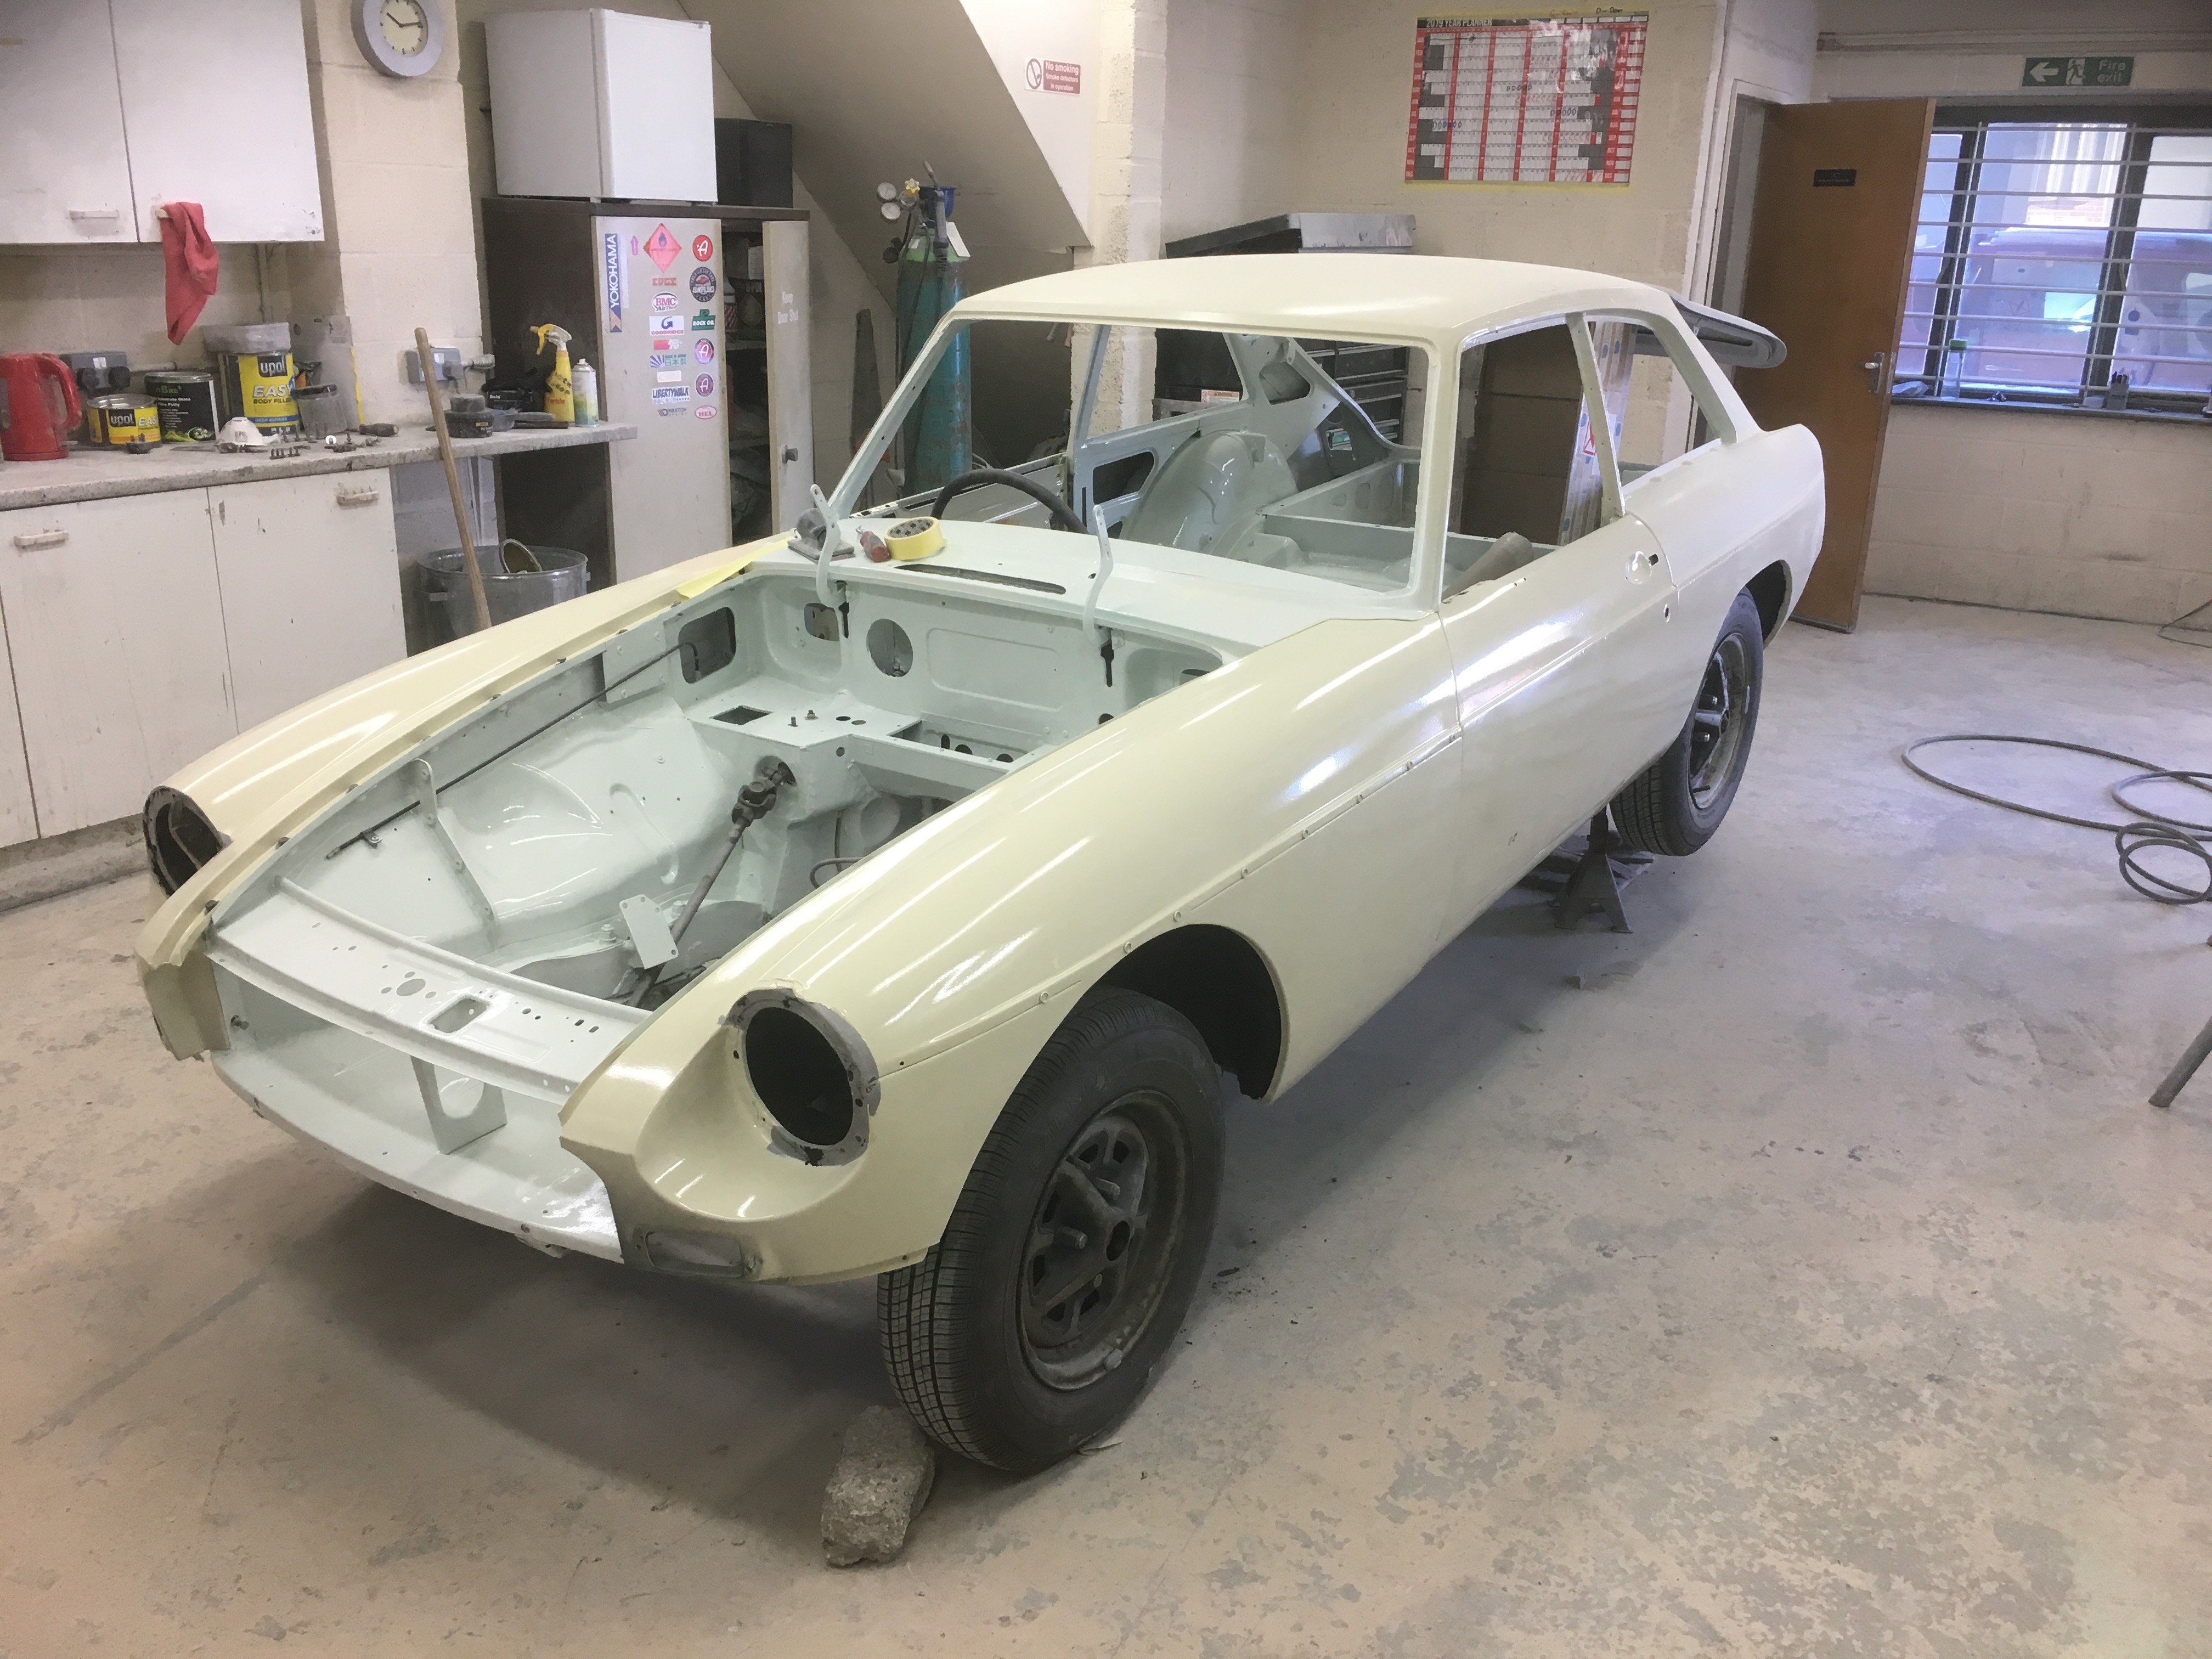
First photo of the blasted shell courtesy of Gavin
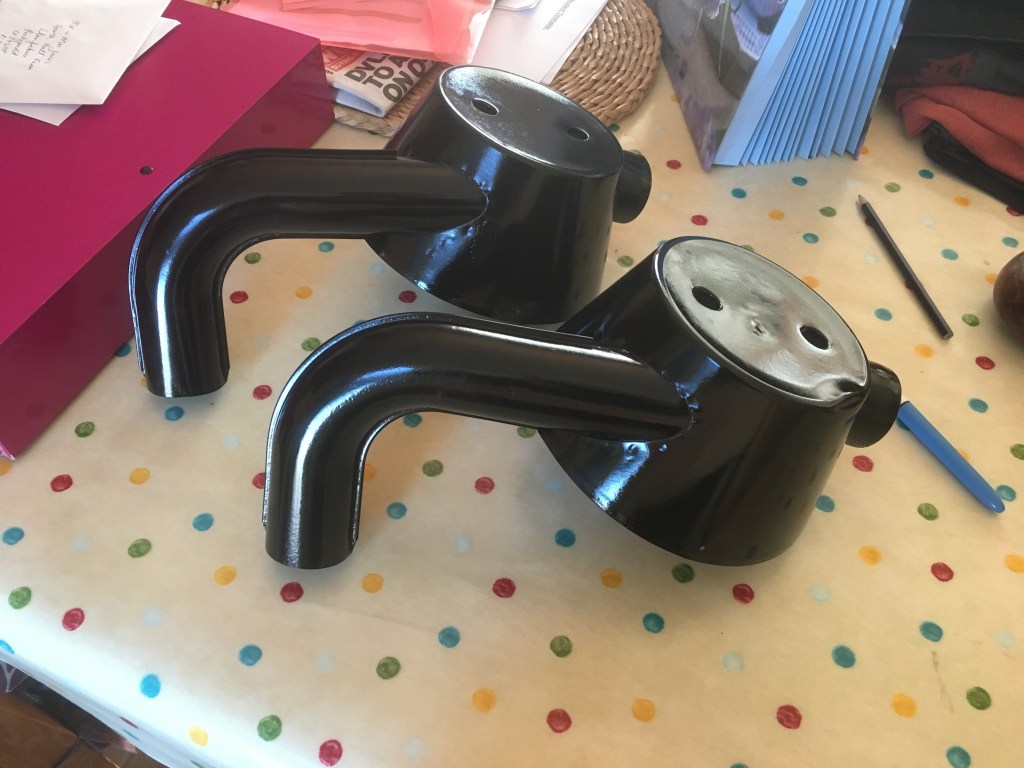
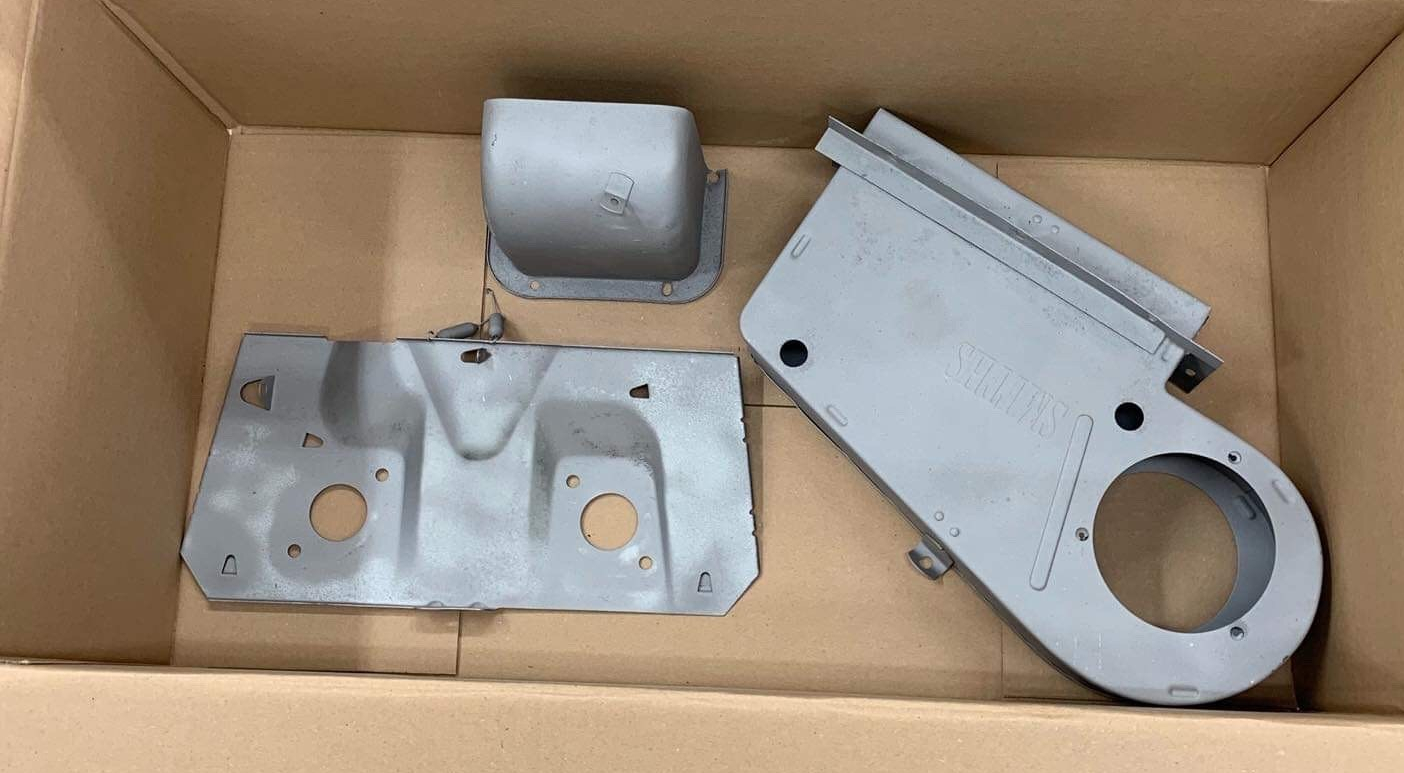
So the MG is in the paint shop and its good to see the green has finally gone. The components below have also been blasted and are ready for a coat of shiny black paint.
Blasted components ready for paint
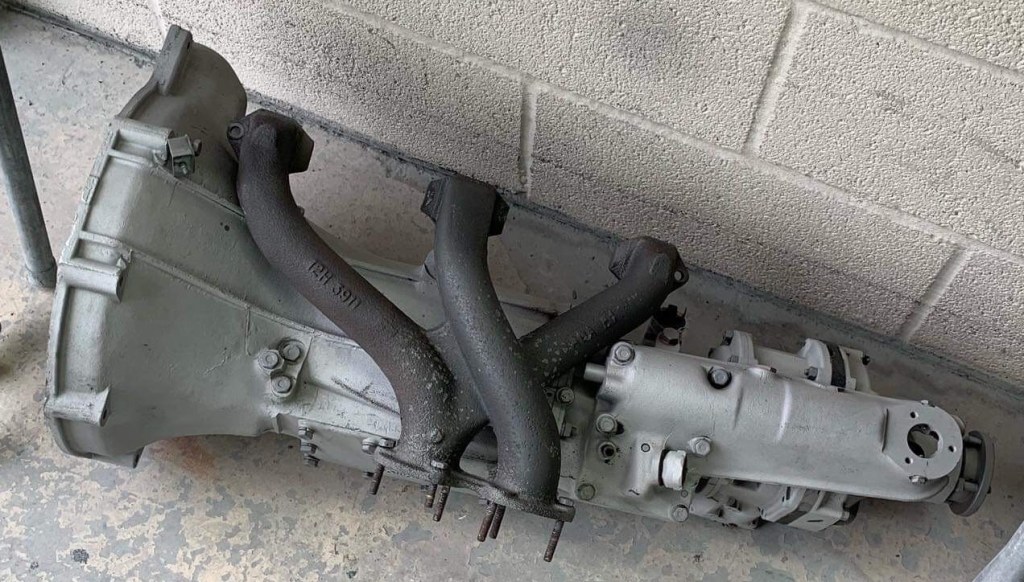
The gearbox and manifold have also been blasted and are ready for collection so I’ll pop over soon to pick these up. I have to buy a new clutch and then I can mate the gearbox and engine together again and start to build up the engine with its components.
The gearbox looks a lot different with all the muck removed!
There’s plenty to be getting on with while the MG is being resprayed. This afternoon I turned the engine around and de-greased the dirty side. As a reminder I had previously painted one side of the engine and as the results of this are okay, I decided to prepare to paint the other side. I am using a cycling de-greaser, sprayed water and a brush to remove the muck. I used plenty of water and could see the muck coming off the engine onto the garage floor. That face of the engine now needs to dry thoroughly allowing me to give it a dusting of black engine paint (I am using motorcycle engine paint).
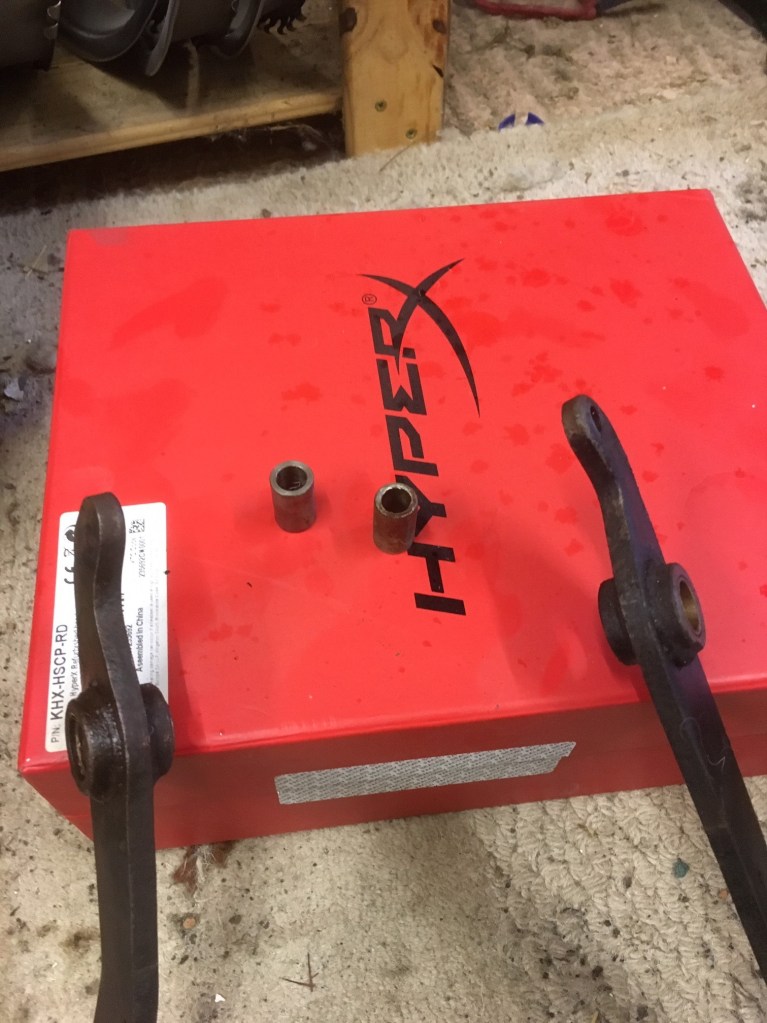
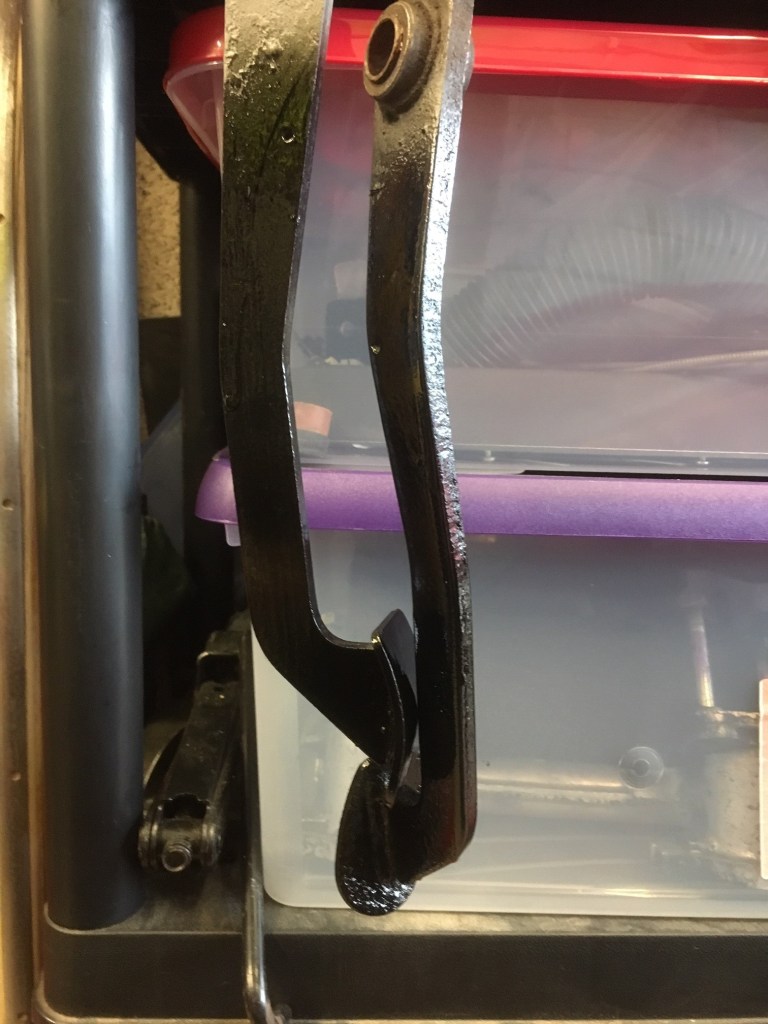
While in the garage I pulled out some components which will need a bit of love before they are refitted. First out of the box were the clutch and brake pedal. Interestingly, one of these (I am not sure which is which at this stage) had a seized bearing, which cannot have made for a particularly smooth pedal action, probably the clutch since that is the one that had failed. Anyway I used a chisel and hammer to gently coax it out and then rubbed it down with sand paper so I would fit back in and turn nicely. I was pleased to spot this as it was an easy job today, which might have been a pain if found after I had fitted all the pedals back in place. I gave the pedals a rub with some sandpaper and a dusting of primer, then engine paint. I am not fussy about the finish on these sorts of components, just aiming to freshen them up a bit before they are refitted.
Both pedals with bearings removed
The brake and clutch pedal with a fresh coat of paint – tops still need painting
I did a similar job with the bracket which houses the brake and clutch master cylinders, removing both cylinders, rubbing down he bracket and giving it a coat of paint.
The painted bracket resting on the spare wheel
Finally, an update on the respray. The MG has been blasted and transported to Reef Paint Shop. Roger (the blaster) text me to say it had all gone okay, no hiccups or nasty surprises. So now its over to Gavin for him to work his magic.
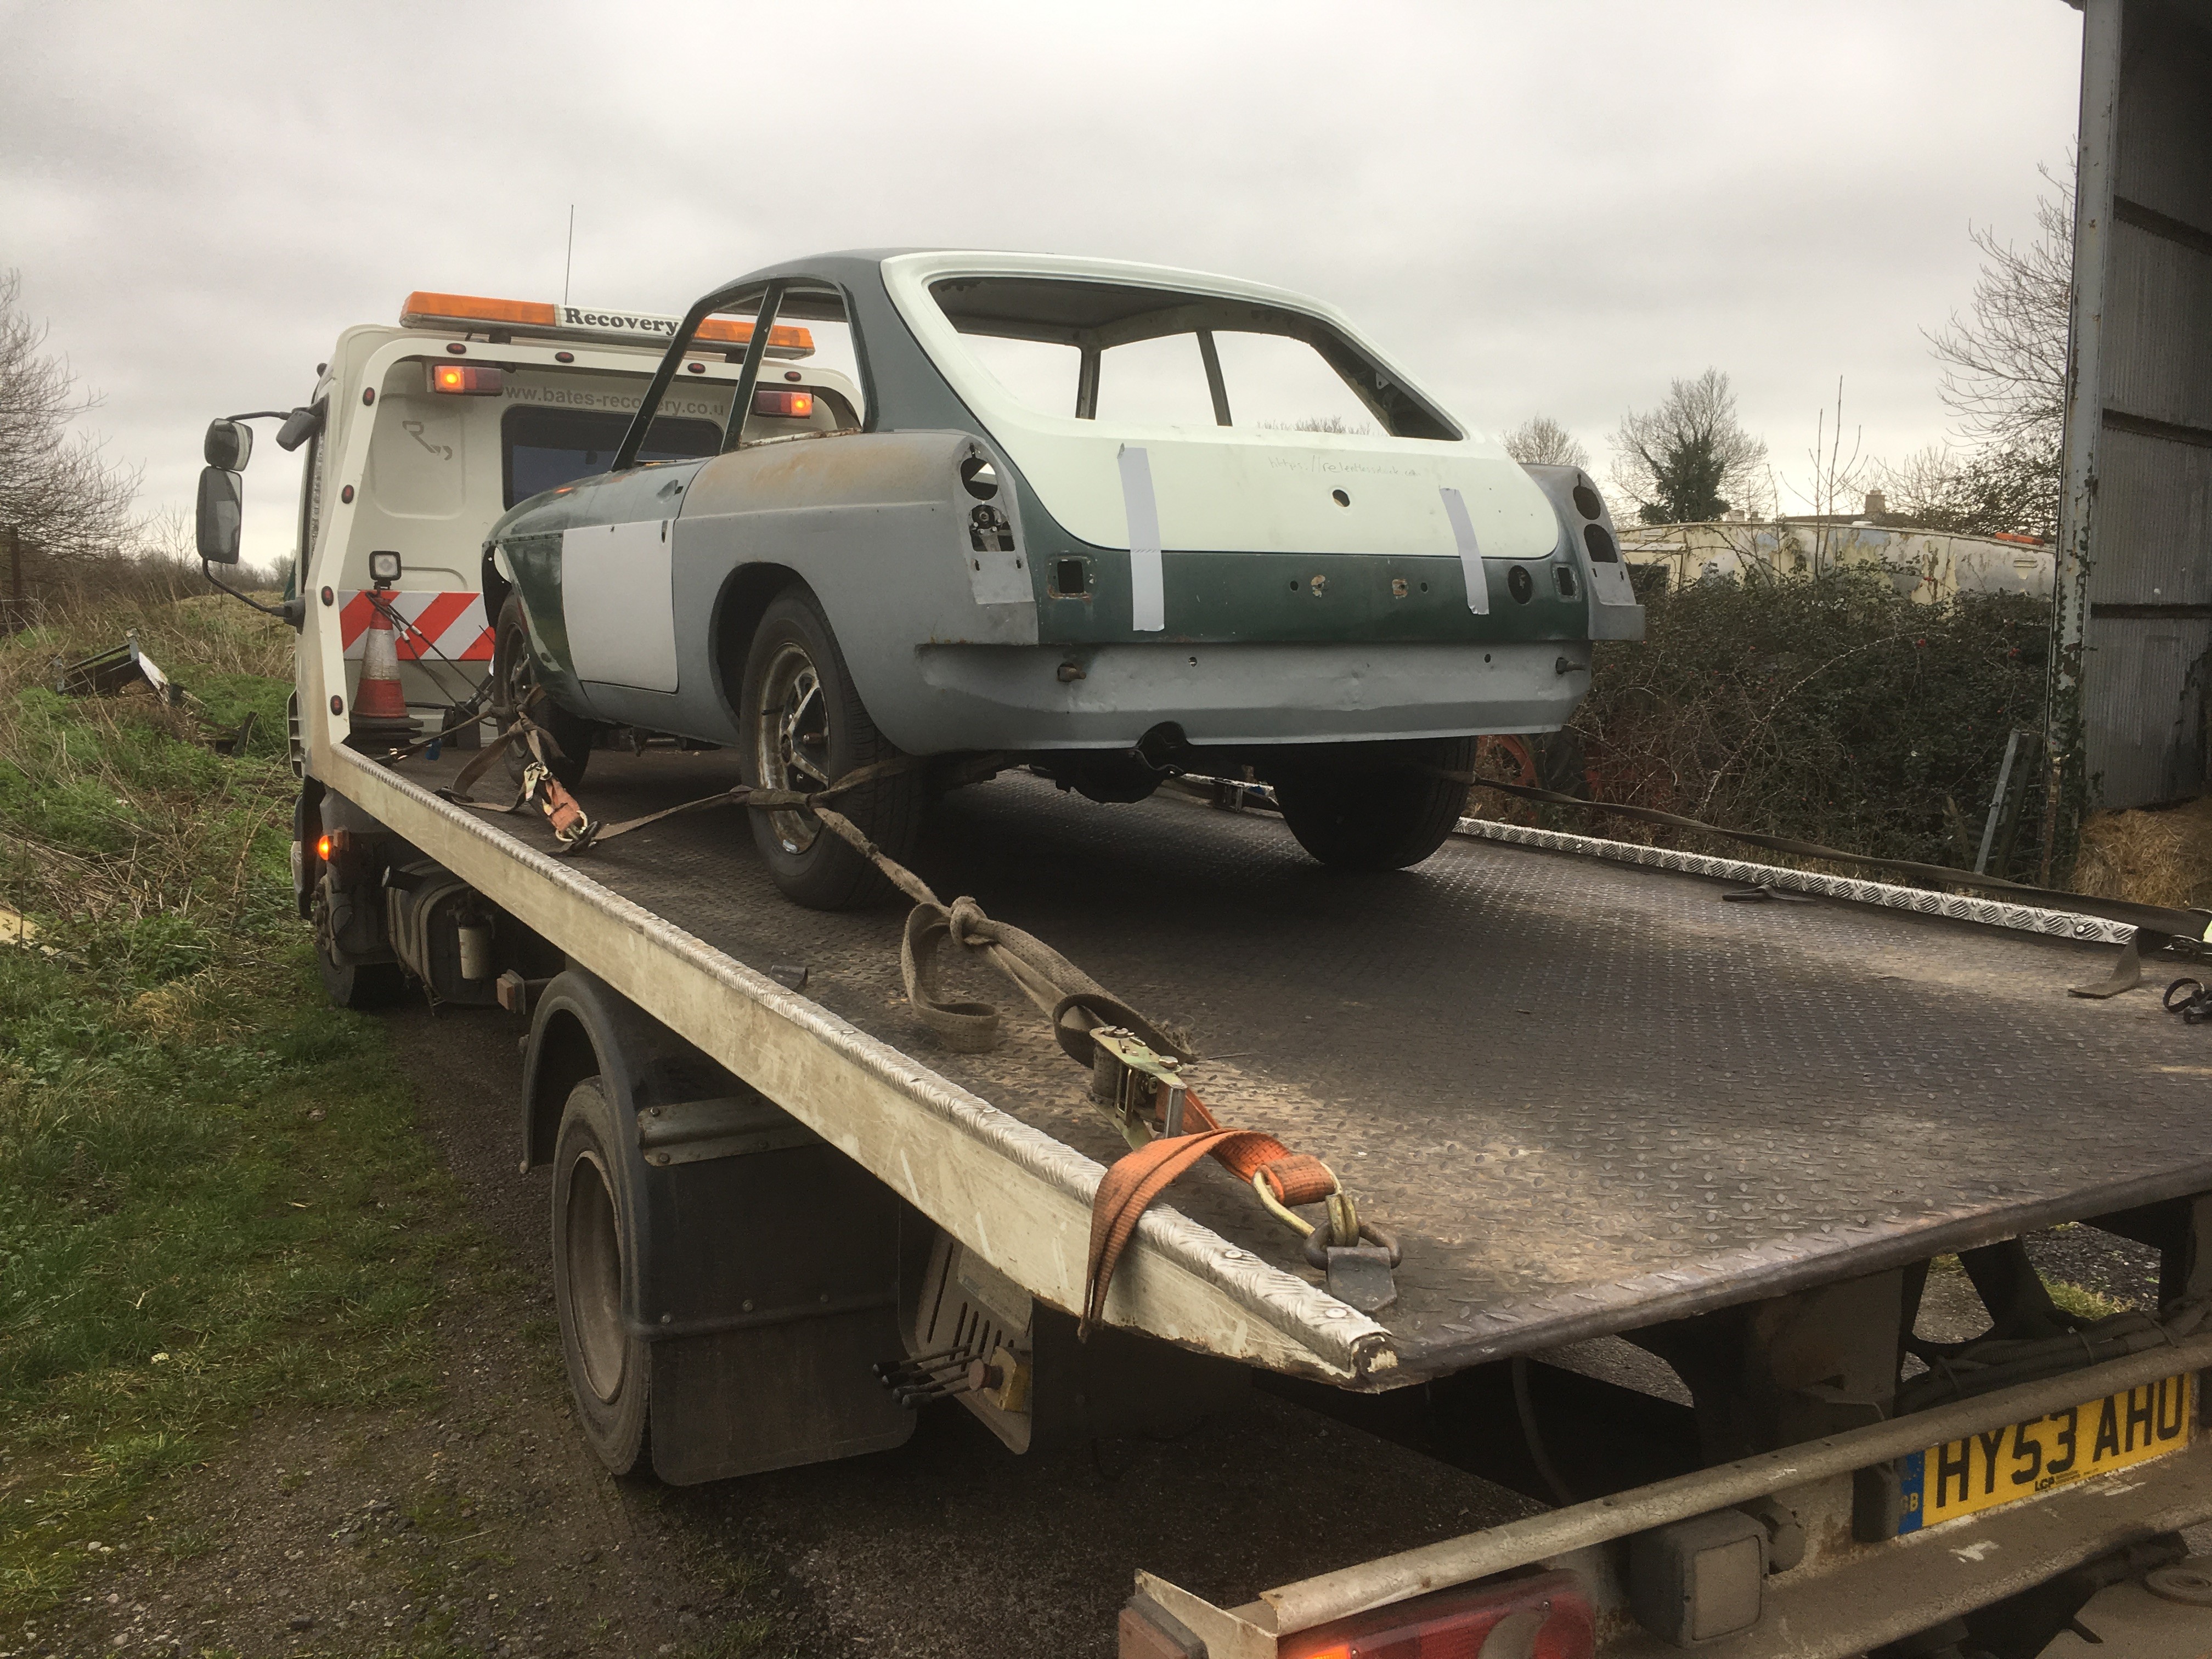
The MG was picked up today (by Chris from Oakwood of Corsham) and transported to RJH Blast services where the paint will be stripped by Roger prior to the respray. On arrival at the premises there was a lot of noise and dust from one of the garages from which Roger emerged to offer me a friendly if dusty handshake. We talked about the job and Gavin from Reef was on hand too to discuss what was needed. I was reassured by Roger’s assertion that ‘it doesn’t look too bad’ and so I was happy that the MG is in good hands. Gavin identified that I hadn’t removed the indicator stalk, so he quickly removed this so that it avoids being contaminated by the blast media which it turns out is ground recycled glass.
So we were four petrol heads all talking cars before I realised I was supposed to be at work, so I said my goodbyes and headed off. I am really excited to have reached this stage of the project. This is the turnaround, the end of the strip down and the start of the rebuild phase. I do have some jobs to do while the MG is away for a few weeks, including finishing off painting the engine and getting all the components into good condition and ordering the new parts which I will need for the initial build, so there will be no slacking!
Following on from yesterday’s progress in removing the main wiring loom, this afternoon I removed the rear loom. I had disconnected the rear loom from the main one yesterday by pulling apart the connectors so all I had to do today was to unclip the loom along its route from engine compartment to where it emerges in the boot floor. ‘All I had to do…’
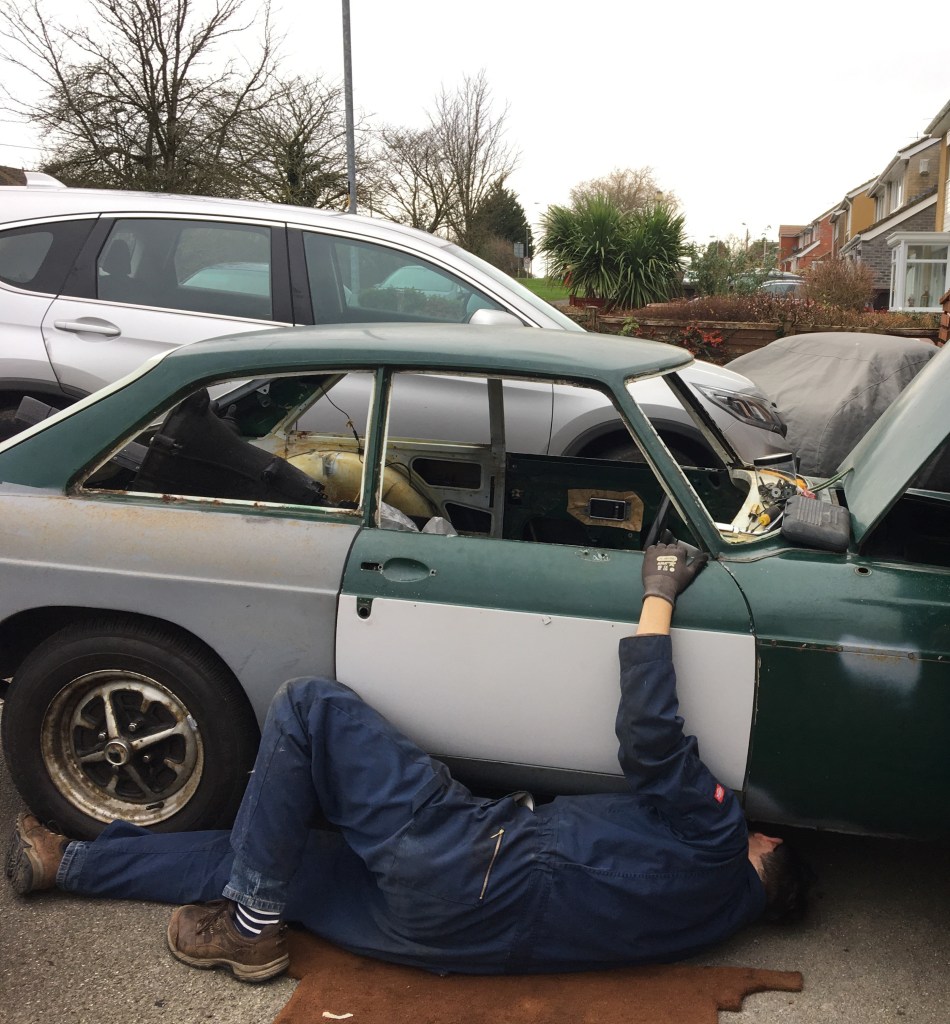
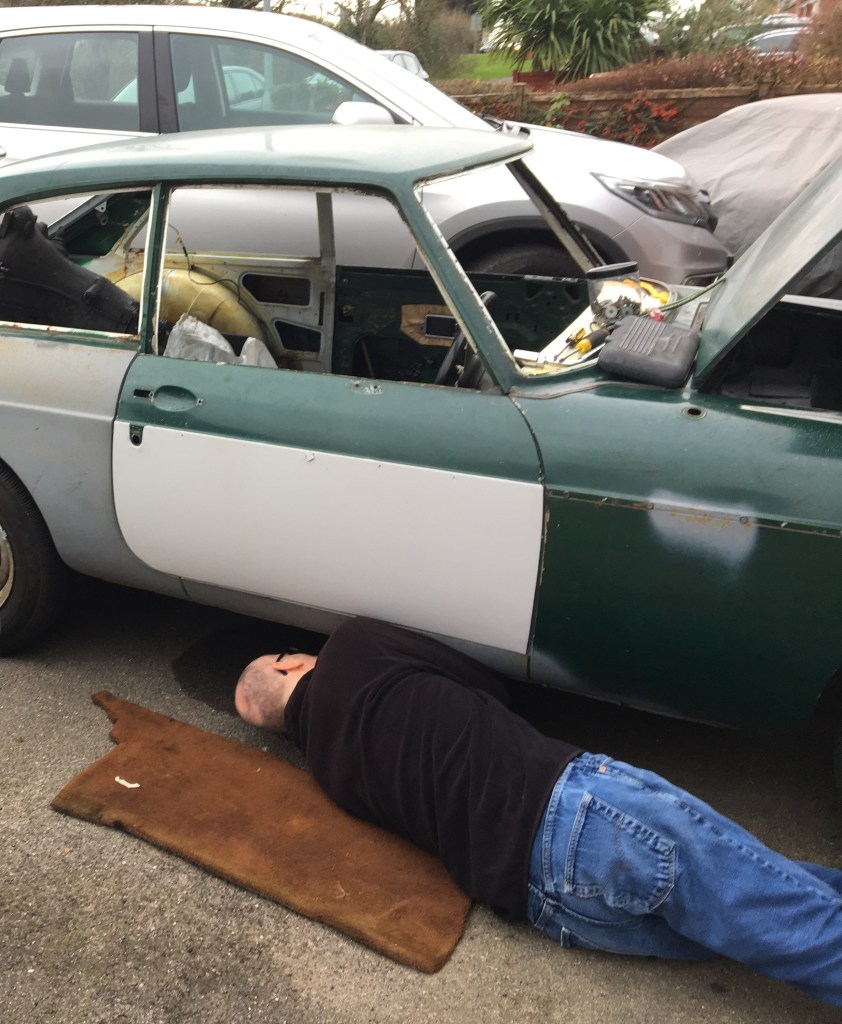
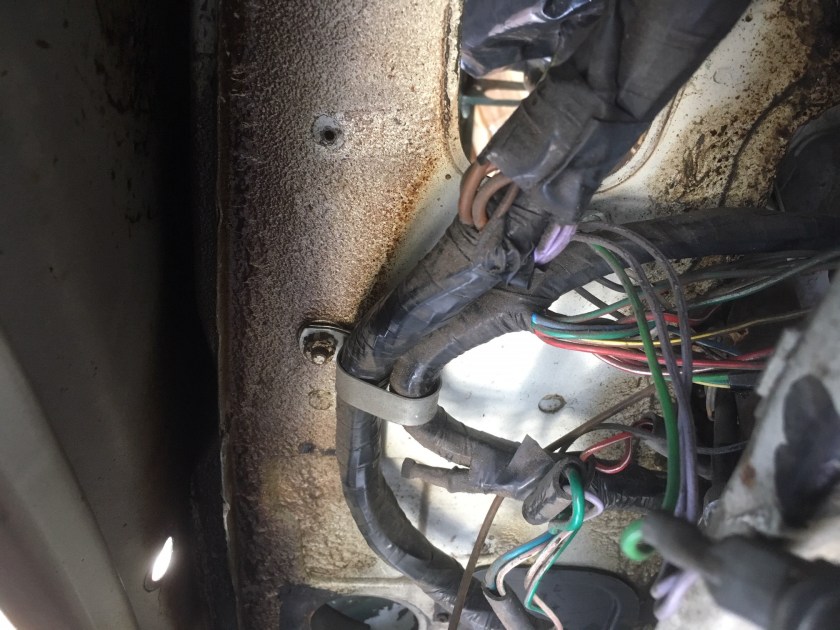
I jacked up the o/s of the MG and set it on two axle stands. Then lying on my back I started to remove the clips and brackets starting at the front and working towards the back. The loom goes through a chassis member about halfway along, but the loom pulled through this once the grommets were loosened. The job got a bit more difficult around the fuel pump, firstly because some parts of the loom were still connected to it, and secondly because there is a clip right up inside the rear arch which was difficult to get a spanner too, and very stiff to boot. It took a while (a long while…) but ultimately I removed the nut and this loosened the loom allowing me to feed it up through the hole into the boot. I then had the satisfaction of removing it from the car and reflecting on a job which had gone well.
With the rear loom removed, it was time to quit while I was ahead, and call it a day
An opportunity to complete a few of the jobs which need doing prior to the respray. I was just getting the MG out and was door-stepped in a nice way by Russell, a dog-walker and classic car enthusiast who has owned a number of MGBs, MGCs and MGB V8s – we had a good chat about the rebuilt and I marked him for future help.
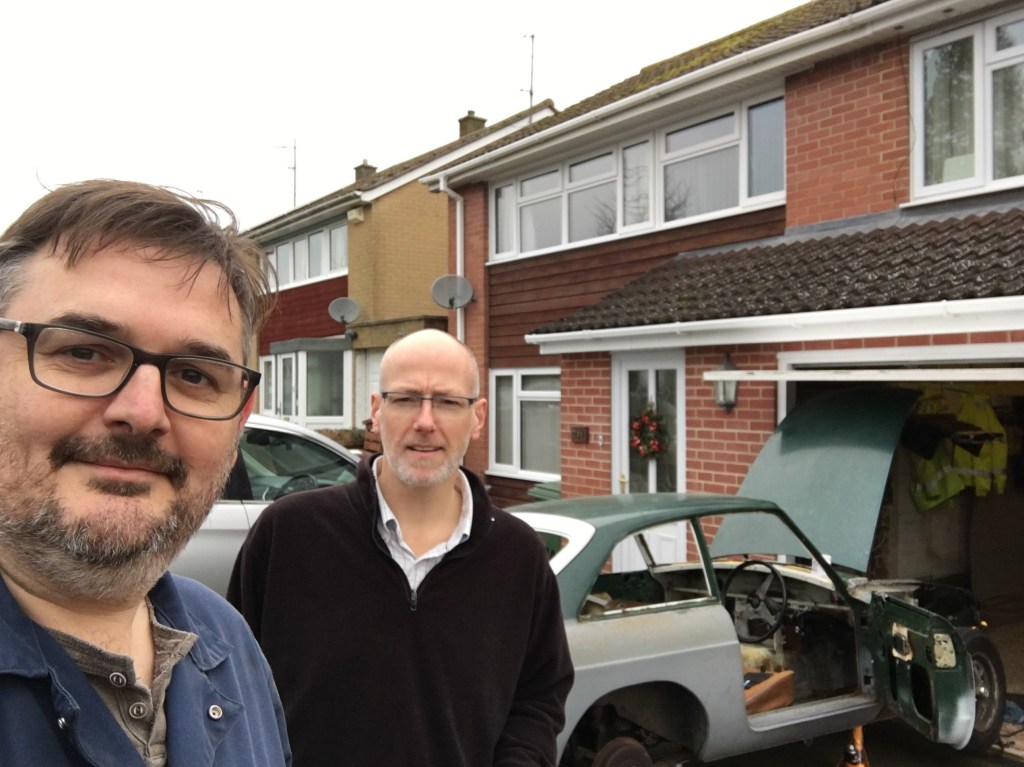
m I was soon joined by my childhood friend Phil who had come along to help. First priority, after making cups of tea of course, was the removal of the loom. Given that I am likely to buy a new loom, this job was easier that it might have been, but it was still fiddly feeding all the connections through the small hole in the firewall. Within minutes of arriving Phil had added value by relating the accepted wisdom that the loom was removed from under the dash and fed into the engine compartment, rather than the other was around, so that’s the way we chose to do it. With me feeding cables from the interior and Phil pulling them through we got the job done surprisingly easily. I now have a complete loom as a template.
Phil has owned three MGBs so his insight was invaluable
Next job on the list was to remove the near side front wing. This was to check for any unexpected rust prior to the respray. Having done the off side recently, we knew where all the bolts were, so it came off nicely without any hitches. There were no horrors stories under the n/s wing so we then put both wings back on with just two bolts at the top and one at the bottom for the car to be transported to the shot blasters.
Phil helped to unbolt the n/s wing
I had earlier disconnected the rear loom from the main loom and inspected the route it took under the car. While initially sceptical that it was a good idea to remove it from its clips, I was encouraged by Phil and Helen to reconsider and remove this too. However, this is planned for another day.
I take another look at how the rear loom is routedPhil verifies the route of the rear loom
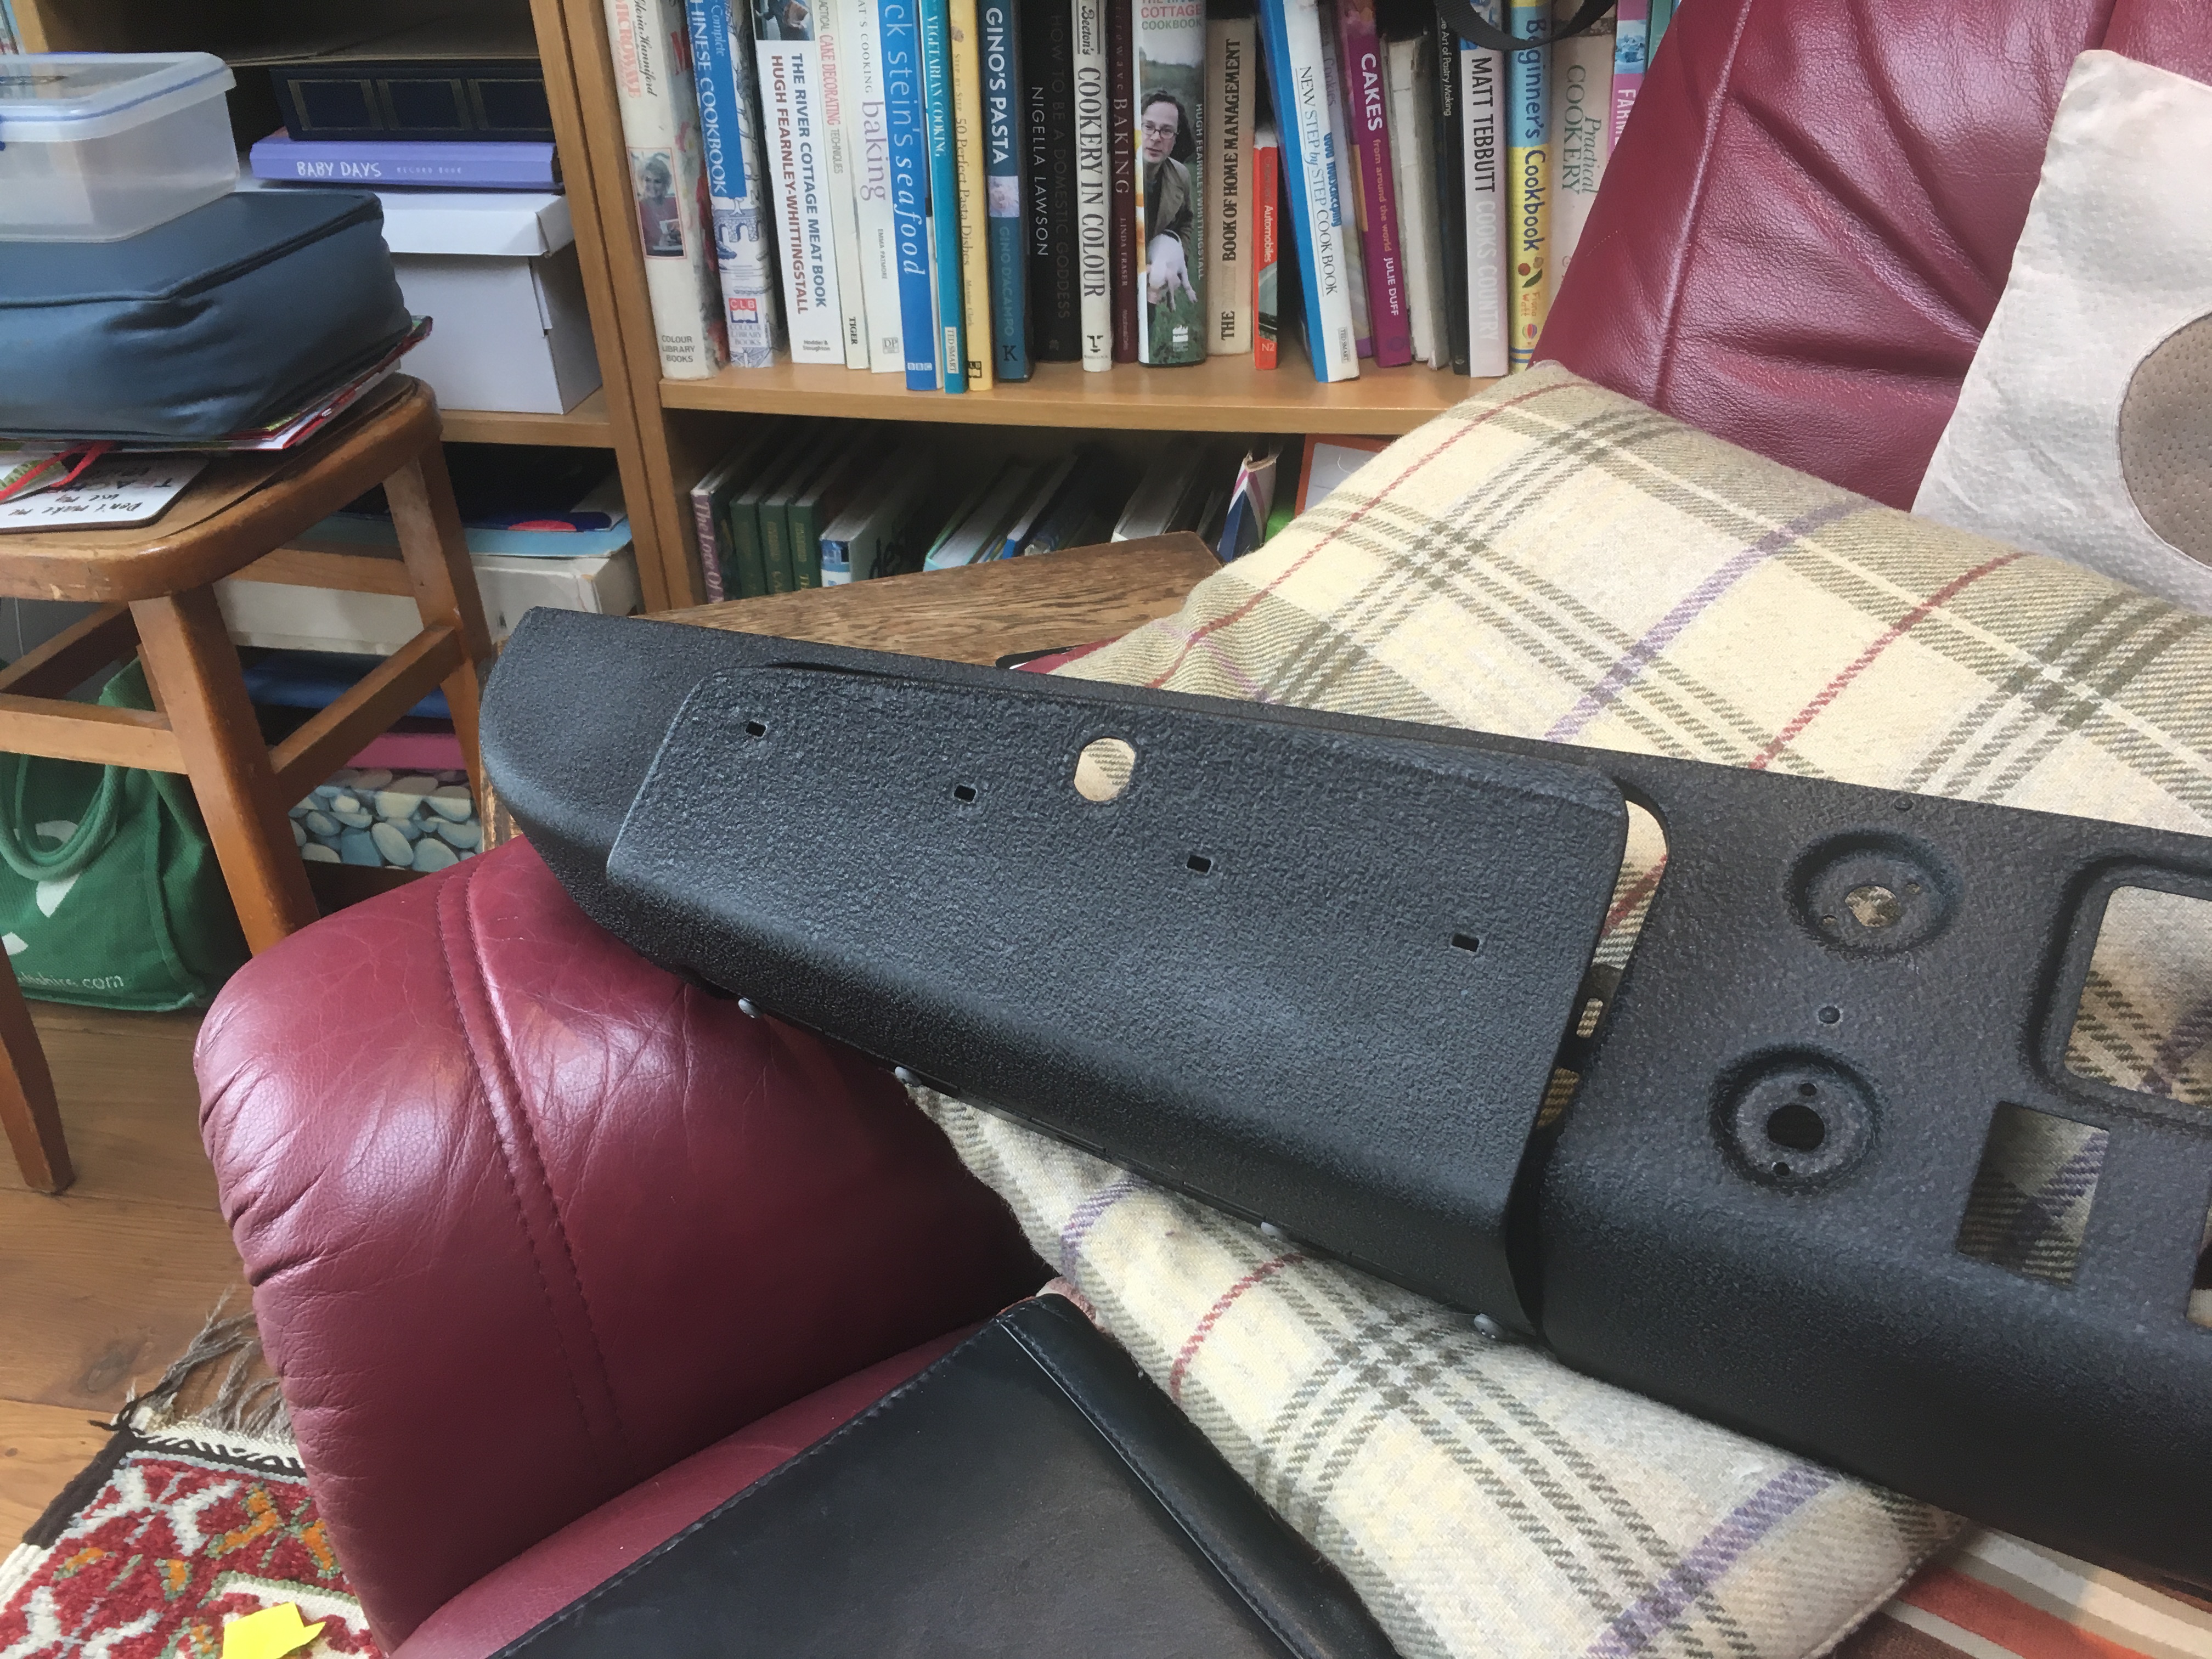
I lifted the battery out of the car as it won’t be needing that for a while and removed various random rubbish from the interior. Phil and I looked for the gearbox cross member but couldn’t find it – I would like it to be shot blasted, so will need to have an organised look soon. In showing the dashboard to Phil, I explained the troublesome chrome strip on the glovebox lid which I had been worrying about. I decided to attempt to remove it and fortunately with a bit of light prying with a tiny flat screwdriver it came off nicely – another job off the list.
Tea is important, and lists, especially completed ones
I love it when someone helps with the MG restoration. Everything seems easier with two people and much as I enjoy working with just the radio for company, sometimes another person can make things appear more do-able. For Phil and I to be working together, with our shared MG history dating back to when he owned MGs and we used to go to events in them, was to fulfil a long held ambition. I look forward to other days when we can work on this project. Thanks Phil.
I am planning to remove the loom on Saturday (with some help) so I thought I had better tidy up the garage in readiness. I managed to fill around three bags of general rubbish, made a pile of cardboard for recycling, collected around ten reusable bags and restacked some of the dismantled parts into neater piles. A good couple of hours spent on making the workspace somewhat tidier.
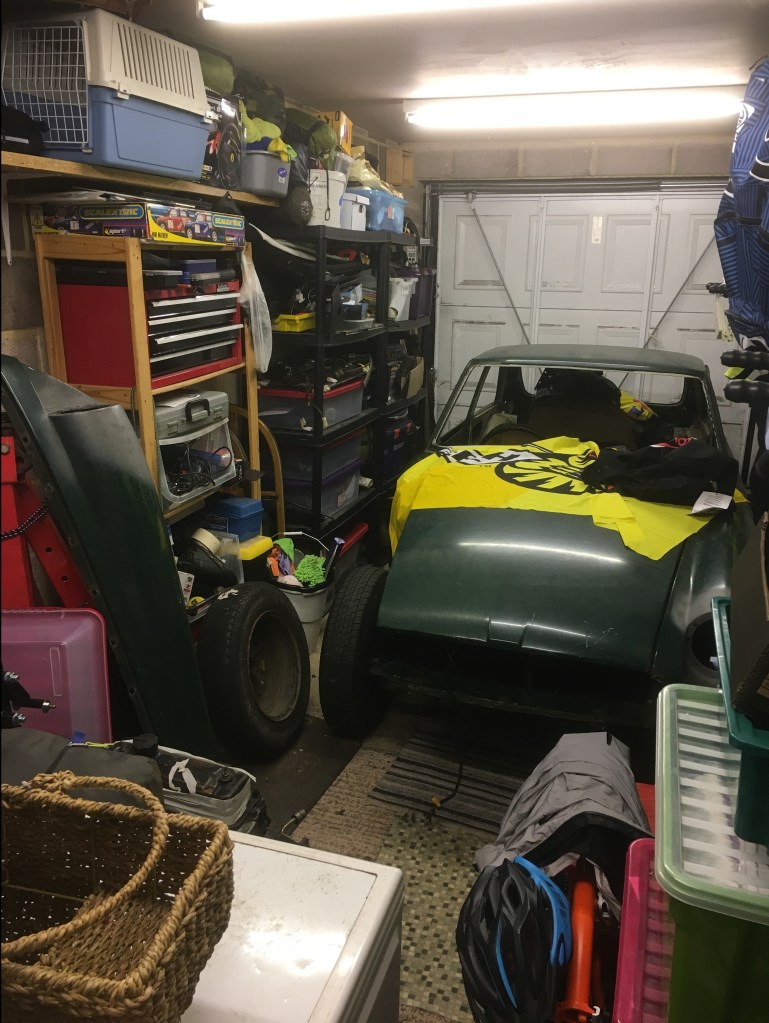
Believe it or not, this is the garage after tidying
I also located several components which I want to be blasted at the same time as the body shell. They include the carburettor heat shield, exhaust manifold, and the heater box all of which I stacked inside the car for when it is collected for respraying. While I was routing around I picked up the flap through which hot air is drawn for the interior. This was fairly ropey, but is too delicate to be blasted so I cleaned it up with my Dremel tool. It will need further preparation and painting before refitting.
Later in the day I rang Moss of Bristol and spoke to George to order the Sebring Valance, Wrinkle Paint and front wing splash plates. I will go to Bristol tomorrow to pick them up. Finally I sent a SMS message to Chris from Oakwood transport, arranging for the MG to be delivered to RJH Blast Cleaning Services. He replied that was okay, so we are good to go for collection Monday week.
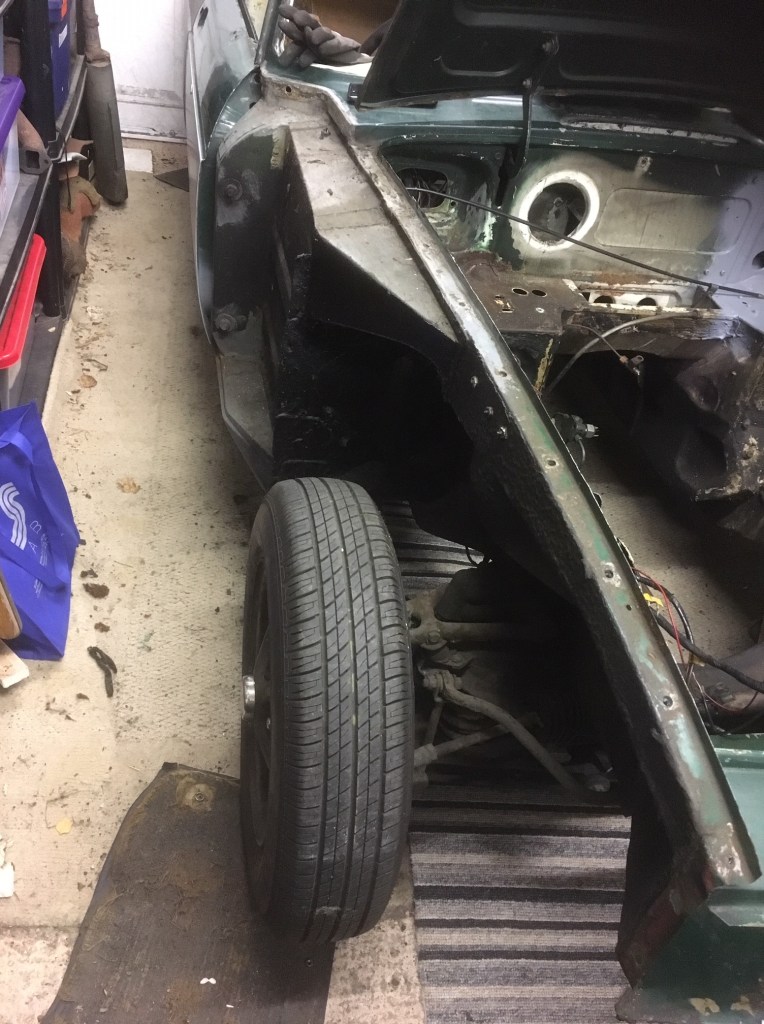
One of the final preparations for the respray is the remove the front wings, so I tackled that this afternoon, on a wet and windy Saturday before Christmas. It was so unpleasantly cold that I couldn’t stand to be outside, so I manoeuvred the MG within the garage so I had a bit of room and unbolted the drivers side wing. One of the those jobs that I had read up about, and for once it went pretty smoothly, I only forgot one bolt and having been there before with my Suzuki Cappuccino I soon tracked down the remaining one. They are bolted on thoroughly, but once all the bolts were removed, the wing came off easily. On initial inspection, the condition of the wing and the inner wing appear good. The bottom edge of the wing is a little ratty, but that should tidy up when blasted and resprayed.
A bit more daunting was my inspection of the loom. I have to feed the loom from under the bonnet through a small hole in the firewall, which doesn’t look easy especially as some clips and bits are still fixed. I removed a couple of pieces, but I may have to go as far as un-taping it and pushing it through one wire at a time. I need to find time to do this as it doesn’t look like a 5 mins job. Also, I have to work out the piece that goes under the car and presumably to the rear. I could do with a dry day, not too cold – some hope of that before 6 Jan 19! (pick up day). I seem to suddenly find myself with a lot to do and not much time to do it, hmm!
Gavin from Reef visited to inspect the MG and to agree details for the respray. The bad news is that his schedule means we have to put the respray back until the first week of January, not mid December as I was planning. The good news is that gives me a bit longer for some final preparation. First job is to remove the wiring loom. Gavin advised this because no matter how well you protect the loom, there is always dust that gets into the connections and there is a danger this may affect systems during the rebuild. The advantage of removing the loom is that you can inspect it and deal with any defects in the garage before refitting. Second job is to remove the front wings. This is to ensure there are no nasty surprises under them (e.g. rust) and also to make it easier for panel removal at the spray shop. Anything to make the job easier is to my advantage, especially as I have asked Gavin for the sand-blasting company to blast a few loose components at the same time. The wings are bolted on, so removal is relatively simple, although I can expect some fun and games with the odd rusty one I am sure. Before I had the car, repairs were made to the front wings, so they have come off relatively recently (in the last five years or so), its not as if we are going back to production in 1974! That’s the main jobs, I also need to arrange transport, order a front valance and do any final tidying up of sheared bolts and so on.
Gavin was really positive as always and it is exciting to now have a date to work to for the respray.
Today I rolled the MG out onto the drive and loosened a couple of bolts, one of which clipped the loom to the under-dash and the other which was an earth for something or other. I didn’t really have much time, but I had a good look where the loom from under the bonnet enters the car through the firewall – there is an intact grommet which I will have to remove and I have heard that its a tight fit to feed the cables through, just a matter of being patient I think.
I also took the Suzuki Cappuccino out for a spin. The Cappuccino is stored under a cover for the winter, but as it was a dry day and with recent rain meaning any salt had been washed from the road, I took the opportunity to exercise the car and check everything was okay. The Cappo started first time, as usual, with a little more screeching from the pulleys which is normal when it has been left inactive. The rear brakes stuck on a little, but otherwise she warmed up nicely and drove fine. The disks had some rust but this cleared with a couple of pushes of the brake and otherwise everything was working. It was really good fun to have half an hour in the Cappo, it’s such a nice car to drive with great handling at moderate speeds, light and direct steering and that revvy little three-pot engine singing away up front. I filled up with fuel as I have heard this can prevent corrosion in the fuel tank and then put her back to bed again under her cover after a cooling down period.
Brief report on the blessed time we have just spent with our Church at Lee Abbey (LA) Christian Community. This was our third visit to LA, the first without our children. We managed to get away from work early and travelled down in the light – a first for us! Friday night dinner was roast pork and we ate as usual with the LA Community, and this was followed with a welcome meeting. Already the peace of the place, and the welcome of the Community began to relax us, and we felt the presence of God. Saturday morning, bright and clear and after a leisurely breakfast we had two talks on the subject of being filled with the Holy Spirit in order to fulfil the needs of each other. The talks raised some interesting perspectives, especially around how we live lives which have become very independent and hence community life has diminished in our society, arguably leading to widespread depression and isolation.
Saturday dinner of shepherd’s pie preceded some home-made entertainment which was great fun. We chatted in small groups before turning in around 11:00pm.
On Sunday our talks concluded with the final session ‘spilled’ showing how our filled and fulfilled Church community could further spill out its love to our local community.
In and around the organised sessions, the joy of a LA weekend is the time spent with our Church, talking with lots of people for longer than usual and reflecting together on the talks and being inspired by the wonderful setting. Helen and I also found time to spend time together and it was a blessing to have this special time.
As we near the respray, there is less stripping down work to do. Really it boils down to a couple of troublesome fixings, a sheared bolt on the transmission tunnel and a sheared screw where the heater is fixed. Today I attempted to use a stud extractor to remove the sheared bolt and when I couldn’t get this to work, I tried to drill it out in frustration. This has resulted in an off-centre hole which is no use to anyone. I may have to leave this to the professionals to sort out together with the heater screw.
On a more positive note, following an episode of degreasing of one side of the engine recently, I tried out some engine paint I had bought recently. I first masked off the components (on the oil filter side), gave it a dust and sprayed the paint straight on. I left the spark plugs in which are the old ones which I am effectively using as dust covers for the bores. At first sight, it seems to be a reasonable job, but will only really show when the paint has dried. If all is well, I’ll degrease the other side of the engine and we can have that tidied up. I was tempted to paint the exhaust manifold too, but I think that may require different paint. Black is the correct colour for this year’s MG according to my research, so that should be fine.
Another job done last week (but not recorded here at the time) was my first attempt at cleaning up the gauges. I removed the chrome bevel, which is done by prising up several lugs with long nosed pliers, not an easy job at all. I then cleaned all the crud off the gauges, washed all the parts and re-assembled. I think I may have left some smudges on the glass so I may need to take them apart again and use something like White Spirit to have a smear free finish. Anyway, what was positive was how well they came up, so as a proof of concept, that worked. They are not perfect like new gauges, but I quite like that.
On a closing note, I contacted Gavin at Reef who is going to do the respray. We had a chat on Facebook Messenger, the conclusion of which is that he is will be ready to receive the MG in mid-December. This was exciting news as that is only four or so weeks away! He is going to visit me in November to check the car over for readiness and to finalise the specification. The respray will mark the achievement of the first major milestone of the restoration, the strip down. Once completed, the respray itself will be the second major milestone, and will set in place the rebuild phase.
I removed further items critical to the respray today. First I drilled out the rivets which hold the door switches in place and then removed them and tidied up the under dash loom. Then I removed the door handles and locks to both front doors. This was straightforward although the space is limited and the thread on the lock was very long. Many turns of an adjustable spanner were needed. I have left the inside door handles and the latch and slam plate on the car as Gavin (Reef Paint Shop) advised that it was better to leave them so at least the doors are held shut during transport to the paint shop.
I then took a deep breath and pulled all the headlining trims off. Some of these pulled off easily (they are glued) and others snapped as they had become brittle. This allowed the headlining to be dropped out as a whole piece, albeit broken around the edges. A new clean one will smarten up the interior during the rebuild. There were some sundry trims left glued to the door pillars so I peeled those off too, keeping a couple of representative samples for reference in the rebuild. I then turned my attention to the boot where I disconnected the rear loom, including taking the ceiling rose light cables and the heated rear screen cable and pulling them through the pillar so I could bundle up the whole loom into a bag. This is to protect it from the sand-blasting process.
A beautiful autumn day, warm and sunny I took some record photos of the car outside. On a mundane note I had bought some new storage boxes and so I tidied up some of the parts into better shaped boxes.