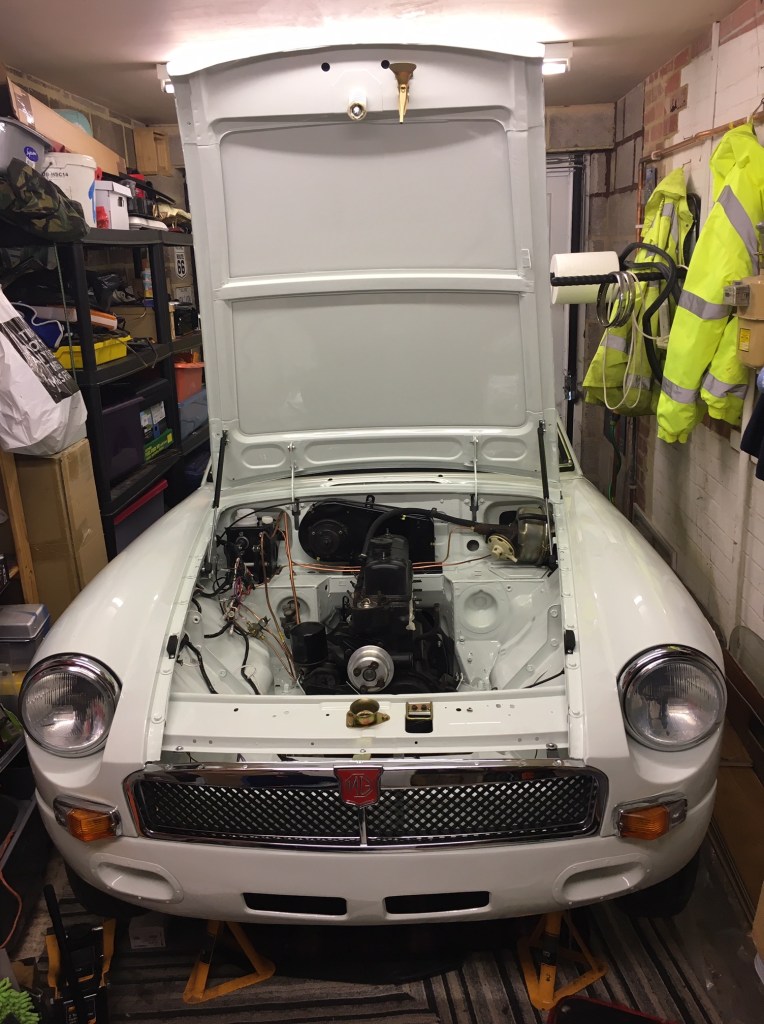
A sunny November day was too good to waste, so after returning from Church I rolled the MG out for some more work. Pushing the MG out has got heavier since the engine went in so I enrolled Helen to help. Later I checked the tyres pressures and finding them at 10psi, I did the sensible thing and pumped them all up. The car rolled easier after that!
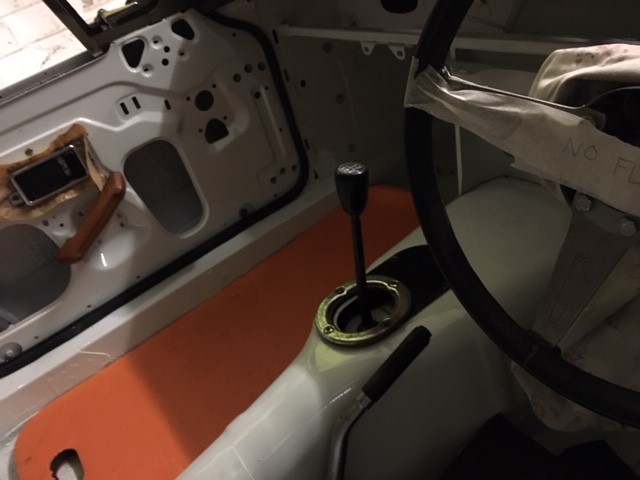
I found the missing gearlever retainer ring and bolts (they were in a marked envelope!) and fitted them, using a dab of copper grease. The gearbox has a really nice action and I can’t wait for the day when I am changing gears for real. I then jacked up the car and connected the prop shaft to the back of the gearbox. This was a fiddly, but not difficult job which just needed a bit of persistence. After doing up two of the bolts, I needed to rotate the prop shaft, so I enlisted Helen’s support once again, getting her to hold one rear wheel still, while I rotated the other one, watching to see the shaft go through a half rotation. The other nuts went on easily enough if you ignore the rain of debris, dropped nuts and generally cramped position I had to lie in. That was all I managed to do although I did sort a few more parts into order and I took a good look at the wiper mechanism and (famous last words) its looks relatively simple to fit. I will probably have to replace the mountings as the chrome is pitted. These units require access under the dash to install so something to sort now, not later. More shopping on line needed.
Another rainy Saturday? …it must be November. Before the rain became truly relentless I managed to do a couple of jobs on the MG. Today was an inventory day, something I have made up to describe when you spend time going through the boxes of parts trying to figure out an order to everything. Today, I decided to put all parts which are surplus into a single box. Surplus means that I have bought a new replacement, so hence don’t need them anymore. Parts that are decent, I’ll flog at an autojumble one day, parts that were u/s I threw into my garage bin. No point keeping them. While going through the boxes, I found a couple of items that could just be fitted right now, meaning that I wouldn’t have to store them any longer. It also gave me a view as to whether they were actually any good or not. This included the following:-
Gearlever and original gearknob: This highlighted that I did not have the gearlever retaining ring readily to hand. Quick search on the internet suggests these are no longer available, so I will look out for the original one buried in a box somewhere
Door locks: The door locks are in okay condition, however the second one I fitted didn’t want to go through the aperature in the door and when I tapped it, I chipped the paint. Darn! I wasn’t really able to see whether it was a bad chip as this was the last thing I fitted before rain stopped play. Hey ho, this was bound to happen at some point. The thread on this lock needs tightening, but as mentioned the rain was getting heavy so I abandoned this job. The thread is really long and the space in the door is tight. All I can weild is a large 1″ spanner to do the nut up, so that will take ages. Something of a penance for my earlier impetiousness. The lock action isn’t right yet and will need some fettling.
Door Handles: These fitted nicely, but has highlighted that I really need to replace them as the chrome is pitted. What a shame, it would be nice to keep the originals. Still, they can stay on for the time being.
Door Pulls: Have I gone mad? Door pulls on before the door cards or even windows are fitted. Maybe not so crazy, because in fitting them (trial fit really), I discovered that one of the fixings on the n/s was missing. There is a threaded clip that was missing on the door. It would have been annoying to disover this problem having put the doors cards on, so glad I found it. I will need to think of how to rig up something here probably involving giant washers.
Rear view mirror: Again, have I gone mad. Well it was sat in a box so I thought I would fit just to see how it goes on and this confirmed that really it needs replacing. The mirror backing has come away so the edges are all ragged. S
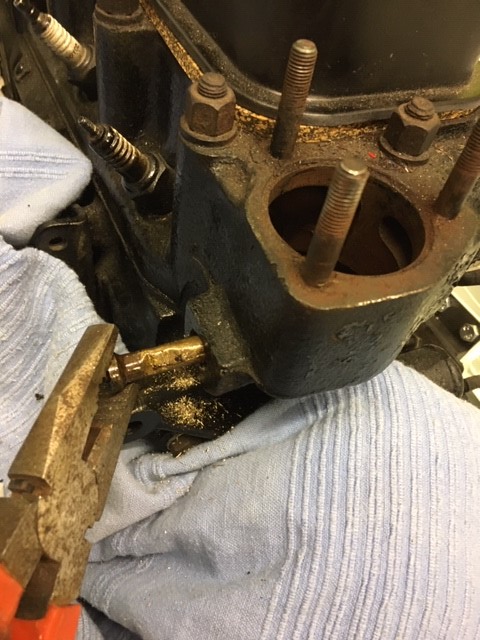
Thermostat and housing: A long time ago I had bought a new thermostat and housing, but couldn’t fit it because the old temperature sensor probe was stuck in the head. As I removed this earlier in the week with some freezer spray and some light prying*, these parts could now go on and the old ones get tossed in the surplus bin
Today’s jobs generated a list of required parts. There is an Autojumble coming up in Malvern so I may take a trip out there to buy the parts.
Not really a memorable day on the MG, but forward progress was made and to get anything out of today is somewhat of a bonus given the weather. I am waiting for better weather to do the jobs that are critical to getting the car moving under own steam, something I couldn’t really contemplate today.
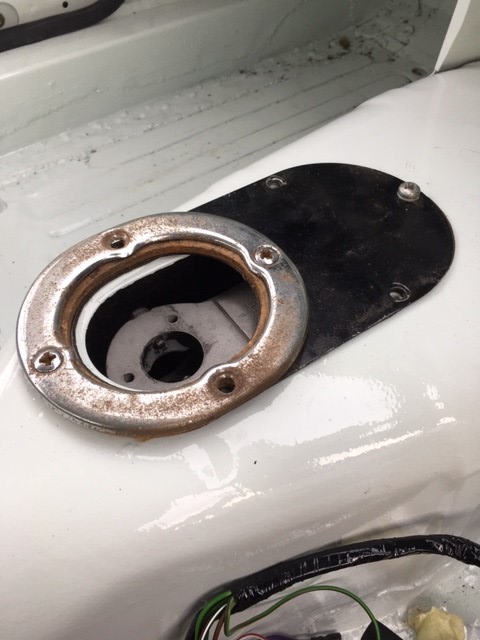
Gearbox surround may clean up or I may replace
Gearlever in place, but retaining ring is AWOL
View from the study on a rainy day
This great product…
…freed this troublesome temperature sensor
I did label some components!
Am I supposed to seal this with silicone? Anyone know?
* The temperature sensor, which fits on the end of a capillary tube, has been one of the most troublesome components to date. I tried undoing it when I first stripped the car down and have been trying ever since. I’ve tried special gripping sockets, heat from a blowtorch, crowbar, loads of WD40 and all sorts all to no avail. It took my mate Mark to remove the nut (which should have taken the sensor with it) and he usually works on industrial mechanical plant! As I am now in the rebuild, this could have become an issue requiring the head to be removed and machined. Fortunately, a friend from Church suggested the freeze spray and this was to prove the decisive factor in me finally releasing the little blighter. In the end, once it had budged, it just pulled out, the corrosive bond having been broken. Phew! …and a sense of achievement.
A gloomy Saturday in SW England, rain is lashing down and England just lost the Rugby World Cup to South Africa. But there are reasons to be cheerful!
This week I collected the refurbished seats and new carpets from Mirror Trim near Bedford and they look great.
The new carpets will stay in the box until I am ready to fit them
Lovely refurbished seats retrimmed in leather
I’m really pleased with how the seats have turned out, they look absolutely fantastic and along with the new carpets, the interior should look really smart. For now, the carpet box is standing upright in the study and the seats are in Lou’s bedroom (sorry Lou…).
Second reason to be cheerful was the successful fitting of the slave cylinder to the side of the gearbox earlier today. With the weather outside miserable, I worked on the car in the garage and it was surprising okay. Not needing access down the side of the car, I just jacked up the front, propped it on axle stands and wriggled underneath from the front. With more space in the garage since I fitted the engine and handed back the crane, this was much more feasible. The slave cylinder and the fittings all went together easily enough. There wasnt much room to swing spanners, but on the whole I was happy with the job. While under the car, I took a moment to improve the routing of the o/s brakepipe and was happier with it as a result.
One side of the slave cylinder
the other side, showing the bleed screw
So the next job will be to charge the clutch hydraulics with fluid, bleed the system and then test the clutch is functioning correctly, before adding any engine ancilliaries and connecting up the exhaust and so on. This is following the advice of Papa Trigg who knows about these things. I have a friend at Church with a bleed kit who has offered to help with bleeding the system, so his availability will drive this next task.
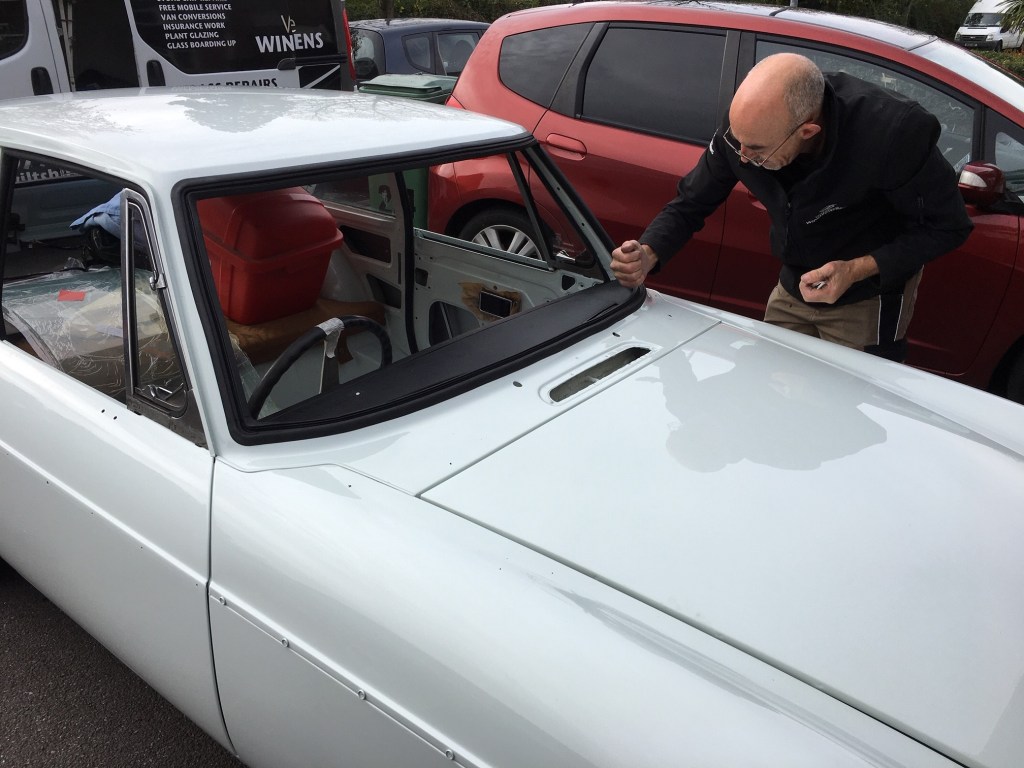
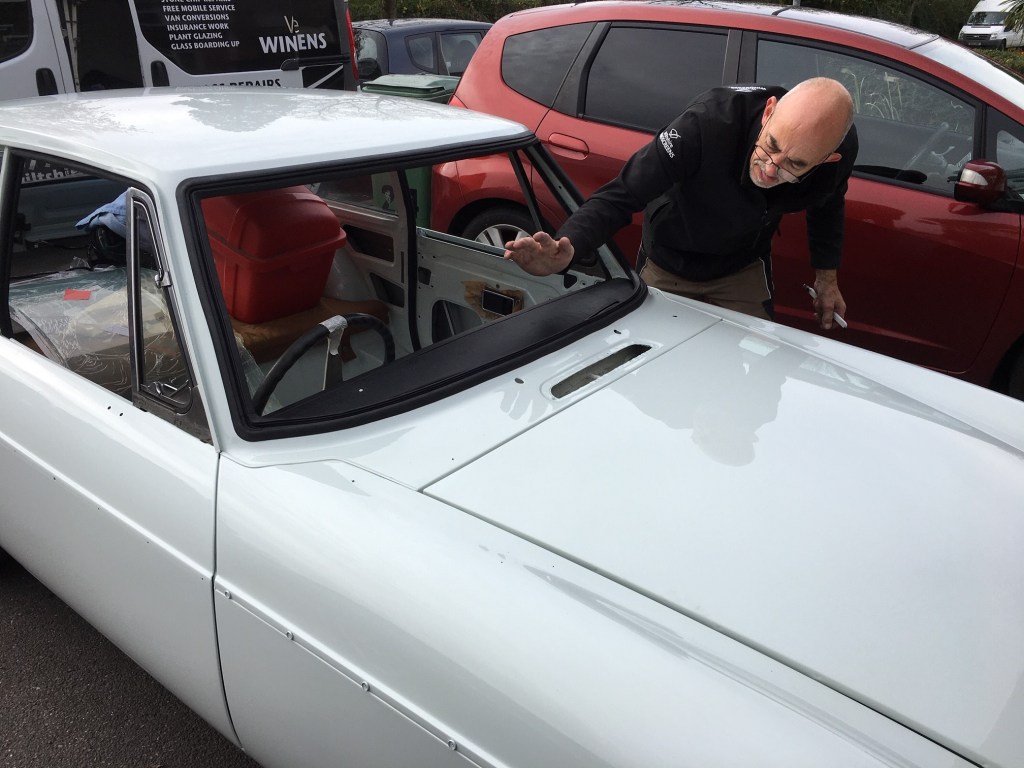
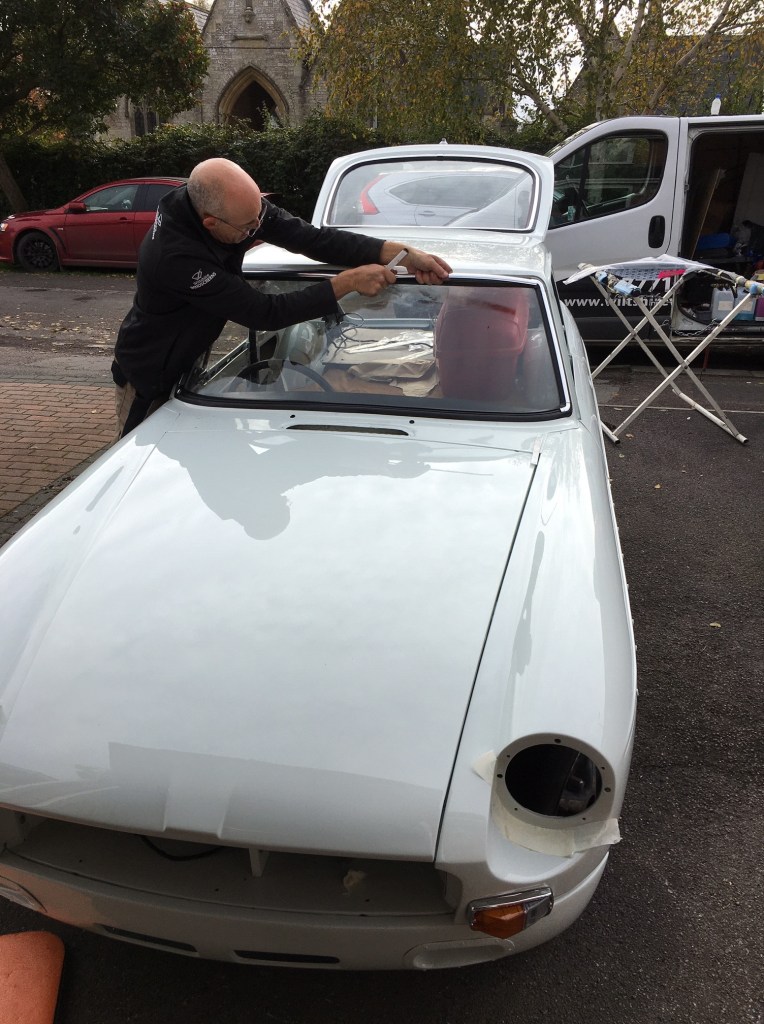
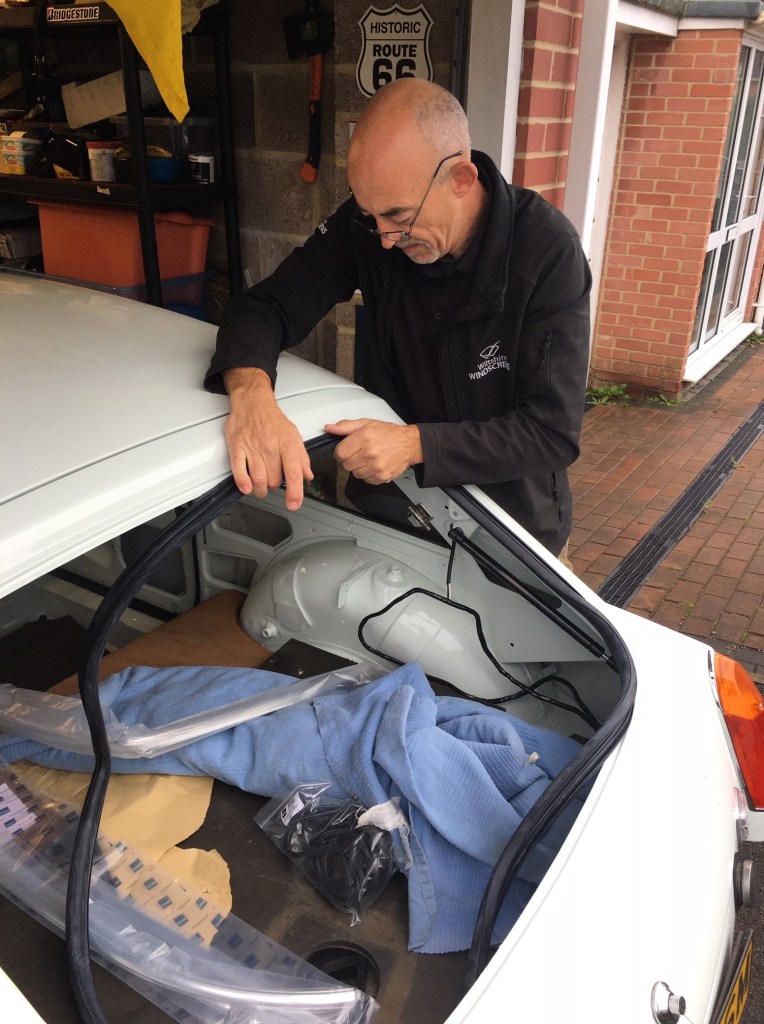
Andy from Wiltshire Windscreens came over to fit the Windscreen following some issues over the last fortnight around the weather and a rubber seal from a supplier which did not fit. This time however, the weather was good and all the kit fitted (with a bit of grunting, and a minor modification) and the windscreen is now in and looking fantastic. I have to hand it to Andy, he did a fine job, was great company and charged a very reasonable fee.
Thump, thump, Andy bashes the seal on
One more clout should do it
Fitting the tricky trims
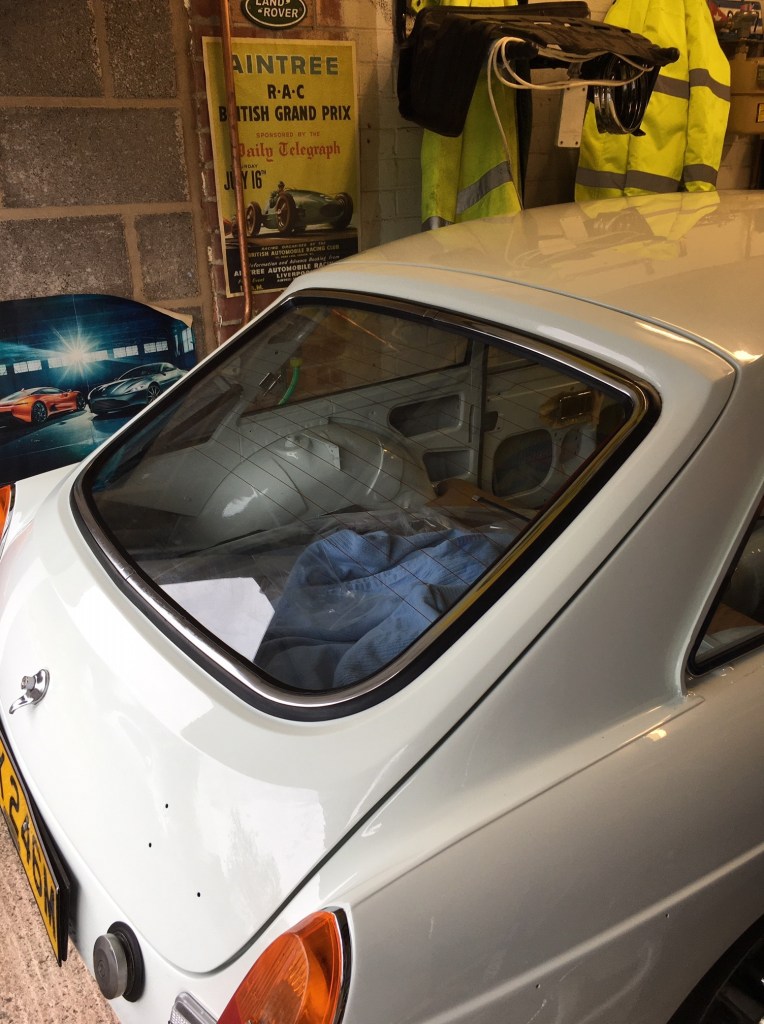
All done, but Andy can’t help tweaking the rear screen (which he fitted previously)
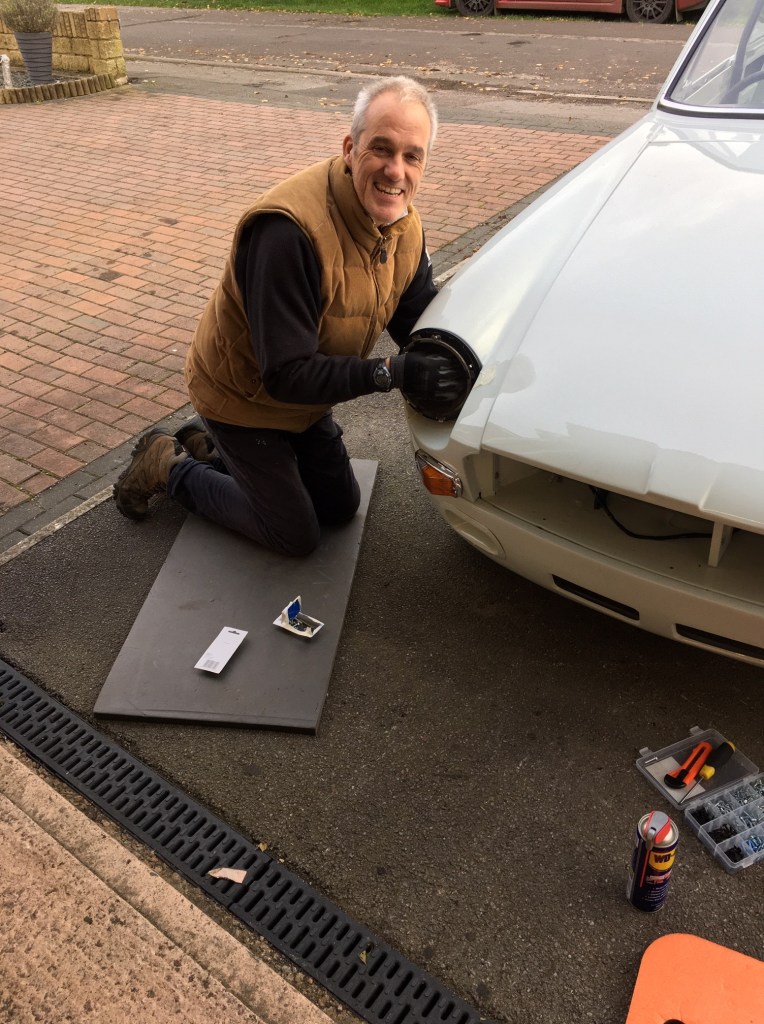
Paul had also come up to help me for the day. I wanted him to look at the o/s headlamp since I could not fit the bevel and it was causing me annoyance. We played around with the other unit (the one not fitted) and sort of worked out how it went on. We concluded that the unit was too tight to the seal to allow the bevel to hook up to the securing lip, so reluctantly removed it for a refit. I had used very short bolts because I didnt want the bolts protruding into the wheel arch, but on relfection I had gone too short and now the assembly didn’t work. While inspecting the lamps, Paul was recalling his days working on his Triumph 2500 that he had in his youth. Helpfully, he could still remember how the lamps went together and he did a good job dismantling and cleaning the unit which then looked much more presentable. After a quick visit to Halfords to buy some bolts, we assembled the lamp units in situ and to my delight, the bevels fitted. We weren’t completely sure that the lamps are as securely fitted as they need to be, but this was a step forward and like a lot of things on the car, once something is on, it can be endlessly fettled, and probably will be.
Next job was to refit the grille which had to be removed to maximise the reach of the crane for the engine install. Refitting the grille was relatively easy, although its a tight fit and it was better to do this now, than leave it in the kitchen to annoy Helen.
On a roll from our success, I asked Paul to work with me on sorting the bonnet release which wasn’t operating. I wasn’t happy with the cable routing, so we altered it by hanging a clip off the last wing bolt which held the cable more securely. Having Paul’s input, as well as extra pair of hands to hold the cable while I tightened the securing nut was invaluable and on testing, the bonnet release worked as it should.
Paul getting intimate with the MG
What a smart looking vehicle
Two happy middle-aged men and an MG
So a really successful day and some more milestones achieved. To quote the Beatles, I get by with a little help from my friends.
A big milestone achieved today with the engine and gearbox installed. It was just getting dark as we finished, and we didn’t manage to properly fit the geatbox mountings (a well known MGB challenge), but as my friend noted ‘It looks in’.
We just got enough done before it got dark
The engine is back where it belongs
This is how it unfolded. The original plan was to install the engine yesterday, but unfortunately in this part of the UK we had a severe rain storm and it just wasnt feasible. Moving the job to today, meant I lost one of my two helpers, who had a work commitment up North. So it was just me and a friend from Church, John, who knows a thing or two about mechanics and is a practical and clever guy who I was confident would get the job done. Question was, would I be enough of an assistant?
First job was to see how to sling the engine. John got on with this while I torqued up the gearbox bolts. We then lifted the engine just to see how it would hang.
John getting a feel for the engine lift
Engine is now pointing the right way and so is the car
Having got the engine rigged up to the crane we had to rotate the engine and car through 180 degrees. The engine crane takes some manouvering. We used spare wooden floor boards as runways for the castors to make it as easy as possible, but even this was tricky, with having to move them around and the crane occasionally falling off the runway. To turn the MG, we had to push it up the drive and onto the road to do a three point turn. An old gentleman was walking his dog and looked curiously at us. He asked ‘What’s wrong with it?’. John replied ‘It hasnt got an engine’. He seemed satisfied with the answer and continued on his slow walk up the road.
As further preparation I jacked up the rear of the car and removed the grille to give us some more room to get the crane as close as possible for maximum reach. We also laid throws around the engine bay and wrapped the gearbox with a sheet and a feed bag as protection against any accidental knocks.
Received wisdom recommends jacking up the rear to help the angles
So having done all the preparation, it was time to see if we could do the job.
Here John articulates our well planned operation ‘lets give it a go!’
First attempt at lifting the engine ended in failure. We found that with a single sling we weren’t able to tilt the engine enough by force alone to get anywhere close to the angle we needed to fit into the car. So we rigged up the balance bar which I had been loaned by Corsham Tyre Services. The balance bar has two lifting points connected by a threaded bar which allows you to tilt the load. Cool piece of kit which as it turned out was critical to the job getting done.
With the whole unit tilted, we were on our way
Our next set of challenges were around maximising the reach of the crane which was at its absolute limit. We had to release the bonnet struts and lash the bonnet up as high as it would go (see picture above). With the crane at maximum reach, at maximum tilt and very close to the bonnet, it looked as if we would be short of where we would need to be. However, with a bit of shoving and pushing, some very careful manipulation of the crane height and angles, and some light prying, we got the engine close enough to the mounting brackets to get a bolt on each side. Seems easy when I write it now, but it was fairly stressful as the space is really quite tight, especially with the starter motor on, not one of my best ideas. So we had the engine in place, and our focus now turned to the gearbox and the dreaded cross-member.
John trying to fix the cross-member
The cross-member is an awkward piece of design by MG which is well-known for being very difficult to fit. And so it turned out to be. We managed to get one gearbox mounting fitted, but the other side refused to play ball despite our best efforts. Regretfully, we had to bolt up the cross-member with only one mounting properly installed because we were losing the light at this point. A sensible decision, as there was quite a lot of kit to put away, and although it was disappointing to be beaten, we at least had got the main job done and left things in a safe state for future completion.
So thanks John for leading the job today – in the evening, I was invited over to his place, where John’s wife had cooked a delicious spag bol (my wife Helen was away on a school trip to China).
Secondly, thanks to Corsham Tyre Services for lending the lifting kit without which we really would have struggled.
Thirdly, thanks to Austin for his generous loan of the engine crane.
I arranged for Andy from Wiltshire Windscreens to come over to install the rear screen of the MG. I was working from home, but managed to keep an eye on progress between Skype calls. Andy battled with a slightly too long rubber seal, glass that wasn’t quite the right shape and trims that were recalcetrant. However, he had a cunning collection of tools and slippery products to work the screen in. I was pleased with how the job turned out and Andy is booked in for the following Monday to fit the Windscreen.
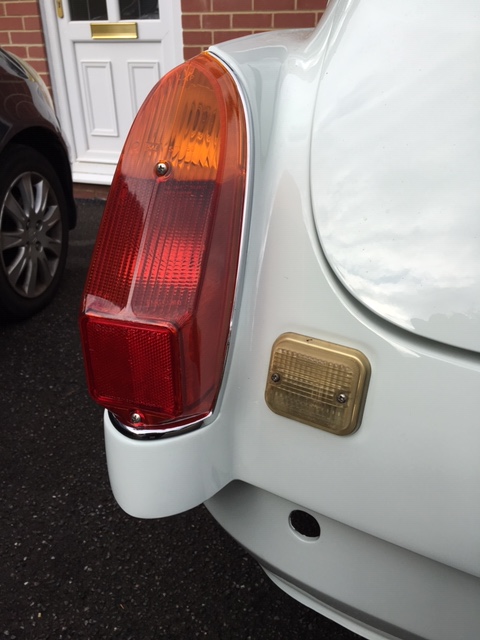
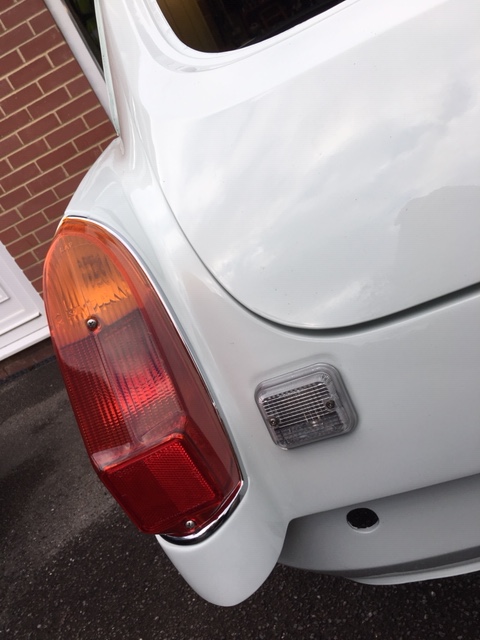
I wasn’t counting on doing any work to the MG today, but finding myself with an hour free towards the end of the day I rolled it out and thought I would install the reversing lights. This should be a simple job, but turned out to be annoyingly difficult and ultimately resulting in a ‘fail’. I had bought shiny new reversing units from Moss recently as the old ones were yellow and cracked with age. I had previously trial fitted one of the old ones just to see how easily it went together.
This old reversing unit just wouldn’t look right on the fresh MGB
I started with removing the old unit, and thinking I would need to remove the bulb for later use, eased a screwdriver against the bulb holder (yes I know, a screwdriver…) and it promptly exploded on my hand. Hey, ho, its just a bulb, I can get another. Moving to the new unit, I removed the lens only to discover that it comes fitted with a bulb already. I shrugged to myself and started lining up the new unit to fit on the o/s. It attaches by two little bolts which go through the lens and body and into a captive thread. After a couple of attempts, I realised that neither bolt was biting on the thread, so I applied a bit more pressure, to squash the gasket that I thought might be pushing it back. Still no biting. Around this time I noticed red marks appearing on the bodywork and on the tools and of course, I had cut myself on the glass and was bleeding. Quick visit to the first aid cupboard for a plaster. I had another couple of goes at getting the bolt into the captive thread and concluding that it wasnt going to work, decided to drill the threads out and just rely on the bolts to hold it in place (I know, I know). This was the usual messy affair with the drill bit variously seizing in the hole and just generally being a rough and ready approach to solving a problem. Utimately I achieved installing the first reversing light on the o/s but not a very satisfactory process. Managed to fit the connector from the loom so in theory good to go.
The troublesome o/s reversing light – should have been so easy
Moving to the other side, the same problems encountered. This time I decided to think about the problem first. Didn’t the bolts on the new units look a little bigger than the bolts on the original unit? Hang on a minute. So I tried threading the old bolts onto the old unit and hey presto!, they fitted easily. Grrrr. So obvious when you look. I gave the bolts a final tweak and the new plastic lens cracked. At this point I decided to pack it in for the day.
From here you can’t see the cracked lens – a Concours Judge would see it!
A grand day at the Goodwood Revival. Having dropped our youngest daughter at University on the Satursday, I headed to my friend Paul’s house in the Suzuki Cappuccino in readiness for race day at Goodwood. Paul was the previous keeper of the Suzuki so it was a bit of a Pilgrimage really.
The Cappuccino at its old home
An early start saw us get into the Goodwood circuit for around 8:30. The journey was the usual Goodwood delight with lots of interesting vehicles on the surrounding roads. A friendly honk to a pair of MG convertibles was rewarded with enthusiastic waves.
Here’s Paul and I in our Goodwood gear enjoying the view at Madgewick corner
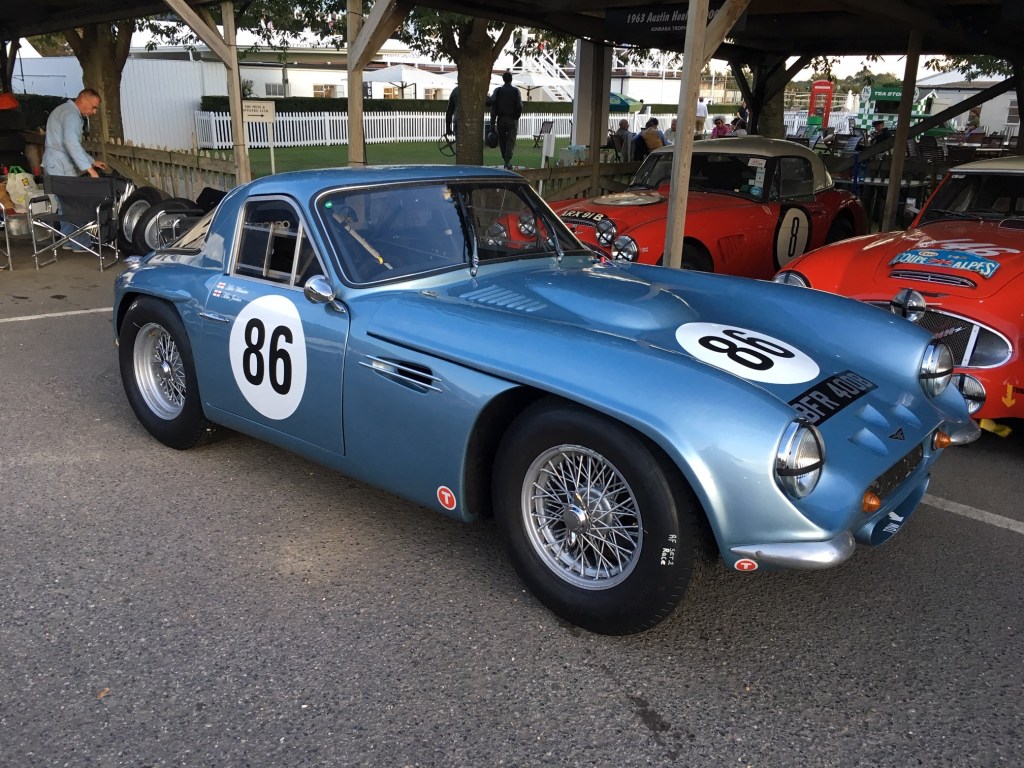
I can’t really do the event justice with the photo’s below, but I did snap a few beauties in the paddock as the day drew to a close. They are all priceless in their own way, and its fantastic to see them in their element being raced in the glorious Goodwood setting.
AC Cobra
TVR Griffith
Sunbeam Tiger
Adrian Newey’s Ford GT40
Aston Martin DB4 Zagato
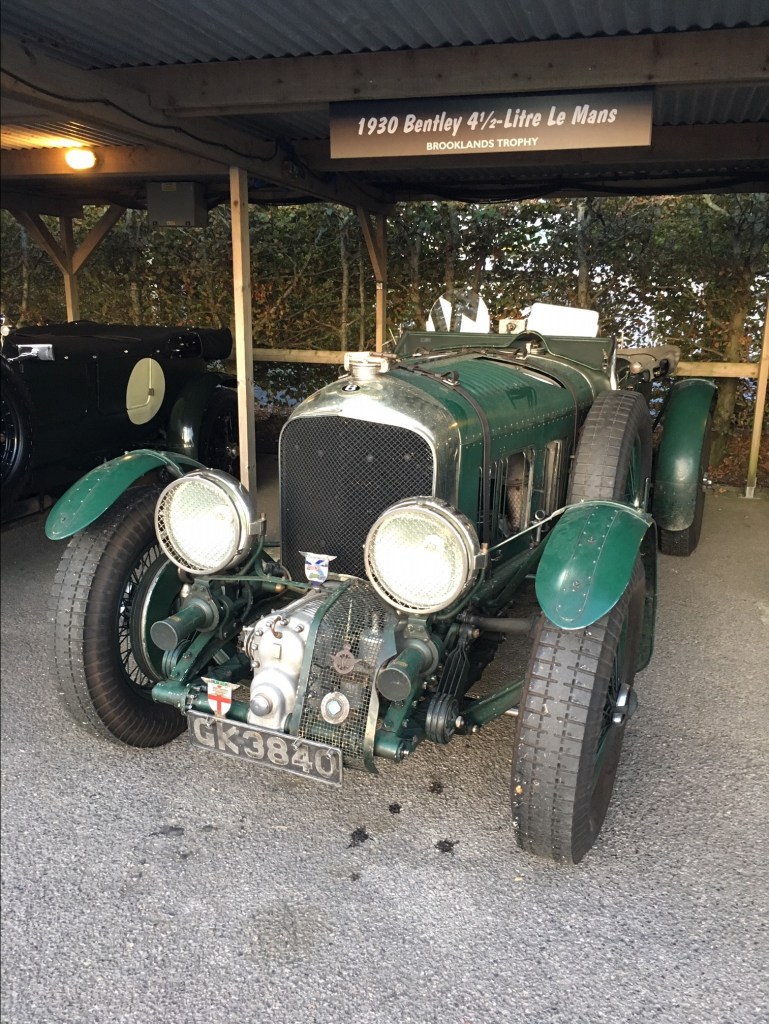
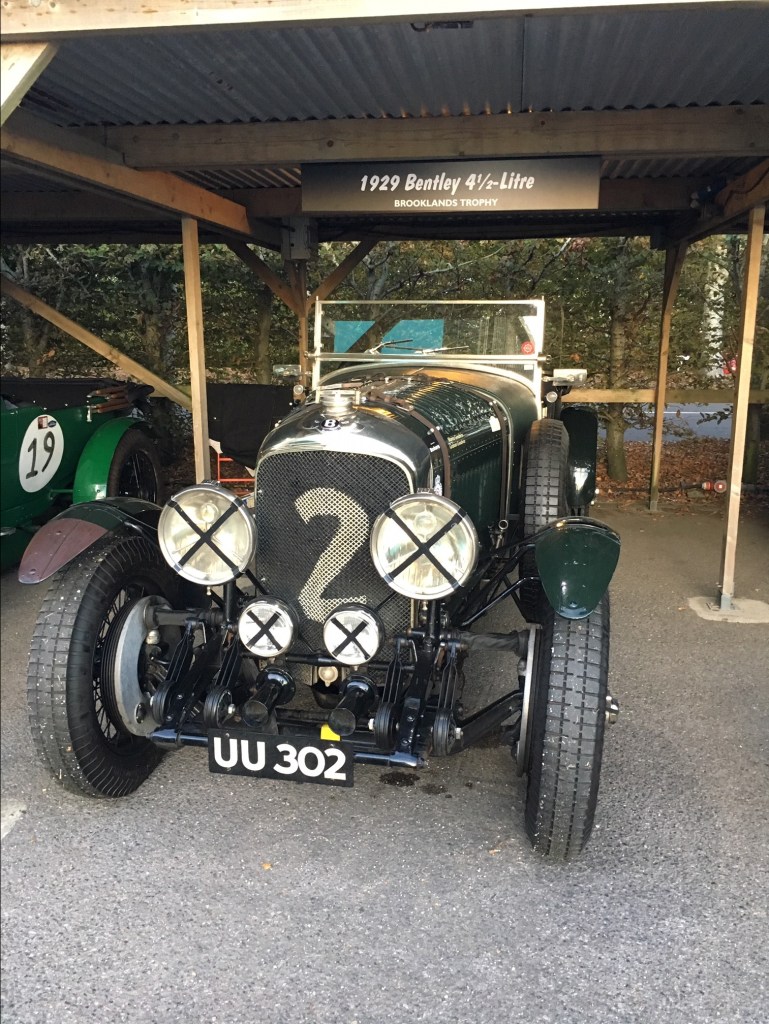
A special event for this year was a feature race for pre-war Bentleys. The sight as thirty or so of these beasts came down the hill towards our Grandstand at Lavant Corner was unforgetable, as well as a bit slow, hilariously.
Who knows…
…how much…
…this little lot…
…are worth
wait a minute…RED!
So a stunning day all round. As the sun set in the sky, I removed the roof from the Cappuccino, and Paul and I headed back to his house, arriving to freshly cooked Pizzas prepared by Claire, his dear wife. Replacing the roof, I headed off for a brisk cross-country dash to get home at around 11:15pm. A good day.
Cup of coffee and 1/2″ spanner, what else do you need?
Haven’t slept well for a couple of nights. My eldest is job-hunting in London after graduating this summer, and my youngest is off to University next week. At work, I’ve got some challenges and alongside that, we’ve been thinking about whether to move house. Meanwhile, I wasn’t progressing the MG. Hence, busy mind, and disturbed sleep. A day in the garage / on the drive was what I needed and that’s what I did. Awake early, I had the MG pushed out onto the driveway by 7:30am. A busy day followed in which I did the following:-
Painted the gearbox cross-member – this is an overdue job needed before I put the engine and gearbox back in. I sprayed it with crackle finish because I thought it would be durable and because the can was within reach! Hung to dry on the washing line with the other washing.
Fitted the fuel tank incuding the sender unit. This was a bit awkward, doing it on my own, so I used a box and the jack to help me hold it up to the bolts. I cleaned the filler neck and it looked quite presentable afterwards
Fitted the gearbox to the engine. Again, a bit awkward on your own, but I propped the engine on some magazines and used the jack and a bit of man-handling to mate the gearbox. It was a bit fiddly, but overall not too difficult. Bolts need checking and torquing up before installing back in the car
Installed the rear hatch gas struts – this involved me drilling into my freshly painted car for the first time. Helen helped me to measure where to drill the holes. The drilling and fit went okay, although I did have the hatch ball joints on the wrong way around first time and we nearly had a disaster, but I managed to recover it without any damage. The hatch doesn’t sit right when closed now, but I am not going to make any changes until the glass is installed. At the moment it doesn’t have the correct load on it, so worth waiting and then doing it once properly.
Fitted the bonnet pull – not working yet as it needs some adjustment, but its in – needs tightening I think
Replaced the accelerator cable – Can only fit one end as I am missing the engine at present. One less thing to do and all part of having a smart engine bay
Took the rear lights off and installed the foam seal which I had forgotten about, but found in a box this morning. Helen helped with this as she was bringing me out a cup of coffee, so got roped into the job.
Began fitting the rear wiring loom – first electricals on the rebuild. Thought I would start with something simple and so it was – relatively. I have the old loom, which is labelled, so used that to guide me. I actually connected up the new loom to the rear lights – we are making progress!
Fitted the near side indicator unit. Just wanted to see how it will fit – the answer is, not bad, not great. There is a hole just visible unfortunately from when someone cobbledit to fit prior to my ownership. A detail to sort one day. In the meantime, one less thing to do.
This was a sociable day on the MG. People love to stop and see how it’s all progressing and they nearly always have an encouraging word. There was the usual ‘Hello’s’ from dog walkers who stream past our house on the way to the local fields. Helen and I chatted for a while to a couple who are near neighbours and the husband was admiring the MG and interested to hear about what I was doing. Nearly everyone mentions the TV show Car SOS or Mike Brewers’ Wheeler Dealers. I dont have the heart to tell them I find those shows difficult to watch because its all editted down into 30 minutes, they have a huge fully equipped workshop and the talented mechanics make it look so easy. Had a useful chat to Russell (another dog walker), who has stopped to speak before. He has restored many cars, including MGBs so is always a useful person with whom to discuss things. Today he gave me the number of a person who may be able to transport the MG for a reasonable price when I come to get the windscreen and rear screen fittted.
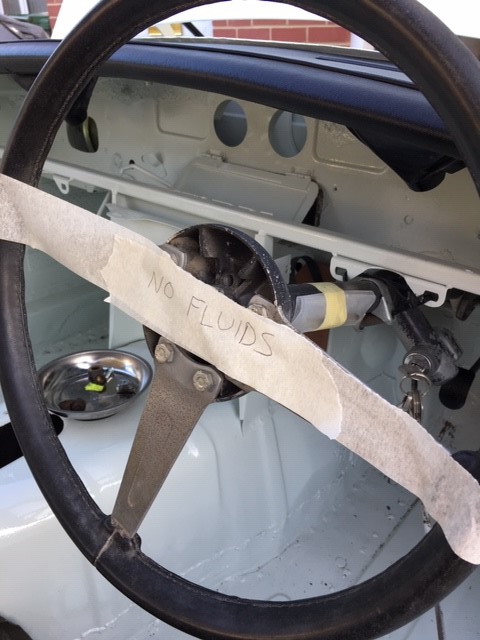
I’ve occasionally worried about whether when I get to finally restart the MG, I somehow forget to say, fill the gearbox with oil or some such idiosy. I spoke to my mate Rob, who races classic cars and is always taking gearboxes and so on out of his cars. He said that when he removes fluids, he puts a big sign in masking tape over the steering wheel to this effect. Hence…
What a day it will be when I remove this bit of tape…
As I worked on the car, I listened to Louis Theroux on Desert Island Disks, a bit of radio 4 and then to the Monza Grand Prix which was won by Charles LeClerc in his Ferrari. What a day for the young man and for Italy.
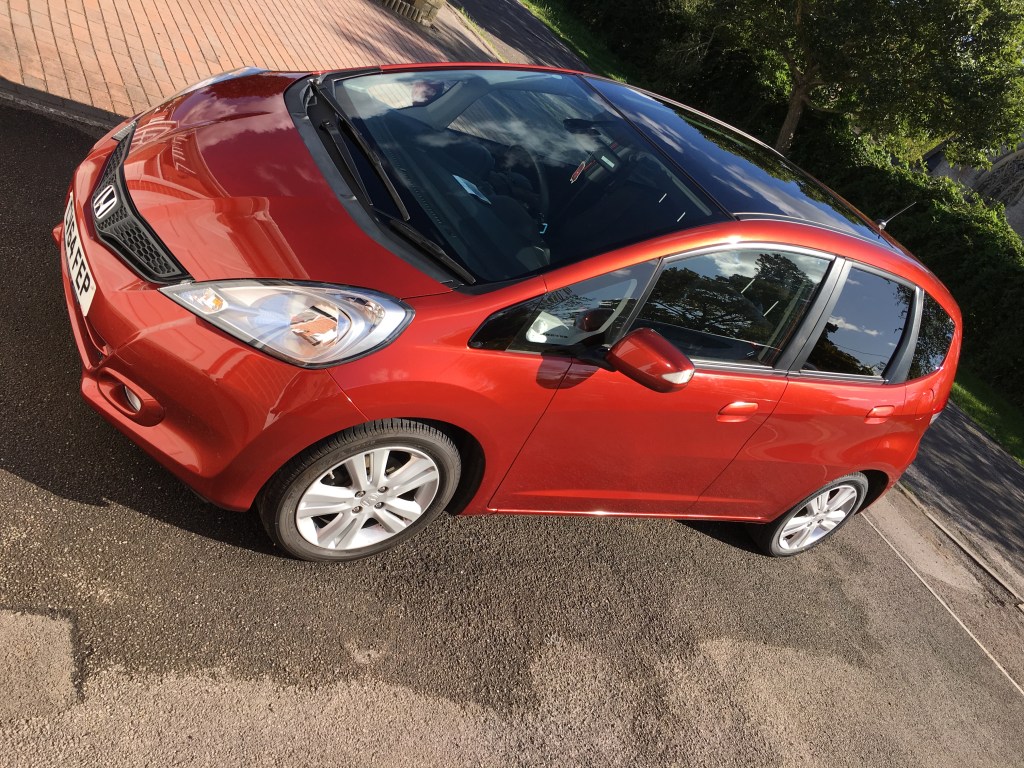
Wait a minute, thats not the MG. Correct. It’s back to School week for Helen, teachers all around the country are wondering where the last six weeks holiday have gone and it only feels like five minutes since they broke up. Helen wanted her car cleaned for the new term, and as the local sweat shop was closed, it fell to me to do the job. I started by clearing the interior of all the accumulated rubbish and then gave it a thorough hoovering, includng the mats which of course I removed. I then dusted all the crevises with a soft brush and wiped over all the surfaces with a matt interior cleaner. I don’t use loads of it, just enought to actually clean as well as dust. Moving to the exterior, I gave it a thorough soaking with a hose, then a gentle soapy brush wash with car shampoo, followed by rinsing again with the hose. For the wheels I didn’t use any special product, just one of those large glove microfibre thingies made of what looks like green Wotsits. The brake dust came off okay with a good soaking and a gentle rub of the glove. I did an initial dry of the car with a large mircofibre cloth, then went around again to completely dry the paint, excepting those annoying drips that appear when you are not looking. Moving to the exterior glass, I treated it all with a Bluecol product that is supposed to negate the need for wipers, a bit like Rain-X. I had forgotten I had this until someone at a BBQ recently mentioned it so I thought I would dig it out and reapply it. The Jazz has a huge windscreen and a panoramic roof, so there is lots of glass to treat, but also to benefit from the beading up that is supposed to occur. Will also reduce wear on the wipers too. I then gave the paint a quick spruce up using a hydroscopic detailer (Brand = Chrome) which I was bought recently by a friend who works at a truck stop. Apparently the Truckers all rave about it and it seems to go on and buff off easily enough. Sadly, although the car is only five years old its amazing how many little chips and scrapes its aquired. None which really need doing, unless we were being really picky, but just one of those things. By now I was getting hot in the early Autumn sunshine and Helen appeared to critique the job. She spotted a few smears here and there which I rubbed off and gave me a pack of Simoniz interior glass wipes claimed to be smear free. These worked okay, but I am not a fan of throwaway wipe types things usually. Anyway, on finishing the Jazz, I was pleased with the result. Didn’t progress the MG one jott, but the pearlescent organy-brown Honda looked suitably glossy outside, so I consider that enough of an effort to warrant recording here. Hope you’ve all had a good summer. Happy Car washing and restoring.
It’s a sunny Saturday! After a morning stroll with Helen, I spent a useful hour on the MG fitting the copper pipe from the Clutch master cylinder. The pipe runs down from the master cylinder to a bracket on the fletch plate where it becomes braided stainless steel. All went in okay with a bit of creative beding here and there. The pipe routing needs a bit of finessing, but they are broadly in the right place. Straighforward installation, although I needed Helen to hold the pipe in place while I tightened it from the interior.
Before: Clutch Master Cylinder
After: Copper pipe is fitted
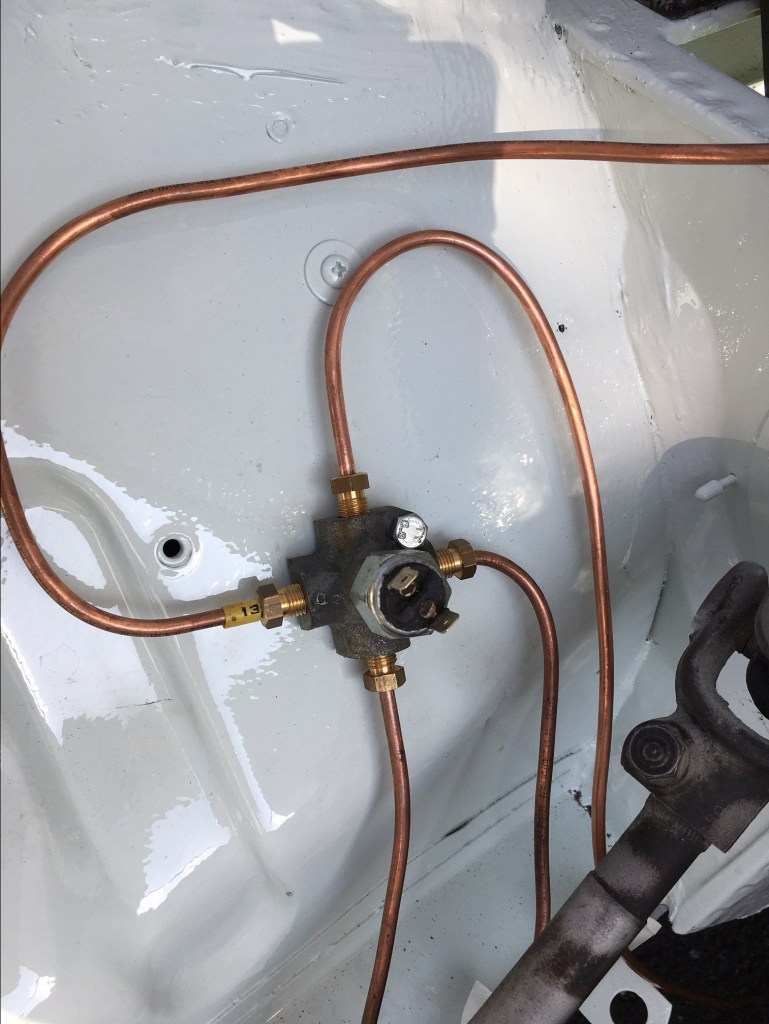
Couple of things from last week which I didn’t record. I fitted the final brake pipe to the four-way union on the inner wing. This is the pipe that comes up from under the car to the rear. It fitted alright although as mentioned earlier the routing needs a tweak and they all need fixing in place.
The four way brake junction – hopefully it wont leak brake fluid everywhere!
I also puzzled over the fuel pump – I have a new fuel piping kit and have fitted the main front to rear pipe. However, the pipe routing around the pump and the tank isn’t that clear and I haven’t got a good understanding of how it works. I am going to have to bite the bullet, fit the tank and then work it out from there.
The fuel pump which to me is baffling
I have been putting off fitting the tank as its a two-person job, but when done, this will have completed much of the mechanics at the rear, and is critical to the ‘engine in and started’ milestone. Something to prioritise.
Last week, Austin (the welder who kindly lent me the engine crane) was in touch to say that a friend of his, Adam, wanted to borrow the engine crane. No problem I thought and he duly came around and we got it out from the corner of the garage and loaded it into his car. We got talking about the MG and he admitted that he had fitted an engine and gearbox into an MGC a while ago, so I seized the opportunity and asked if he would be prepared to help me with the reinstall when he returns the crane. He was willing, although as he is getting married soon, he was being careful not to over-commit. I commented that once he wanted to pay for his wedding and honeymoon, I would happily pay him to re-fit the engine. Not convinced he is up for this, but he has to bring the crane back, so I will take my chance then to firm up arrangements.
Finally, just for fun, my neighbour, who is a bit of a joker, was clearing out his garage. ‘Here Ad’, he said, ‘I’ve got something for you’ and hands me an oversize spanner.
‘King-Dick’ is the legend on the spanner. Thanks Graham!
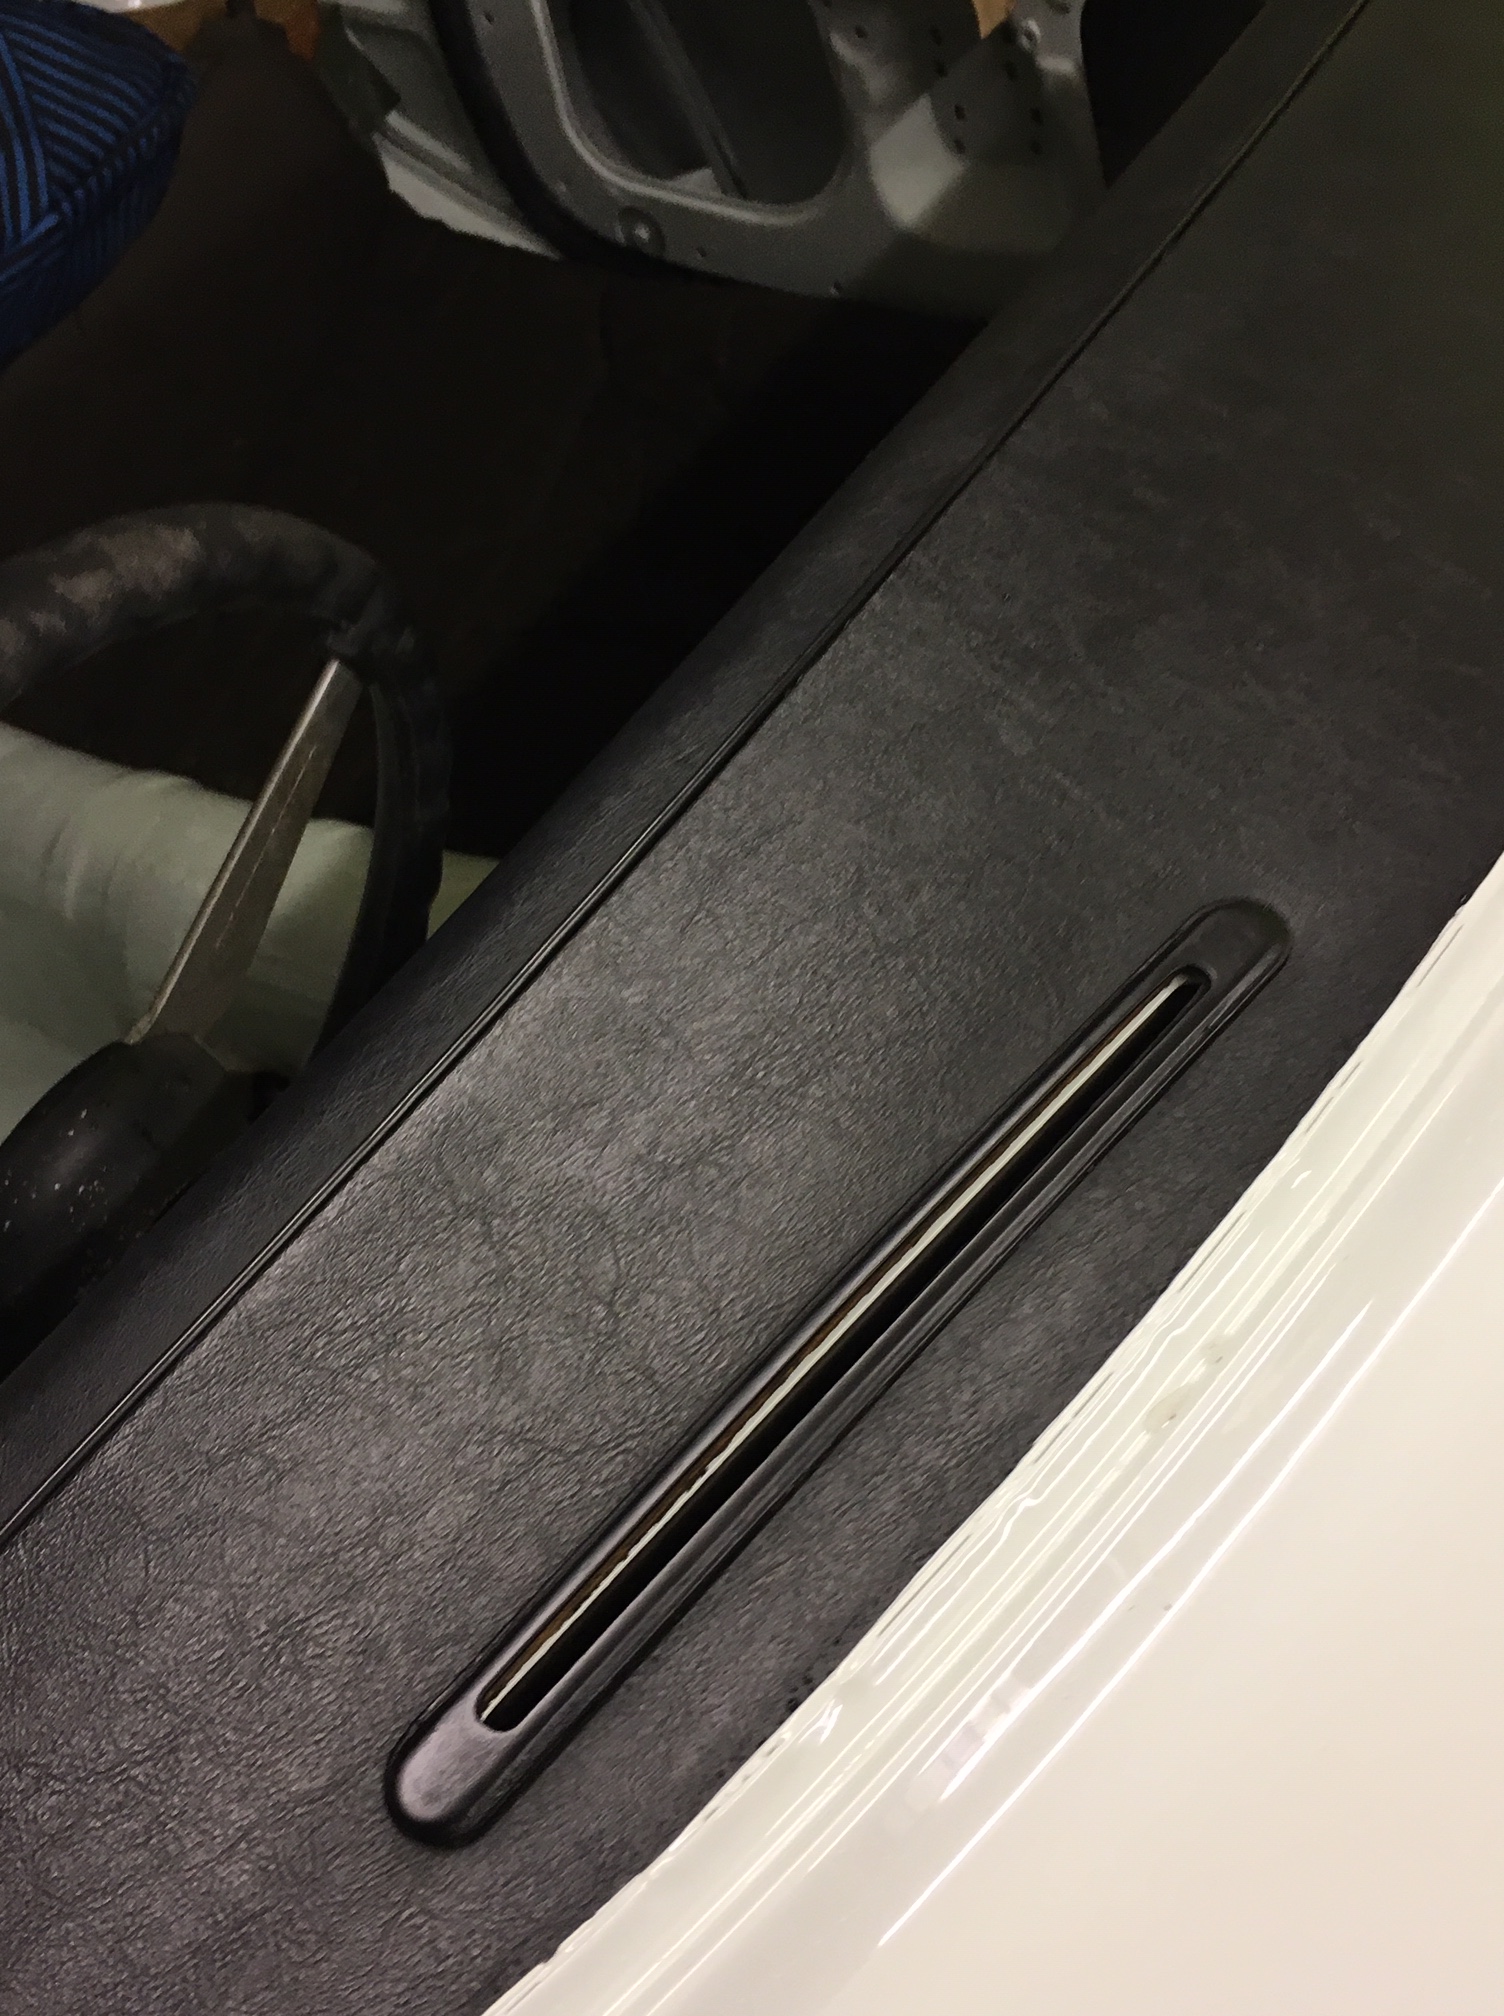
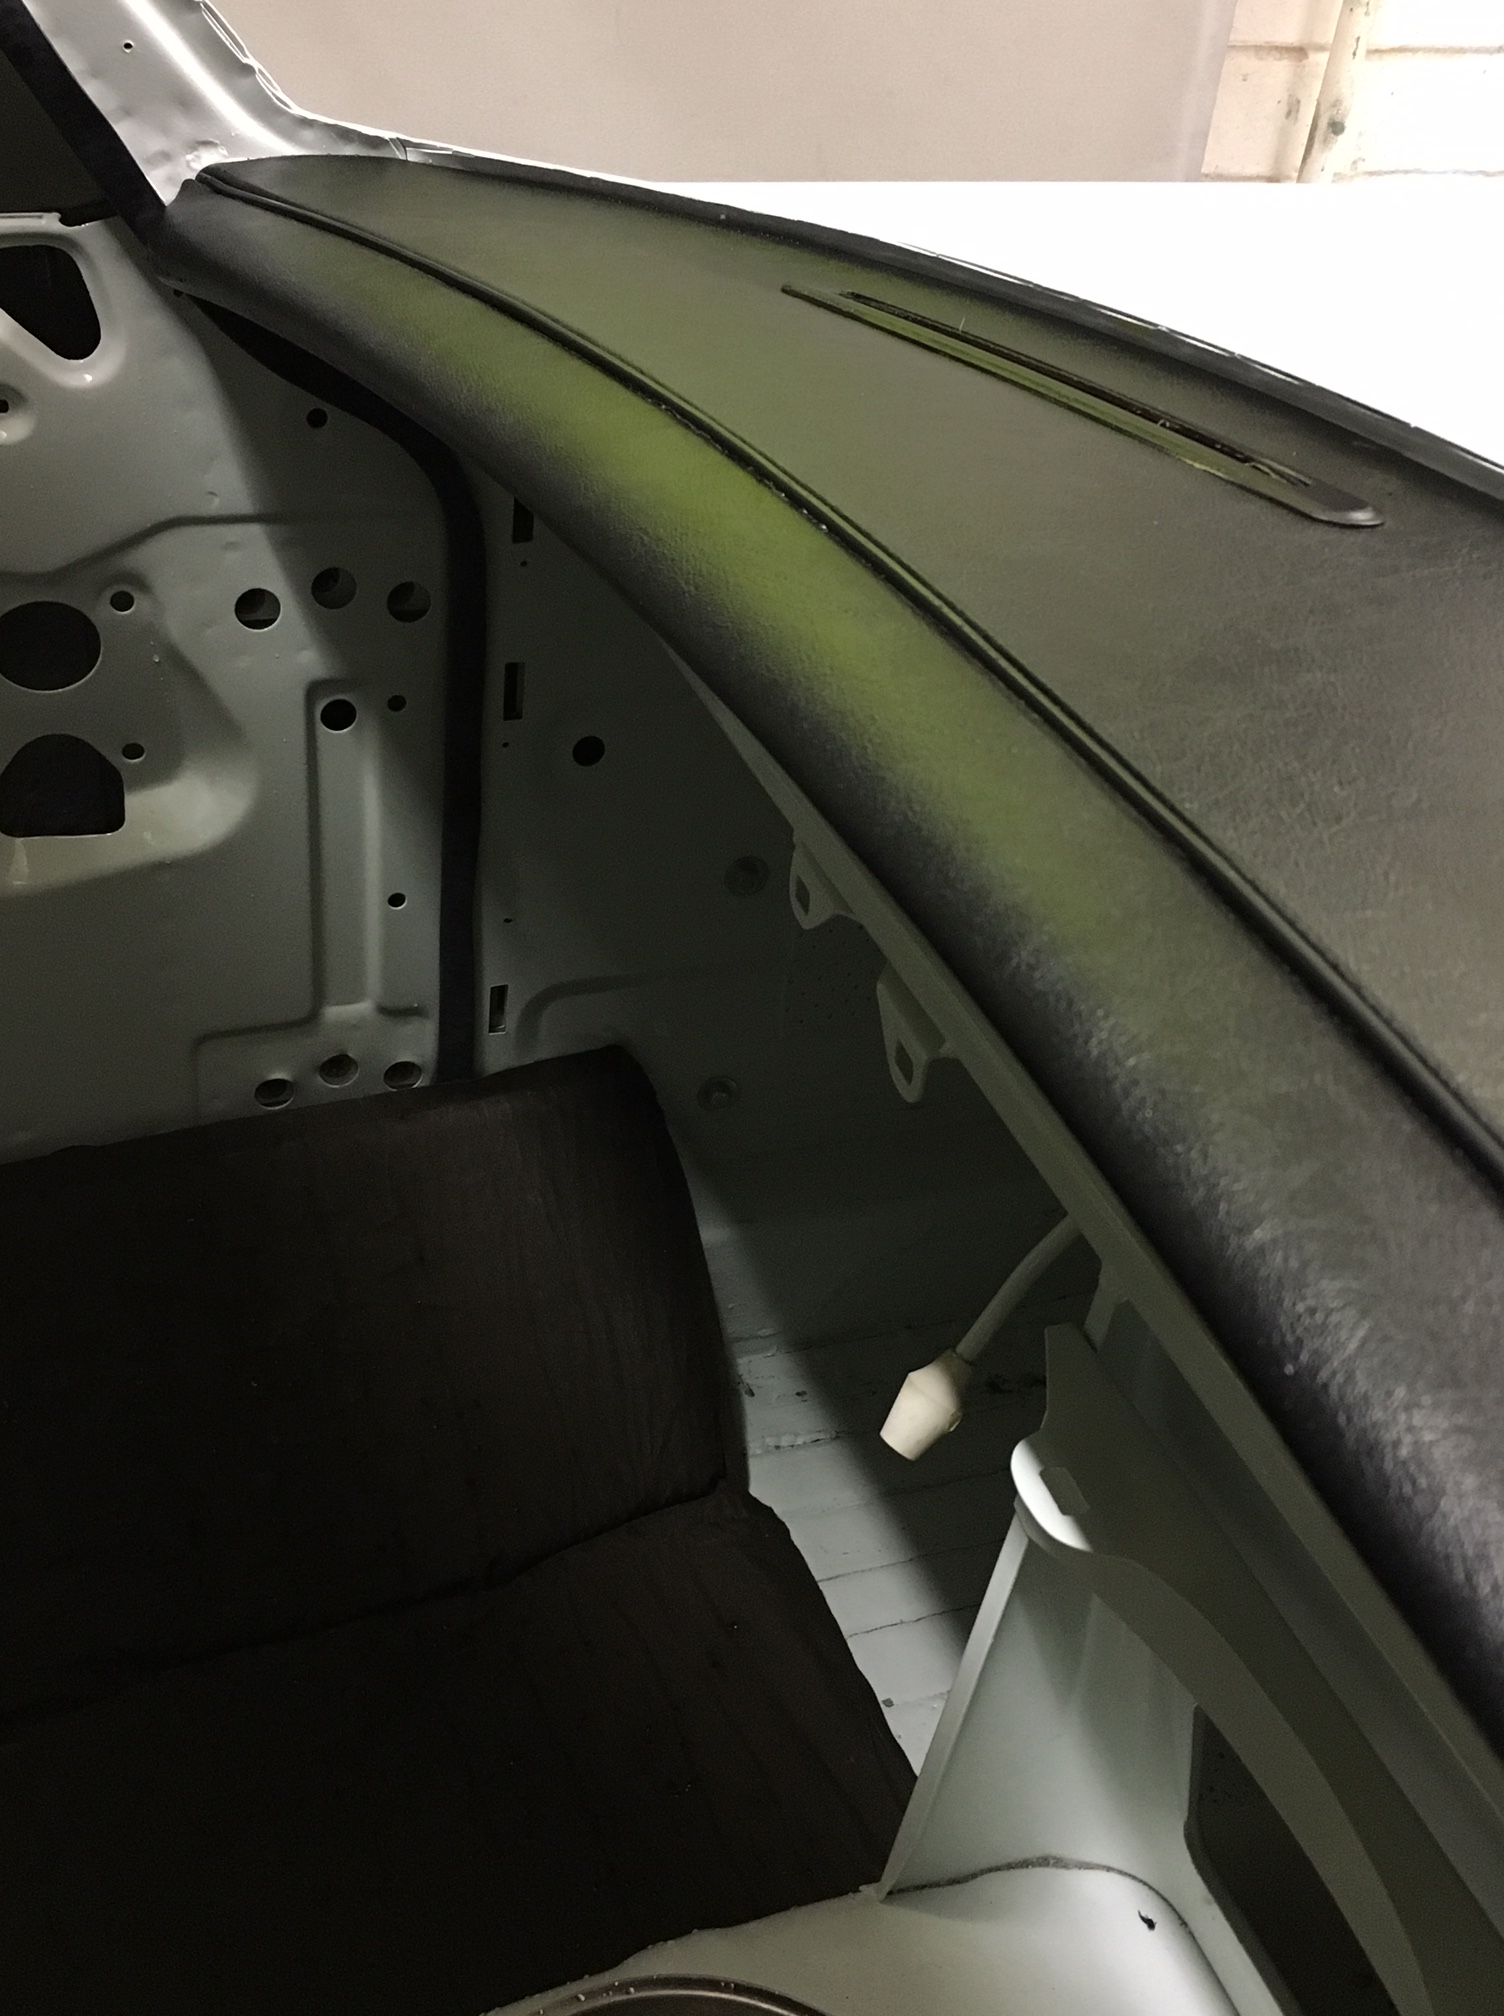
Back from very hot holiday in Crete to a rainy August day in the UK. I had intended to spend a while today on the MG, progressing a few jobs, but after an hour, the rain was cleary set in for the day, so I packed up and retreated inside (in mitigation, I only got back at 2:00am last night and with the time difference, our bodies really thought it was 4:00am). I did manage to get one job done today however. I had recently resprayed the demister vents which sit on the dash top, so I decided to fit them today. The vents themselves hold down the vinyl dash top, so fitting this starts the whole dash re-fitting sequence. The vents fitted back easily enough on the original (to my knowledge) vinyl and I then bolted on the crash rail, which is what MG offered as it’s interior safety feature in 1973. Compare that to contemporary cars with their air bags, air curtains and interior padding, its quite a contrast.
The resprayed vents in place on the dash-topThe crash rail in place, looks okay doesn’t it? The yellow colour is a reflection of my Hi-Viz jacket if you are wondering