Tucked around the back of the Pistonhead’s Annual Service event was a beautiful example of the most understated Ferrari, the exquisite 365 GTC/4. I got to know of this model in a copy of Sportscar and Classic magazine where the writer waxed lyrical of this often overlooked Ferrari via a road test in Wales.
This real life example was no disappointment, the perfect bodywork was painted a subtle maroon and the trim was in black (or should I say Nero…). The styling is extremely neat, the front end a little generic, leads to a long bonnet and an airy glasshouse with thin pillars possible in the period before crash testing got to define critical dimensions. The roof slopes down to a neat booted tail with triple tail lights and quad exhausts as befits the marque.
I wasn’t lucky enough to hear it start up but will remind myself that under the elegant bonnet is an aristocratic V12 with four cams fed by carburettors which would have made an incredibly evocative sound as it burbled up the road.
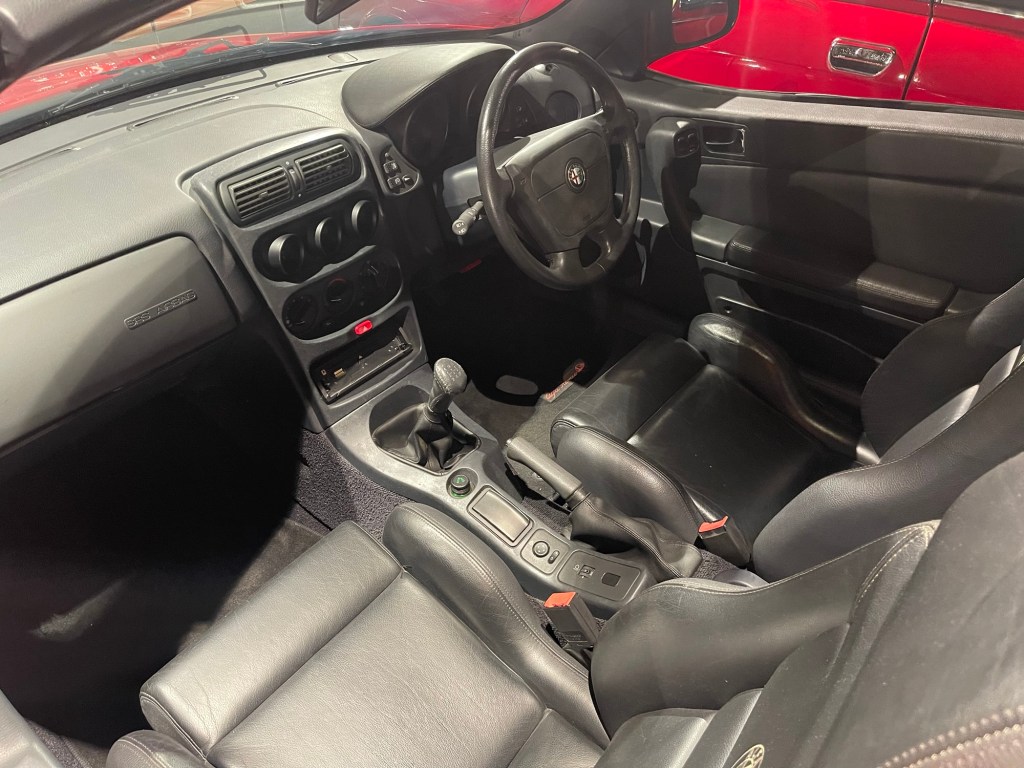
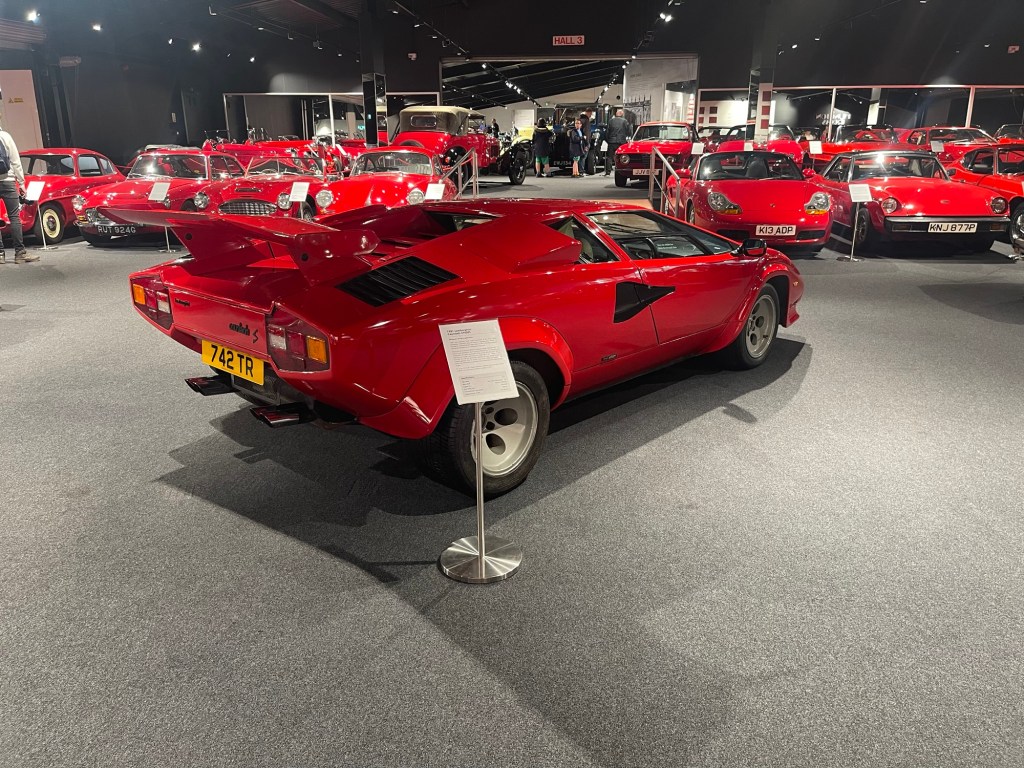
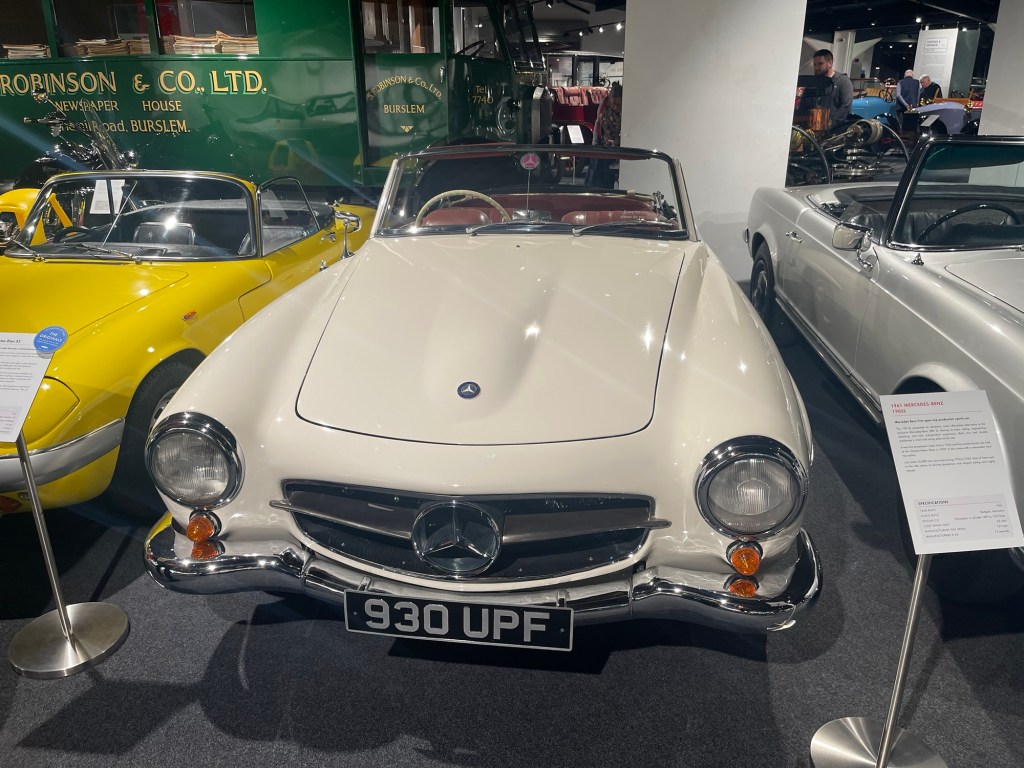
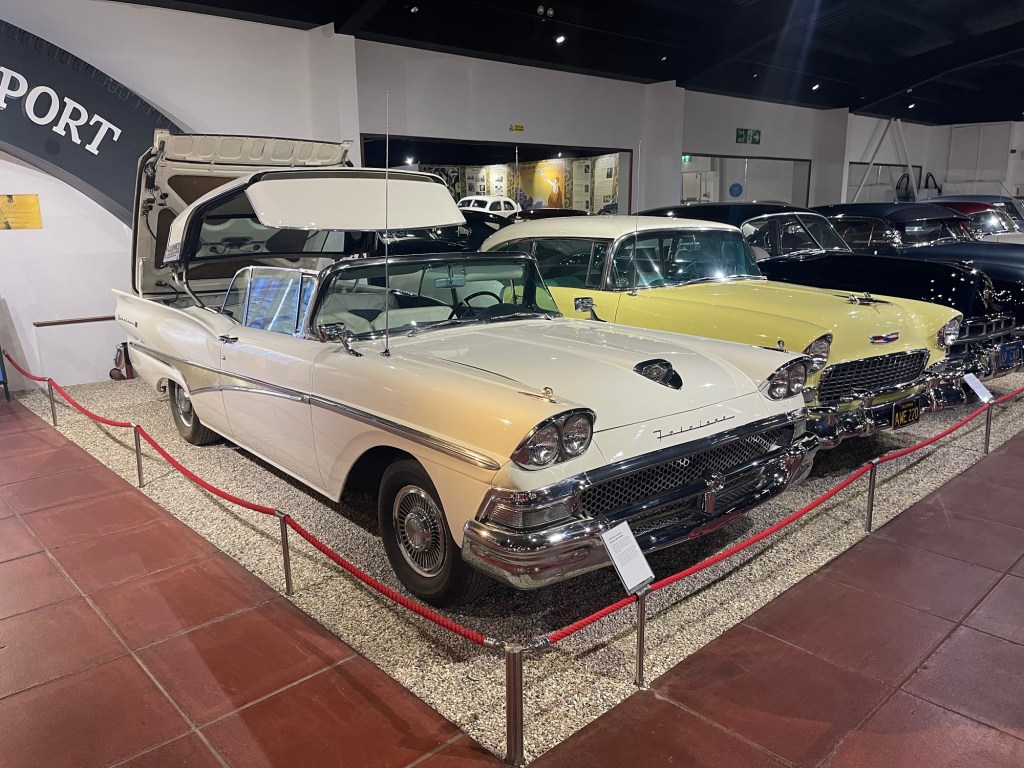
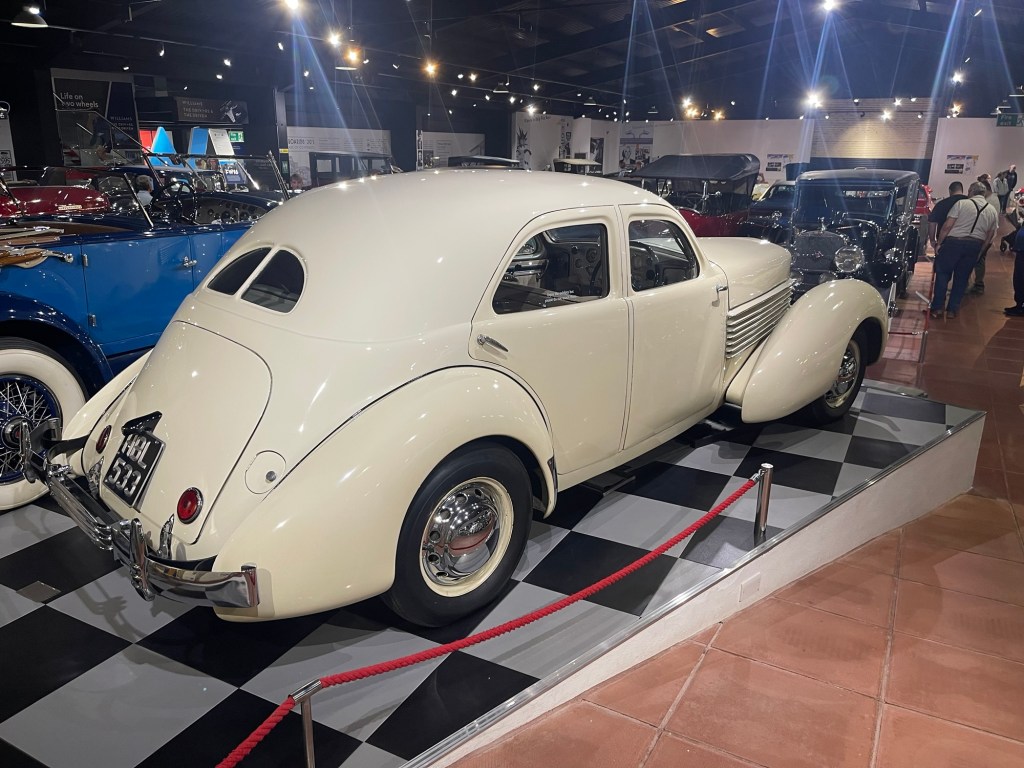
A really enjoyable visit to the Haynes Museum with my friend John. The collection is very well laid out and it is easy to get close to the exhibits. I did break the rule of no touching once as I tweaked the throttle linkage of a V12 Ferrari and it was mesmerising to see all the rods moving in unison. If you don’t do that, are you really a petrolhead? (I blame my Dad as he would have done the same, although he would probably have adjusted them to work better!). Friendly staff, a good café and a well stocked shop, I am not sure how it could be improved.
Difficult to identify a take home car. If we had a rule that the monetary value was irrelevant and it was just the driving pleasure, I’d take the Austin Allegro…only joking, it would be the Jaguar D-Type
A selection of Morgan Cars at their factory at the foot of the Malvern hills.
First lot of images are of cars in and around the showroom. The ones under the canopy are we think ones allocated to the driving experience. The showroom cars are a mix of new and used – the challenge with Morgans is to spot the difference! A few were limited editions.
The next batch are from Morgan’s archive representing those with historical significance.
The earliest Morgan, a simple yet elegant deviceA cramped and sweaty cockpit – it was a bit wiffy!The first Plus 8, extensively campaigned by none other than Charles Morgan himself
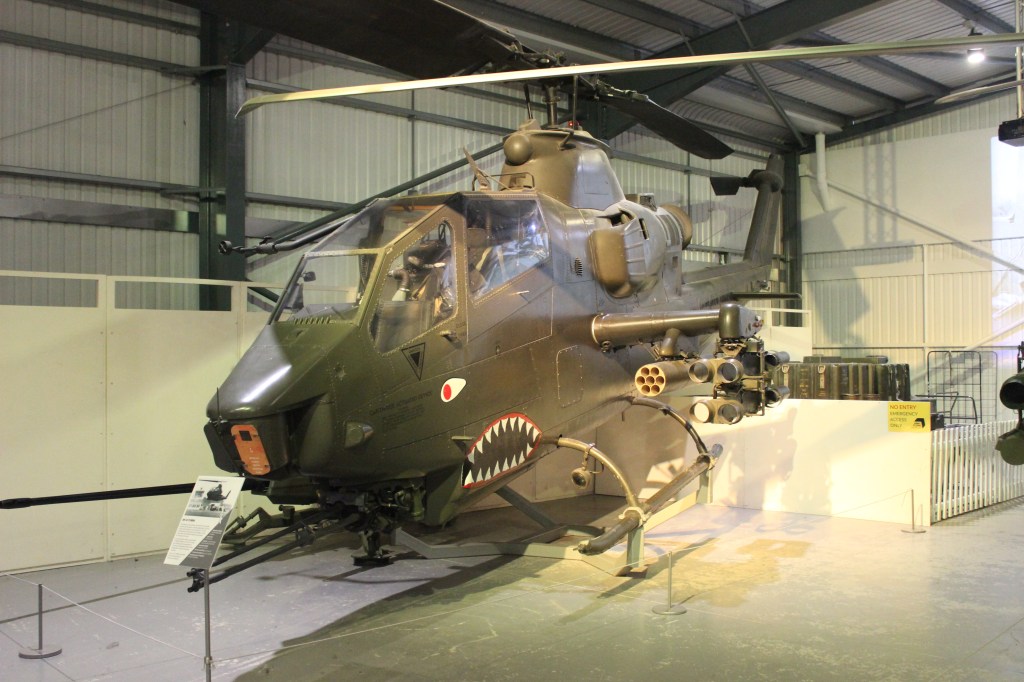
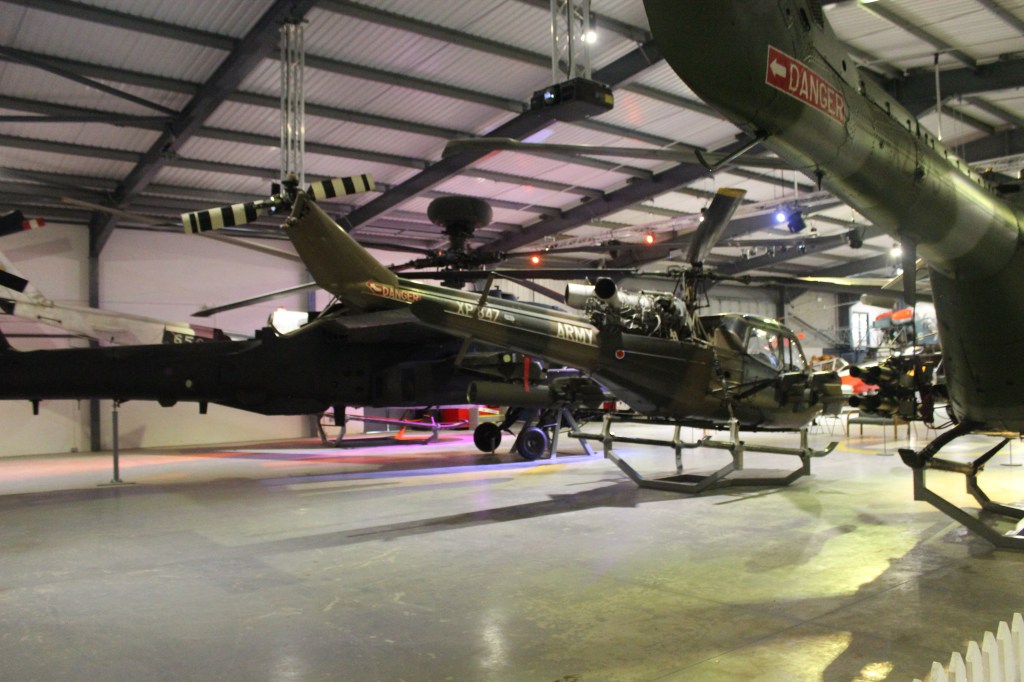
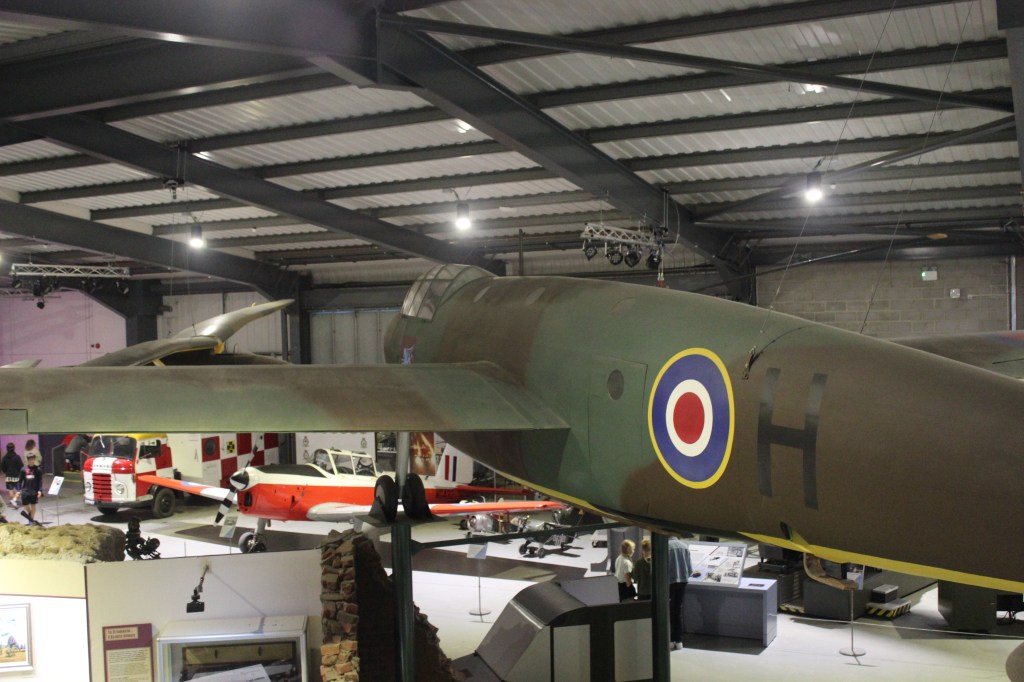
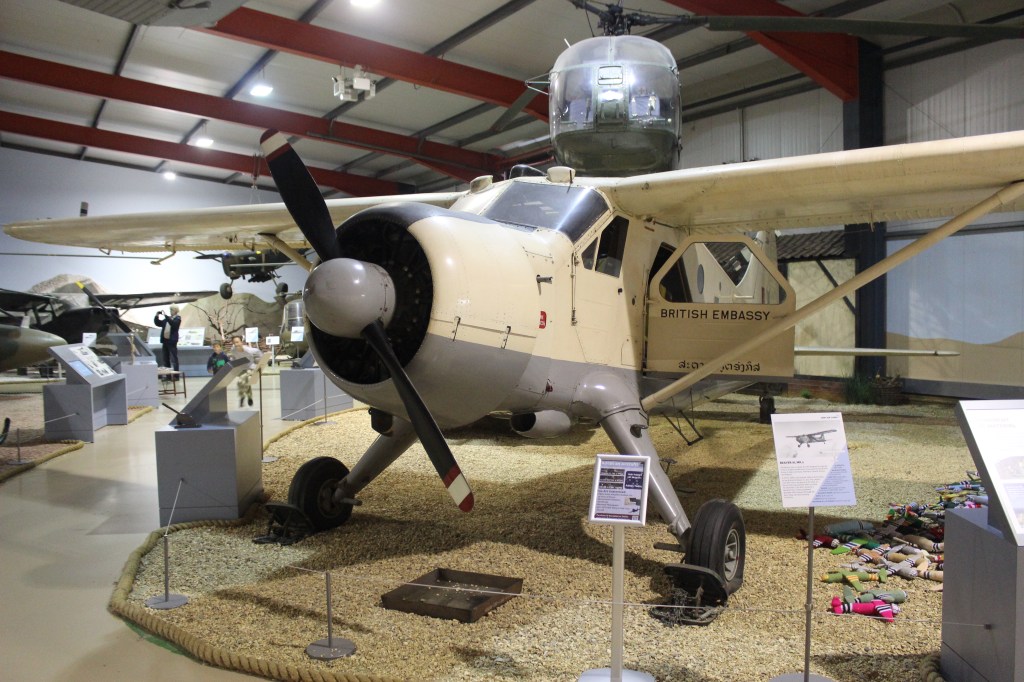
A few photos from today’s visit to the excellent Army Flying Museum. I heartily recommend this museum which contains an excellent collection of aircraft, but also well presented displays. The volunteers were knowledgeable and enthusiastic.
Beginning with a selection of rotary winged aircraft
An array of fixed wing aircraft
other forms of transport!
…and for something a little different
I recently met the pilot of the aircraft this panel came from and his now wife!
A brief bit of work tonight, simply giving the under bonnet a light wipe over to get rid of some of the marks which have accumulated over time. I find that the marks came off with a little T-cut on a cloth. Afterwards I gave the area a spray with some detailer and wiped it off.
I discovered that I’d neglected to put the fuse cover on the fuse box so I located it in a likely looking pile of bits and popped it on after a wipe over.
Something missing……that’s better
Looking across the other side of the engine bay the bonnet release cable was looking a bit floppy and there was a blank bracket which must have held a clip at one point. So it was now just a matter of finding a clip to fit and popping it on. I found one that looked right but it needed a clean up so I spent 30 not very interesting minutes with some sand paper making it more presentable. Fitted that and called it a night.
A very grubby clipSlightly better nowHolding the bonnet release cable in placeEngine bay looks reasonable
A promising conversation with my Dad this morning inspired me to have a go at getting the distributor back in the MG. My previous blog explained that I had removed it pending adjusting the timing when I discovered that the securing bolt on the clamp was the wrong way around. With that all sorted it was time to pop it back in and make the timing adjustment.
The distributor on the MGB is a fiddly fit made worse because of how I’ve orientated the oil cooler pipe work. One day I’ll loosen that connection and rotate the L-shaped connector to reroute the oil pipe out of the way of the distributor but today was about timing.
With a bit of help from Helen (the long suffering Mrs Relentless Duck), we got the distributor back in place and it was then just the tedious job of tightening up the clamp bolts which are not easily reached. In lieu of an open ended 7/16th spanner I used an 11mm ring spanner which fitted more easily and allowed me a larger turn each go. I was getting about 1/3 of a turn per placement of the spanner so it took a while…
Once I had the bolts tightened, I connected up the cables and put the distributor cap on, managing to get the clips on first time which was a miracle and then popped the coil lead and one HT lead which I had removed for access. We were ready to go for a start up!
The MG started a little reluctantly, not unusual when it’s been left to sit for a while before then smoothing out, albeit idling too fast, and I was able to back it out of the garage. However as soon as I pulled away I could hear pinking so I stopped and trickled back to the drive for an adjustment, retarding the ignition by rotating the distributor anti-clockwise.
It took two more attempts to get it right but then the pinking had gone and it was idling nicely too (not too fast as before). I drove it up to the roundabout, my standard shakedown, before returning to check everything looked alright and to tighten the clamp bolt.
I had intended to do a longer run around our local bypass but unfortunately it had begun to rain so it was time to put the MG away. Good progress and I’ll find time over the next couple of days to do a longer run and find a friend with a strobe light!
After I sorted a leaky servo pipe recently I needed to retard the ignition as the advance was now way to aggressive under load and pinking was occurring. Basically the advance on the distributor was now getting a good suck if you’ll pardon the expression. This at least is the working theory.
My friend John was on hand as we set about loosening the distributor clamp to make an adjustment. This turned out to be a long awkward job as the bolt head was rounded off. We decided that this was a situation worth resolving otherwise it would always be a problem and so committed to removing the distributor, and the clamp.
On removal, we discovered that the bolt had been fitted incorrectly (by whom I wonder?). The clamp is cleverly designed to hold the bolt head so that all you need to do is tighten or loosen the nut. No need for two spanners. This is probably obvious to many people but it was a learning point for me.
Anyway, we concluded that we’d set the timing from scratch with a strobe light on another day so I finished up by cleaning the bracket because why not make it a bit more presentable?
Here is the dizzy in place but the bolt is the wrong way aroundMore clearly shown hereSprayed with a bit of wheel cleaner to cut through the grimeA whizz over with some wet and dry makes it a bit more presentable
Oh how time flies – no blog entry since September! anyone would have thought I was busy [sigh]. Some progress since the last blog – I have the bills to prove it! A couple of significant garage spells have seen some overdue tasks now completed. These include such delights as wiping wipers, a heater which blows and heats, washing washers, a rear hatch with all the right seals, working indicators and correct mixture in both carburettors.
Today, as well as recording the above progress, I can report a couple of minor jobs squeezed in between studying for an upcoming exam and visiting a local National Trust property (not in the MG, too much salt on the road).
Job 1 – SU Dashpots: I am chasing down a fast running issue, and following a suggestion from Dad, decided to check and clean up the SU dashpots to ensure they can slide up and down nicely. I wasn’t at all sure this would make any difference, but it was worth a try so Matt (future son-in-law) used some metal polish to clean these up while I did another job.
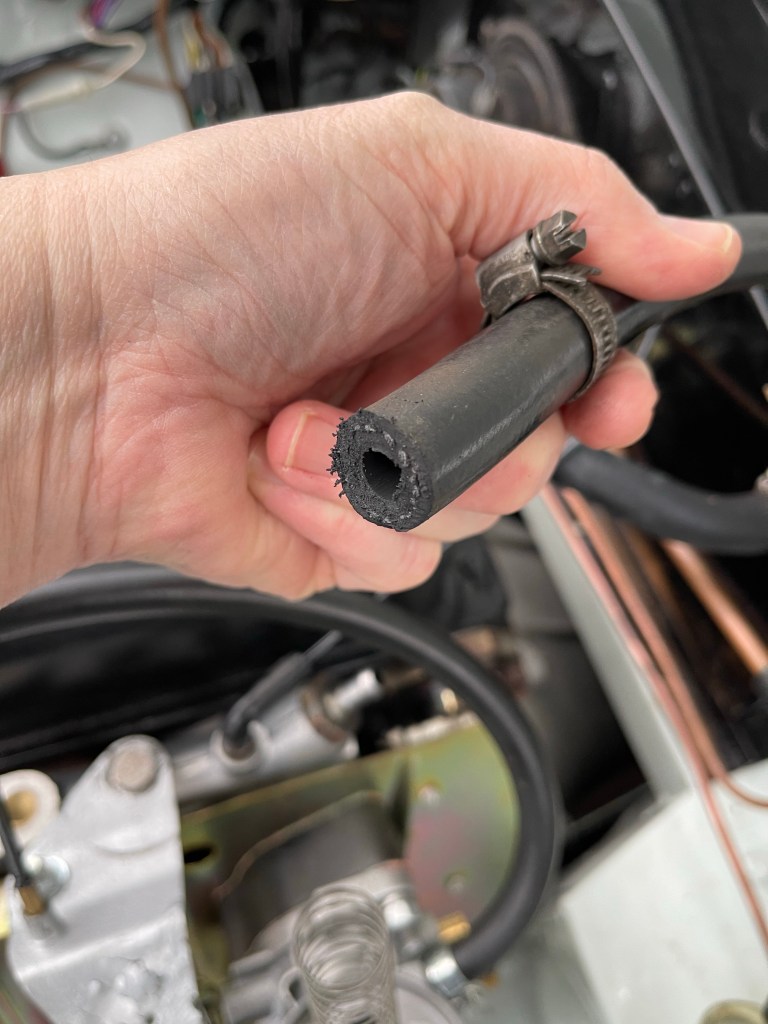
Job 2 – Repair servo hose: In chasing down the fast running issue, I decided to improve the seal where the servo pipe fits to the servo manifold. The pipe end (pictured below) was very ropey and I wondered if air was leaking through there and messing up how the carbs operated. So I used a junior hacksaw to saw a length off the pipe and then refixed it to the inlet manifold.
Road Test – Matt assisted to put on the air filters and we took the MG for a spin up the road to see if we had seen to the fast running issue. Straight away we found a problem, but we are now reflecting that we may have solved one issue, but caused another. In short, we now had a pinking issue under load. We cut the road test short and slowly returned to base. I am now wondering whether with a good seal on the servo manifold, we now to adjust everything to suit that new condition. Certainly the MG was not pinking when I picked it up from Clive and we haven’t made any other changes. What do you think?
Job 3 – Wipers: Clive had ordered me some replacement wipers which were on a delayed delivery, so I had picked these up from his garage the other week. As the car was out of the garage it seemed sensible to pop these on. The wiper blades were a little reluctant to come off- they have a dainty little clip which is supposed to release them, but having been fitted approximately ten years ago (conservative estimate) they were very attached to one another. With Matt pulling and me operating the long nosed pliers (surely everyone’s favourite tool) we got them apart and new blades slid nicely into place, immediately making the chrome arms look decidedly second hand. It was getting late, so no time to clean up the arms, that will go onto the list of jobs for another day.
Before putting the MG away, Matt and I dug out the sound proofing material I recently purchased. It was a bit difficult to work out what goes well, but it was clear that this would be an all-day job with the major issue being having to remove the seats to fit the acoustic matting and carpets (not yet fitted under the seats), so that will need a good dry day and a helper on hand. An interesting afternoon all round and it was good to see signs of Spring. I need to crack on with the MG (goodness knows when) as it is required for wedding duty in November!
First job on this hot Saturday was to refit the door pull which Helen pulled off recently when I picked her up from Tesco. To be fair, it wasn’t fixed properly in the first place so this time I used a decent nut and bolt combination on the dodgy fixing so this should now hold.
Fixings don’t match but they work…!
Second job was to replace the bonnet release cable because the reproduction one I fitted probably two years ago recently gave up the ghost and was beyond repair. I did toy with the idea of using the original but as it had a big old kink I decided to replace it with another brand of reproduction. This unit was of better quality and more closely resembled the original factory item. It’s a fiddly thing to fit and with my limited know-how I had to think hard about how it went together. Eventually I figured it out but it did involve threading the cable down the fitting and trying to find the hole in the cable sheath which I reckon is like trying to crack a safe. Managed it though! 😀
New bonnet pull fitted after some fiddlingThis end of the cable was easy to fit up
Just to also mention a recent Garage tidy up and selling off of a couple of surplus parts which went easily enough on Facebook marketplace. More to sell off where that came from
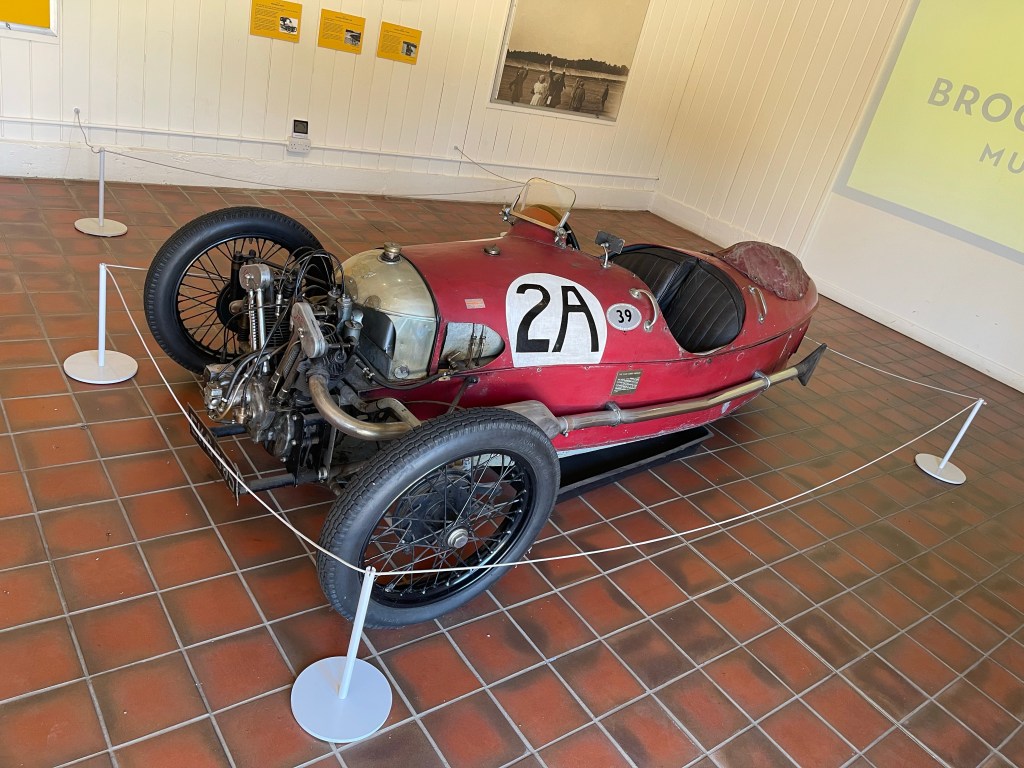
A visit to Brooklands Museum and a chance to catch up with a friend, John, on a sweltering Saturday, Summer 22. This museum has been on my list for a while. John and I had visited the adjacent Mercedes Benz World before and meant to go to Brooklands but ran out of time. As unfinished business, a visit was overdue.
A bonus of our visit was that the Aston Martin Heritage Club were meeting the following day and we witnessed the cars being offloaded through the day. The guys were a friendly lot and they were willing to chat to us about what was coming in.
I think the memorable thing about this visit was the volunteers who were mostly knowledgeable and always friendly which really added to the day. The whole museum has a lovely feel with a super blend of aircraft and cars within some (not all) historical buildings and the evocative banked circuit as a backdrop. It was a bit like Goodwood would be if it wasn’t so blooming busy!
A few shots of the circuit
View of the banking from the Members bridge Section of banking opposite Tesco supermarket (yep!)Soaking up the atmosphere The circuit is slowly deteriorating A look down from Test HillPlan of the circuit
Probably the best part of the day was the Concorde experience. I’m on a mission to tick off all the remaining Concordes in the UK and this is number 2! This was Delta Golf. They played a video at the end showing off the aircraft in its glory days and I have to confess it moved me to tears!
Under the bird. The RAT was deployed for interest The outer skin, only the thickness of a 50p pieceHow it was in periodEarly computer controlsBoarding Ready for take offWe are at Mach 2 (not really!)Just an elite few got to sit here!Would you look at that shape – A form that followed function, but beautiful too
The aircraft hangers were really good with some special exhibits
John as Top GunThe always special Harrier Interesting views of the Wellington showing off its clever structure A fabulous designWellington undercarriageThe Vimy replica crossed the Atlantic as did the Harrier (with refuelling!)
The car exhibits were equally special, arranged in historic workshops
Tim Birkin’s blower BentleyAero engined Napier Railton built for sustained speed The forerunner to BABSFabulous bike collection I liked the incidental exhibits like this Landrover Ambulance……and this Moggie vanThe superb Brough Superior Cute Moggie Three-wheeler Formula EPre war stuff tooImagine setting up those triple SUsExquisite pre war BugattiThanks Brooklands!
And finally a collection of Astons
Zagato bodied DB4 ready for Pan-America RallyA couple of modernsPre war stuffAnd some moreDB5 movie hack from Die Another DayExquisite roadster one off Your for a cool £1.5m – and sold out sorryThe incomparable Aston Martin Bulldog alongside our supersonic heroThe Bulldog has a twin turbo V8. Only one was made in 1980. Has since been restored to this condition and ready for a 200mph run
Stiff steering resolved, although not by me. I am striking up a good relationship with our local MG specialist and after a couple of disruptions I was able to get the MG down to him today and he resolved the stiff steering. The problem was with the column itself which had become misshapen and was catching on the mounting bracket. I don’t have full details on the fix as I wasn’t there but it involved reshaping it with some tubing. Anyway, the steering is now bang on and the car drove back from the garage a lot more nicely than it drove down! A major hurdle overcome. He also spotted a few other issues around the car such as the bonnet alignment and non cancelling indicators which are on my list but it was good to discuss possible solutions. The bonnet catch cable has unfortunately also failed, stripping its fitting at the dashboard end which is annoying so that will need a replacement. This evening I reviewed my Completion Schedule, updating jobs done and adding on the new jobs. Its nearly at one page now and with the car basically driveable I can get out and about to get things done. Finally, spotted a rear light out so another job for the list!
A final reflection, it was good to watch Clive drive the MG up the road as I could listen to the exhaust note from the outside – sounded good!