A promising conversation with my Dad this morning inspired me to have a go at getting the distributor back in the MG. My previous blog explained that I had removed it pending adjusting the timing when I discovered that the securing bolt on the clamp was the wrong way around. With that all sorted it was time to pop it back in and make the timing adjustment.
The distributor on the MGB is a fiddly fit made worse because of how I’ve orientated the oil cooler pipe work. One day I’ll loosen that connection and rotate the L-shaped connector to reroute the oil pipe out of the way of the distributor but today was about timing.
With a bit of help from Helen (the long suffering Mrs Relentless Duck), we got the distributor back in place and it was then just the tedious job of tightening up the clamp bolts which are not easily reached. In lieu of an open ended 7/16th spanner I used an 11mm ring spanner which fitted more easily and allowed me a larger turn each go. I was getting about 1/3 of a turn per placement of the spanner so it took a while…
Once I had the bolts tightened, I connected up the cables and put the distributor cap on, managing to get the clips on first time which was a miracle and then popped the coil lead and one HT lead which I had removed for access. We were ready to go for a start up!
The MG started a little reluctantly, not unusual when it’s been left to sit for a while before then smoothing out, albeit idling too fast, and I was able to back it out of the garage. However as soon as I pulled away I could hear pinking so I stopped and trickled back to the drive for an adjustment, retarding the ignition by rotating the distributor anti-clockwise.
It took two more attempts to get it right but then the pinking had gone and it was idling nicely too (not too fast as before). I drove it up to the roundabout, my standard shakedown, before returning to check everything looked alright and to tighten the clamp bolt.
I had intended to do a longer run around our local bypass but unfortunately it had begun to rain so it was time to put the MG away. Good progress and I’ll find time over the next couple of days to do a longer run and find a friend with a strobe light!
After I sorted a leaky servo pipe recently I needed to retard the ignition as the advance was now way to aggressive under load and pinking was occurring. Basically the advance on the distributor was now getting a good suck if you’ll pardon the expression. This at least is the working theory.
My friend John was on hand as we set about loosening the distributor clamp to make an adjustment. This turned out to be a long awkward job as the bolt head was rounded off. We decided that this was a situation worth resolving otherwise it would always be a problem and so committed to removing the distributor, and the clamp.
On removal, we discovered that the bolt had been fitted incorrectly (by whom I wonder?). The clamp is cleverly designed to hold the bolt head so that all you need to do is tighten or loosen the nut. No need for two spanners. This is probably obvious to many people but it was a learning point for me.
Anyway, we concluded that we’d set the timing from scratch with a strobe light on another day so I finished up by cleaning the bracket because why not make it a bit more presentable?
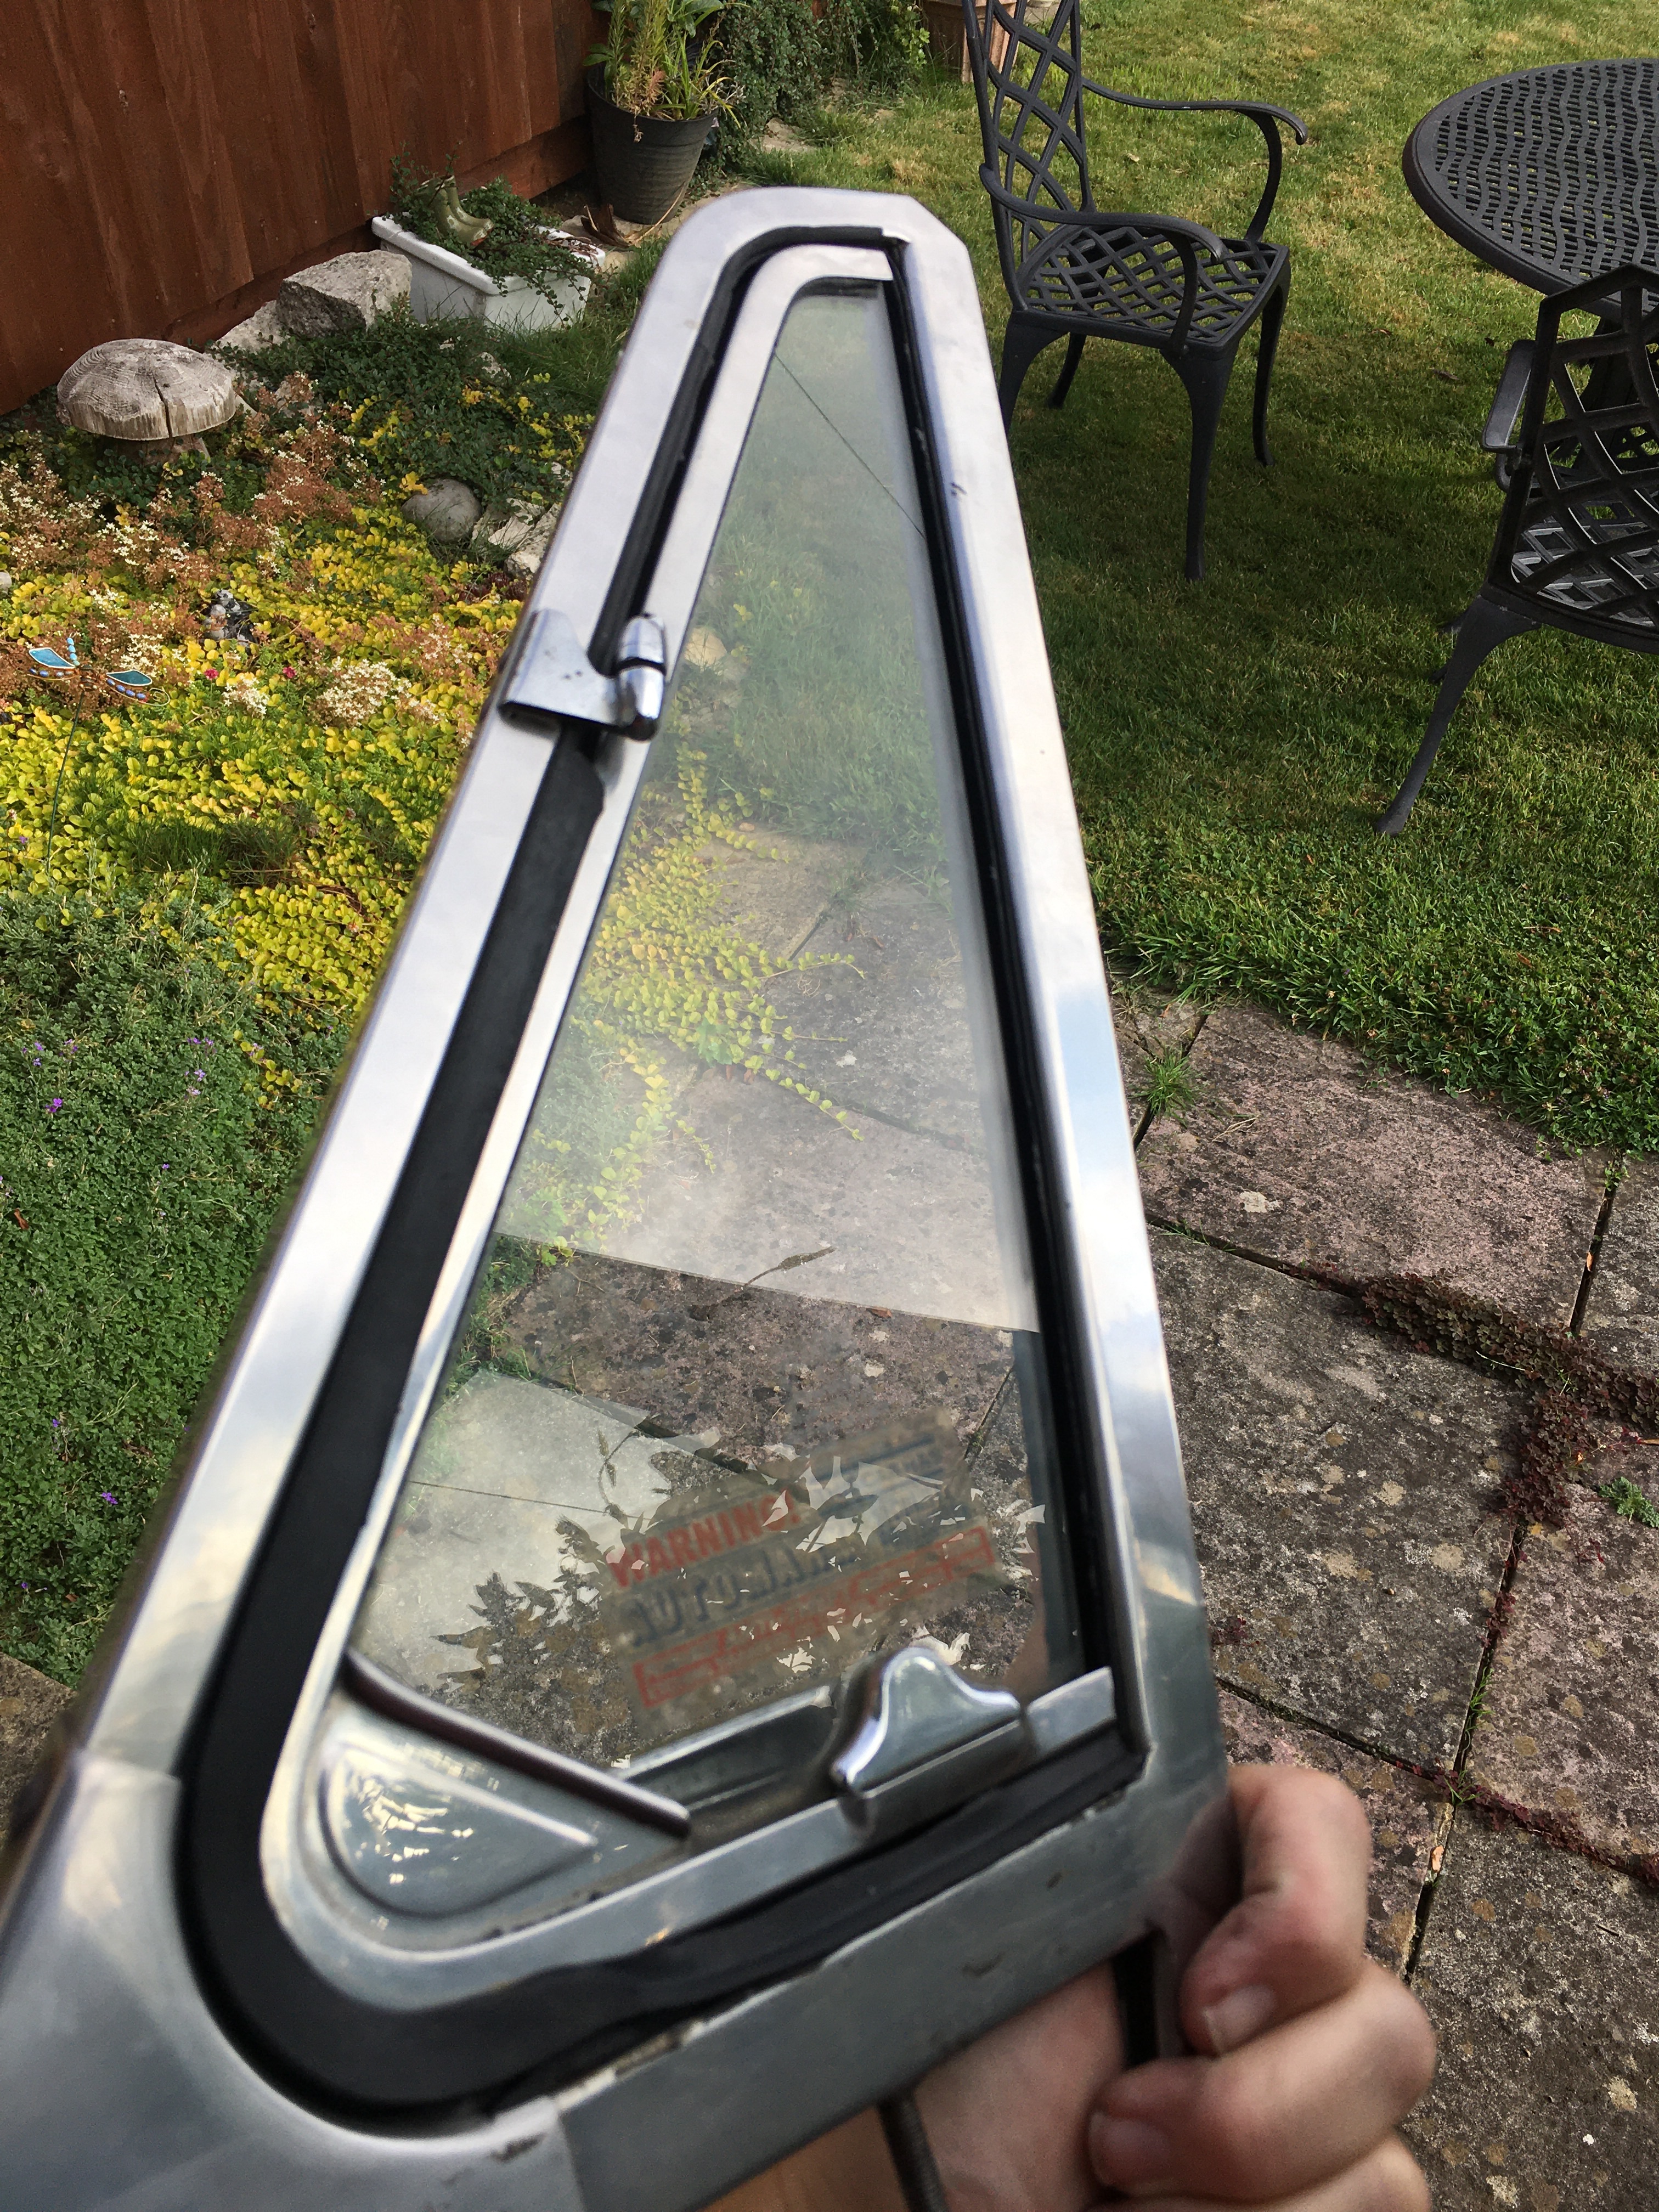
Here is the dizzy in place but the bolt is the wrong way aroundMore clearly shown hereSprayed with a bit of wheel cleaner to cut through the grimeA whizz over with some wet and dry makes it a bit more presentable
Another big gap in posting due to other life distractions. Recently I had an electrician (Phil James) booked in to do some jobs on the MG. He did a cracking job, fitting the electric fan, switches in the dash and centre console and the heating rear window. Of course we needed to fire up the MG to commission the fan and this is where things began to go wrong.
The week before Phil came I had done a few little jobs including tidying up the brake, fuel and loom lines which run under the car as well as fitting the air filters. A good job done. Annoyingly the MG then refused to start and was the same when Phil and I needed it to.
Poor Phil, he tried everything and in the process sorted out the carbs which had overfilled dashpots and the rear carb where the piston was not moving freely. So we had to admit defeat on the day.
Meanwhile my Dad had said ‘it will be something simple’ and today I got to the bottom of the issue. I tried a simple test which was to remove the fuel pipe to the front carb, stick it in a bottle, turn on the ignition and see what happened. In short nothing. So I removed the rear wheel to get a good view of the fuel pump. I confirmed the connections were all good so it was a mystery until I noticed that a rubber pipe which connects to the main fuel line under the car was going through a tight curve and looked kinked. And so it turned out to be. I adjusted the curve switched the ignition on and hey presto click, click, click and fuel at the carb. Woohoo! So problem solved and another step along the way. The MG fired up and ran smoothly. I then spent some time sorting out the wiper mechanism which I had incorrectly installed. Still work in progress, but it’s on the right lines now, just blooming fiddly work. A good day’s work.
Me looking happy and relieved that I’ve got the MG going again. Onwards and upwards!
Crikey, its been a while since my last post. What can I say, I’ve been busy.
Anyway, today was a good day. Recently I’ve been trying to resolve a misfire and due to my low level of competence, I had unsuccessfully tried to change the points in the distributor and managed to convert the misfire into a non-starting issue. So I left things alone for a few weeks while other events took precedence such as work, volunteering at Church, Gardening and walking with Helen. Of course Dad had been saying why not just fit the Electronic Distributor that I had bought originally but I had got it in my head that it was a horrendous, virtually impossible job. Then Thursday of this week, later in the evening instead of slumping in front of the TV, I popped into the garage and stared at the distributor. Then I reached for a 7/16th spanner and sort of offered it up to the bolts. It’s really fiddly, but I got some movement going and then the bolts were getting slack. I reached down to the distributor and just like that it came out. I was that surprised I just stared at it in my hands. How did that happen?
Buoyed up by this, today I slotted in the electronic distributor pretty easily and then just wondered if it would start. It did! I was really chuffed, and the misfire had gone, so success all round. I did have a bit of fun with tweaking the timing and having to adjust the carbs but before too long I had it idling nicely and cleanly revving, so this was a big step forward.
I spend the rest of my time pottering around. I fitted the twin horns, discovering as I connected them to the loom that the switch was live. That made me jump alright. With both units connected, they make a pleasing ‘honk’. I did give the heating controls a good check over and discovered that I need to buy one new one. I stripped the cables and connections off the old units ready for re-fitting. Completing the heater installation is going to be quite a project in itself I reckon. I then spent some time stripping the spare door that I recently bought in readiness for installing the glass from that door into my car. Finally, Helen and I sat out the front of the house with a cup of tea and a piece of cake in the sunshine. I had the usual couple of nice chats with passing neighbours and the postie who all admired the MG which was looking very bright in the sun.
Actually it was yesterday. Another sunny February day and it was time to fill up the brake system for the first time since I had replaced all the brake lines and the entire front brake assembly, disks, pads and callipers. I had a Gunson kit to help and my friend John was on hand to direct me from a suitable distance on the driveway. The Gunson kit uses pressure from the spare tyre via a rubber tube which goes into a bottle filled with brake fluid with an outlet which fits to the master cylinder. Had to inflate the spare first, which was flat obviously. We also jacked up the rear, removed the rear wheels and verified that the bleed nipples were okay. With the kit connected up, the fluid started to go down as the brake pipes were filled. I was watching at the back of the car, and the level was going down but no fluid. Then we spotted the rapidly growing pool under the engine bay. We had a leak at the four-way junction with one of the joints leaking fairly well. There followed some rapid reaction work with me in charge of sluicing the spilt fluid before the nice new paint melted while John disconnected the four way junction for inspection. I should mention that we did first just try nipping it up but to no avail.
The four way junction nor the line had no catastrophic issues, but John’s keen eye had spotted a little gunk in the fitting and on the threads. So we conducted a clean with some WD40 and a rag, blowing it out with an aerosol air canister. After some careful reassembly and re-tightening of the four lines to the junction, we recommenced filling operations. No leaks this time. For each brake in turn, we connected a length of plastic tubing to the bleed nipple and opened it up. I watched the flow and when the bubbles had cleared, I nipped up the bleed nipple. So far so good.
Moving to the front of the car, we again jacked it up and removed the wheels. The n/s side went smoothly enough, all new components, so it was a dream really. On the o/s, a little fluid was weeping from the connector between flexible and hard pipes but this was nipped up promptly enough. A prod of the brakes confirmed we did indeed have a brake pedal. As it was now getting on in the day, we decided to call a halt there. Further testing has identified that it is soft on the first push, then firm, which I think means there is still some air in the system. A quick browse around the internet suggests that the pipes into and out of the servo need to be bled and possibly also the junction connection at the rear which splits the fluid to left and right. This will be sorted out soon. However, all in all, excellent progress and a milestone reached. The car now starts and stops!
So to today, Sunday, and I was on my own, so a little pottering was in order. First job was to investigate the misfire which has been plaguing the MG lately when running it up. The carbs are not in tune, I have a plan in mind for the that, but it has definitely been running worse and worse. Taking a look around the engine bay, I discovered that the vacuum advance pipe was looking very sad. Being rather on the long side, it had drooped onto the exhaust manifold and basically melted. So I snipped off the mangled bit and fortunately there was plenty of length to make a nice route to the inlet manifold. Next I investigated the distributer, and as a non-expert, the one job I could do myself was to swap the distributer cap which on inspection was a bit rough looking with the contacts worn. So I popped in the new one which came with the electronic distributer and this saw an immediate improvement. I was tempted to just pop the new distributer in but as this is quite is quite fiddly, I put it off for when I have a longer go and have taken some advice. Instead, I did a couple more jobs on the dash. First, I fitted the rev counter properly. I had lost one of the knurled wheels that fit to the studs and hold the two brackets. Miraculously, I found it on the driveway yesterday! That saved a £5 order to a specialist (apologies to the parts market, I need plenty more bits honest!). Then I moved to the n/s to fix the dash properly. Having done the o/s earlier in the week, I knew how this went and it was straightforward to fit this. With the centre nut also fastened up tight, the dash is now looking right, albeit I still have a few switches and the vents to install. As I had to lie on my back in the footwell to do this, and with a mind to future required jobs, I got out the new carpet set and lobbed the footwell carpets in and the boot carpet while I was at it. I am not quite ready to commit to carpeting the MG, but it was good to see the set and acquaint myself with the different parts.
The dash now correctly fitted
Melted vacuum pipe
I have now removed the legendary ‘no fluids’ tape’
I’ve had a problem with oil leaking from the oil filters area for a while and this has prevented me progressing the engine start because cranking the engine resulted in a pool of engine oil under the car. Having had several goes at refitting the oil filter to oil cooler union, today I used my brain and had Helen in the car cranking the engine over and me looking to see where the leak was coming from. Turns out the leak was from the oil filter ONTO the connection so I was looking in the wrong place. So my focus turned to sorting this connection out and following a phone call to Dad I removed and refitted it. No leak on cranking! Problem solved. I couldn’t resist cranking the engine over to fire (which it didn’t) but I did check and I was getting no spark so at least I know one of the problems to sort out.
This lovely engine bay will sound nice too one dayOil everywhere but where from!
Back to earlier in the day and ongoing (and off going) saga of the doors and their glass. I had previously fitted the quarter lights but on inspection the runners were perished so I recently ordered some new one from Moss and had stripped them down. So while British Grand Prix Practice and Qualifying ran on I sat in the lounge working the new rubbers into place using a blunt ended tea spoon. Apart from where it dug into my palm painfully it wasn’t too bad and I followed the general approach that Andy from Wiltshire Windscreens showed me when he fitted the front and rear screens. So with these done I loosely fitted the back in. I will tighten them when I get the glass as I think you need them loose to get the whole mechanism in and then you tighten it all up.
In place
Rubbers inserted
Before fitting
Also in preparation for the glass (which I need to order) I removed the lower bracket from the rear glass stay. I have ordered new ones of these with nice new felt lining but they don’t come with the bracket. Rather than put the old brackets on as they were. I decided they would be better painted. I used a Hammerite black straight to rust paint, brush applied. It doesn’t need to look good but it should be protected against corrosion hence this approach. I was a bit delayed in fitting the stays as the paint is still drying so I will need to fit those when I next get the MG out.
Waiting for these to dry before fitting
So that’s about it. Keith the TV aerial guy was passing with his mate and said Hi. A couple of other people nodded their appreciation (or sympathy or contempt it’s hard to tell) so it was an encouraging day on the MG. Last thing to say is that to save my back I towed it out the garage this morning with my CRV which worked reasonably well although I did need a willing assistant which was of course the ever patient Helen.
I ordered a second hand distributor in an attempt to resolve the non-starting engine. Suspecting a timing issue, my Dad and I have gambled with the idea of getting it started with a good old-fashioned mechanical distributor in lieu of the Accuspark unit. The electronic distributer is great I’m sure, but you can’t see what is working or not, so anyway, today I bolted the new used mechanical distributer into the MG and tightened up the clamp. The distributer clamp is one of those awkward jobs on the MG where the spanner (7/8th) has about 30 degrees of movement and needs to be turned around to get at the next turn. So doing the bolts up to the clamp is a long job and you have to get into a zen like state and push through it. Or you can have a really good podcast playing in the background, such as Adam Buxton’s ramblechat with Louis Theroux.
Before tightening up the distributor clamp (I had actually popped the unit in a couple of weekends ago, including the long job of removing the clamp bolts) I had to see to the troublesome oil cooler pipe connection to the oil filter base. Having thought I had sorted this out previously, I had attempted to start the MG recently and not realising this was not done up correctly, had managed to create a large puddle of oil on the driveway. This is my second offence and although Helen was very understanding I was really annoyed at myself for this careless error. I now actually have a shortage or oil, so will be ordering some more soon and will need to remember to stick some cardboard under the car just in case. The error was to have the crush washer in the wrong place, something easily diagnosed when I checked in the catelogue.
Do this up properly
The difficult distributor clamp
I’ve sorted another issue through a second-hand purchase. The inlet manifold of the MGB has a bolted in connector onto which the vacuum pipe fits. On my inlet manifold, the connector was missing, and I don’t remember removing it. Having scoured the online MG catelogues I identified the part number but it was notified as being on back order, so not available any time soon. So I took the plunge and ordered a second hand inlet manifold from eBay that looked like it had the right fitting. It arrived as described and had the fitting. So problem solved and a paper-weight to boot (the surplus manifold). Now fitted on the MG, if only I could find the plastic end piece which I carefully stored away…
I was pleased with my ebay purchase which I showed to my colleagues via MS Teams
More ordering with SC Parts has resulted in two large boxes arriving at Relentless Duck Restorations Goods Inwards containing shiny new seat rail kits. The seat rails have mystified me for a while. The car only came with three out of the required four, and I have been baffled as to how the rails work. Now with the new rail kits from SC Parts, I can see that there was a lot more missing, so I am now reassured that the fit will be relatively straightforward. Not that I’ll be fitting the seats just yet, as I have the roof lining to fit before I work down to the carpets and seats.
The lovely new seat rails from SC Parts. Arrived in two separate boxes a week apart. What’s that all about?
I received a fun classic car related present from fellow enthusiast ‘Puddleduck’. Its the Haynes classis cutaways colouring book. Apparantly colouring in is good for mindfulness, being in the moment and all that. Puddleduck also has the book and he admitted that he sometimes goes onto classic care trader websites to check up on paints schemese and details such as indicator / side light configuration so he can shade in accurately. Crikey, that’s a level of dedication I can only dream of. Anyway, thanks Puddleduck.
Spent a couple of hours on the MG this afternoon. It was cold and windy so I confined myself to the garage. First job was to finish off fitting the new rubber oil cooler pipes. I am replacing the nasty braided ones which are very stiff with OE spec rubber which is a bit more pliant. This is an awkward fit and it requires a bit of coordination because the oil gauge pipe has to be fitted AFTER the pipe cooler pipe because otherwise the spanner crushes the oil gauge pipe. Have a guess how I know this? After fitting the pipes I had to fit the hateful grommets to the radiator shroud which is another awkward job. Anyway it’s done now.
It’s all a bit congested here
Next I decided to progress the wiring loom connections. Last week I had to unpick the loom due to poor routing so this week I put some of that back. I connected the alternator which is easy then had to take the coil off to get that connected properly. So far so good. I then checked the fuse box which I wasn’t convinced had been connected properly. Rather than rely on pictures on the internet I actually used the wiring diagram and managed to use up all the available wires so it must be right! (It is right really).
So onto the next thing and I identified a problem. The distributor, which is a new unit from Accuspark needs power which it gets from the coil. Unfortunately one of the cables is not long enough. It mentions this in the instructions which cheerfully say ‘you may have to lengthen the wire’. I might write back to them to say ‘you could just supply the right length wire.’ So I need to grab a pal who can joins a bit of wire for me
This is the probably definitely correctly connected fuse box
Final task today was to fit an earth wire to the inner wing. The original bolt had been painted over and the head rounded off when I tried to release it. Even my freeze spray couldn’t rescue the situation so I did the brutal thing and drilled it out. I managed to then get another bolt to fit and job done. Not a bad afternoon’s work.
While we are here, I’d like to wish you all a Happy Christmas and New Year. Thanks for joining me on this journey. Nothing about hoses in this post, I was just looking for a Christmas related pun. First a word about Christmas – amongst a host of generous gifts, Helen (my wife) gave me a Land Rover Defender. Okay, so its a Lego kit, but still, I was very excited to receive it. I will devote a future post (or two) to this build.
The Lego LandRover Defender has about as many parts as the MG
In the meantime, here’s what I have been up to on the MG.
A grey afternoon today presented the first opportunity of the season to get out properly and progress the rebuild. First task was to fit the distributor and here I have a complaint about the design of the engine bay in this respect. Why is it neccessary to remove the oil cooler pipes to fit the distributor? okay, so its not a frequent task, but with the much space in the engine bay, why is the area around the distributor so congested? Complaint over, I coped, although tightening up the right hand bracket bolt involves removing the dip stick and even then you barely get quarter of a turn out of a spanner and a socket won’t go anywhere near. I will set the timing another day, although I have been researching this and getting familiar with how to tackle it. Its a new electronic unit and seems relatively straightforward to set up.
The fiendishly fiddly distributor – note loosened oil cooler pipe in background
Following up on the recent engine oil change, I thought it would be a good idea to fill the gearbox with oil today as this will hopefully stop my recurring nightmare of starting the engine with no oil in it. The gearbox was drained on removal by Austin the welder and has remained so ever since. For this job I had already bought gearbox oil from Classic Oils in Bicester along with a hand pump. I removed the grommit from behind the centre console which enables access to the gearbox dip stick and the filler neck. I then hooked the pump pipe onto the filler neck from underneath the car and pumped circa 3 litres of slippery oil into the gearbox ( I checked the capacity from the MG Restoration book). I think it was grateful. I checked the level using the dip stick and all seemed fine. The handpump was a bit of a workout, but I don’t suppose it will be a frequent job to change all the gearbox oil and it was a clean job. I could have probably filled the gearbox from inside using a funnel, but I was a bit worried about having a spill inside the car.
Hook the pump pipe into the filler…
…and off you pump…
…level checked and dip stick back in
Next thing to investigate, was the fuel pump. This has been vexing me so today I just wanted to move my understanding forward rather than try to solve everything. To recap, the issue is that I need to connect the wires to it (and I didn’t know where they went), I still have to fit a rubber pipe from the pump to the pipe under the car and its not mounted properly. Today I consulted the wiring diagram (which is gradually beginning to make sense), and established that I needed a White and Black wire from the loom. As has been the case, I found these cables ran nicely down to the pump. That is, once I took them away from the C pillar where I had routed them previously. Not sure why I did that, I think I took them for the rear window demister. So small progress, but as I write this it’s becoming clearer now where the terminals go. Next time I work on the MG, I will connect the loom up and the remount the pump. This is to rectify a previous attempt to tighten the mounting clamp which was unsuccessful. This will be tedious because it is difficult to get a spanner in there, but once done, done. This will allow me to then work out how to fit the rubber pipe which connects to the copper pipe under the car. With this, the engine start tasks at the rear of the car will be complete. We are making progress Folks.
The fuel pump, tucked up in the rear arch needs fitting properlyToday’s work on the MG was powered by Mum-in-law’s Christmas Cake – Yum