I wasn’t counting on doing any work to the MG today, but finding myself with an hour free towards the end of the day I rolled it out and thought I would install the reversing lights. This should be a simple job, but turned out to be annoyingly difficult and ultimately resulting in a ‘fail’. I had bought shiny new reversing units from Moss recently as the old ones were yellow and cracked with age. I had previously trial fitted one of the old ones just to see how easily it went together.
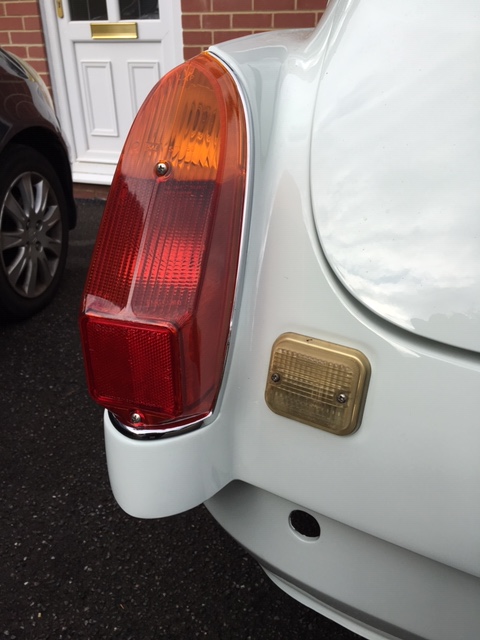
I started with removing the old unit, and thinking I would need to remove the bulb for later use, eased a screwdriver against the bulb holder (yes I know, a screwdriver…) and it promptly exploded on my hand. Hey, ho, its just a bulb, I can get another. Moving to the new unit, I removed the lens only to discover that it comes fitted with a bulb already. I shrugged to myself and started lining up the new unit to fit on the o/s. It attaches by two little bolts which go through the lens and body and into a captive thread. After a couple of attempts, I realised that neither bolt was biting on the thread, so I applied a bit more pressure, to squash the gasket that I thought might be pushing it back. Still no biting. Around this time I noticed red marks appearing on the bodywork and on the tools and of course, I had cut myself on the glass and was bleeding. Quick visit to the first aid cupboard for a plaster. I had another couple of goes at getting the bolt into the captive thread and concluding that it wasnt going to work, decided to drill the threads out and just rely on the bolts to hold it in place (I know, I know). This was the usual messy affair with the drill bit variously seizing in the hole and just generally being a rough and ready approach to solving a problem. Utimately I achieved installing the first reversing light on the o/s but not a very satisfactory process. Managed to fit the connector from the loom so in theory good to go.

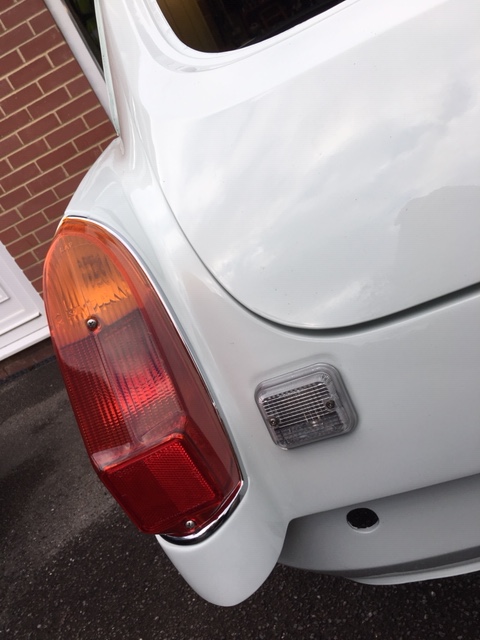
Moving to the other side, the same problems encountered. This time I decided to think about the problem first. Didn’t the bolts on the new units look a little bigger than the bolts on the original unit? Hang on a minute. So I tried threading the old bolts onto the old unit and hey presto!, they fitted easily. Grrrr. So obvious when you look. I gave the bolts a final tweak and the new plastic lens cracked. At this point I decided to pack it in for the day.
– a Concours Judge would see it!


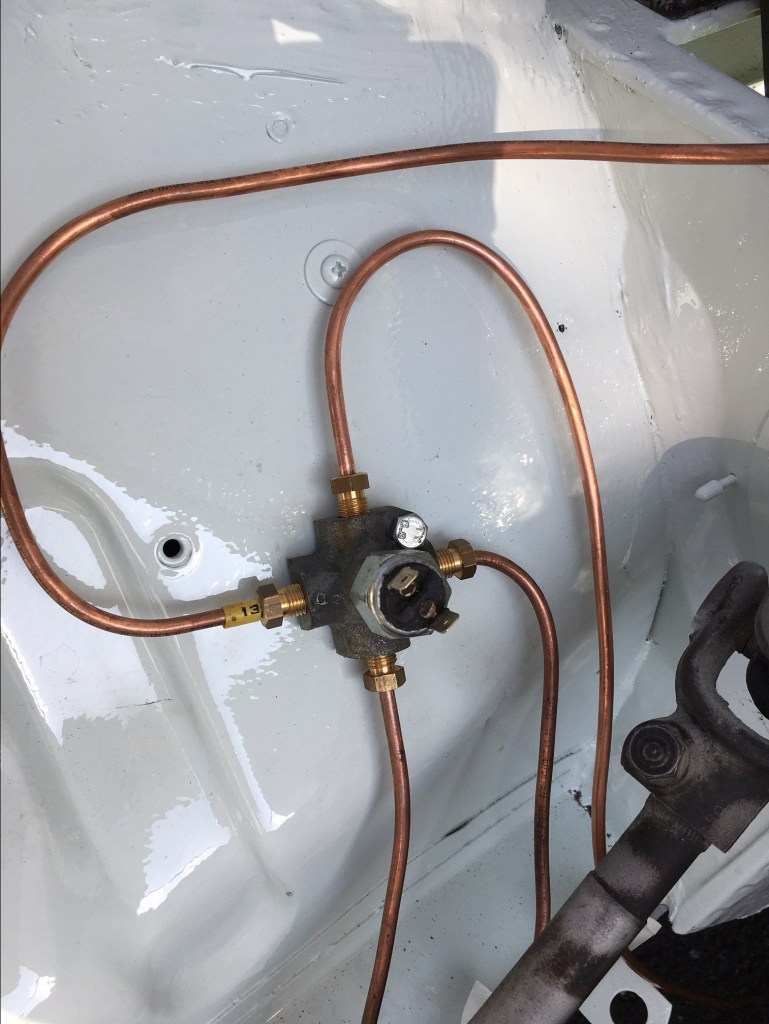


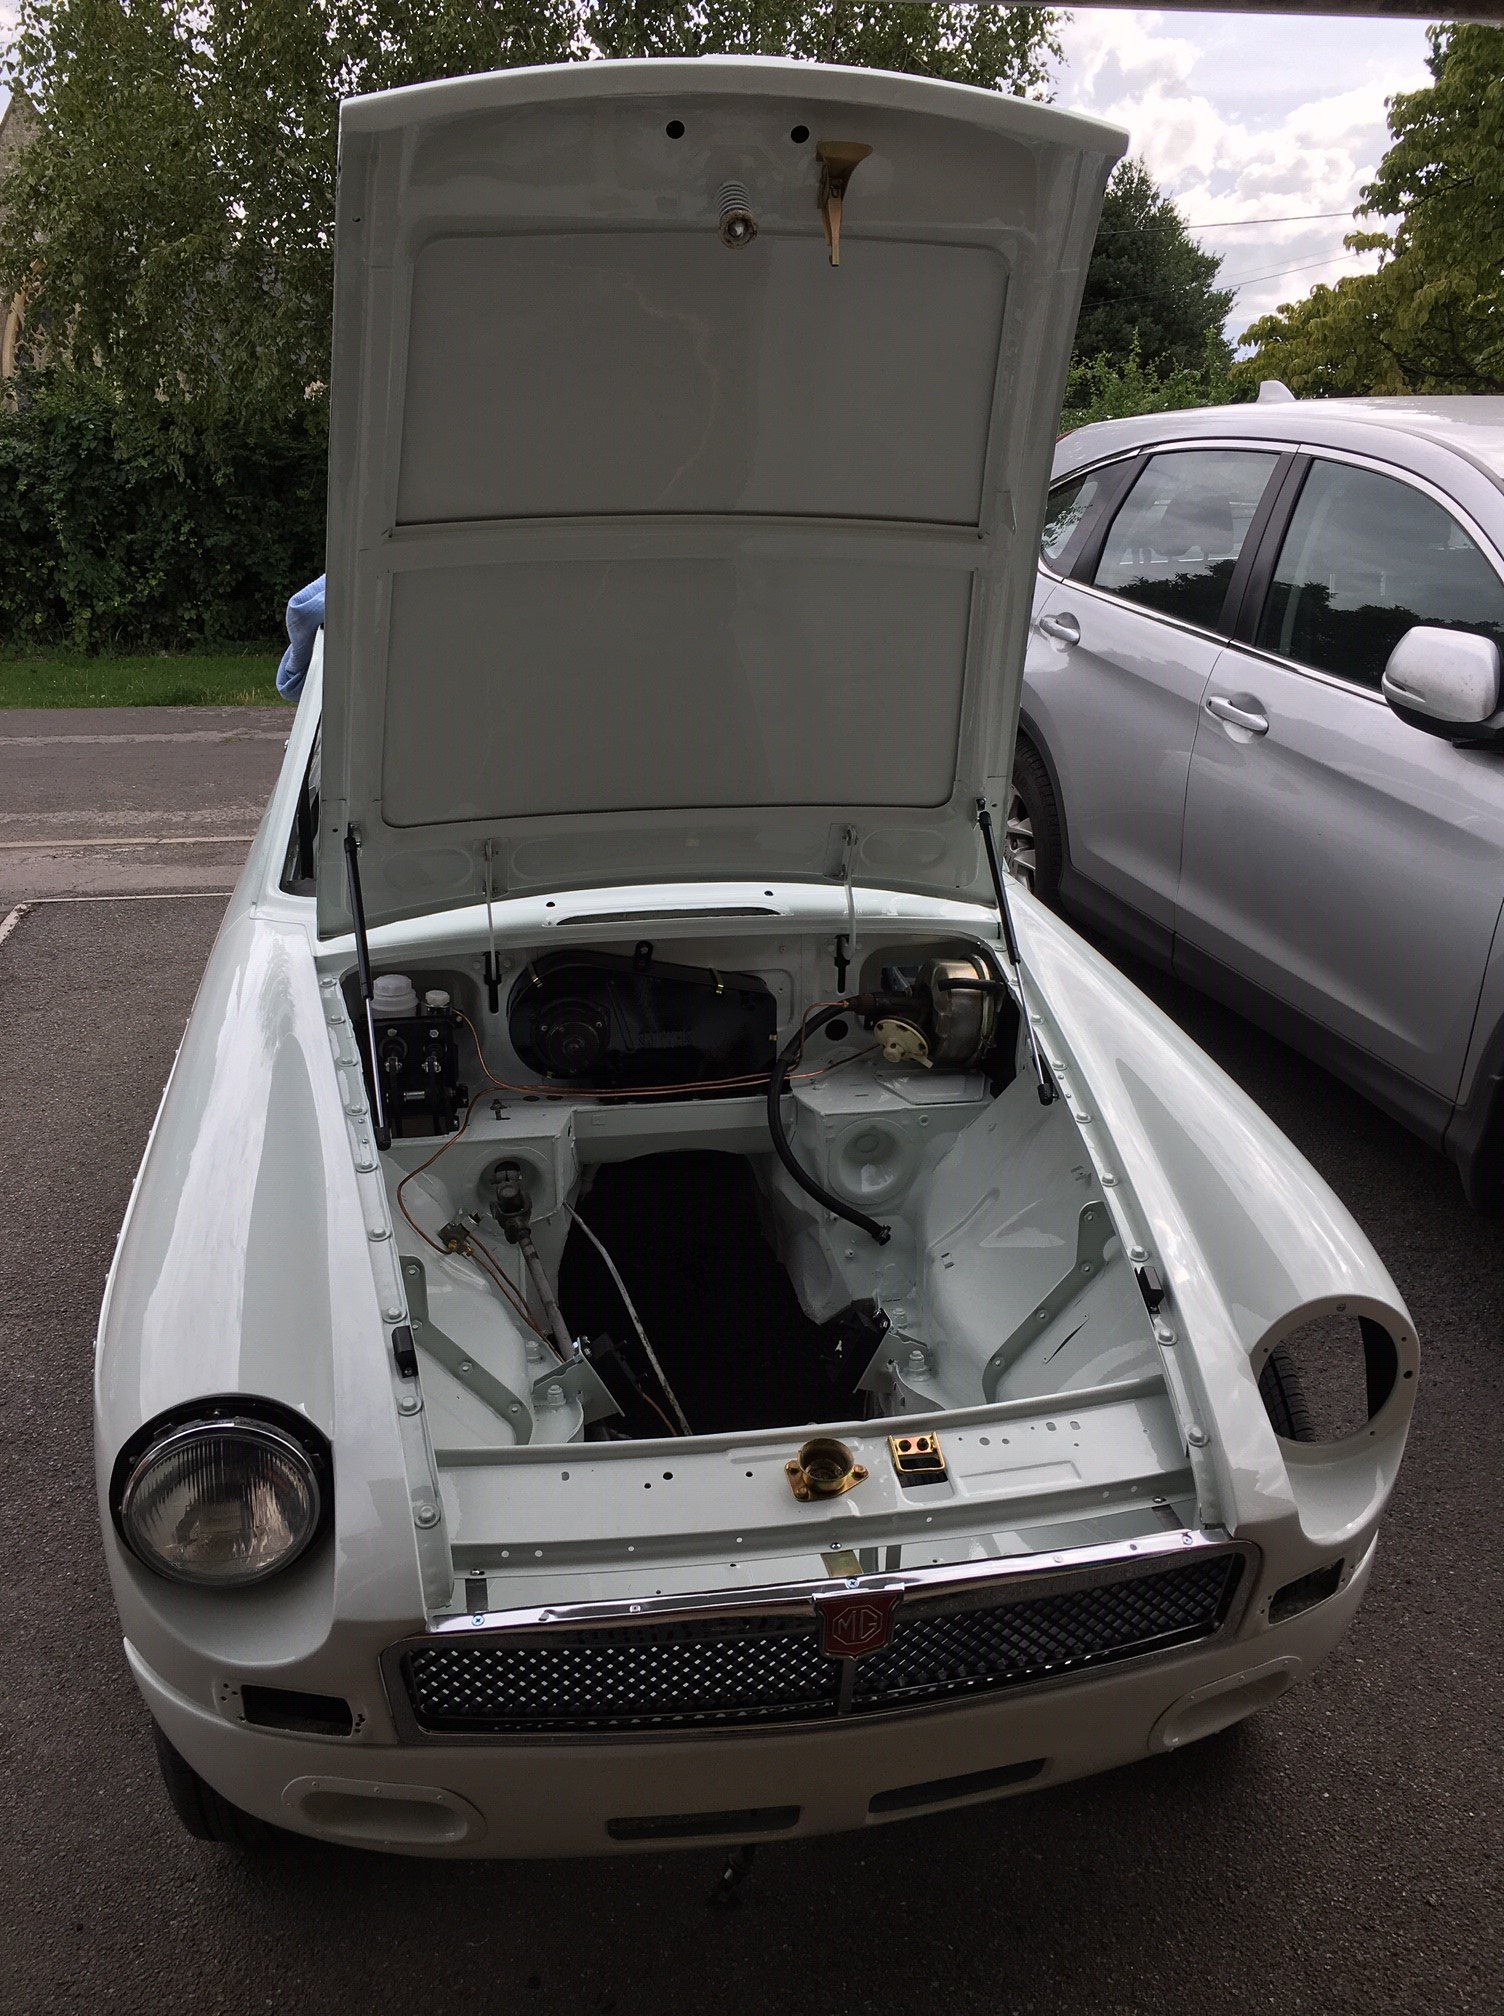


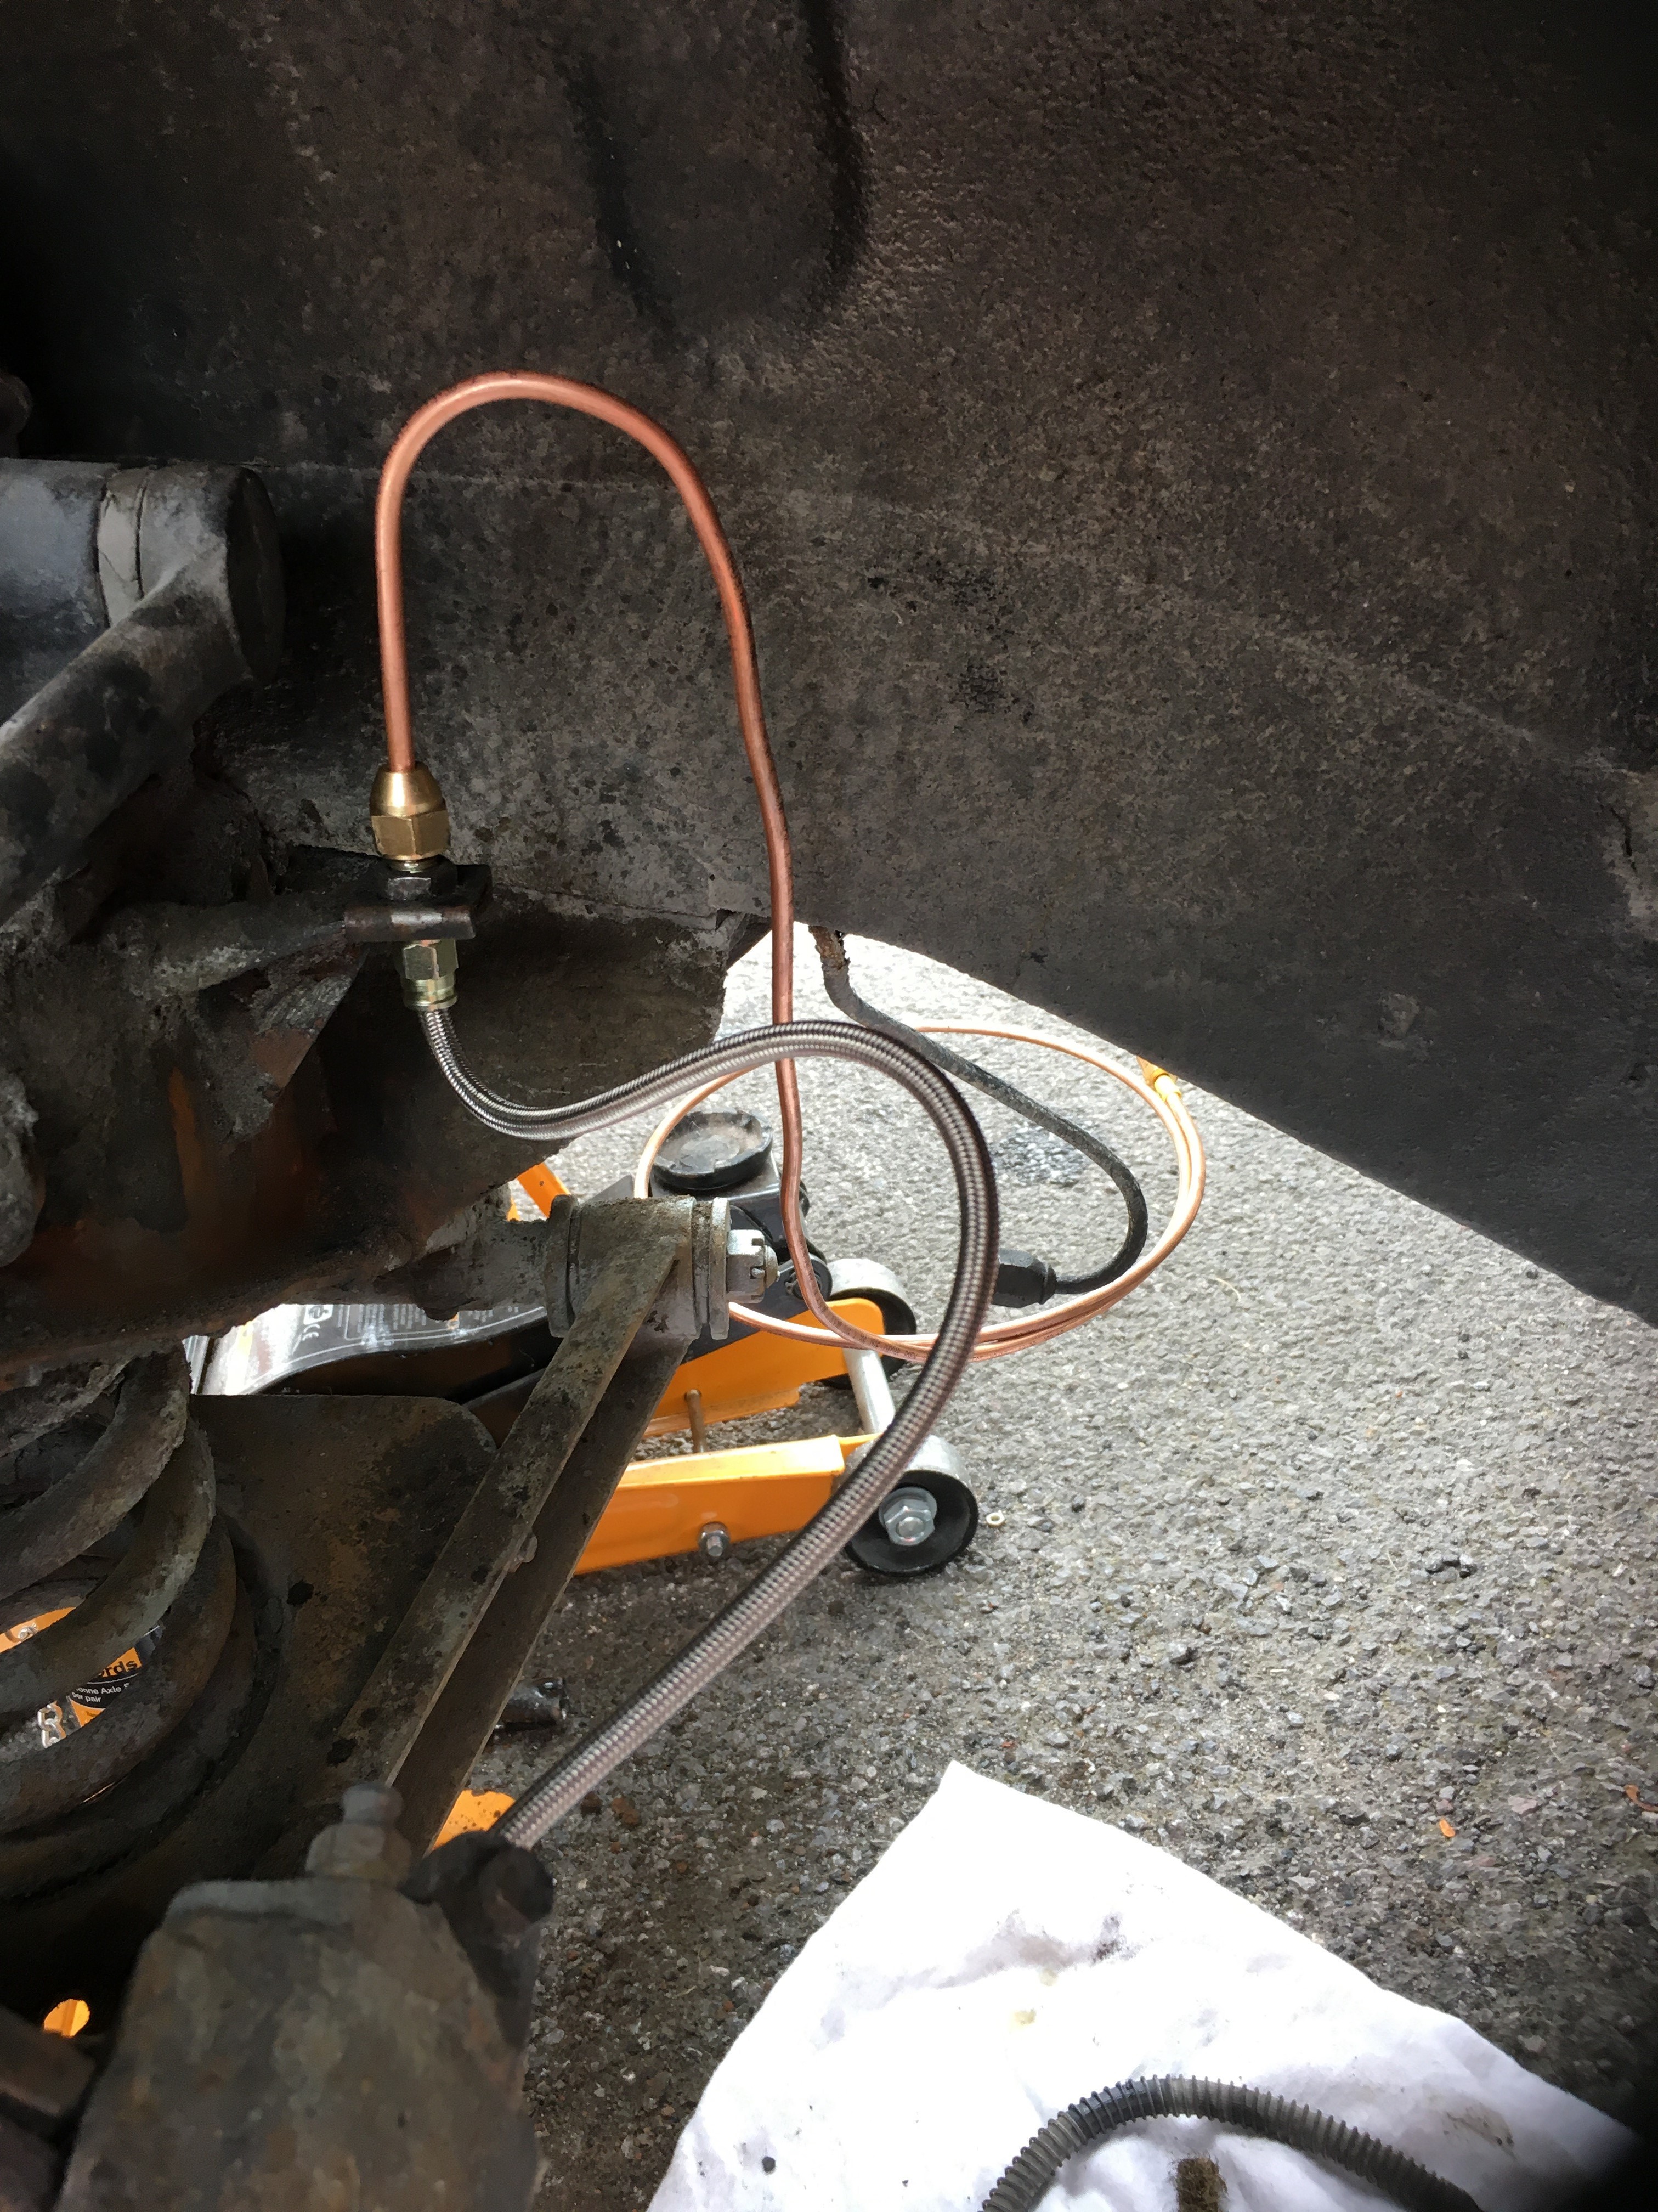
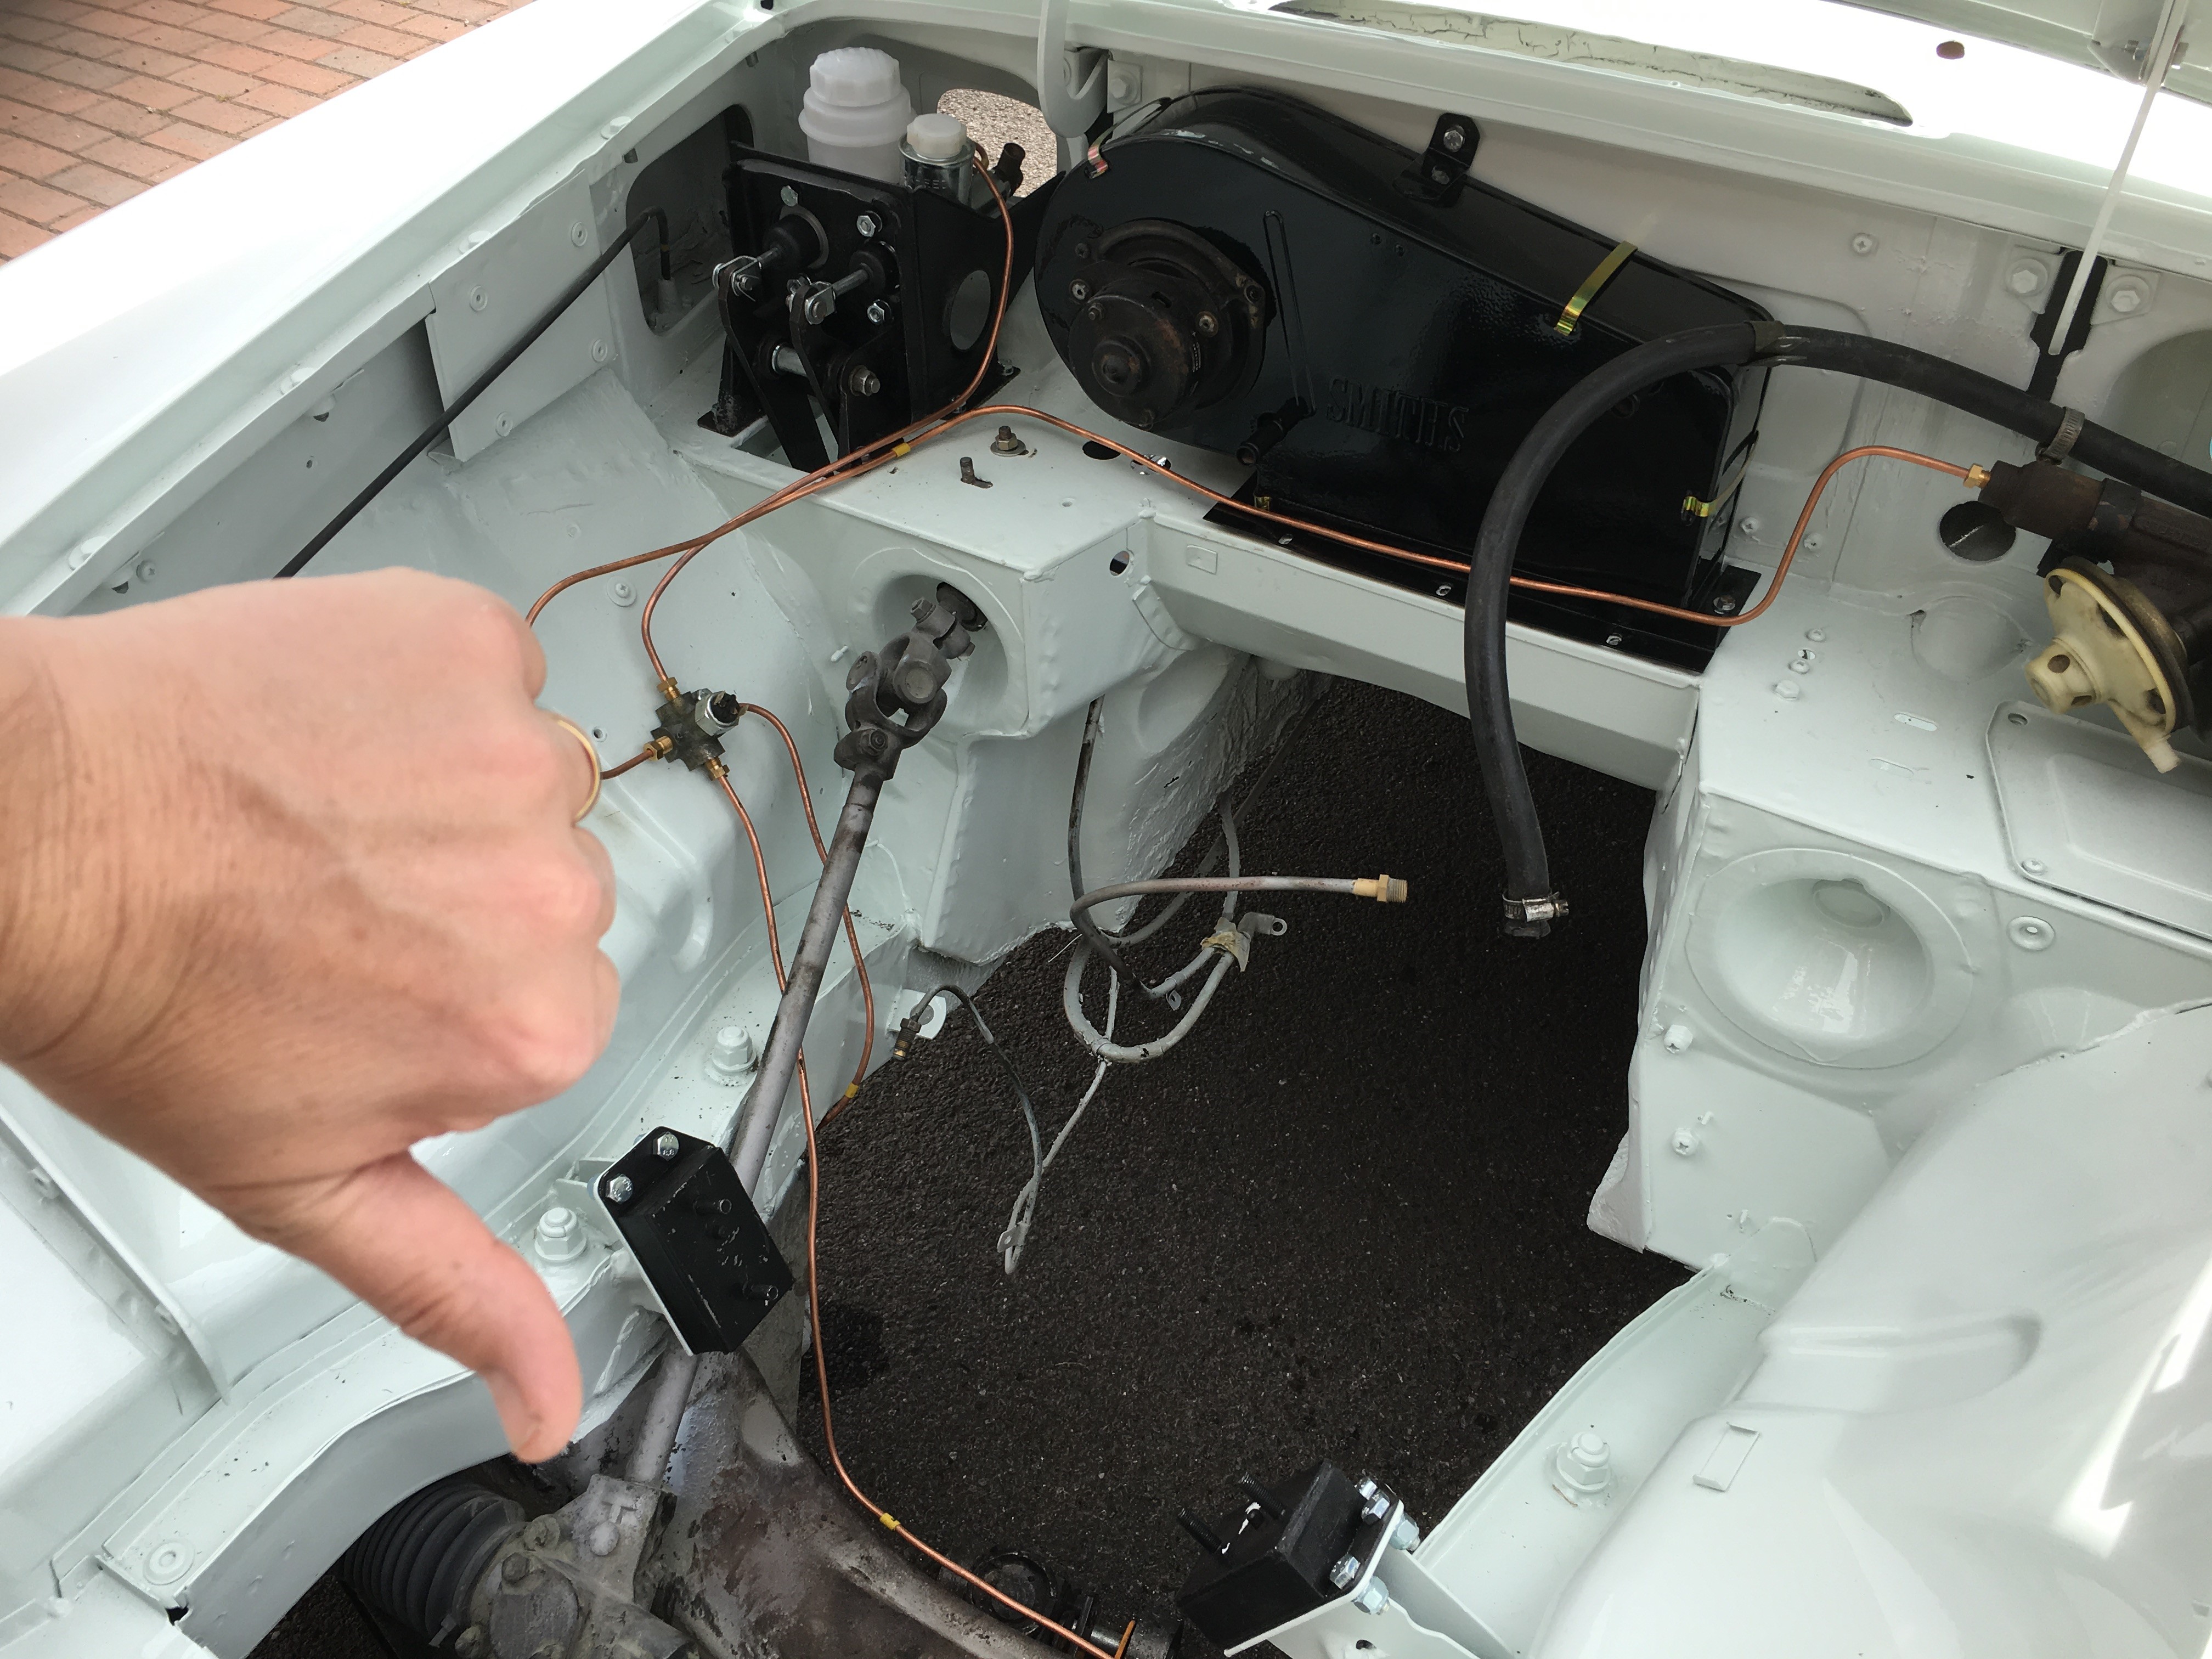
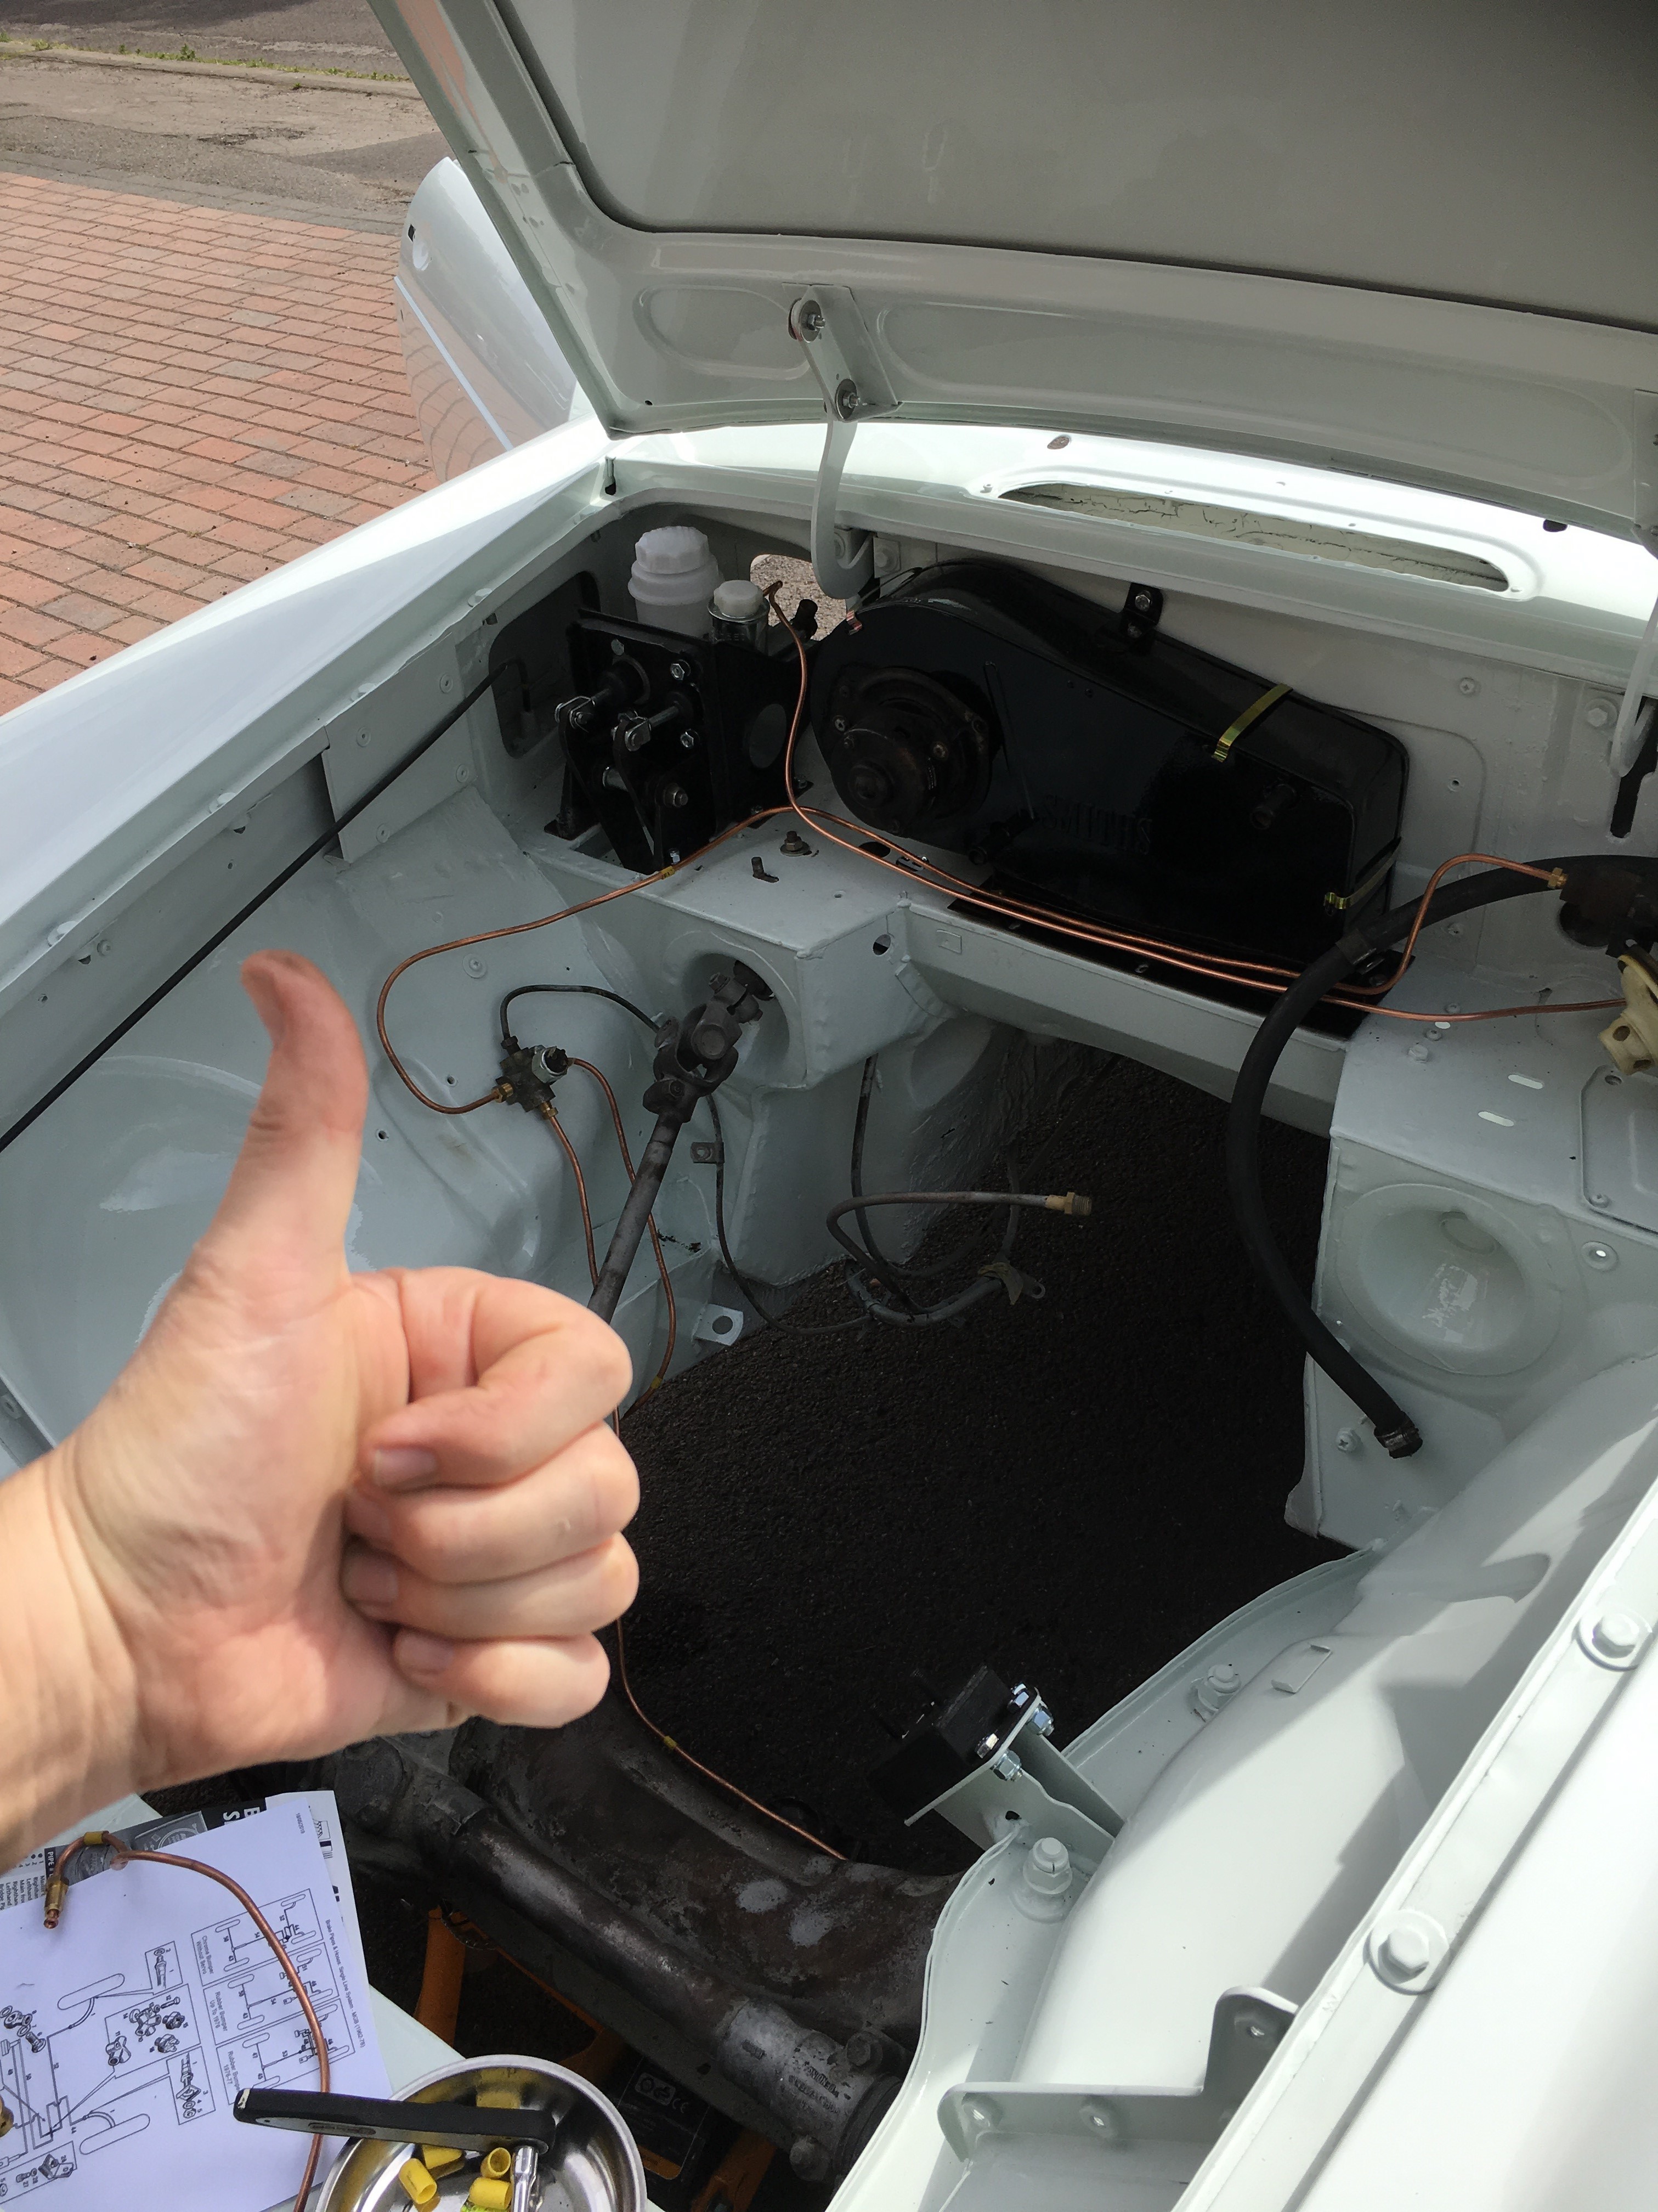


 With the master cylinders in place I can now imagine the first job involved in replacing the brake lines which is to fit the first two lines which come from the master cylinder. This involves them coming out of the cylinder and then performing a 180 degree turn so that is going to test my pipe bending skills. Might get some help for that bit! I did have Mark on hand today to help me fit the bonnet gas struts but with it being a windy day (Storm Hannah), we thought better of doing a delicate drilling job in a gale and instead had a good look at the brake kit which seems quite organised.
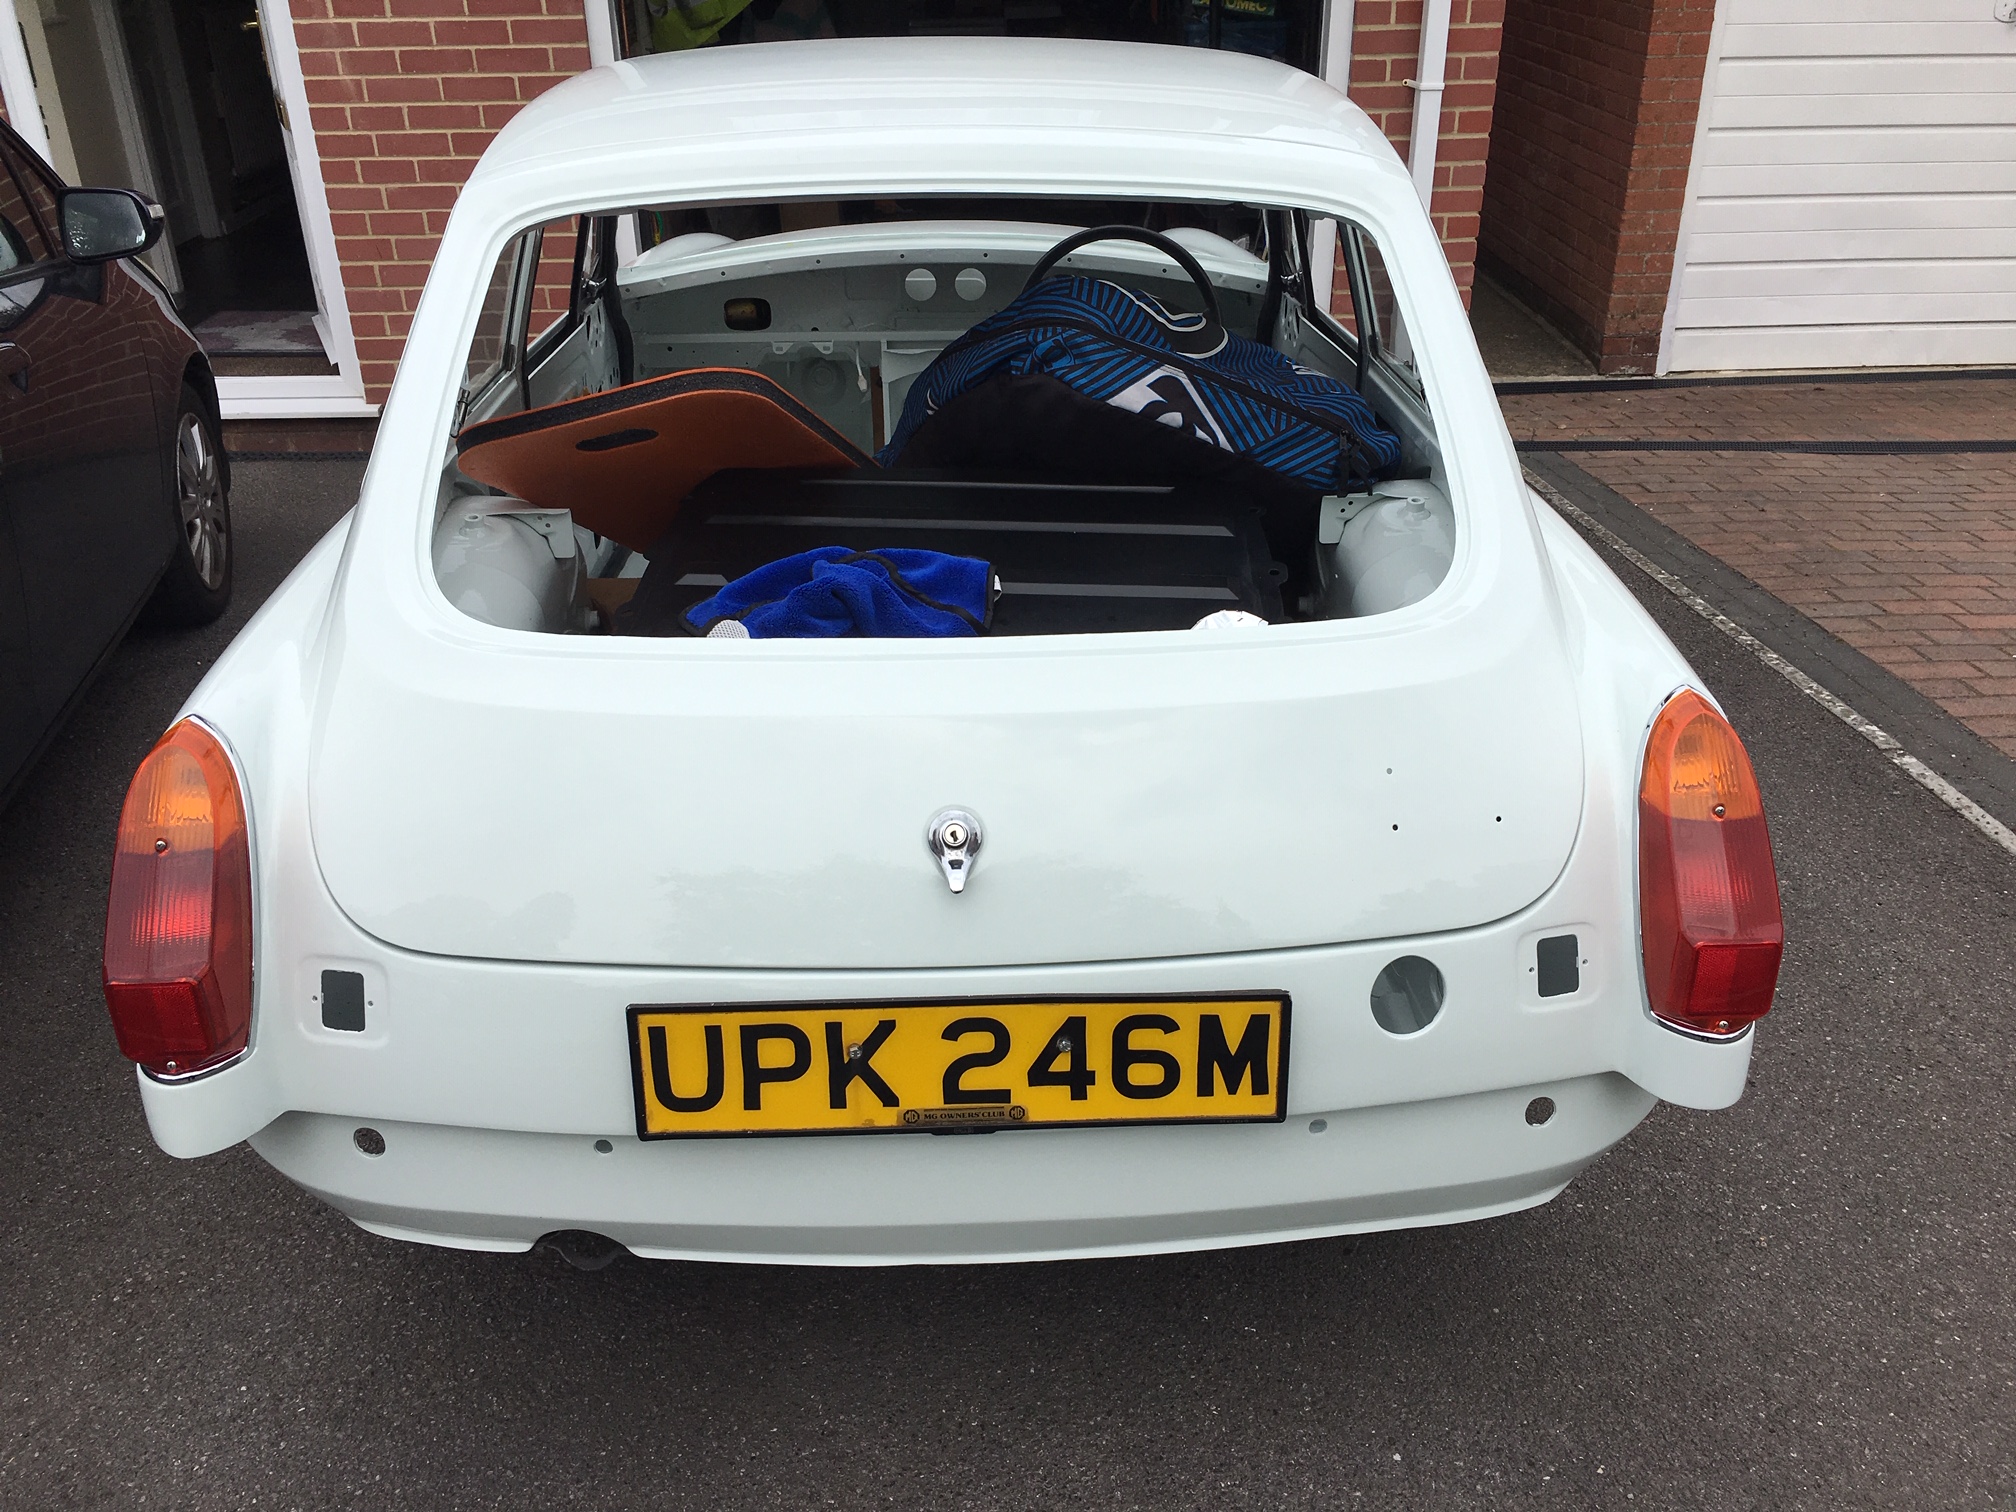
 Just to be make room in the garage I also put the spare wheel into its recess, laid the cover over it, put the battery into its cradle and put the loose rear seat base in place. Well why not.
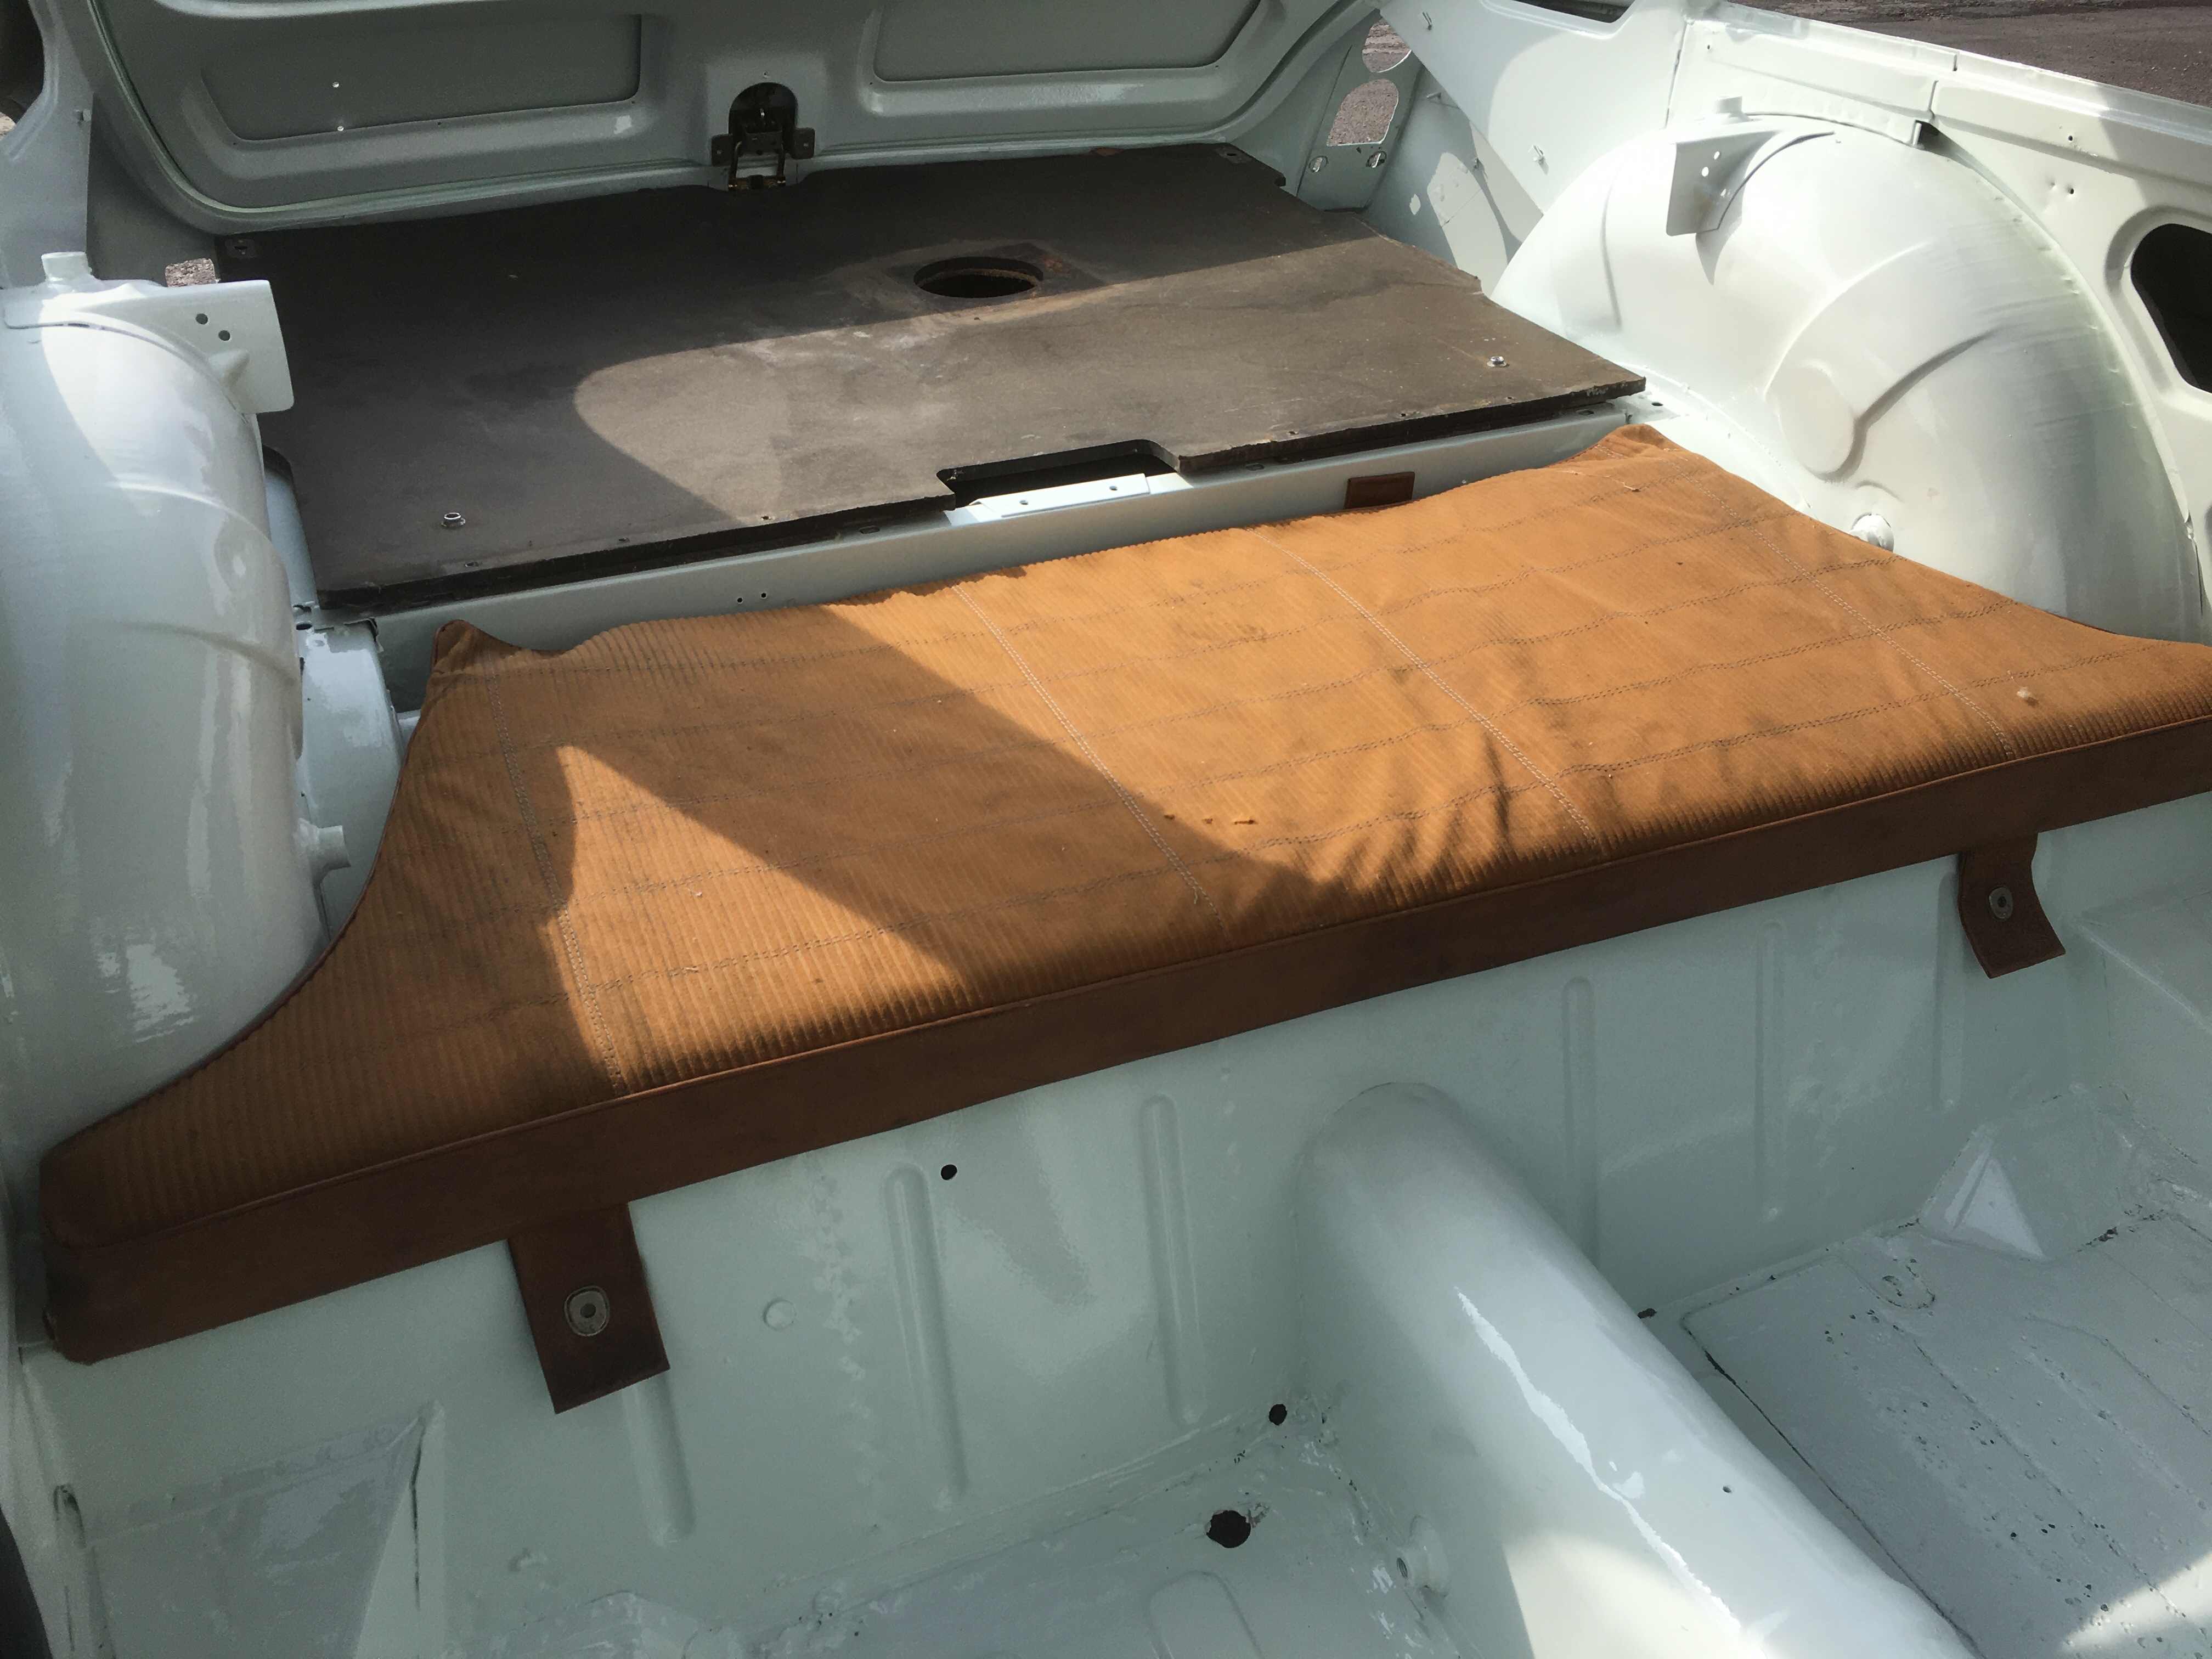
 Still, not an expensive item, just need to buy the right one now.