While we are here, I’d like to wish you all a Happy Christmas and New Year. Thanks for joining me on this journey. Nothing about hoses in this post, I was just looking for a Christmas related pun. First a word about Christmas – amongst a host of generous gifts, Helen (my wife) gave me a Land Rover Defender. Okay, so its a Lego kit, but still, I was very excited to receive it. I will devote a future post (or two) to this build.

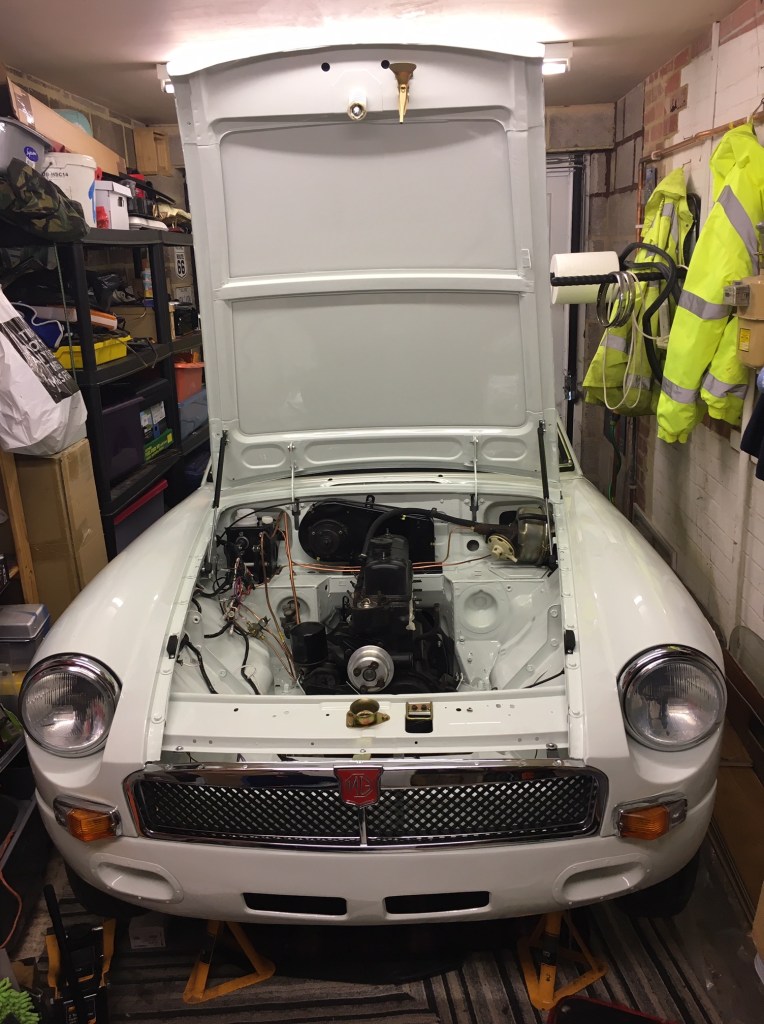
In the meantime, here’s what I have been up to on the MG.
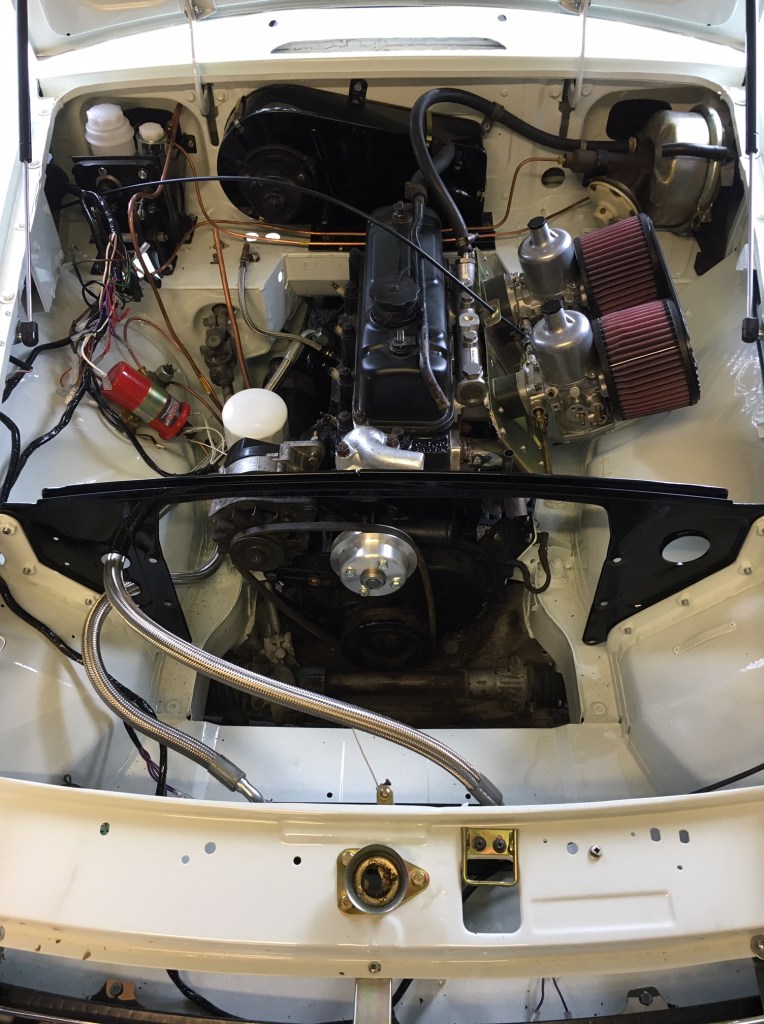
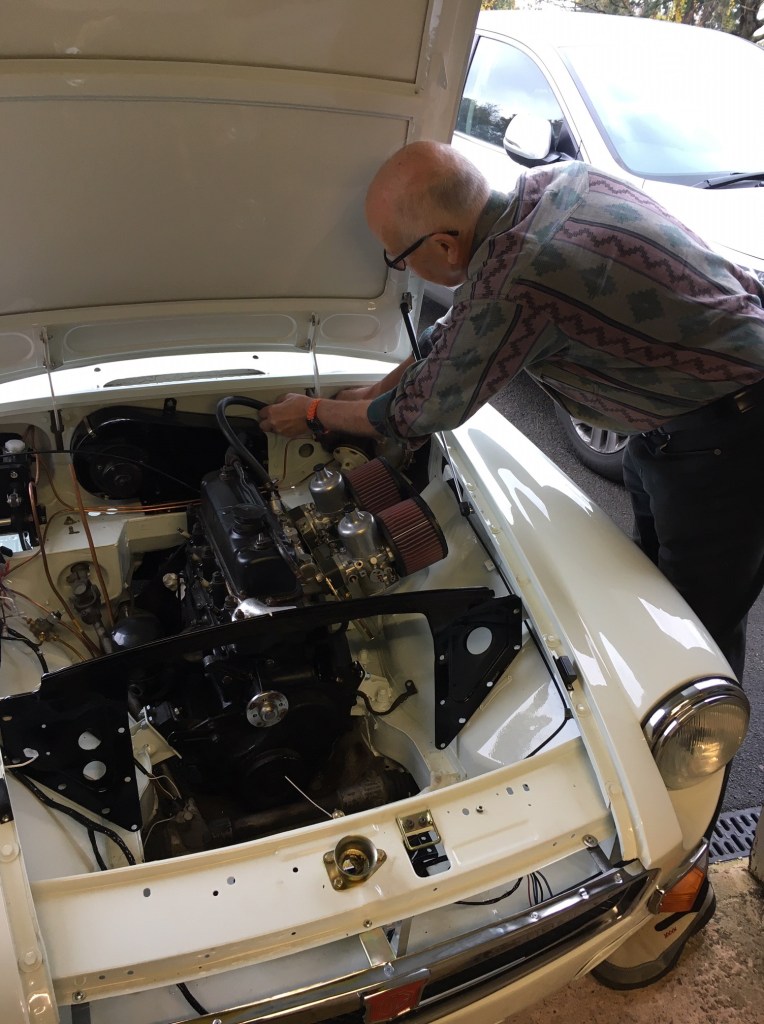
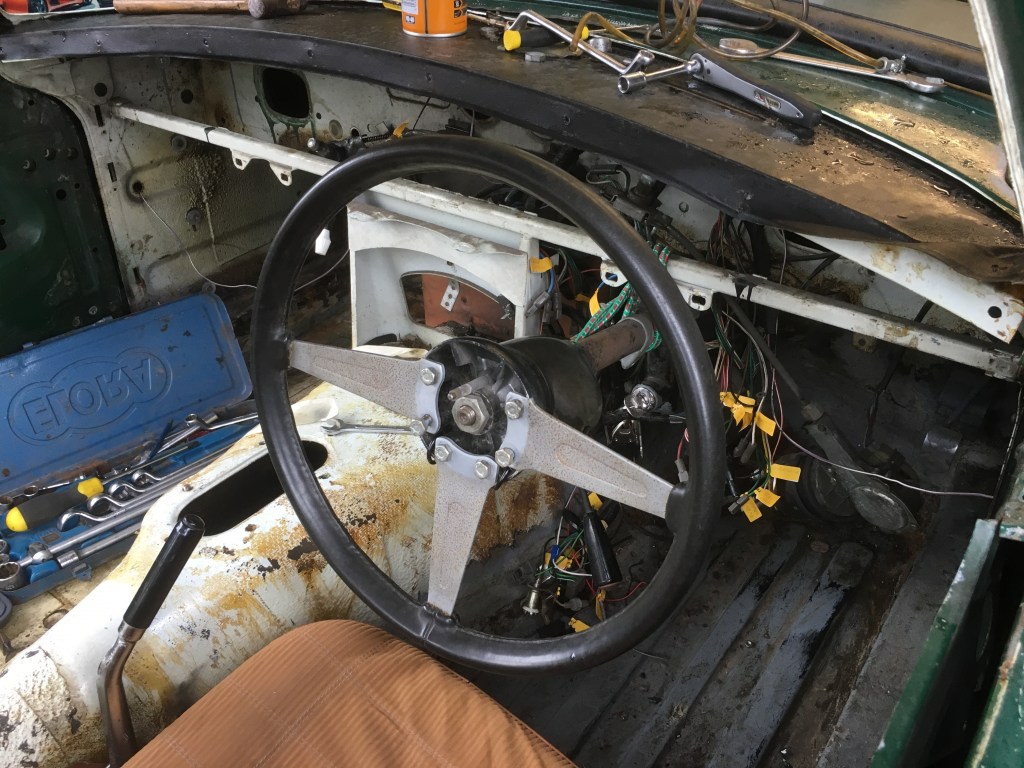
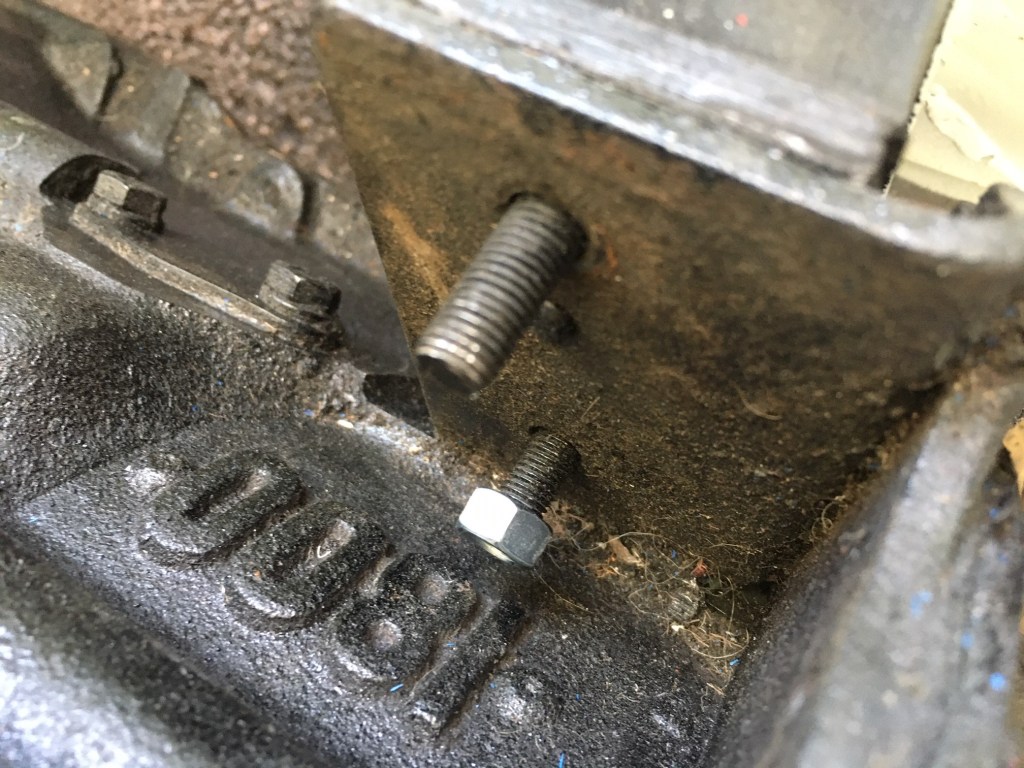
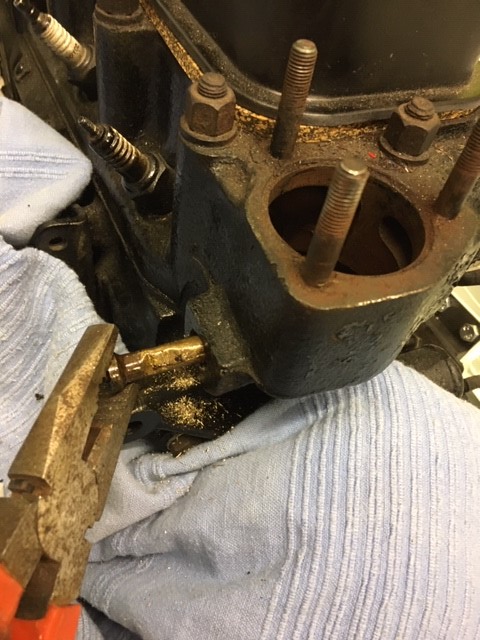
A grey afternoon today presented the first opportunity of the season to get out properly and progress the rebuild. First task was to fit the distributor and here I have a complaint about the design of the engine bay in this respect. Why is it neccessary to remove the oil cooler pipes to fit the distributor? okay, so its not a frequent task, but with the much space in the engine bay, why is the area around the distributor so congested? Complaint over, I coped, although tightening up the right hand bracket bolt involves removing the dip stick and even then you barely get quarter of a turn out of a spanner and a socket won’t go anywhere near. I will set the timing another day, although I have been researching this and getting familiar with how to tackle it. Its a new electronic unit and seems relatively straightforward to set up.

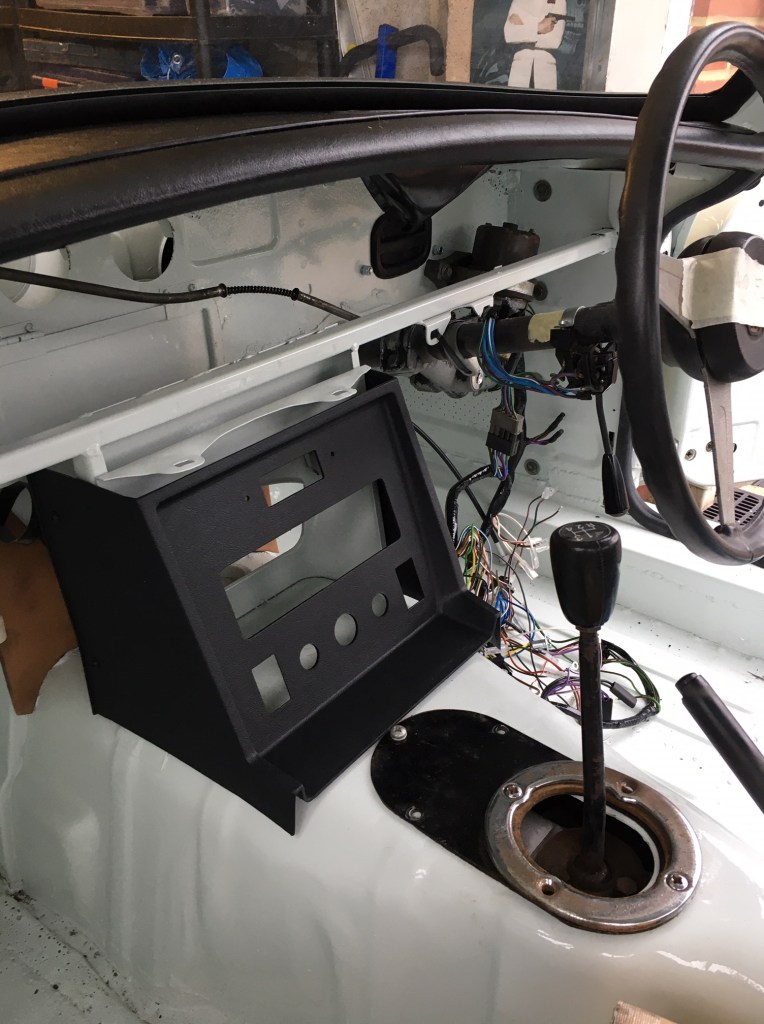
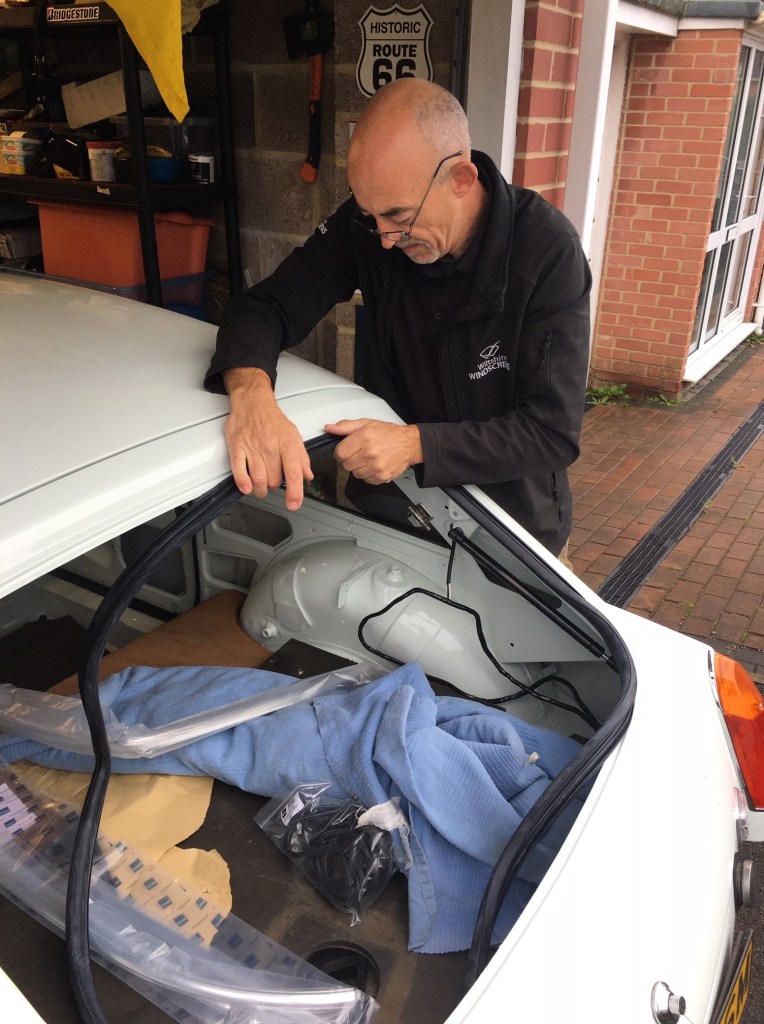
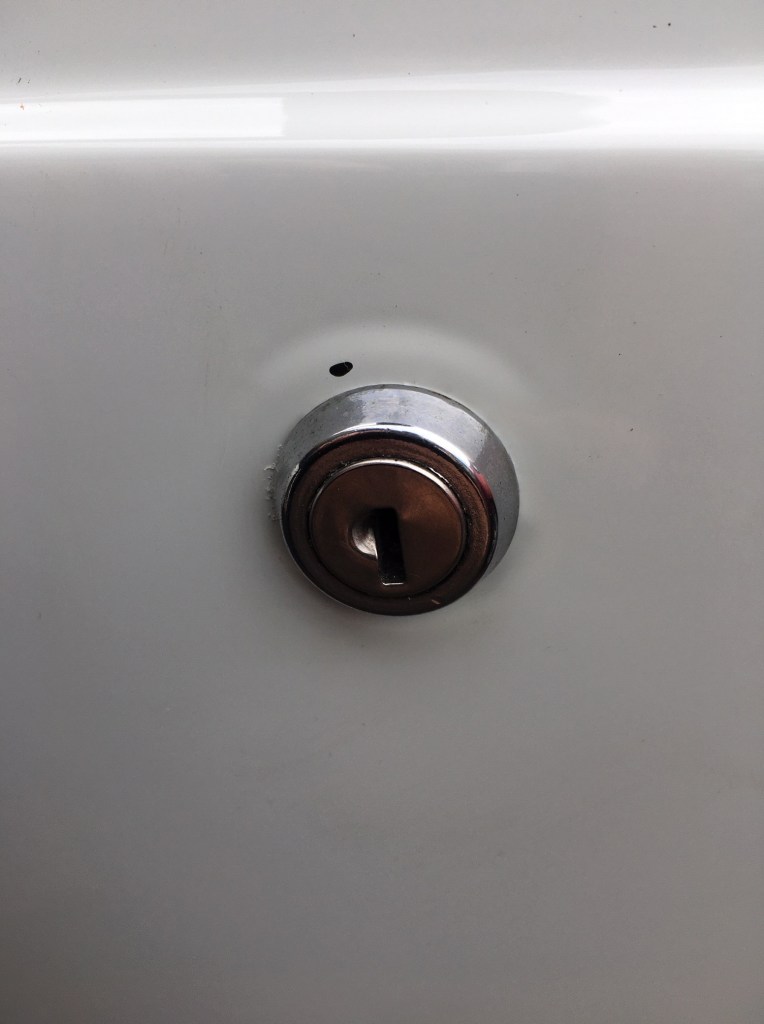
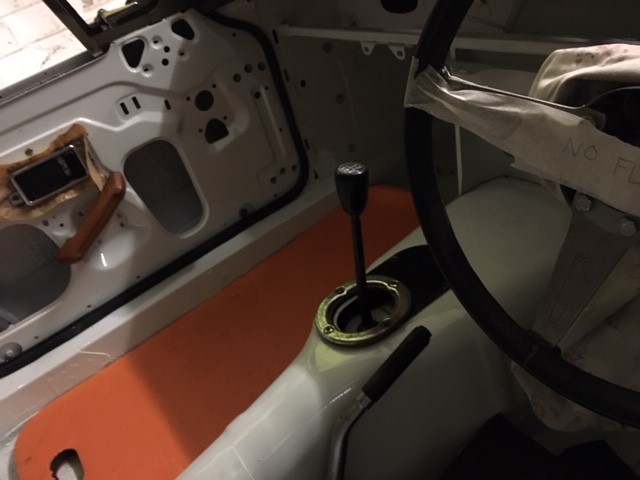
Following up on the recent engine oil change, I thought it would be a good idea to fill the gearbox with oil today as this will hopefully stop my recurring nightmare of starting the engine with no oil in it. The gearbox was drained on removal by Austin the welder and has remained so ever since. For this job I had already bought gearbox oil from Classic Oils in Bicester along with a hand pump. I removed the grommit from behind the centre console which enables access to the gearbox dip stick and the filler neck. I then hooked the pump pipe onto the filler neck from underneath the car and pumped circa 3 litres of slippery oil into the gearbox ( I checked the capacity from the MG Restoration book). I think it was grateful. I checked the level using the dip stick and all seemed fine. The handpump was a bit of a workout, but I don’t suppose it will be a frequent job to change all the gearbox oil and it was a clean job. I could have probably filled the gearbox from inside using a funnel, but I was a bit worried about having a spill inside the car.

Hook the pump pipe into the filler… 
…and off you pump… 
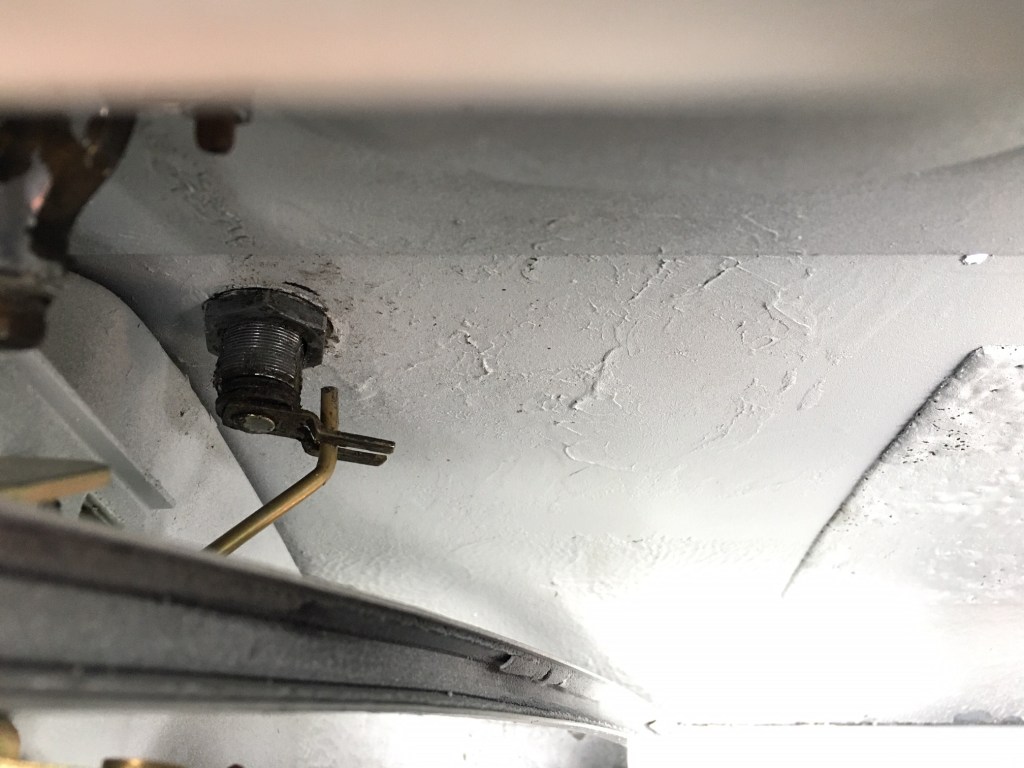
…level checked and dip stick back in
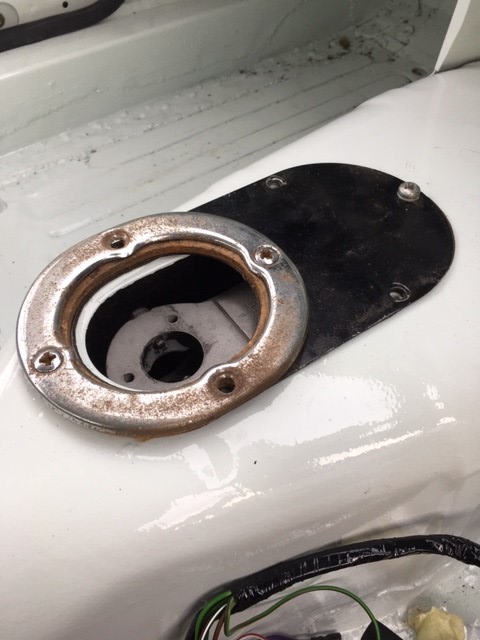
Next thing to investigate, was the fuel pump. This has been vexing me so today I just wanted to move my understanding forward rather than try to solve everything. To recap, the issue is that I need to connect the wires to it (and I didn’t know where they went), I still have to fit a rubber pipe from the pump to the pipe under the car and its not mounted properly. Today I consulted the wiring diagram (which is gradually beginning to make sense), and established that I needed a White and Black wire from the loom. As has been the case, I found these cables ran nicely down to the pump. That is, once I took them away from the C pillar where I had routed them previously. Not sure why I did that, I think I took them for the rear window demister. So small progress, but as I write this it’s becoming clearer now where the terminals go. Next time I work on the MG, I will connect the loom up and the remount the pump. This is to rectify a previous attempt to tighten the mounting clamp which was unsuccessful. This will be tedious because it is difficult to get a spanner in there, but once done, done. This will allow me to then work out how to fit the rubber pipe which connects to the copper pipe under the car. With this, the engine start tasks at the rear of the car will be complete. We are making progress Folks.