I hope that I finish the brakes before I run out of song / TV titles I can use for a play on words. Following a seven mile walk this morning with the lovely Mrs T, this afternoon was dedicated to completing the brake job started a couple of days ago. My set up was a little different as I was keen to keep the garage door firmly shut against the very cold weather. Not that it was much warmer in the garage when I first entered the space, although wearing my overalls and with my hands around a warming cup of coffee, things were bearable. A couple of pieces of dark chocolate may have also helped…
So today’s job was to fit the new calipers, pads, clips and split pins. A relatively simple job you would have thought, but it did take a while. The calipers are of course incredibly heavy and holding these up while you slide the two bolts through is hard work for a pen-pusher like me. However, the pads, clips and split pins went in very nicely and the disc rotated well with no binding. The hardest part of the job today, was getting the flexible hose free from where it mates to the copper cable. For some reason, my Christmas-addled brain just couldn’t work out how to dissemble the simple connecting piece. I did eventually work it out, and came up with a technique (involving winding the caliper) to tighten up the flexible connection without twisting it. All a bit awkward, but I was pleased with how it all came together in the end. Sometimes you just have to think hard – coffee always helps. With the car in the garage, there wasn’t the usual rush to get the wheel back on and the car pushed back inside. So instead I did a job I’ve been pestered by my Dad about since I’ve had the car. I gave the wheel a quick rub down and then brush painted it in Hammerite satin black. I’ve no idea how this is going to turn out, but this is very much a quick smarten up pending selection of final wheels for the car, which is someway off. If I get a reasonable result, I’ll do the other wheels as I do the brakes so that I’ll have them all smartened up over time.
I enjoyed listening to Radio 4 as always, especially Gardeners Question Time, which is a favourite, although I have absolutely no interest in Gardening. Happy New Year to you all. Here’s to a better 2021.
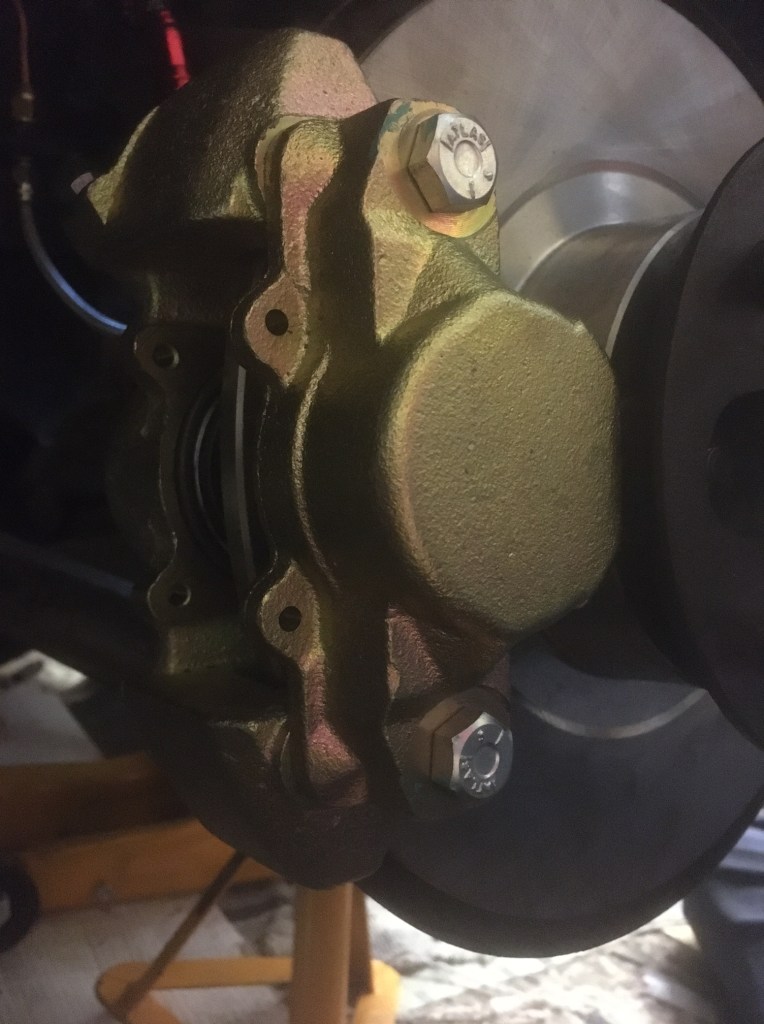
Snazzy new gold calipers 
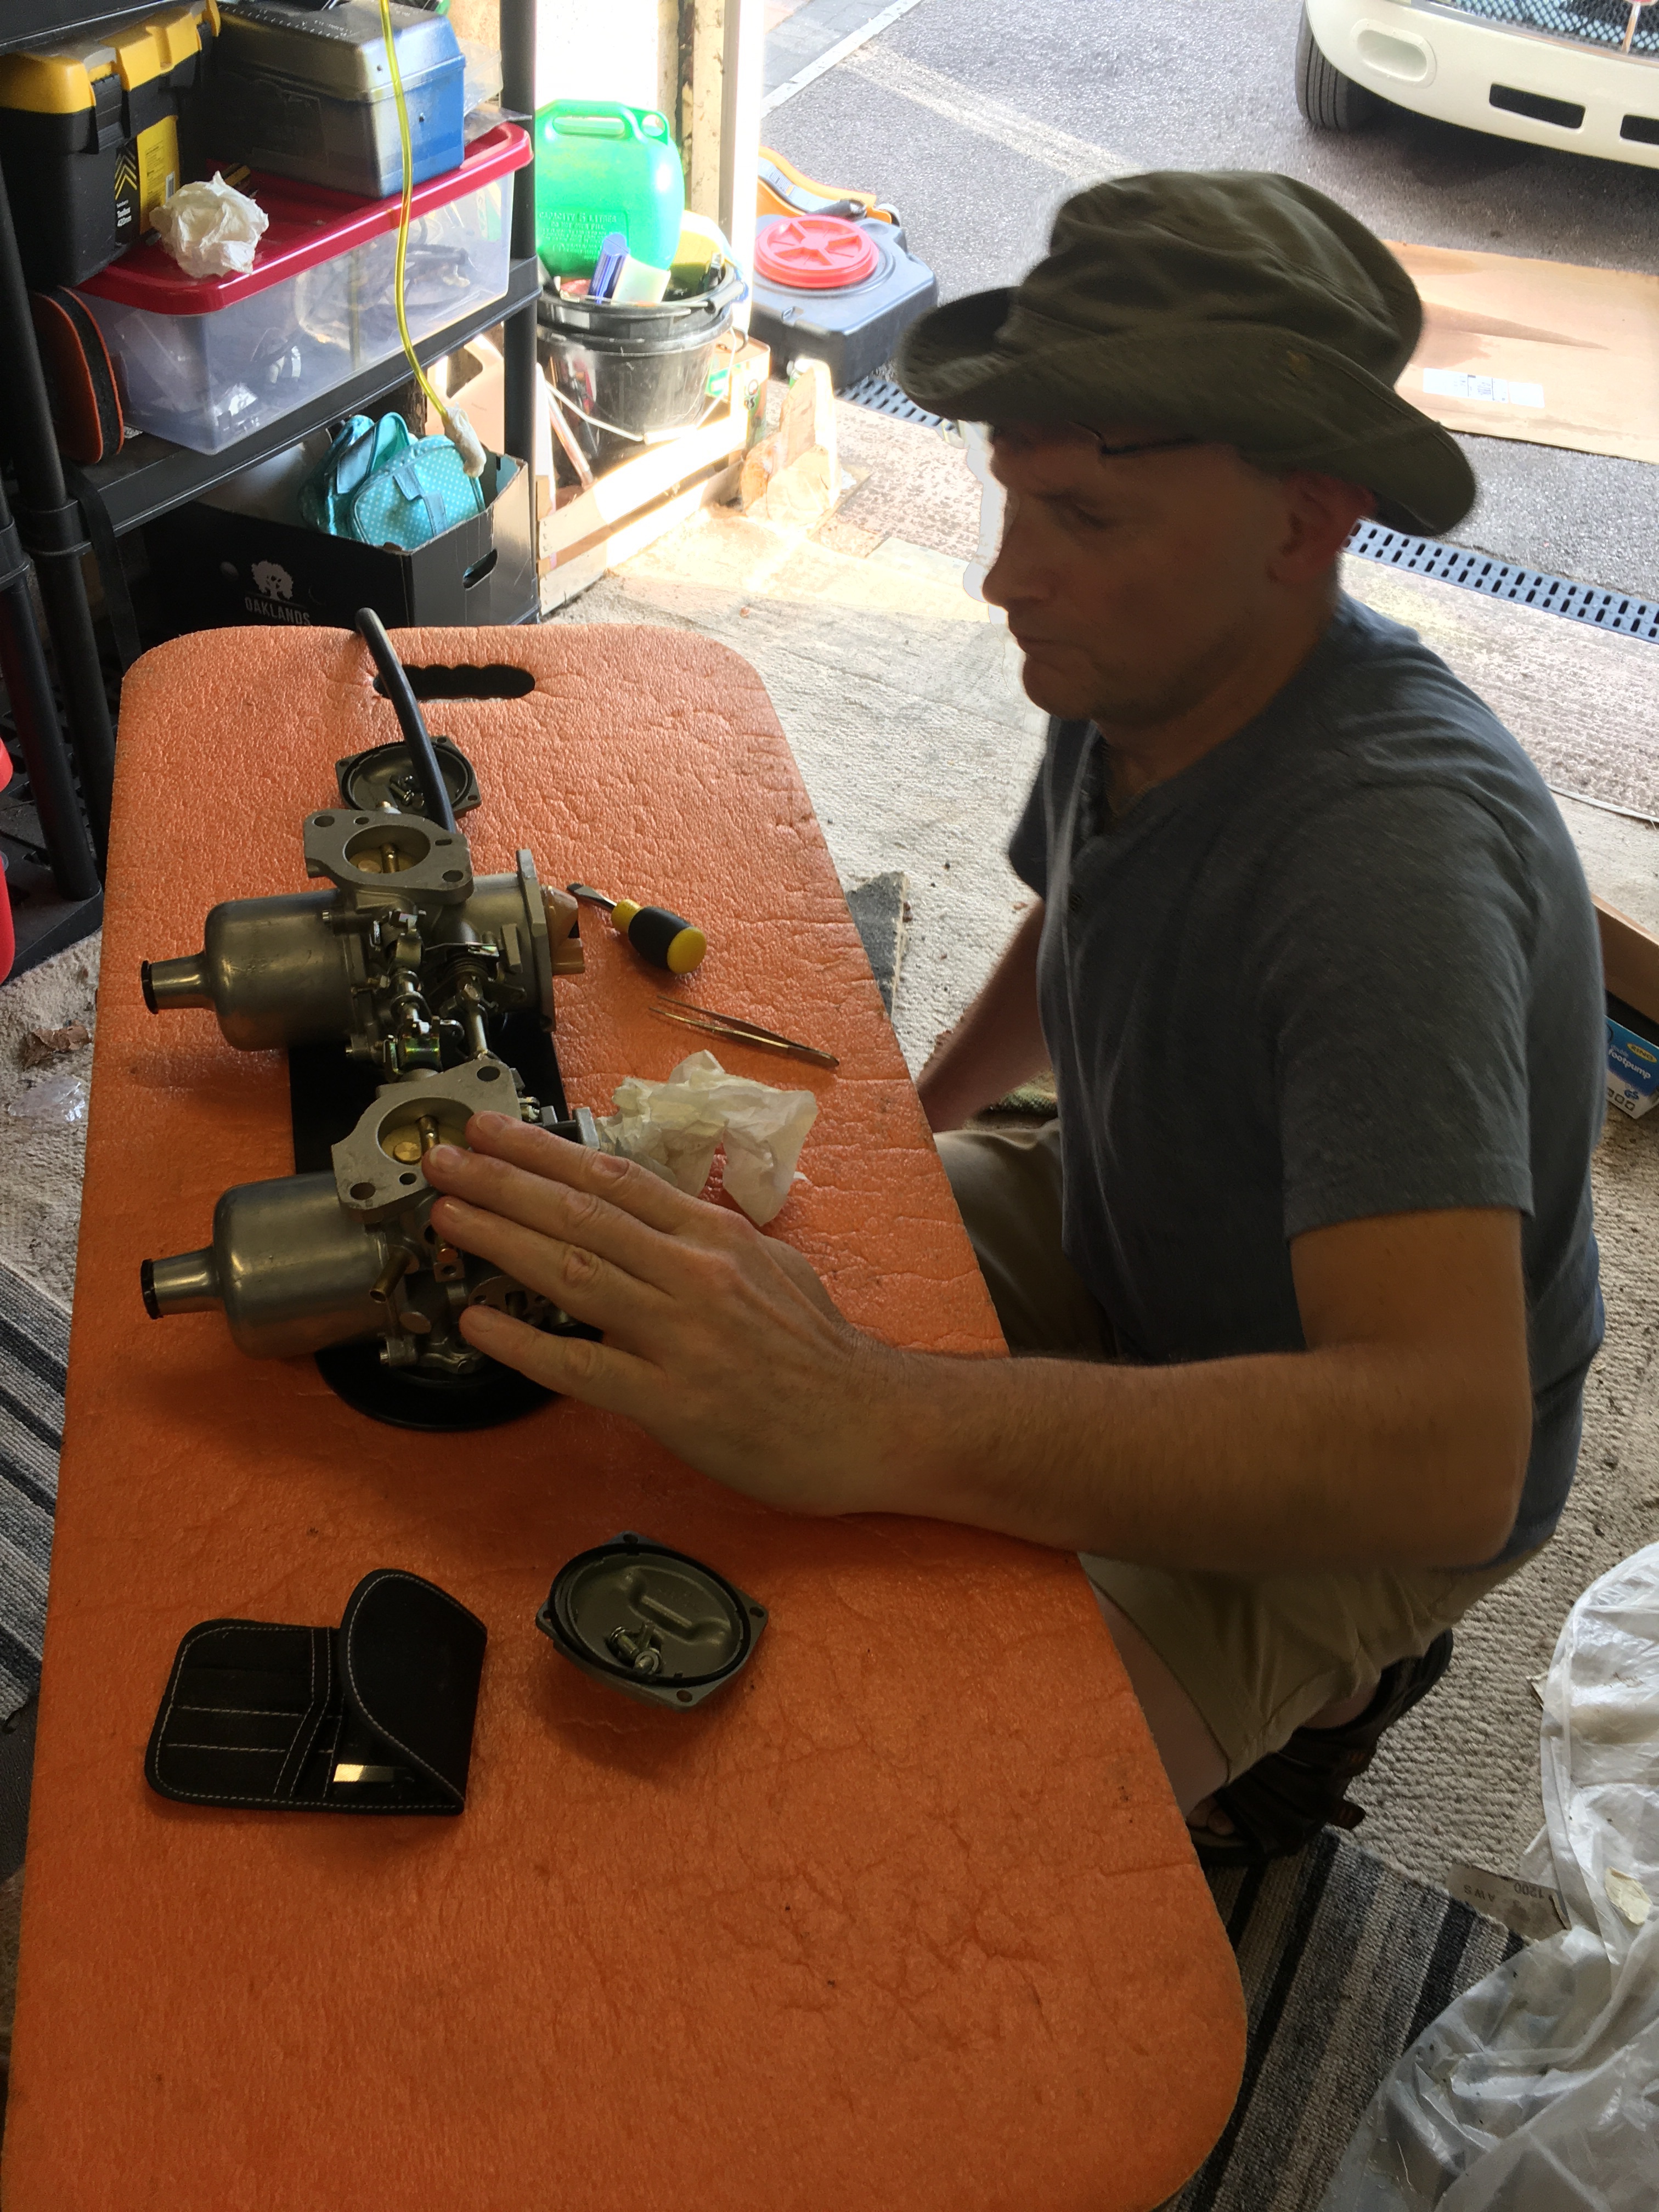
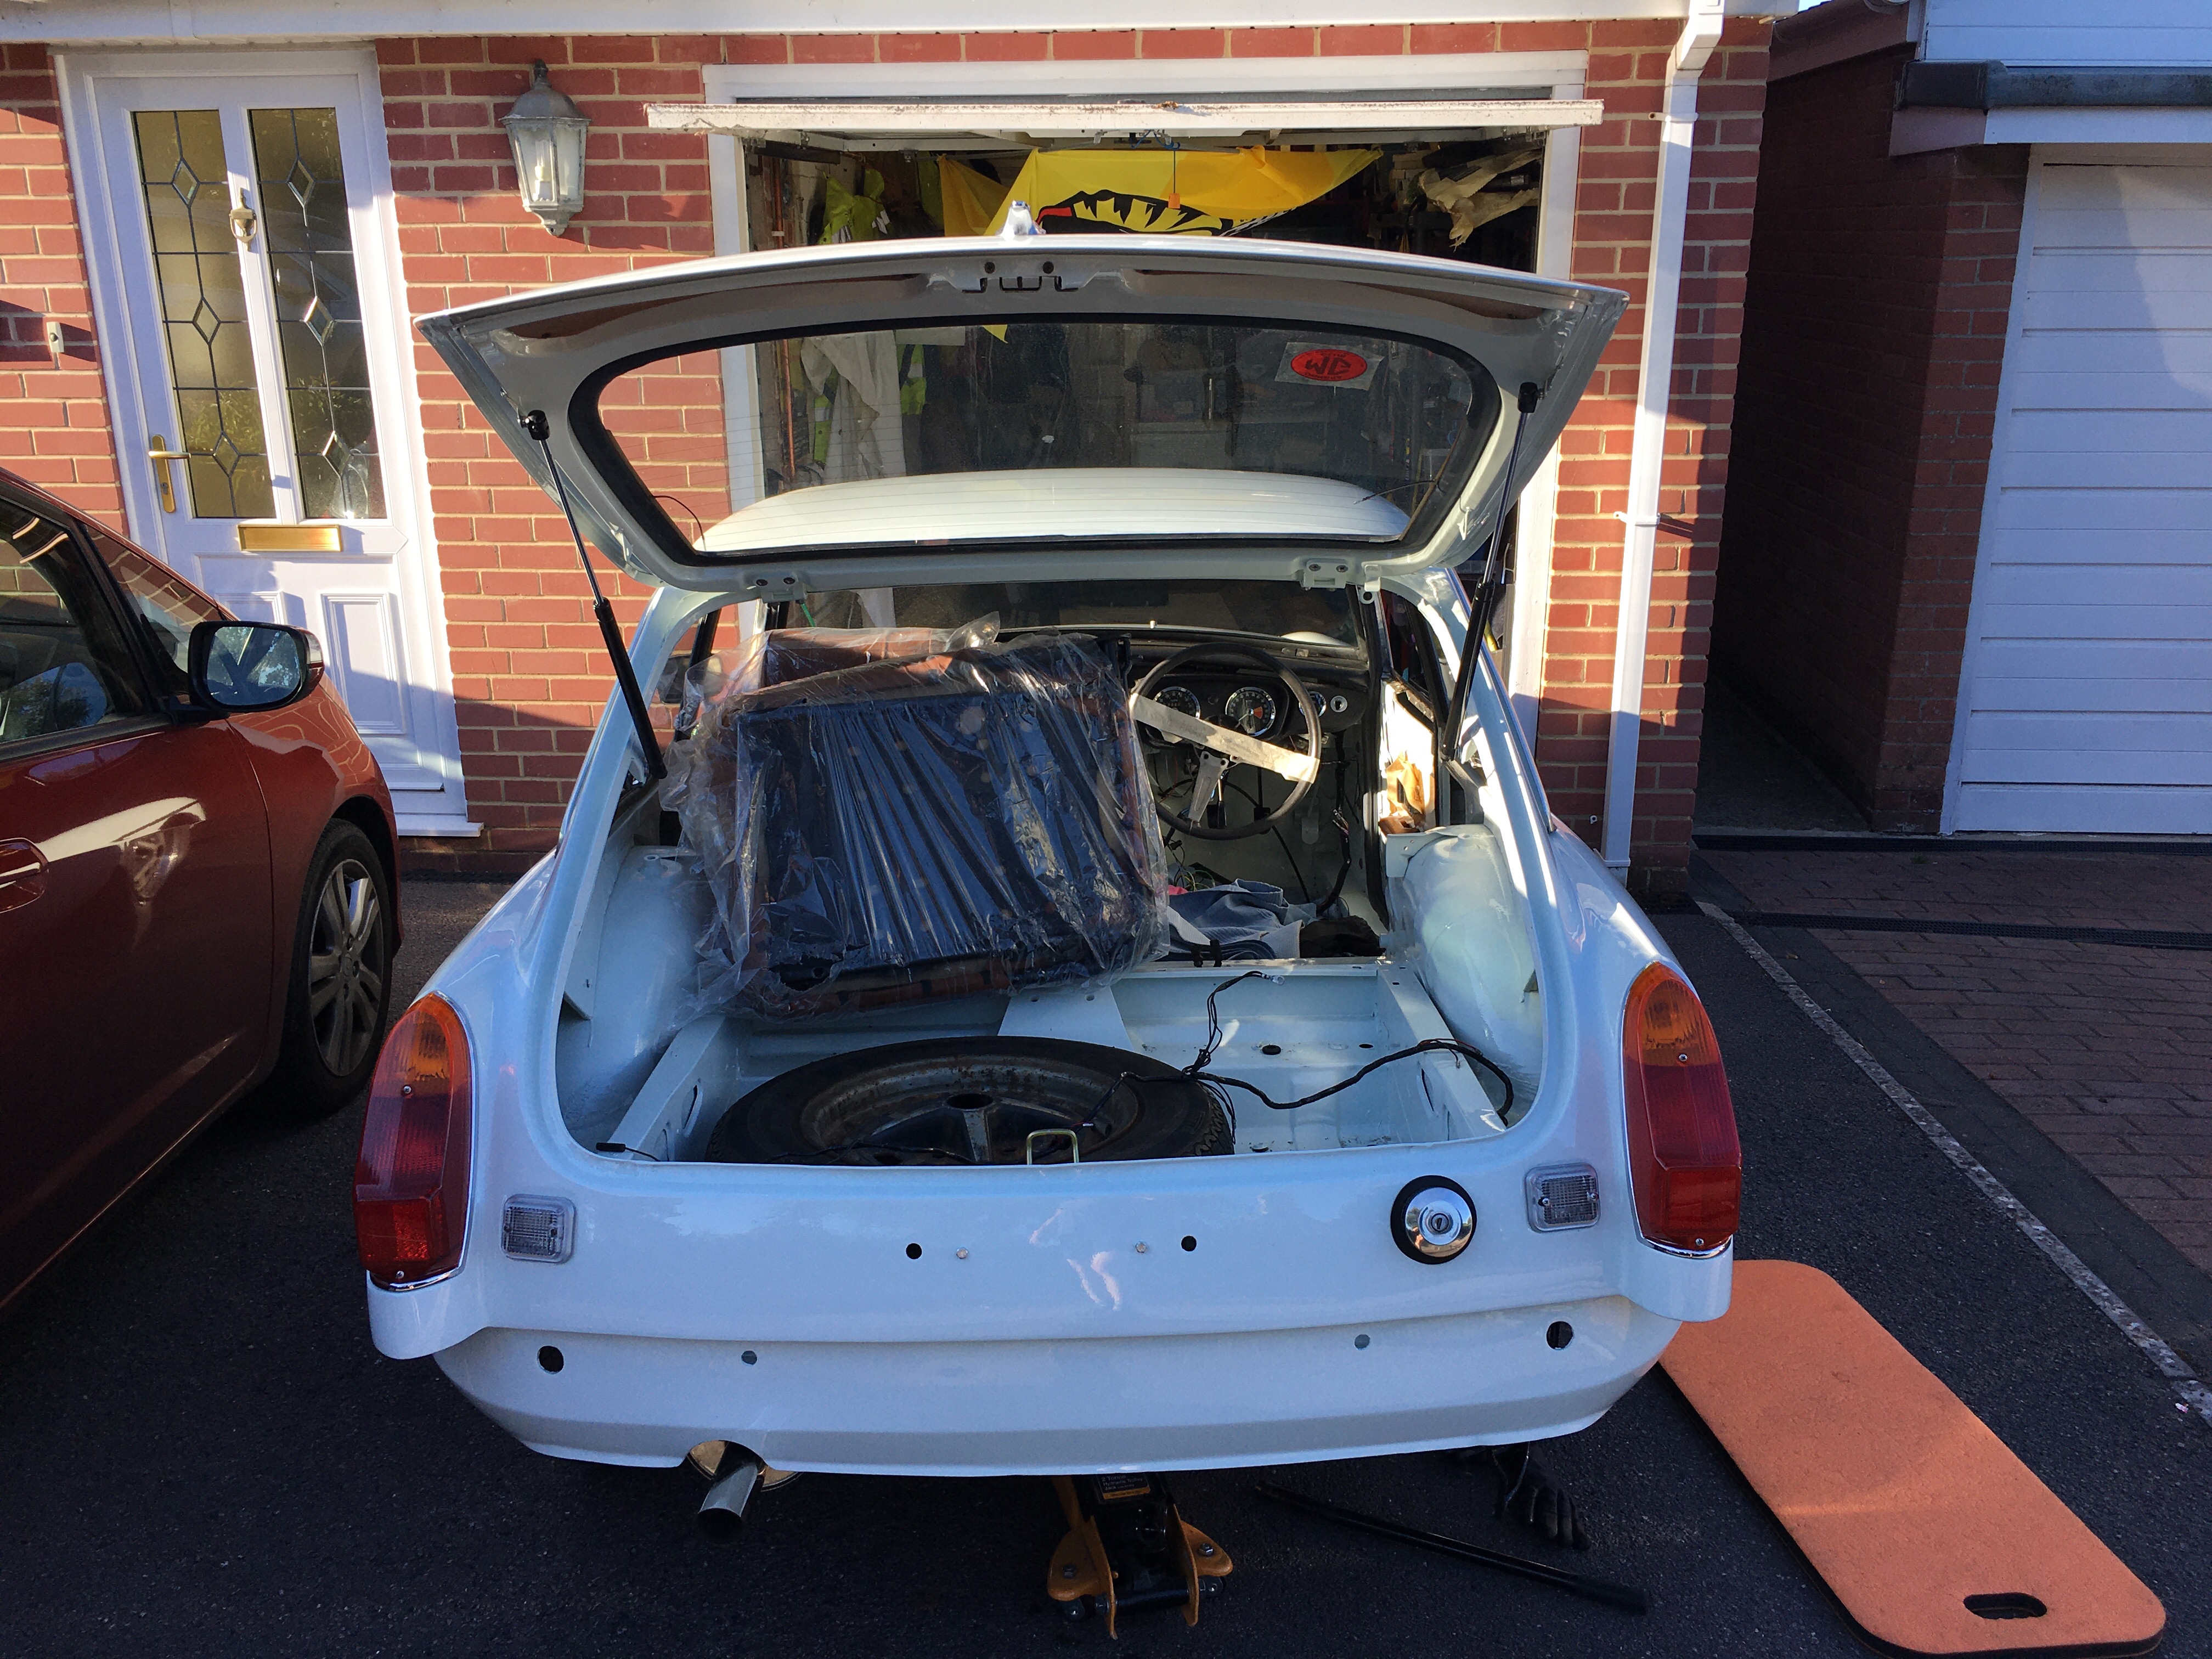
Me playing at being a mechanic