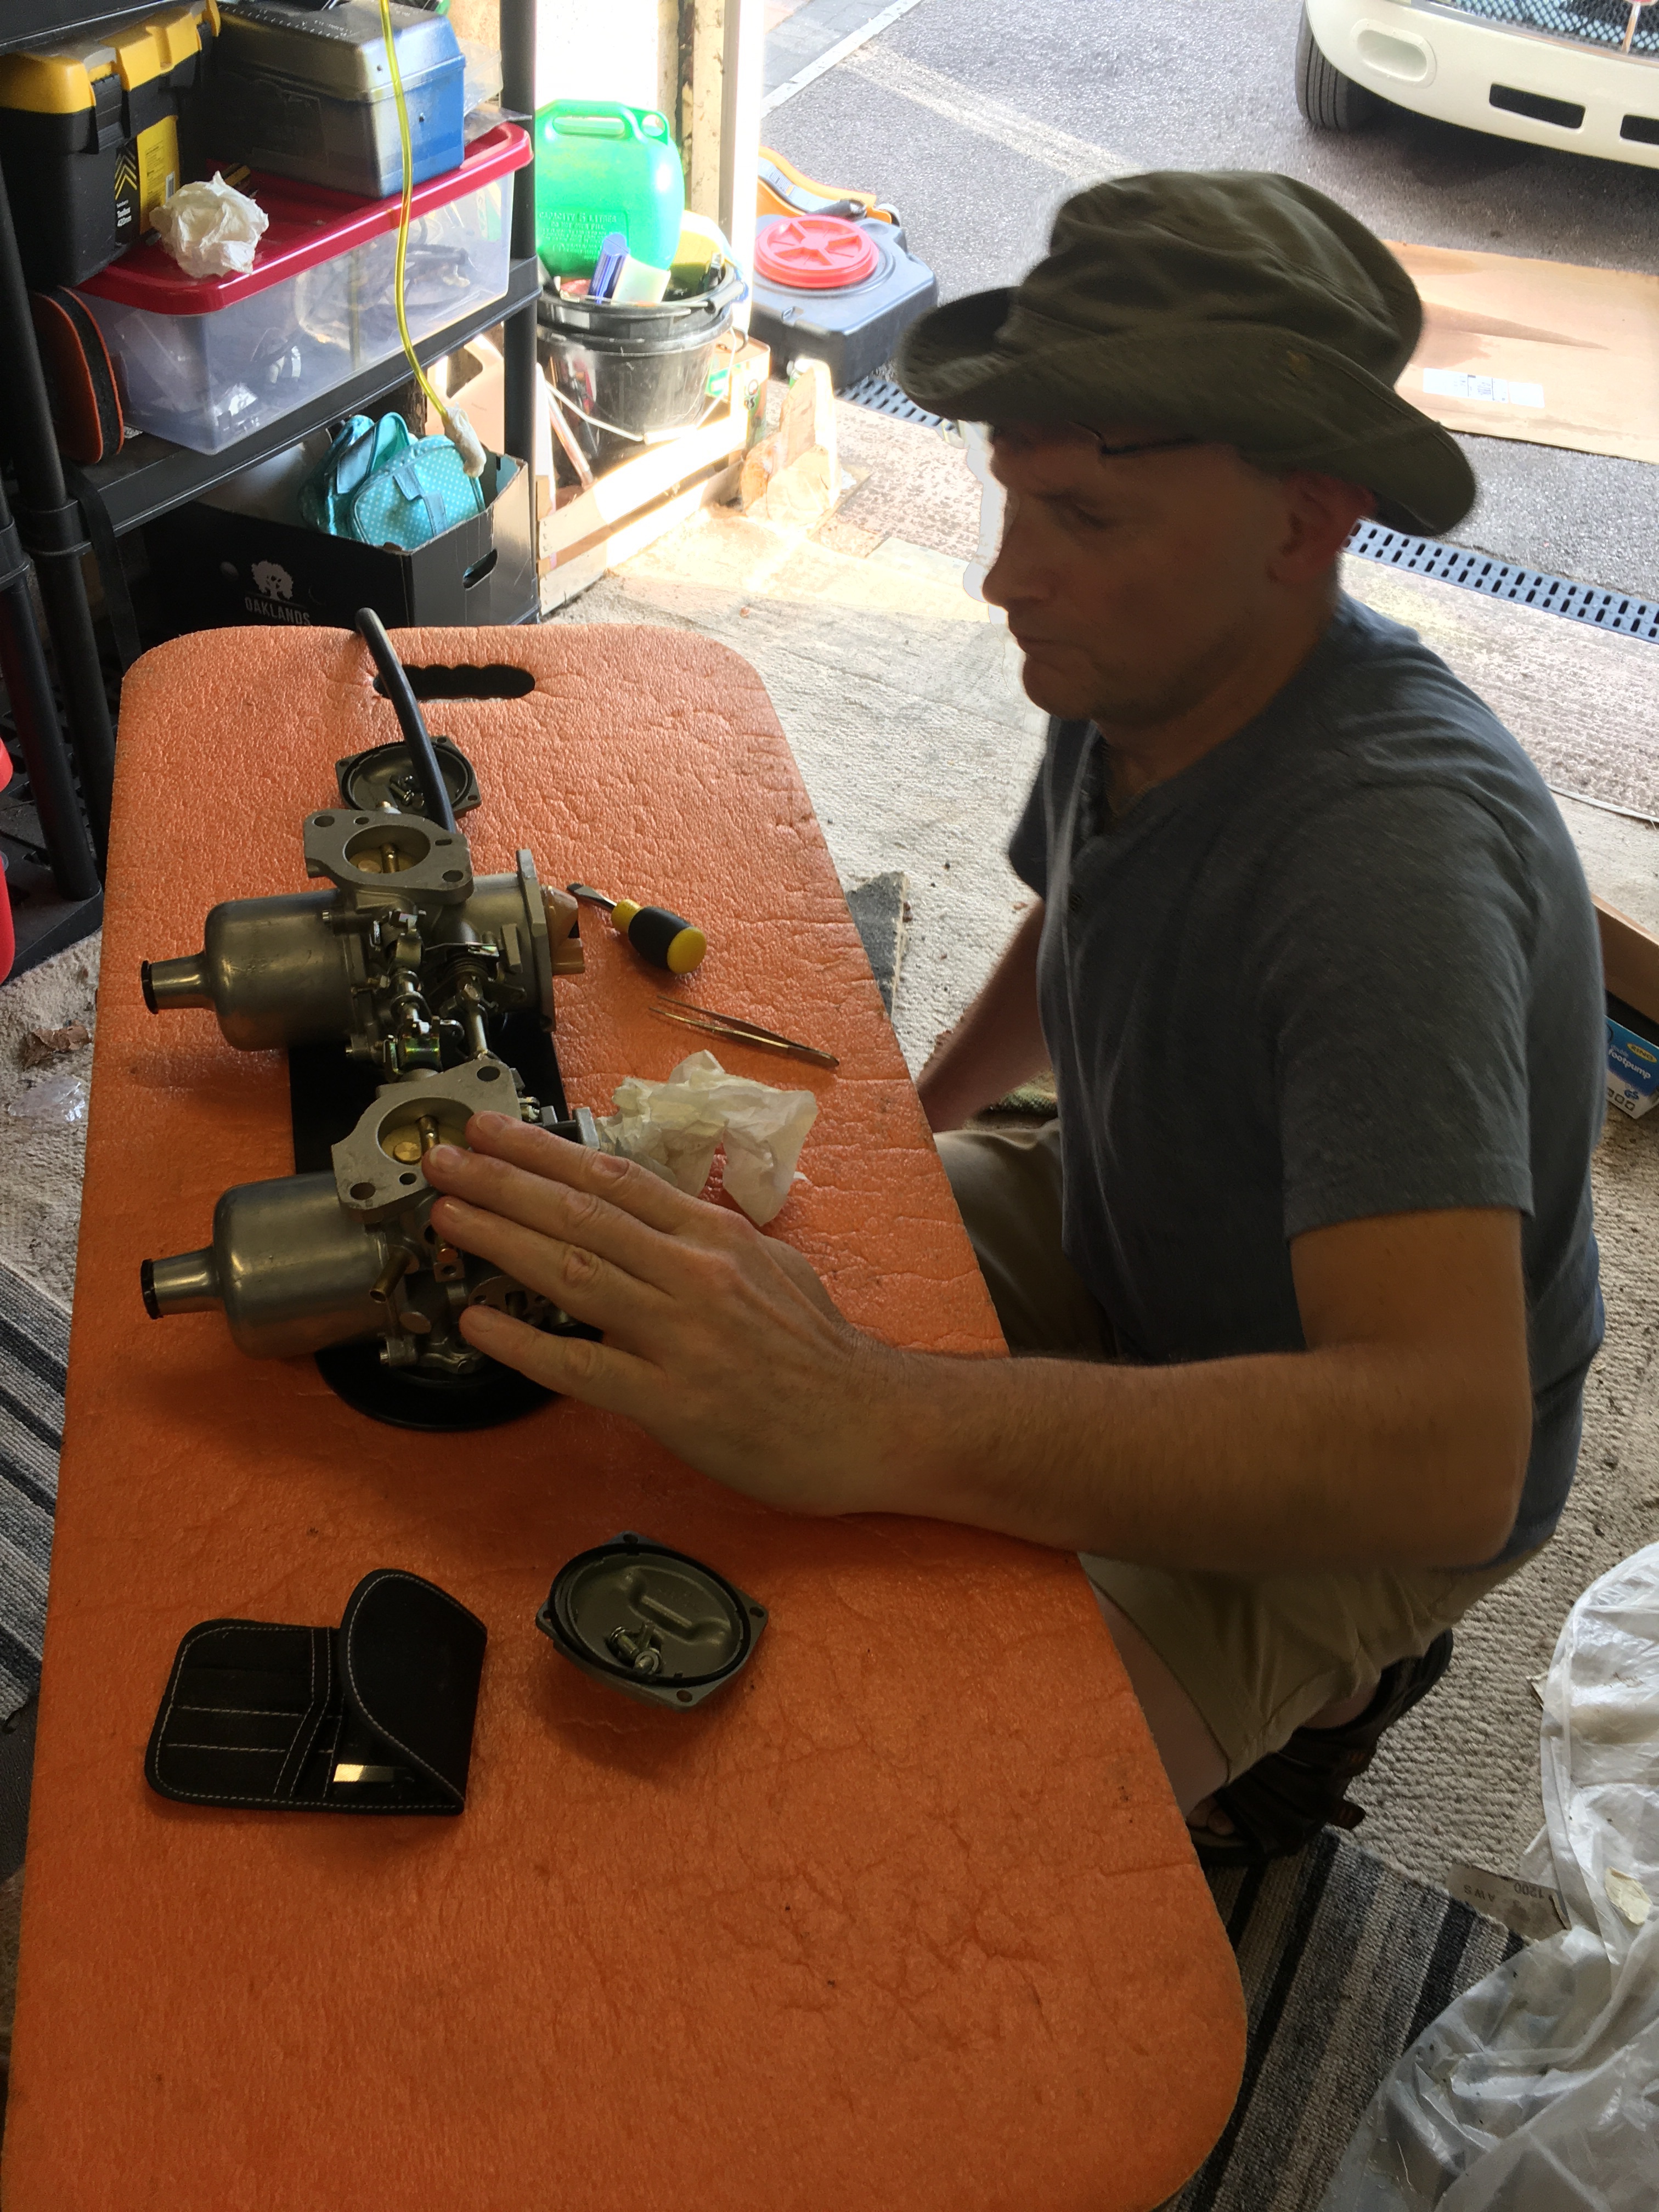
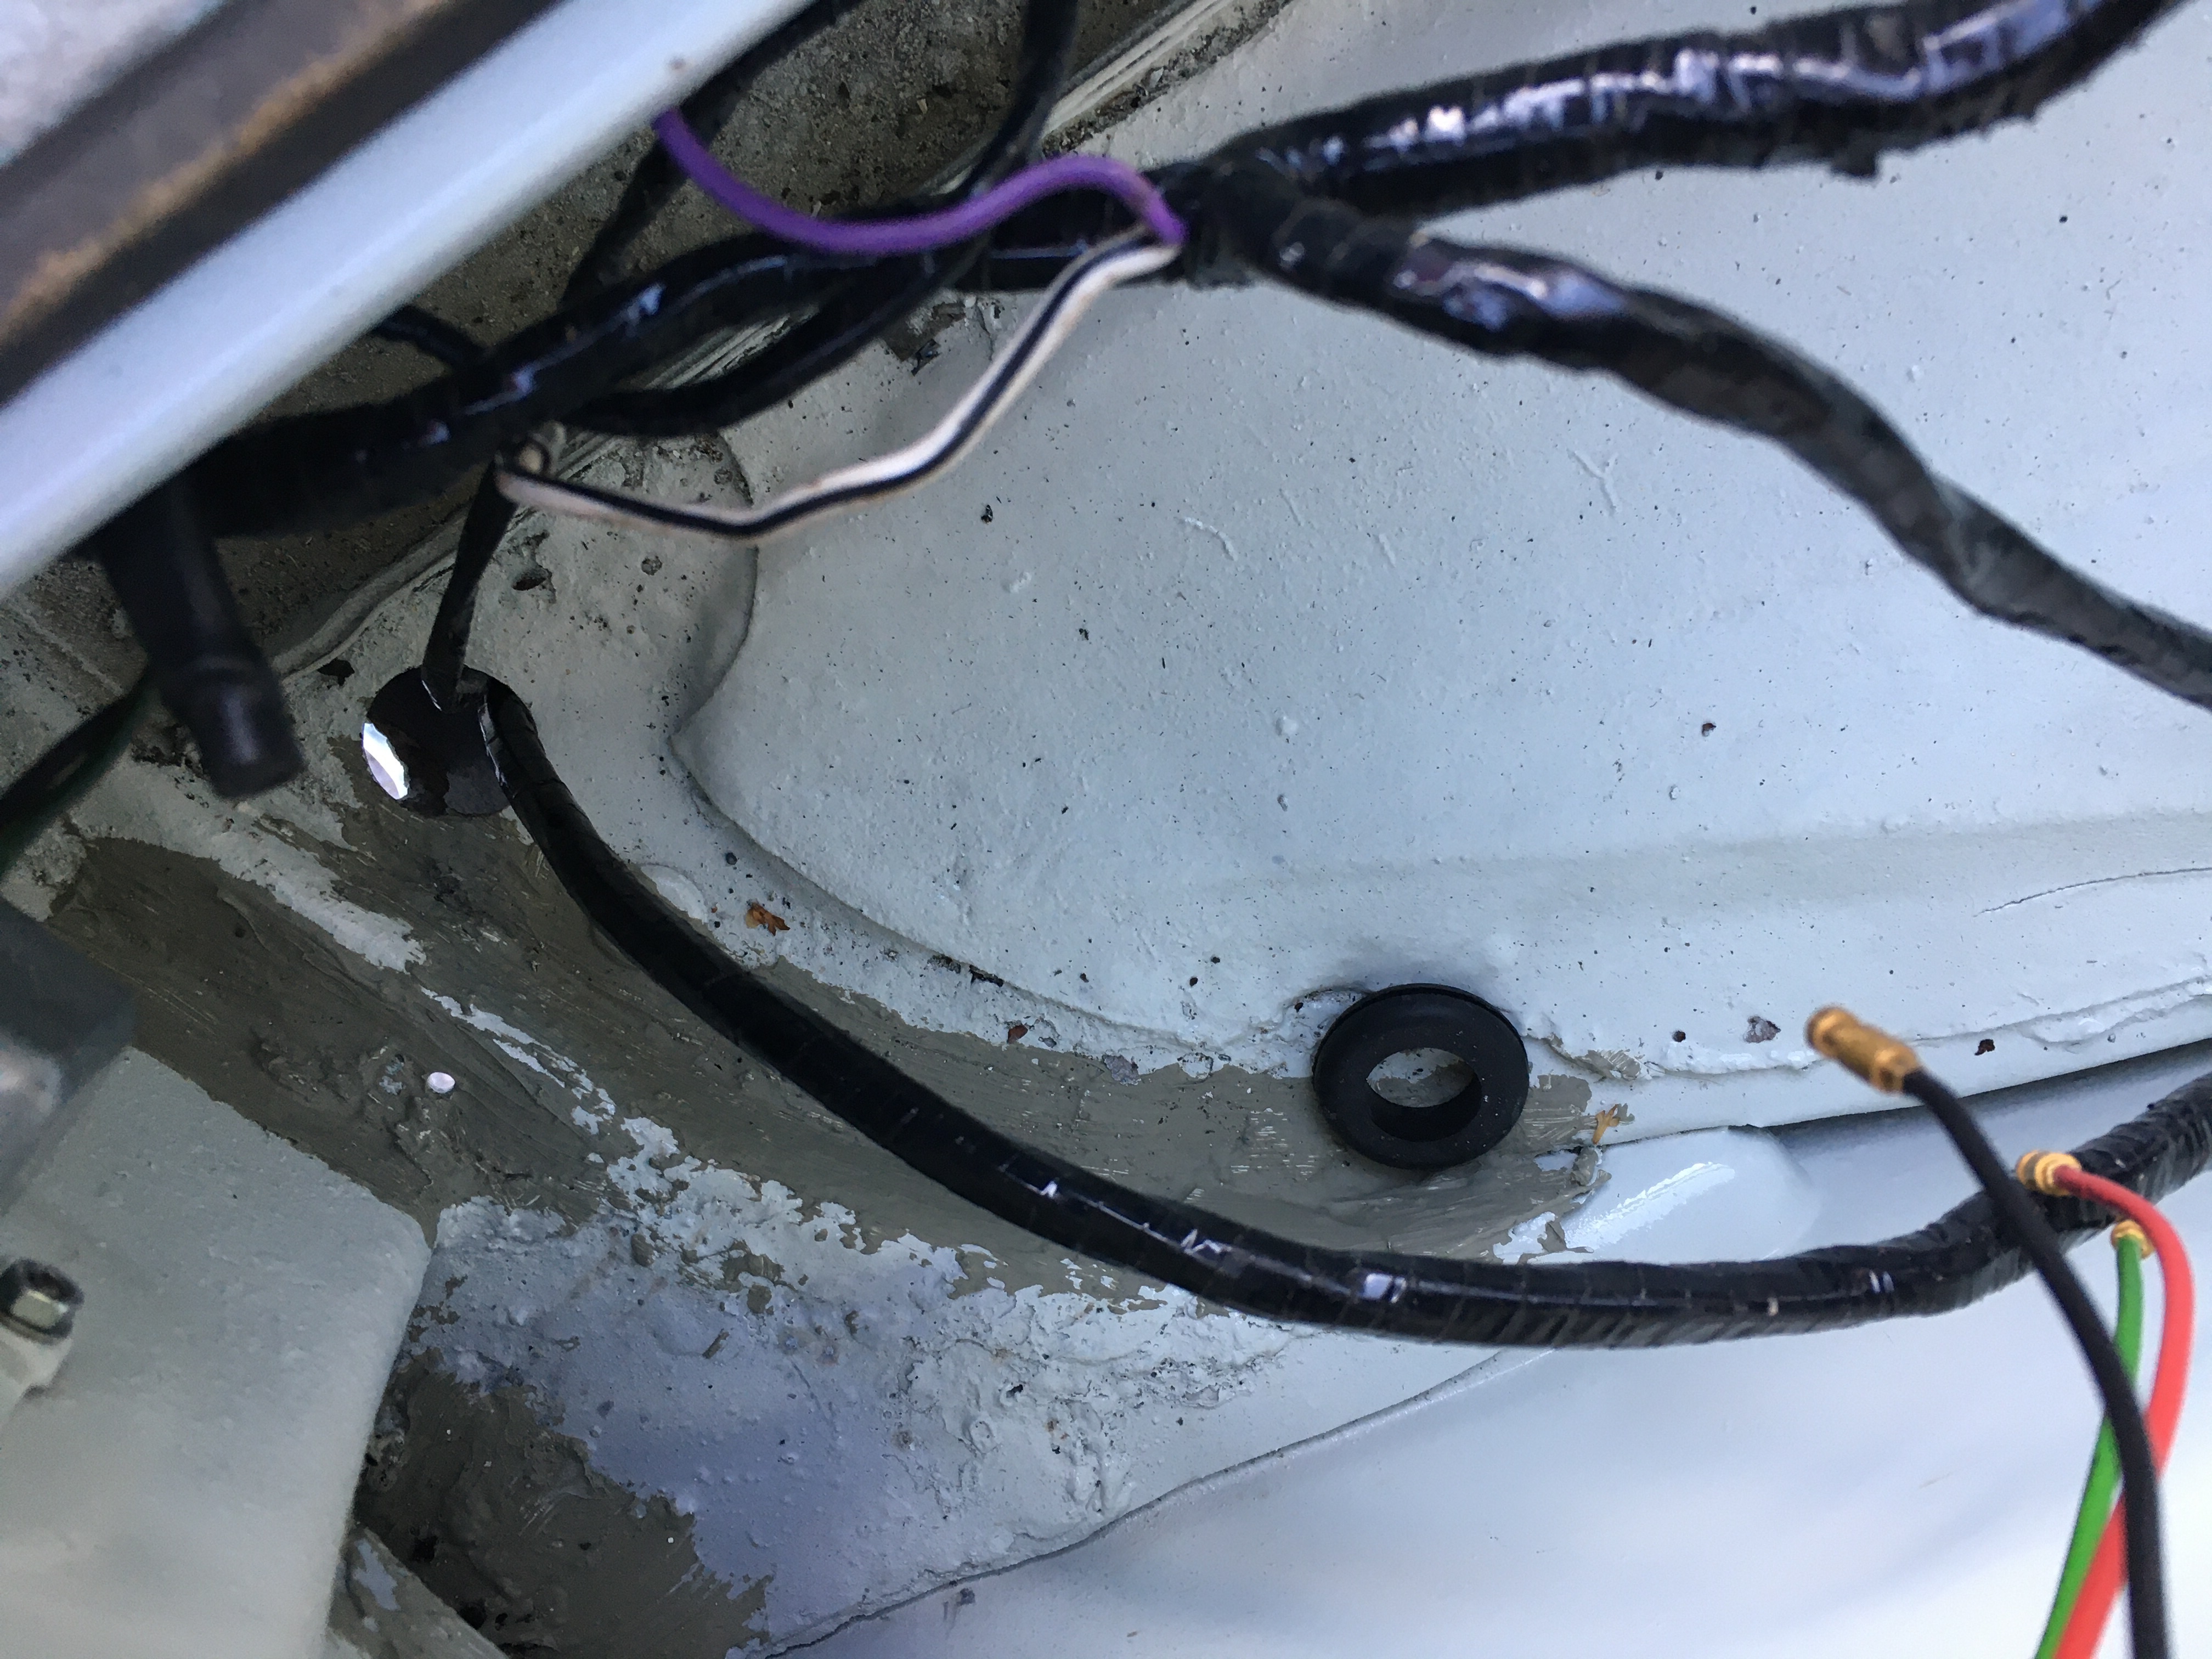
First of all, a very Happy Christmas to everyone – I hope you’ve all had, or are continuing to have a great time. Progress on the MG took a leap forwards (actually backwards, but we will get to that) recently following a visit from Phil James, who is a specialist classic car electrician. We had been messaging back and forth for a few weeks after my initial web enquiry and finally settled on a date that worked for us both in early December. Phil came for the day and after a brief chat he just got on with labelling, tidying up, connecting and sorting out the loom with all its connections. I got on with my day job, but checked in on him from time to time, keeping the tea topped up. He made rapid progress and by the end of the day, he had got a lot more connected than I could have hoped for or achieved in the same period! I would recommend him highly.
Phil’s website is here

So that was a good day’s work and I’ll have Phil back soon to fit some more components which I have needed to buy. Part of the idea of getting him involved was to help me work out what was needed and we certainly achieved that and I’ve been busy since on the internet ordering the missing bits. Watch this space for further updates as various components get fitted.
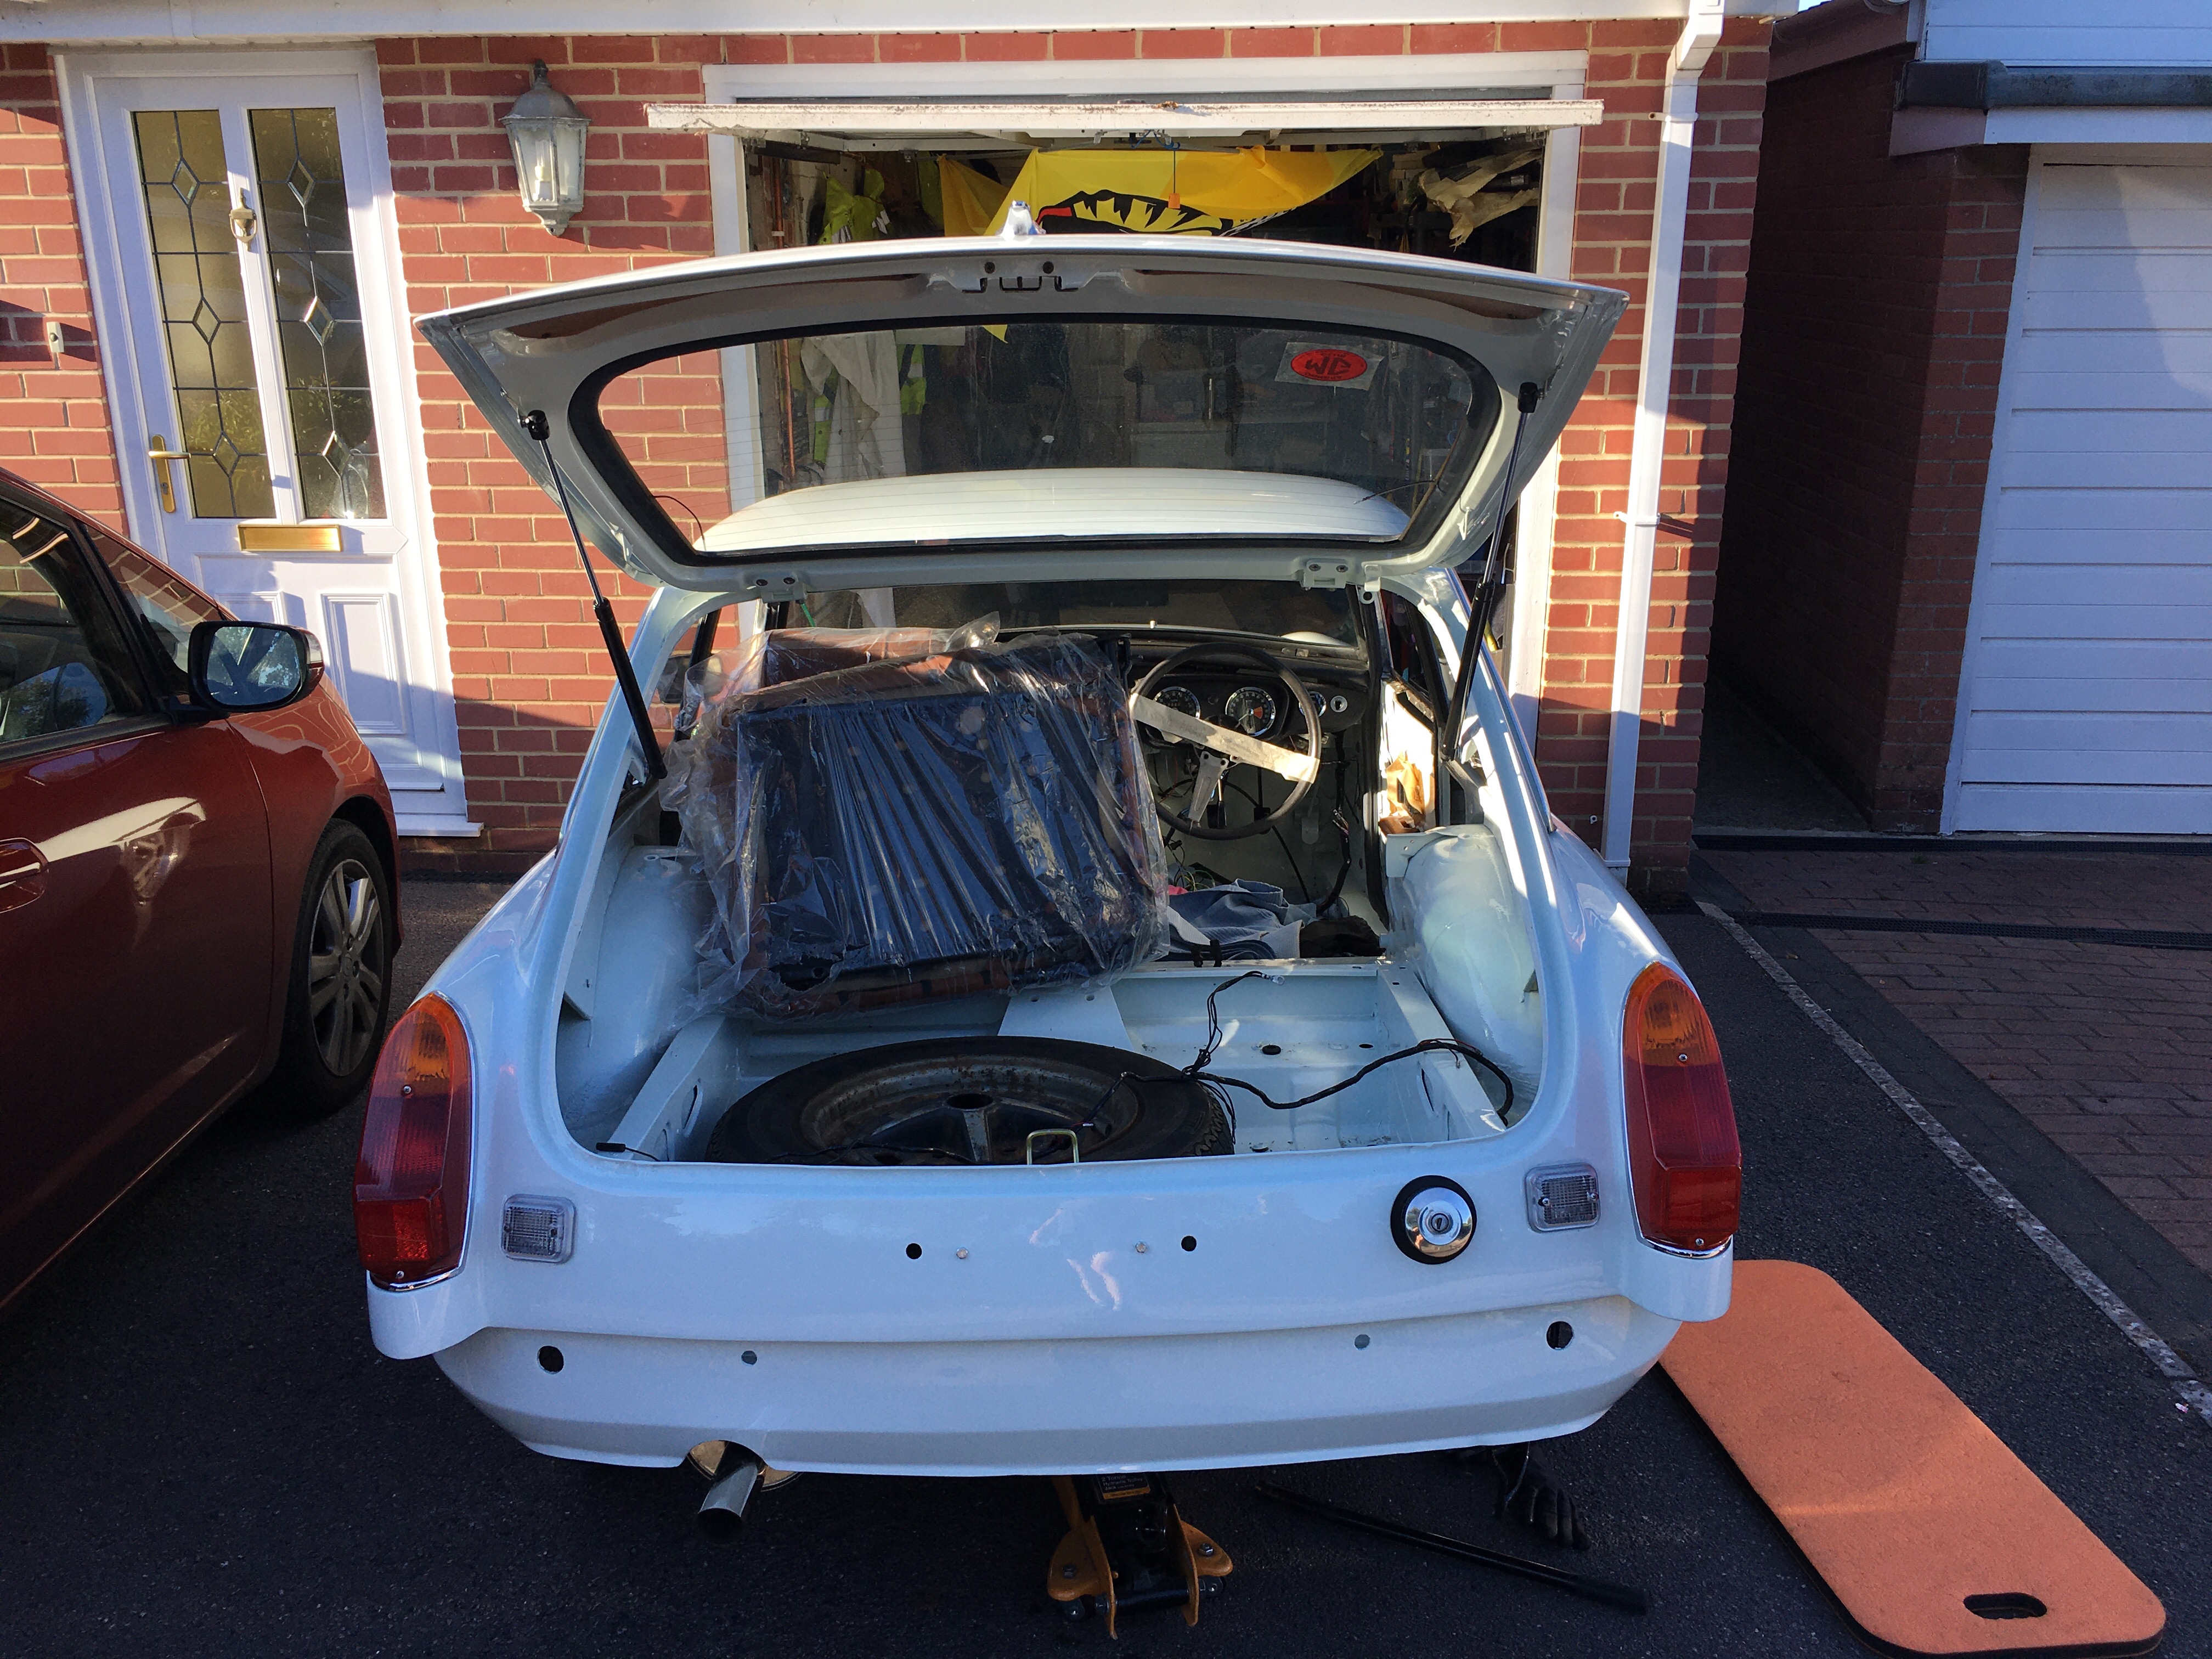
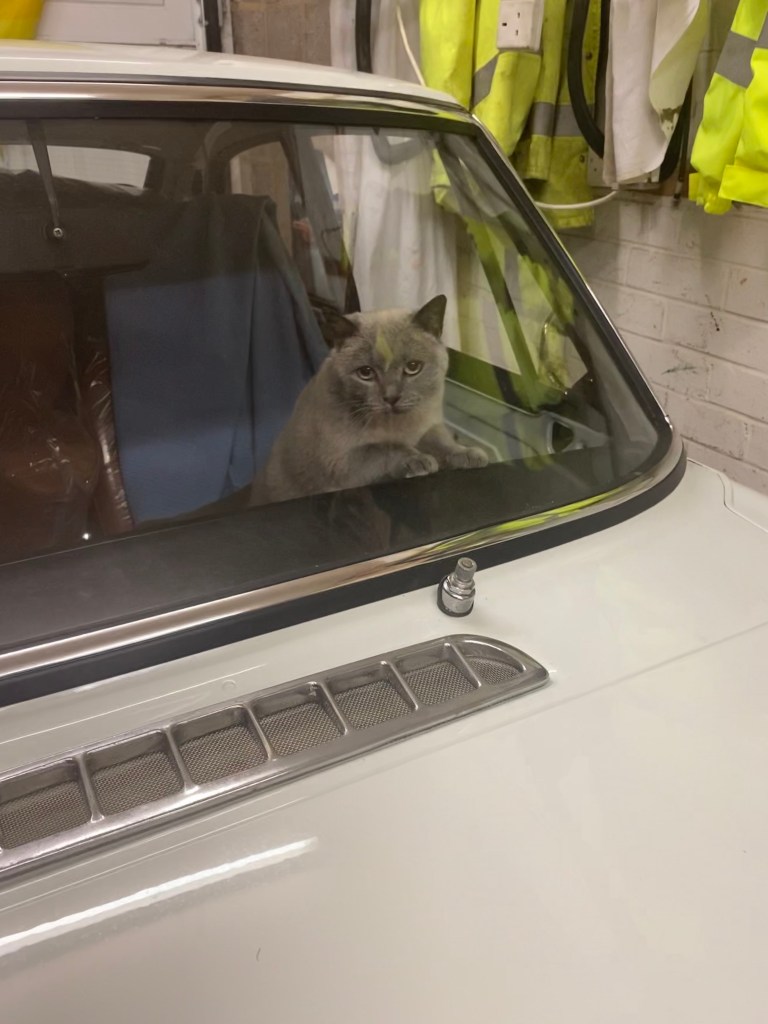
So it was with refreshed enthusiasm that I crawled into the MG through the hatch the following day (which was a Saturday) and decided that I would attempt to drive out of the garage, rather than the usual back-breaking push. I should explain, that there wasn’t room to open the door due to how it was last pushed in. Feeding myself into the driving position (the seat had been lifted out to make room for Phil), I cranked the MG over and was pleased for it to burst into life on the second turn of the key. It would have fired up first time, but I am still getting used to ‘catching it’ as it turns-over. It was a bit intimidating to select reverse for the first time, with the engine running, but I gave it a go and was greeted by a grinding noise. Ah. I gave the clutch a couple of pumps and tried again. This time, the gear selected smoothly and I was able to feel for the bite point on the clutch, raise the revs a little and ease the MG out of the garage. This was the first time the MG had moved under its own power in my ownership, and from a time perspective in approximately 8 years. Woohoo, what a moment! Before I got carried away, and remembering that I have NO BRAKES, just a handbrake, I gingerly allowed the MG to come to rest on the lip of the garage entrance and shut it off.
As I reflected on this progress, both electrical and mechanical I was enthused to order new brakes (Calipers and disks) for the MG and I’ve put sorting the brakes onto my priority list for the new year, so it can be moved around with confidence, and of course, when appropriately complete, to be driven for real.
On a festive note, a couple of photos below of a nice pre-war Riley that I spied at a recent event new to me, which was Carols on Track, a drive-in Carol Concert organised by the local Churches after Castle Combe Racing Circuit generously made their paddock area available for the event. As a response to the pandemic restrictions, Churches all over have been thinking about ways to celebrate the Christmas season. Our own Church has been hosting restricted services, as well as online content, but we had no way to hold our traditional Carol Service. So we were delighted and intrigued to attend Castle Combe. The basic idea was to get parked up and then either stay in your car, or stand socially distanced outside, as the Carols and Lessons were played out over a professional PA system. I have to hand it to the organisers, who had arranged for hot drinks and hog roast stall to be available for the punters. The service was a combination of deeply emotional carols such as Silent Night to the all out riot of the 12 days of Christmas with horn blowing and lights flashing. Great fun, and it may become a permanent fixture, COVID or no COVID. Turnout was about 100 cars as a conservative estimate.
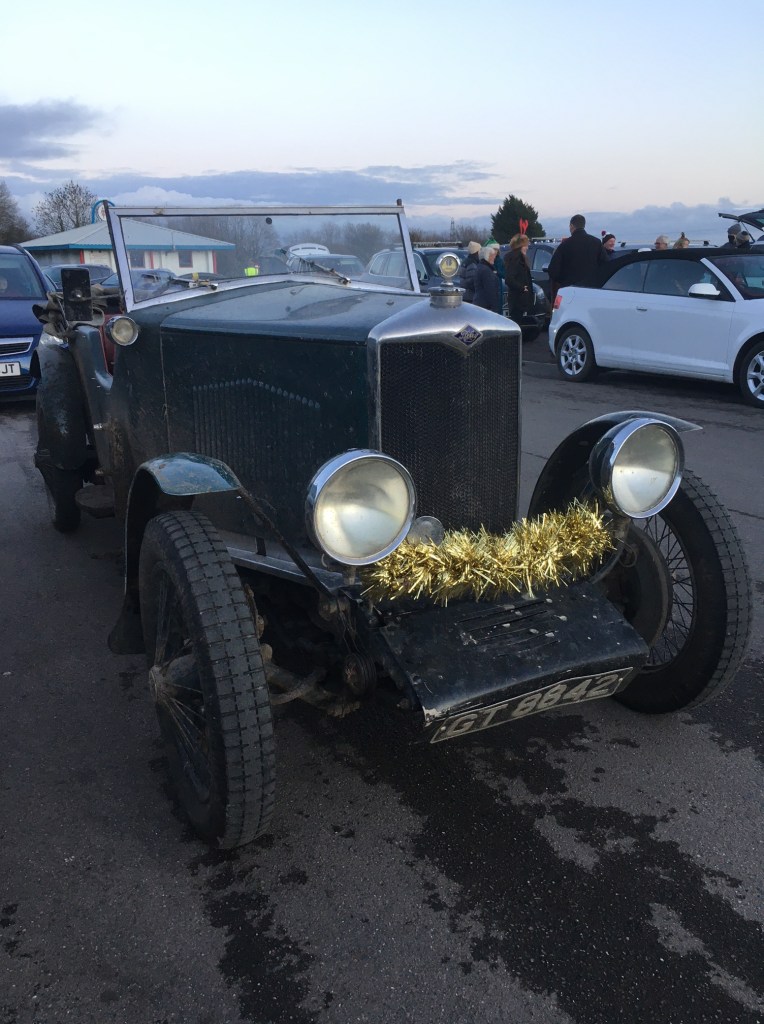
What a Christmas Cracker…. 
…although somewhat exposed to the elements
So, I’m feeling positive about 2021, with more work due on the MG, perhaps that elusive first drive, and us all getting on top of COVID. Best wishes to you all and God Bless