A surprisingly sunny November morning appeared from what I had thought was a write-off rainy weekend, so it was out with the MG to swop out the old alternator with a new one from MGB Hive. When I first got the MG, the alternator was covered in white aluminium corrosion crystals. I scraped off the worst and when I fired the car up (this was 3 years ago) for the first time, there was a flurry of white as the loose crud spun out. Suffice to say I thought the alternator had seen better days and so having recently restarted the engine I decided to replace it. Also prompting me to this job was that whenever I have run the car recently, it has flattened the battery. This was either because the old alternator was not working properly, or because something wasn’t wired properly. As I was going to replace the alternator anyway, I tried this first.
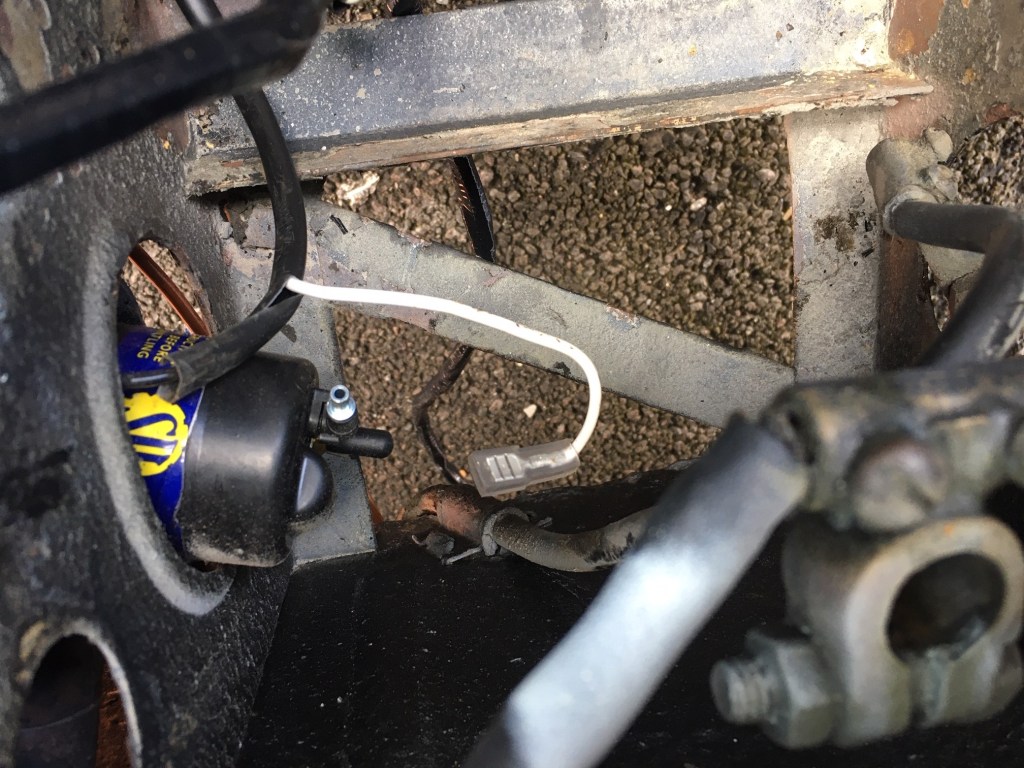
The alternator is held in place with two bolts at the top, which mount onto lugs on the engine block and with a single bolt at the bottom which secures a curved slotted plate. The slotted plate allows the alternator to pivot so that the fan belt can be fitted over the pulleys and then tensioned correctly. The slotted plate then fixes to a lower lug fixed to the engine block. The lower lug is fixed with a specifically shaped bolt which I had replaced much earlier in the rebuilt when it had sheared off spitefully on removal. Before I took the old alternator off, I started the engine and measured the voltage at the battery – 12.3v.
Fitting the new alternator was pretty simple although it’s a heavy old bit of kit. I did a visual comparison before I removed the old one just in case it was to join my list of wrongly ordered parts, but it measured up alright so I committed to the job. I laid a decent blanket over the wing for protection and knelt on a tool box with a blanket on it for comfort. I used a combination of tools to remove the bolts which were 0/5″ and 9/16. This included my trusty Halfords Professional mini socket set, the Elora large socket set gifted to me by my friend John, the socket spanner set gifted to me by my brother Tris and a plain open jawed spanner. Each tool works well in its own way and I was grateful for the choice.
With the new alternator fitted and the fan belt at roughly the right tension, I fired up the car again. It fired second time and settled into a lumpy idle (carbs still not set up right – where are you Dad? ha ha). I tested the voltage at the battery and got…the same 12.3v. I was hoping for between 13-14v but I could be wrong. So maybe the issue is not solved. I should have had someone hold the revs higher and measured it again, but Helen was working in her study, so I didn’t disturb her. So we will see if the battery is flat when I try again. Hopefully next weekend we will get another weather window for further investigation. Before sitting down to do this update, I sent a web enquiry to a mobile auto electrician just to gauge their interest in giving the electrics a once over and validating what I’ve done. I think it might be worth getting a professional involved in this one…

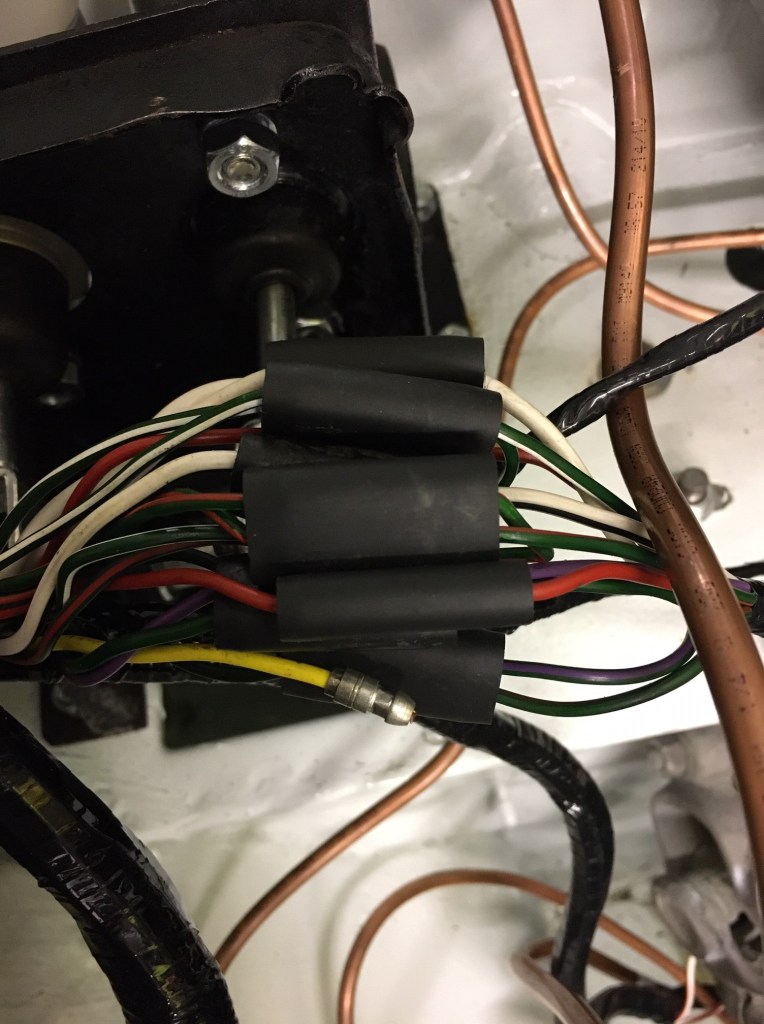
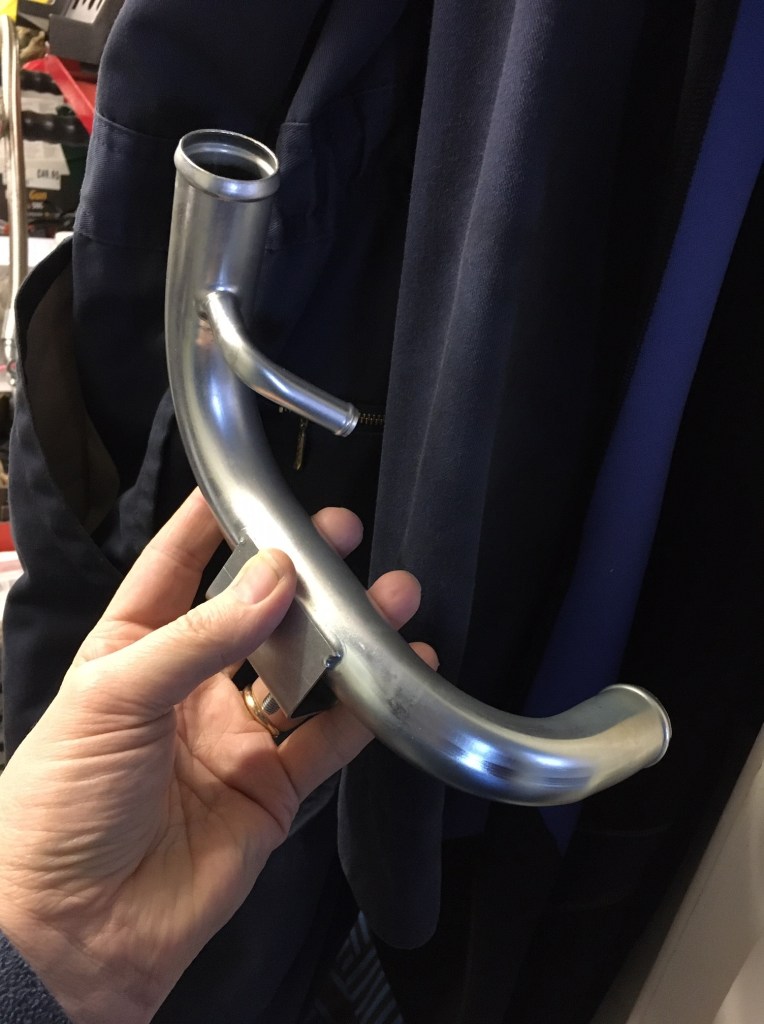
Out with the old… 
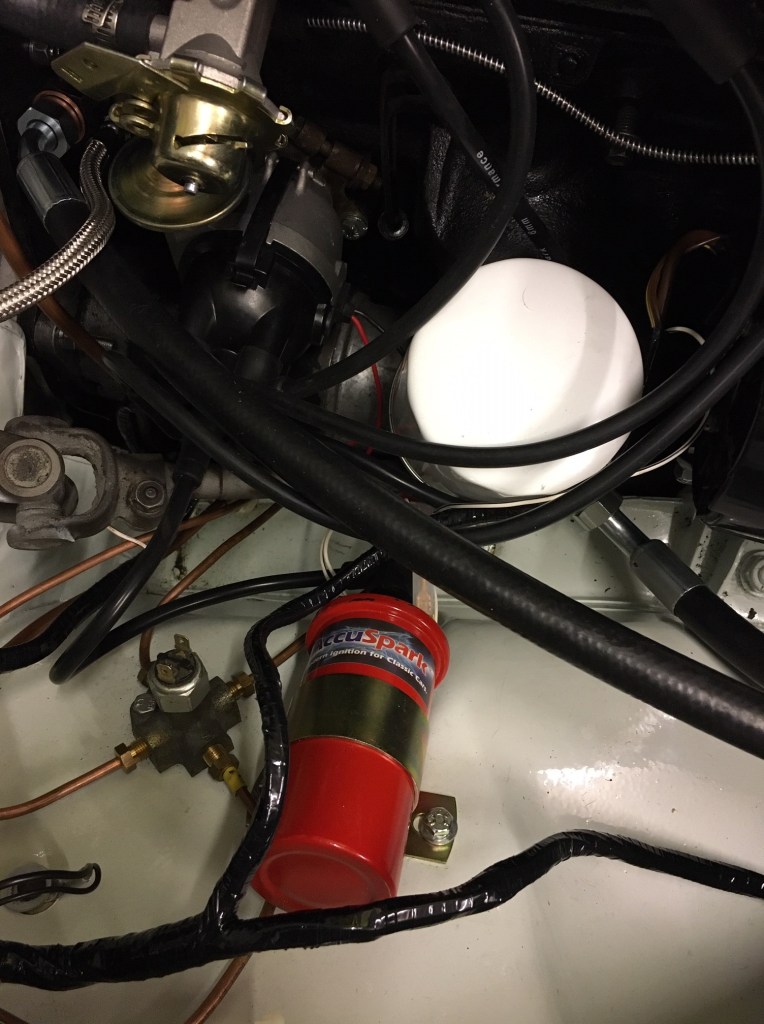
…and in with the new